Do you want to improve your customer’s checkout experience on your website? Want to know how to create a popup on your WooCommerce checkout page to boost sales?
A lot of WooCommerce website owners trigger a popup on their payment gateways to reduce cart abandonment and increase revenue.
But these popups only work if they are customized and targeted at the right customers at just the right time.
And that’s exactly what I’ll cover in this blog. By the end of this article, you’ll know how to customize a WooCommerce popup to offer a better user experience (UX), optimize their checkout page, and improve your website conversions.
Here’s everything you’ll learn in this post:
- Why To Customize WooCommerce Checkout Page
- How To Create and Customize a WooCommerce Checkout Page Popup
Why To Customize WooCommerce Checkout Page
Before we get into the step-by-step tutorial, let’s first look at what a WooCommerce checkout page popup is.
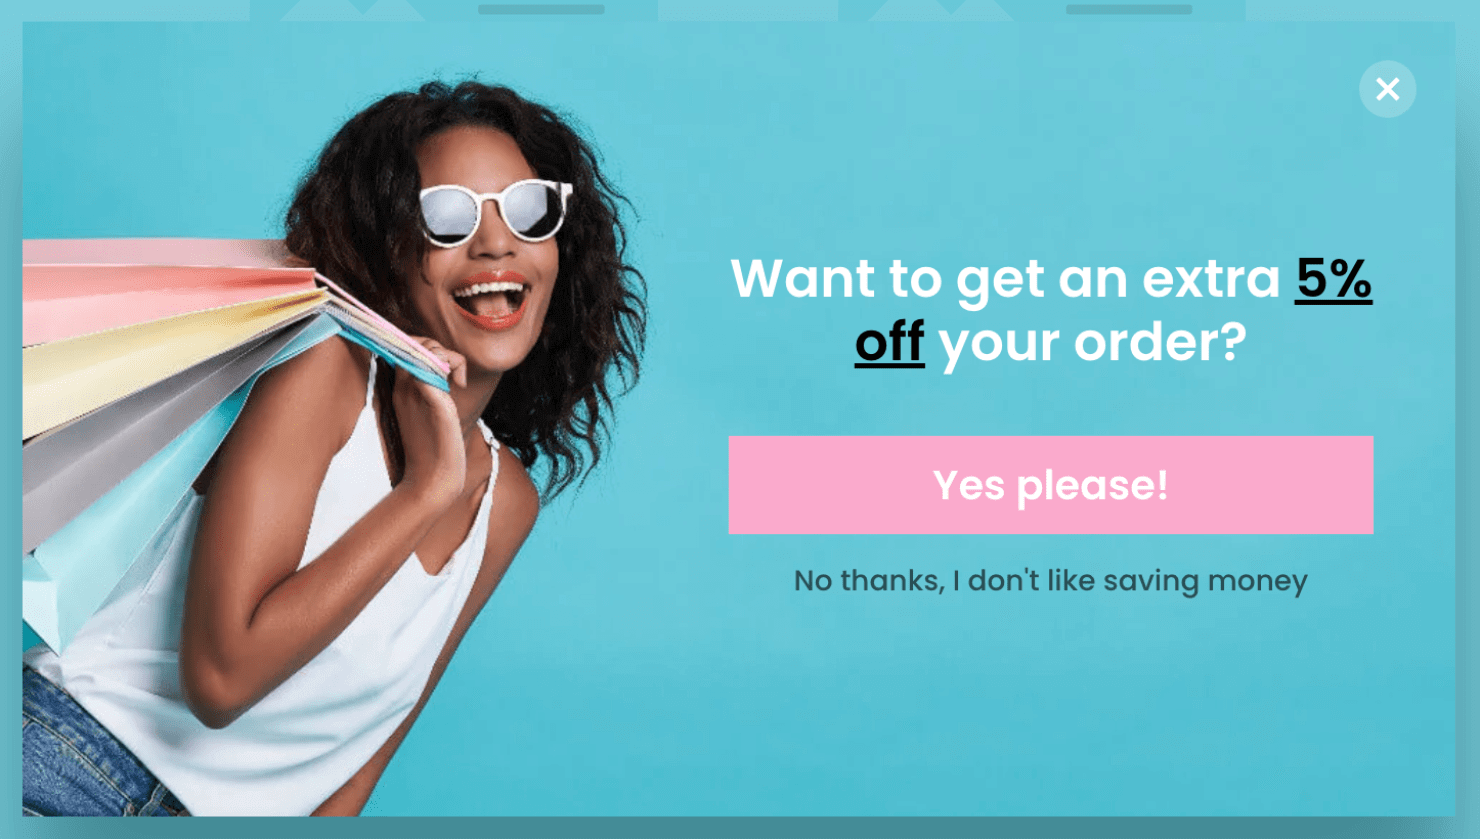
You have likely seen such popups before. It’s a lightbox that appears in your browser and darkens the content behind it. Here’s an example of how a lightbox modal popup looks like:
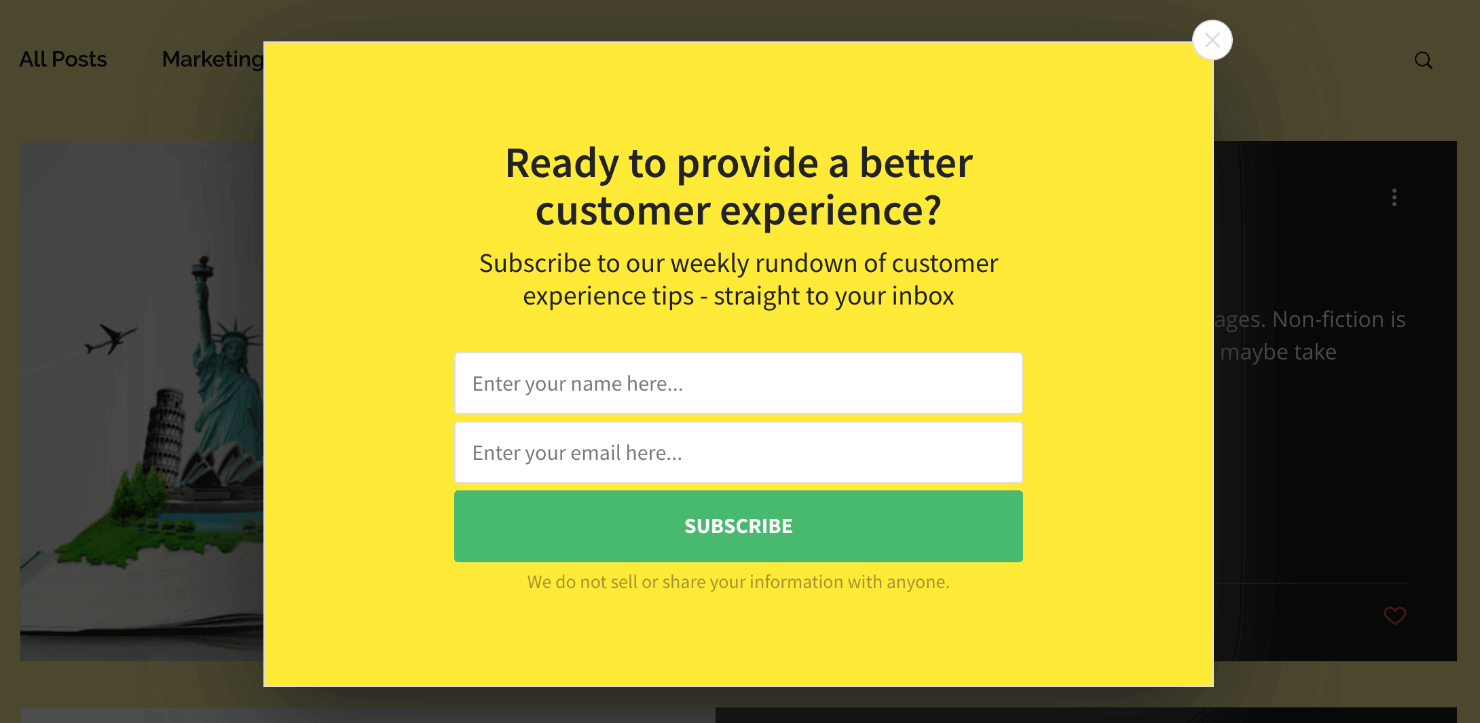
On your WooCommerce website, you can customize the popup’s targeting to appear only on the checkout page.
The goal of such a popup is to grab your customers’ attention and convince them to complete the purchase.
Checkout page popups work because they respond to the most common reasons people abandon their WooCommerce carts.
In other words, they get to the heart of why your WooCommerce store is leaking sales.
More often than not, customers abandon their shopping carts when:
- A product’s cost is too high.
- They aren’t ready to buy.
- Their purchase doesn’t qualify for free shipping.
If you are looking for a quick and easy way to address these concerns, you need to create and customize the right kind of popup for your WooCommerce checkout process.
Today, I’ll show you how to build a WooCommerce checkout page popup like this within just 5 minutes:
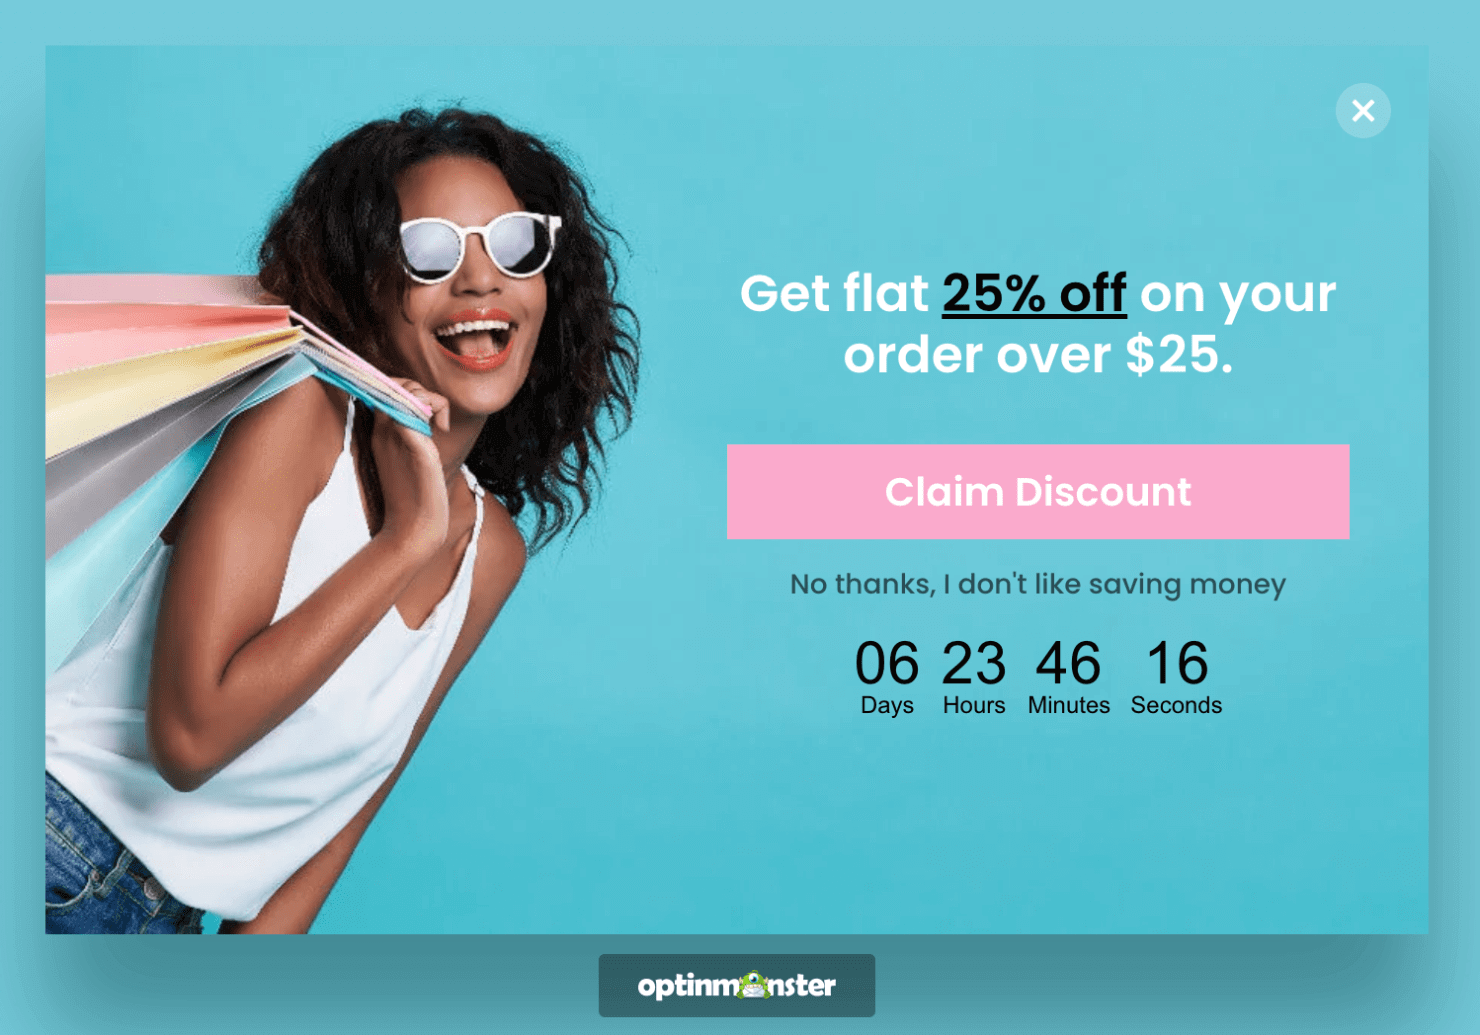
Ready? Let’s get to it right away!
Related Content: How to Create a Popup Form With CSS and JavaScript
How To Create and Customize a WooCommerce Checkout Page Popup
The easiest way to add a popup to your default WooCommerce checkout page is with OptinMonster:
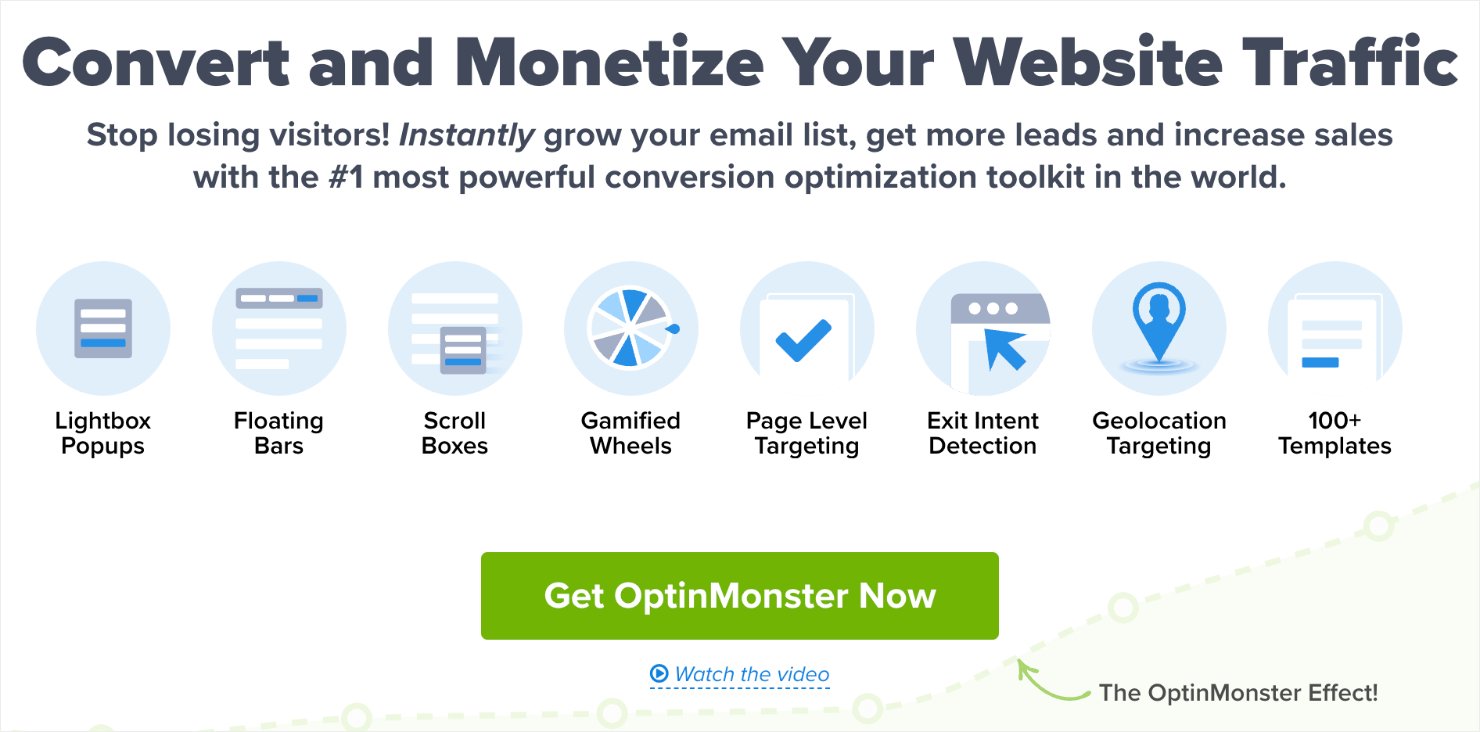
OptinMonster allows you to create a WooCommerce checkout page popup using a drag-and-drop builder. OptinMonster also comes with 100+ ready-to-use templates that you can use to:
- Increase sales with limited offer discounts.
- Boost cross-sells with relevant product recommendations.
- Grow your email list to let your customers know about promotions.
Plus, it has advanced targeting features just for WooCommerce sites. These targeting rules let you control when and where a popup appears on your website, and who can see it.
In OptinMonster, you’ll find these targeting functionalities under the Display Rules settings. They let you show your popups based on various triggers and user behavior such as:
- The product your customer is viewing.
- The total order value in the cart.
- The number of items in the cart.
And more.

Scott Wyden Imagery used OptinMonster’s targeting features to recover 21% of abandoned carts and grew his email list by 3x:
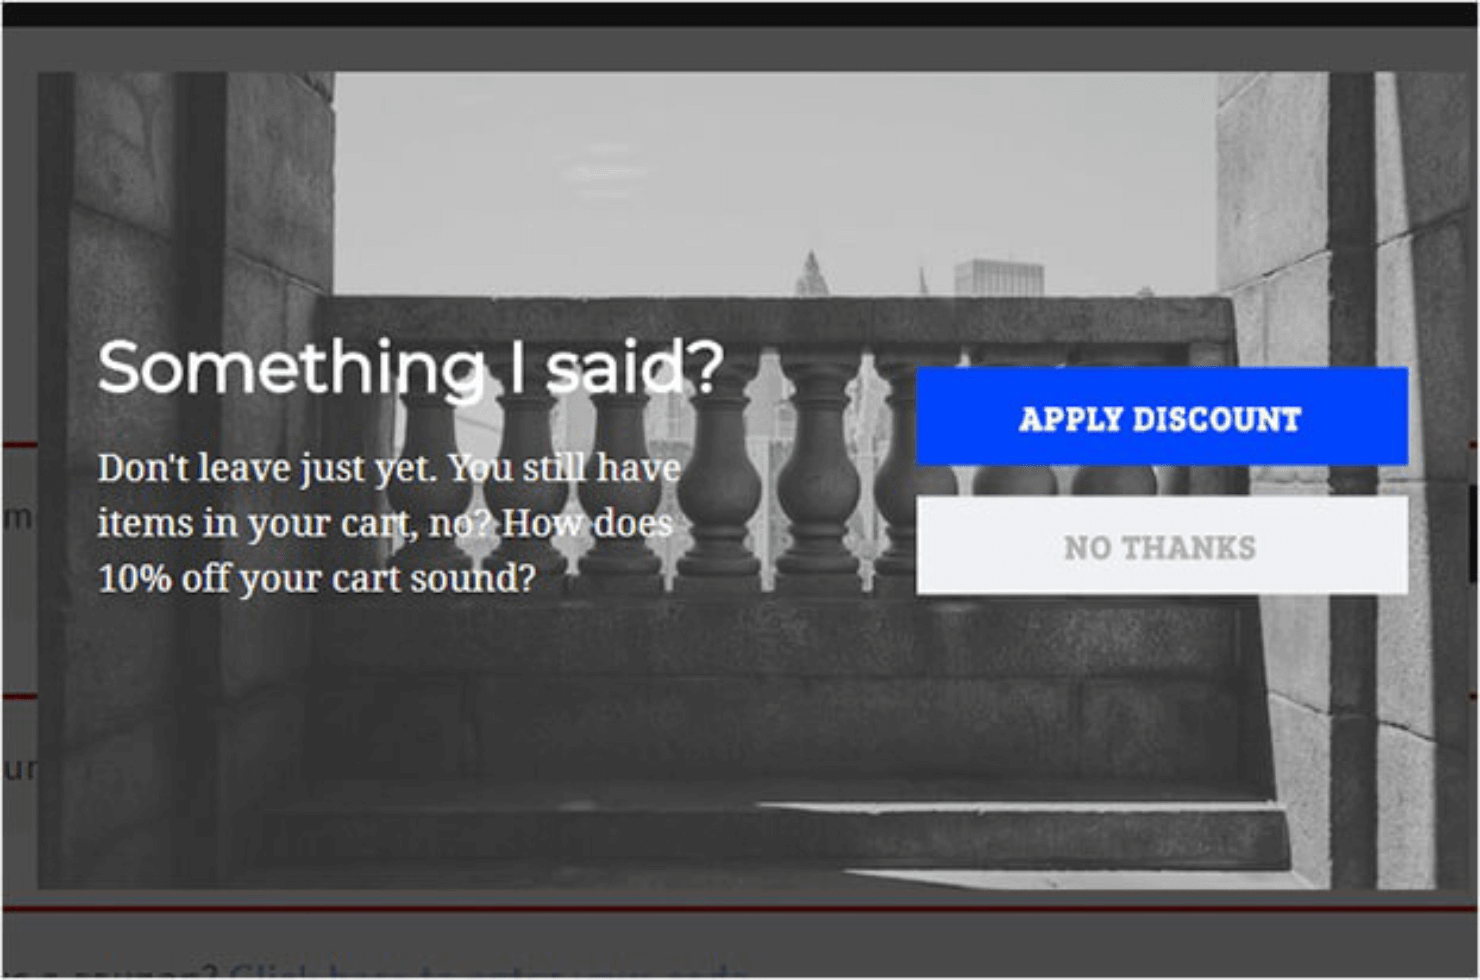
Do you want the same results for your WooCommerce store?
Sign up for OptinMonster below. It’s 100% risk-free with our 14-day money-back guarantee.
Get Started With a WooCommerce Popup Today!
Next, let’s go through the step-by-step tutorial for creating and customizing a popup for the WooCommerce checkout page.
- Step 1: Create Your Campaign
- Step 2: Customize Your WooCommerce Checkout Popup
- Step 3: Set the Display Rules
- Step 4: Integrate With an Email Service Provider
- Step 5: Save and Publish Your Campaign
Step 1: Create Your Campaign
First, you need to log in to your OptinMonster account. Once you are in, click on Create New Campaign from your dashboard:

The next step is to choose your campaign type.
OptinMonster comes with multiple campaign options, such as:
And more.
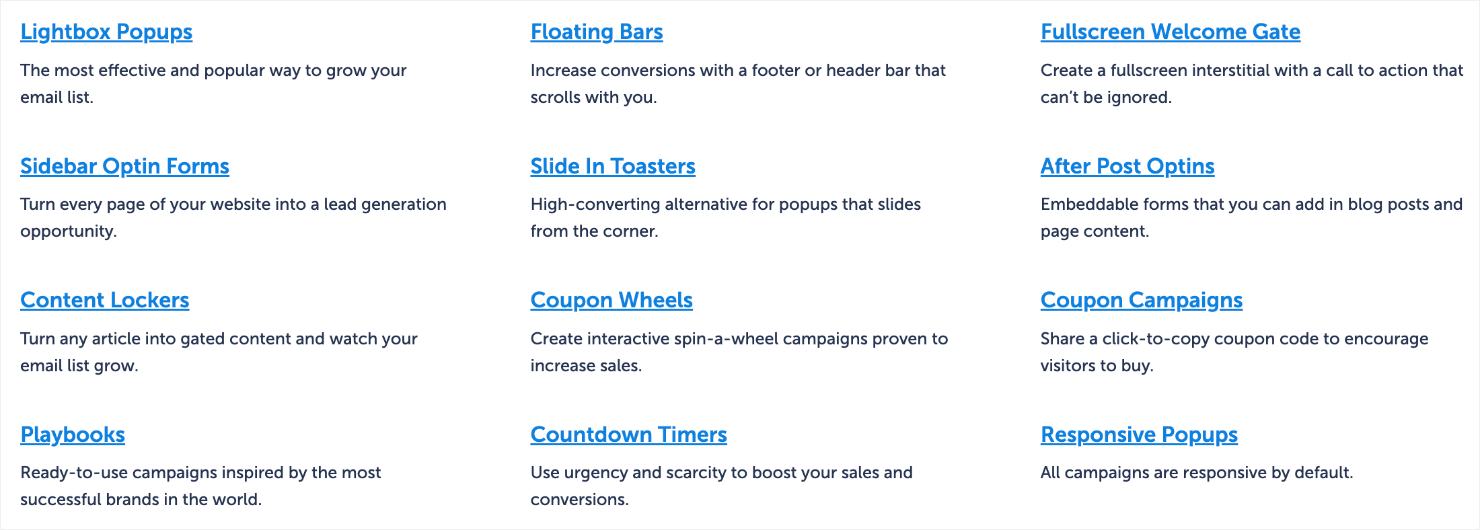
For this tutorial, I’ll go with Popup:

Next, you’ll need to select the campaign template.
OptinMonster has 100+ ready-to-use templates that work across all devices.
If you are confused, you can filter by eCommerce templates only. Just enter ‘eCommerce’ in the search box to add new templates that match your needs.
I’ll choose the Get a Discount Code template:
In the next screen, give your campaign a name and assign it to one of your websites:
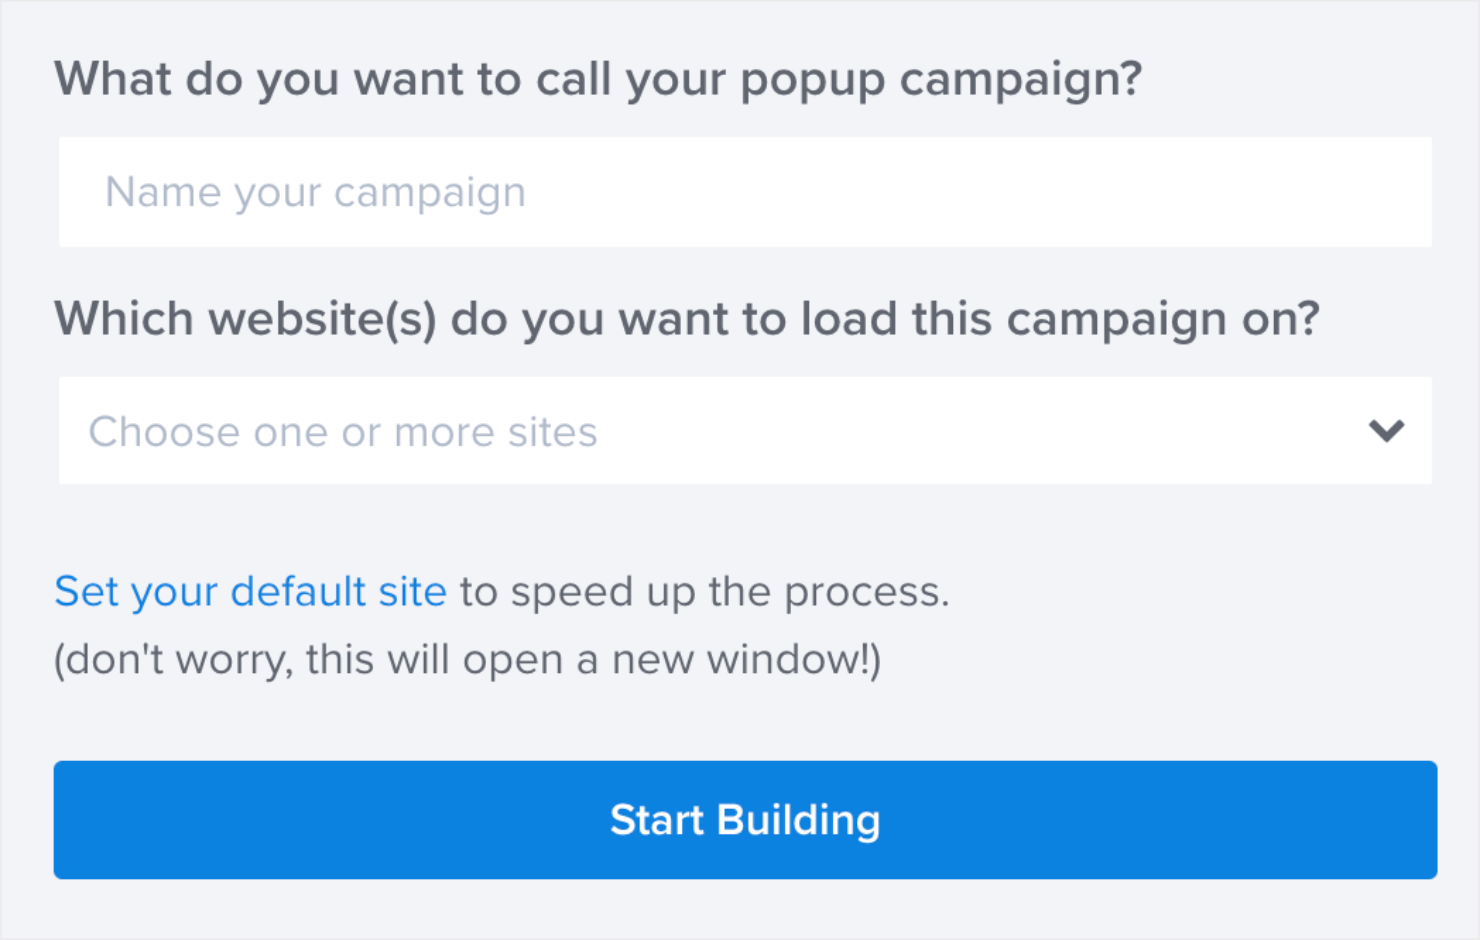
Once you’re done, click on Start Building. With this, you are now ready to customize your popup.
Step 2: Customize Your WooCommerce Checkout Popup
Editing your WooCommerce checkout page popup is really easy, thanks to OptinMonster’s drag-and-drop builder.
Simply click on any part of your popup to change it.
For instance, you can click on the header to change the text directly in the editor:

You can also change the fonts, background colors, and buttons.
To add your own image, just click on the image. You’ll see editing options on the left side of the screen that you can use to change or delete the image:
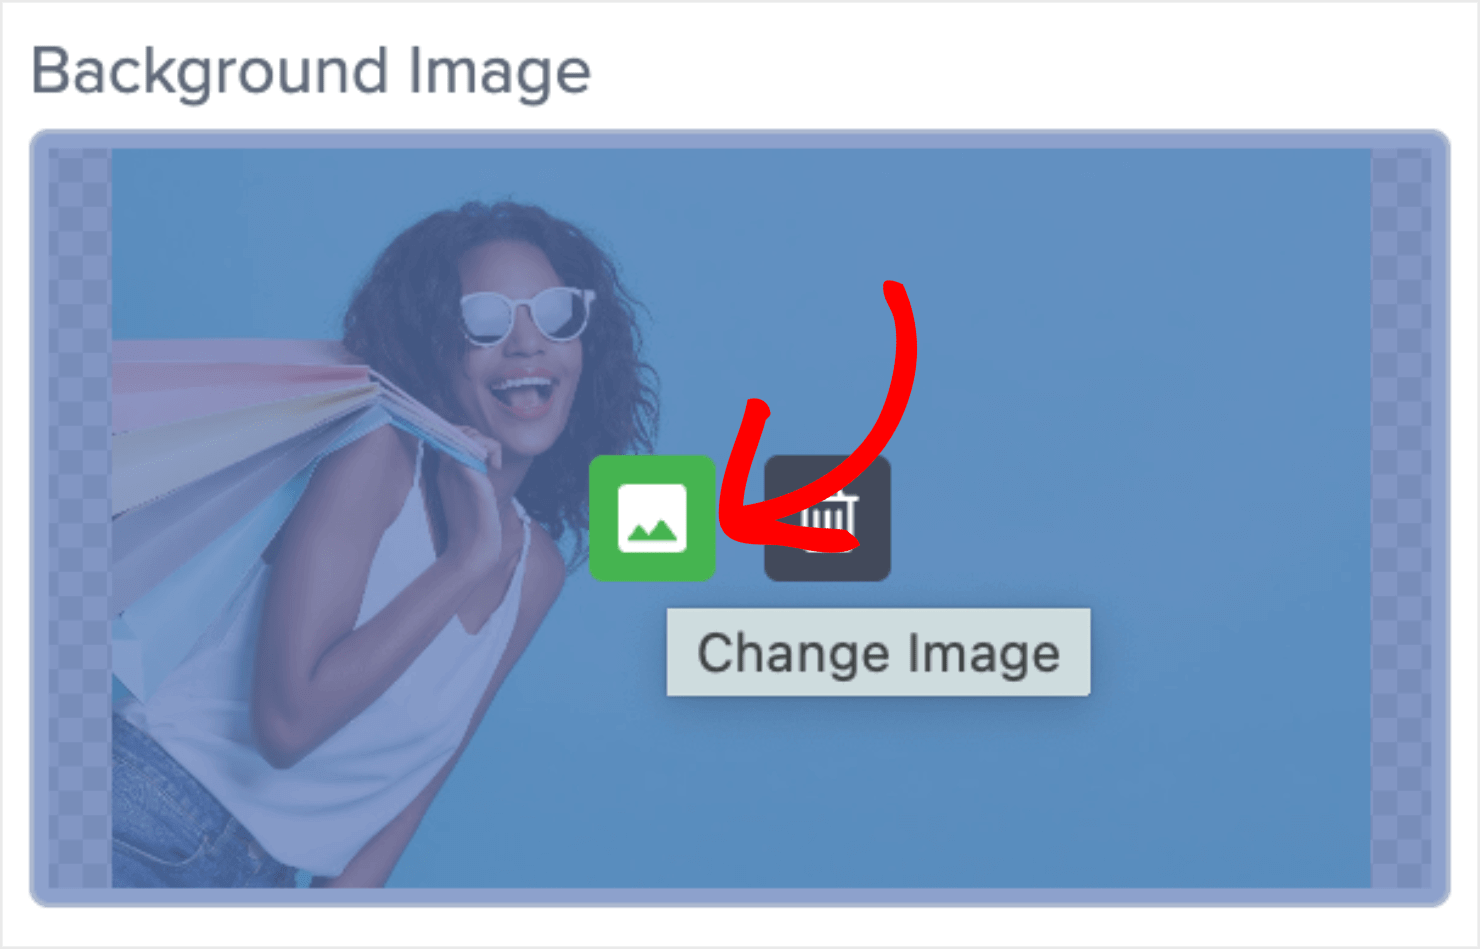
I’ll leave the image as it is since it’s perfect for this tutorial.
You can also add things like countdown timers and video clips to your WooCommerce popup.
To do that, click on the home icon on the top-left of the screen:

From the Blocks menu, drag and drop the block element you want to your campaign editor:
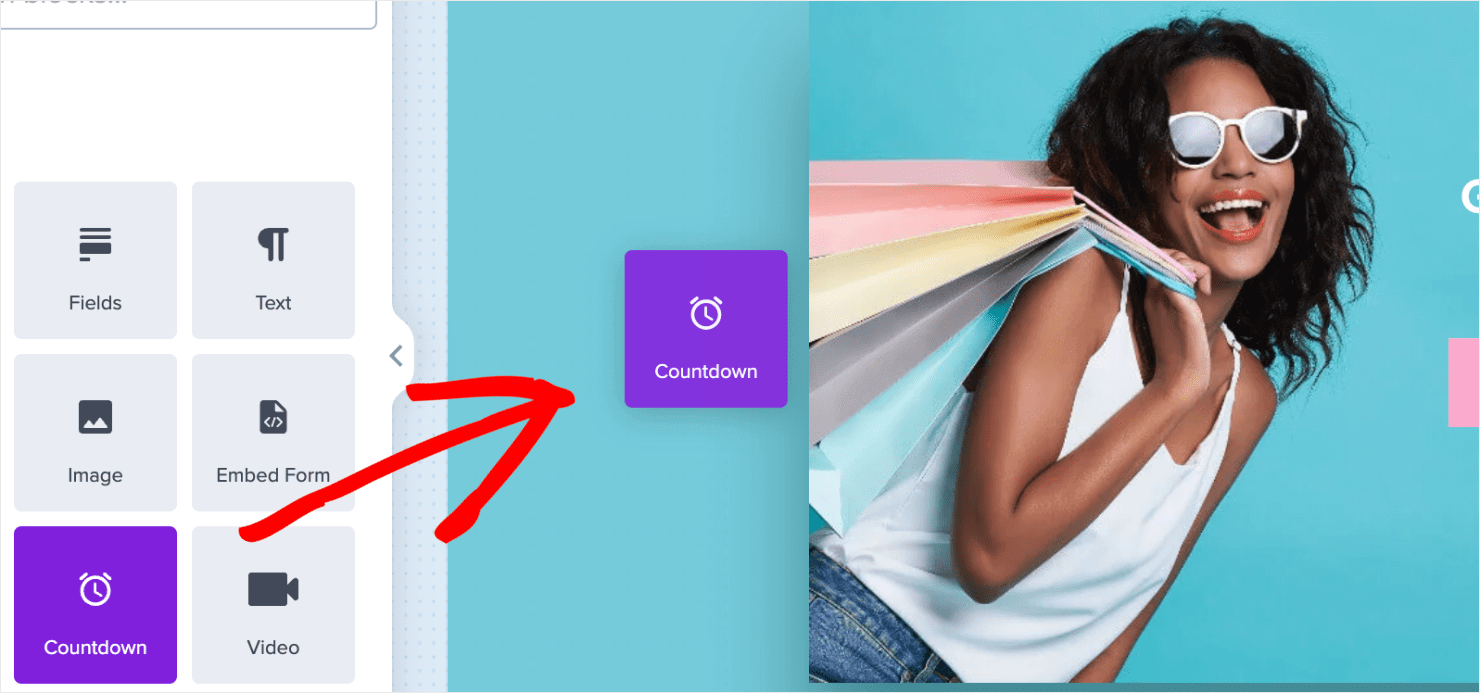
Depending on your campaign’s need, you can add a wide range of elements to your campaigns, such as:
- Button
- ChatBot
- Embedded forms
- Form fields
- Divider
- Text
- HTML elements
And a lot more.
Here’s how my WooCommerce page popup looks after I made a few changes to it:

Next, I’ll show you how to set the display rules for the campaign so that you can control when and where the popup appears on your website.
Step 3: Set the Display Rules
In addition to OptinMonster’s special WooCommerce targeting rules, you can also show popups based on:
- Visitor’s physical location.
- Time spent on space.
- Number of page views.
Today, we’ll look at 2 of OptinMonster’s display rules that are most common with online stores:
Exit Intent®
Exit intent popups appear when buyers on your website are about to leave your WooCommerce site.
OptinMonster’s Exit-Intent® Technology can detect when the site visitors move their mouse cursors to the top of the browser window to close the tab or switch to another tab:
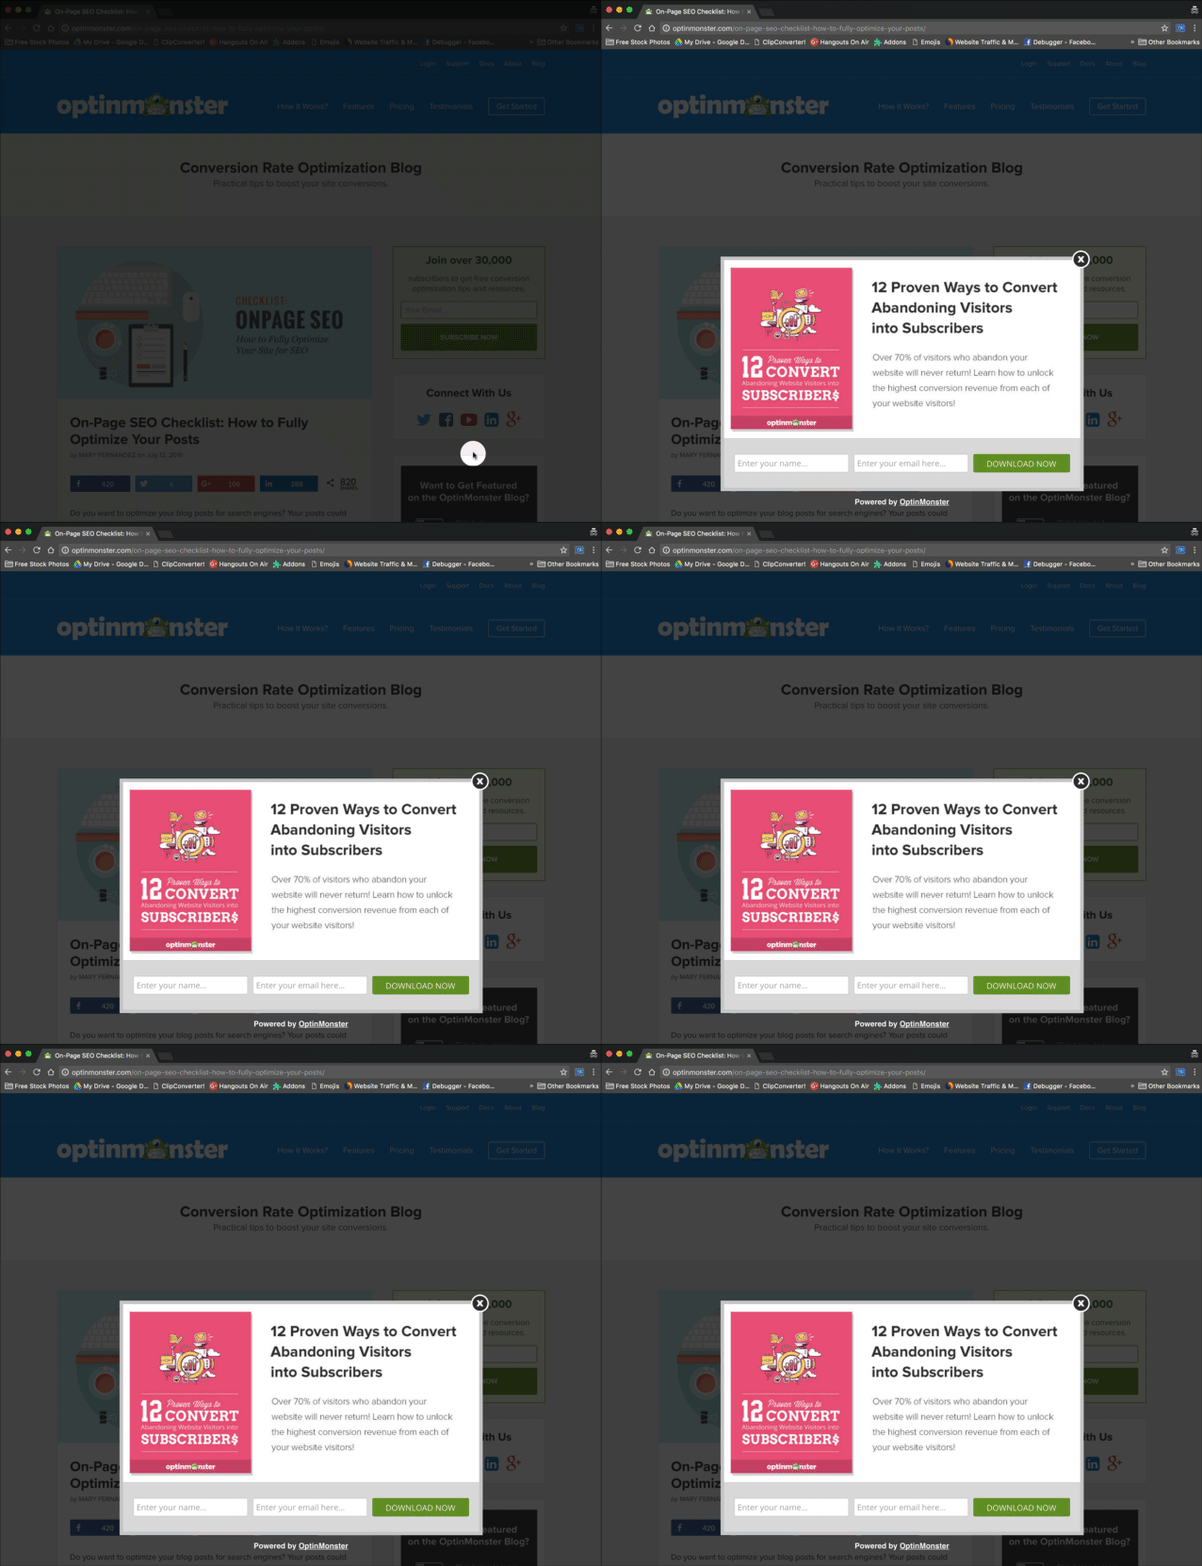
Showing an exit intent popup with a targeted offer can encourage your shopper to complete their purchase.
It helped Shockbyte more than double its sales conversion rate with popups like this:
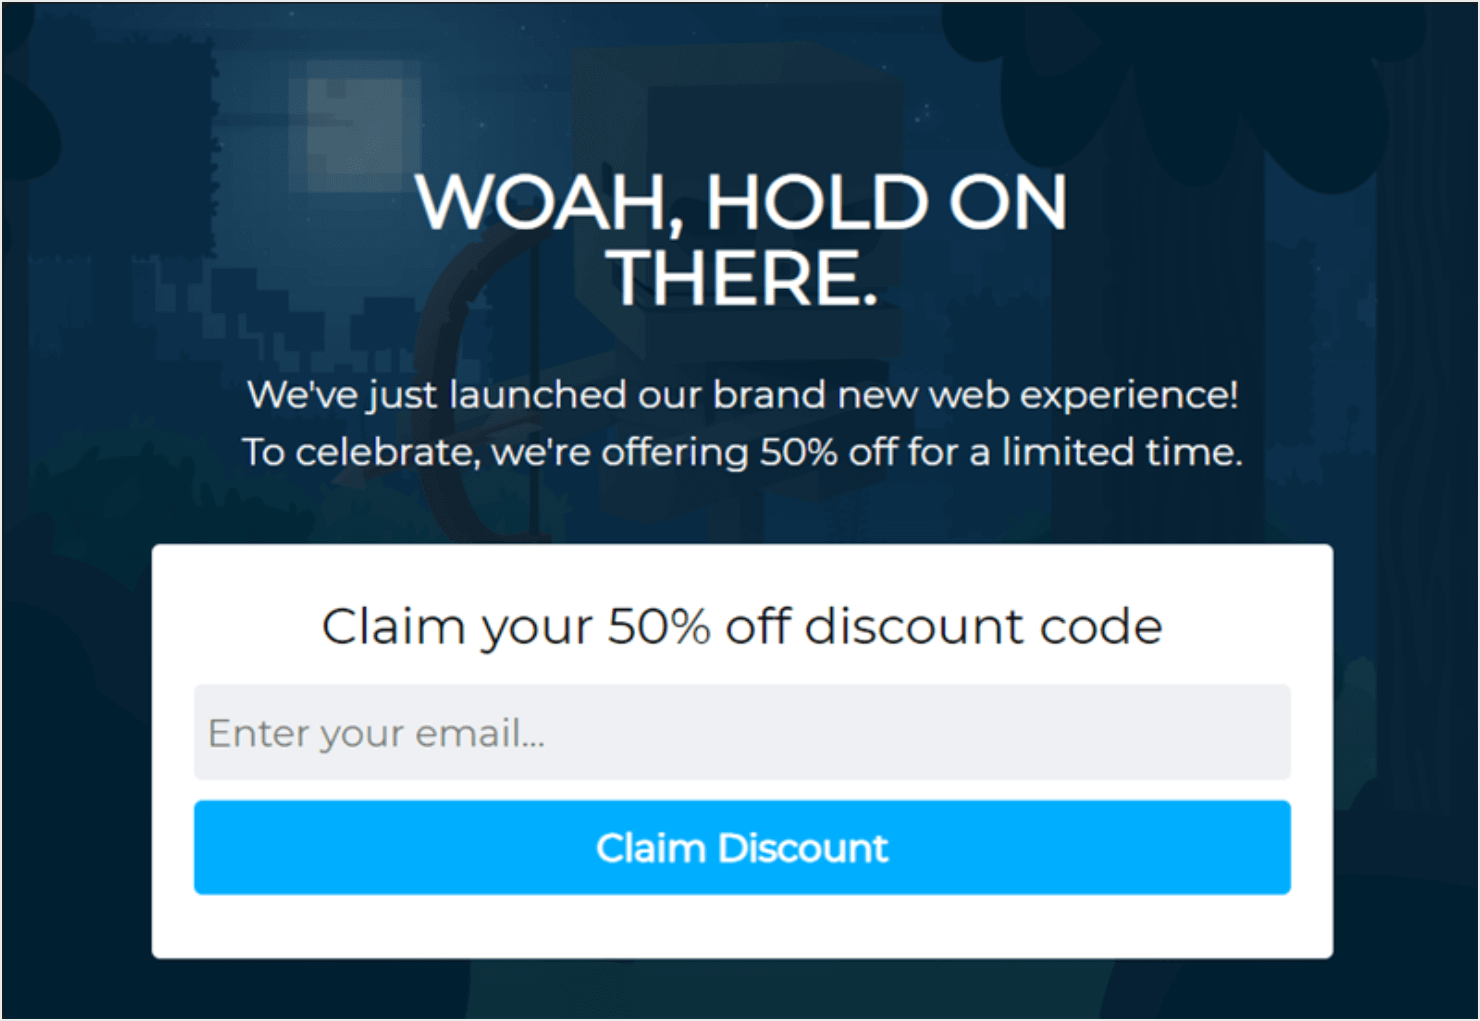
To apply the exit intent targeting rule to your popup, go to the Display Rules tab:

Click on the time on page rule that appears there by default. Select Where from the dropdown and click on the Page Targeting option:

Select the current URL path as contains:

In the 3rd box, enter the URL slug of your WooCommerce website’s checkout page.
For instance, if your WooCommerce checkout page contains the slug ‘www.mywebsite.com/jeans/checkout,’ you’ll need to enter ‘checkout’ as the operator in the box:

Once that’s set, go to the next rule right below the first. Select When from the dropdown. Choose Exit Intent® from the options on the right:

Next, choose the device if you want to enable this rule only on desktop, mobile, or both. You can also choose the Exit-Intent® sensitivity as low, medium, or high:

And that’s it! Your popup will now appear to people when they try to exit the WooCommerce checkout page.
For more exit popup tips, check out this article: 40 Exit Popup Hacks That Will Grow Your Subscribers and Revenue
InactivitySensor™
Let’s face it, several customers start having second thoughts about buying after landing on your checkout page.
Using InactivitySensor™, you can trigger a targeted sales popup to encourage such ‘fence-sitters’ to complete their checkout.
OptinMonster’s InactivitySensor™ detects the lack of activity and triggers a popup.
Skates.co.uk used this InactivitySensor™ popup to convert abandoning visitors into paying customers:
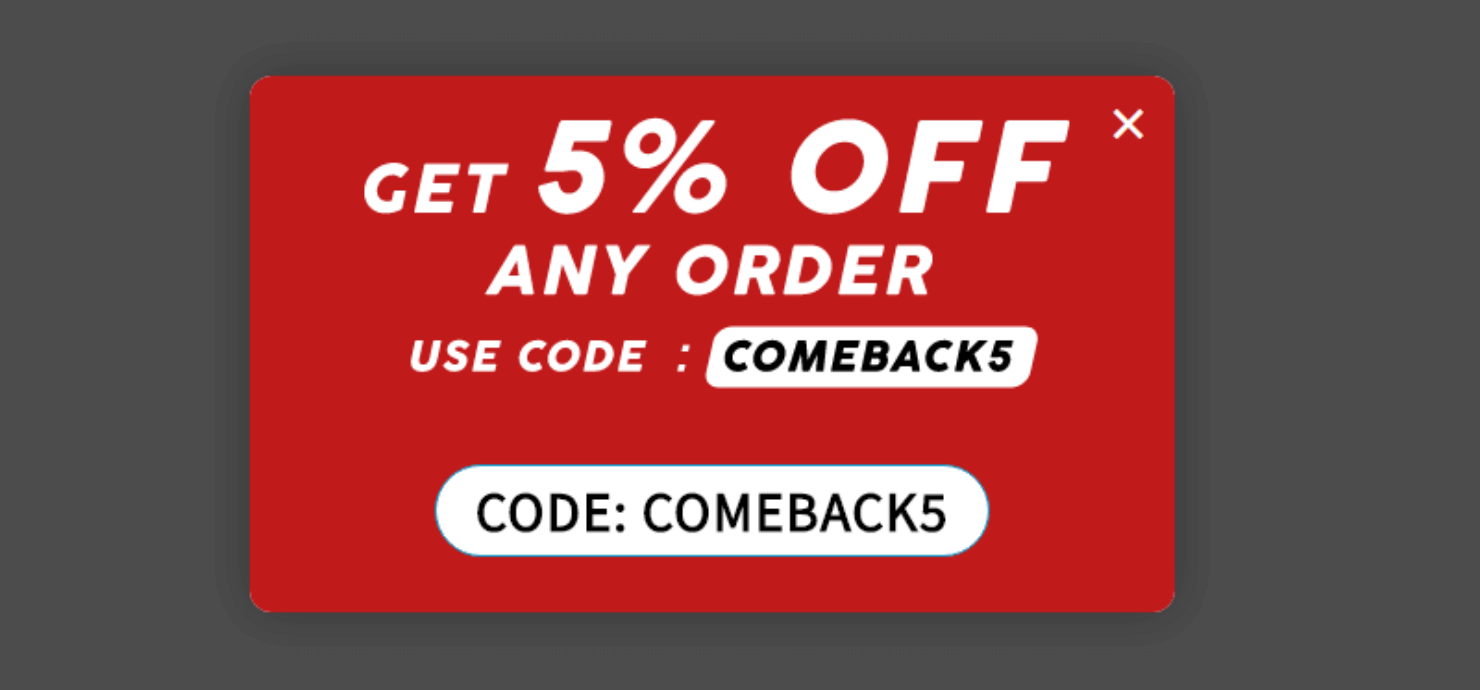
For your WooCommerce store, you can trigger a similar popup offering them a special coupon code or extend live chat help to complete the transaction.
To apply the InactivitySensorTM on your popup, go to the Display Rules tab:

Click on When from the dropdown and select InactivitySensor™ (Seconds of Inactivity):

By default, the popup is set to trigger if a visitor is inactive on your product page or during the checkout flow for at least 60 seconds:

I’ll change that time to 30 seconds to make matters more urgent:

Next, I’ll show you how to connect the campaign to your email service provider (ESP) so that you can manage your leads in one place.
Step 4: Integrate With an Email Service Provider
OptinMonster has over 30 native integrations with the most popular ESPs on the market. This makes it incredibly easy to grow your email list.
When you connect OptinMonster with your ESP, the email addresses you collect from the campaigns are automatically added to your list.
You can also segment your new leads directly from your OptinMonster account to offer a personalized customer experience.
To make this happen, go to the Integrations at the top of your dashboard:

Type in the email marketing software you want in the search box:
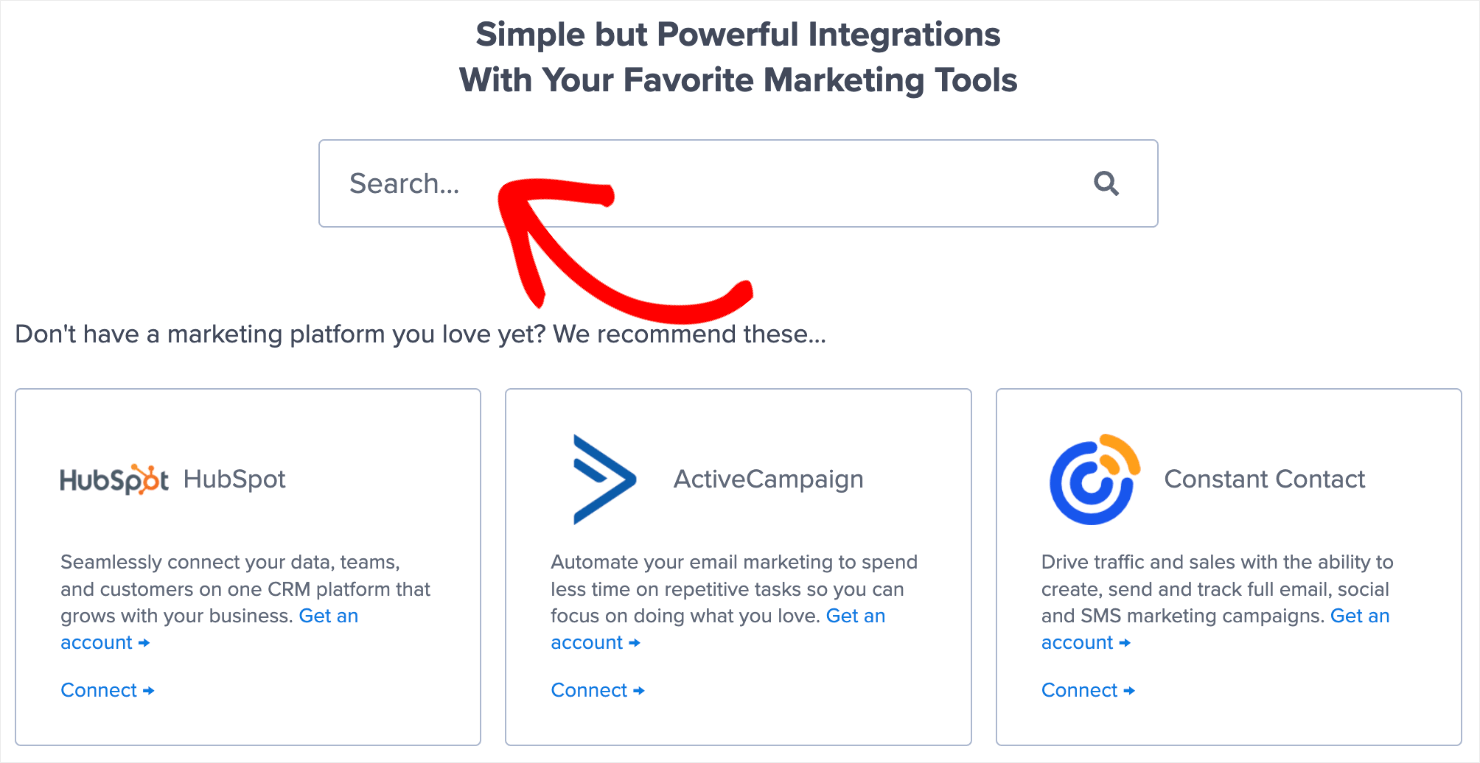
For this tutorial, I’ll choose Constant Contact since that’s what I use for my website:
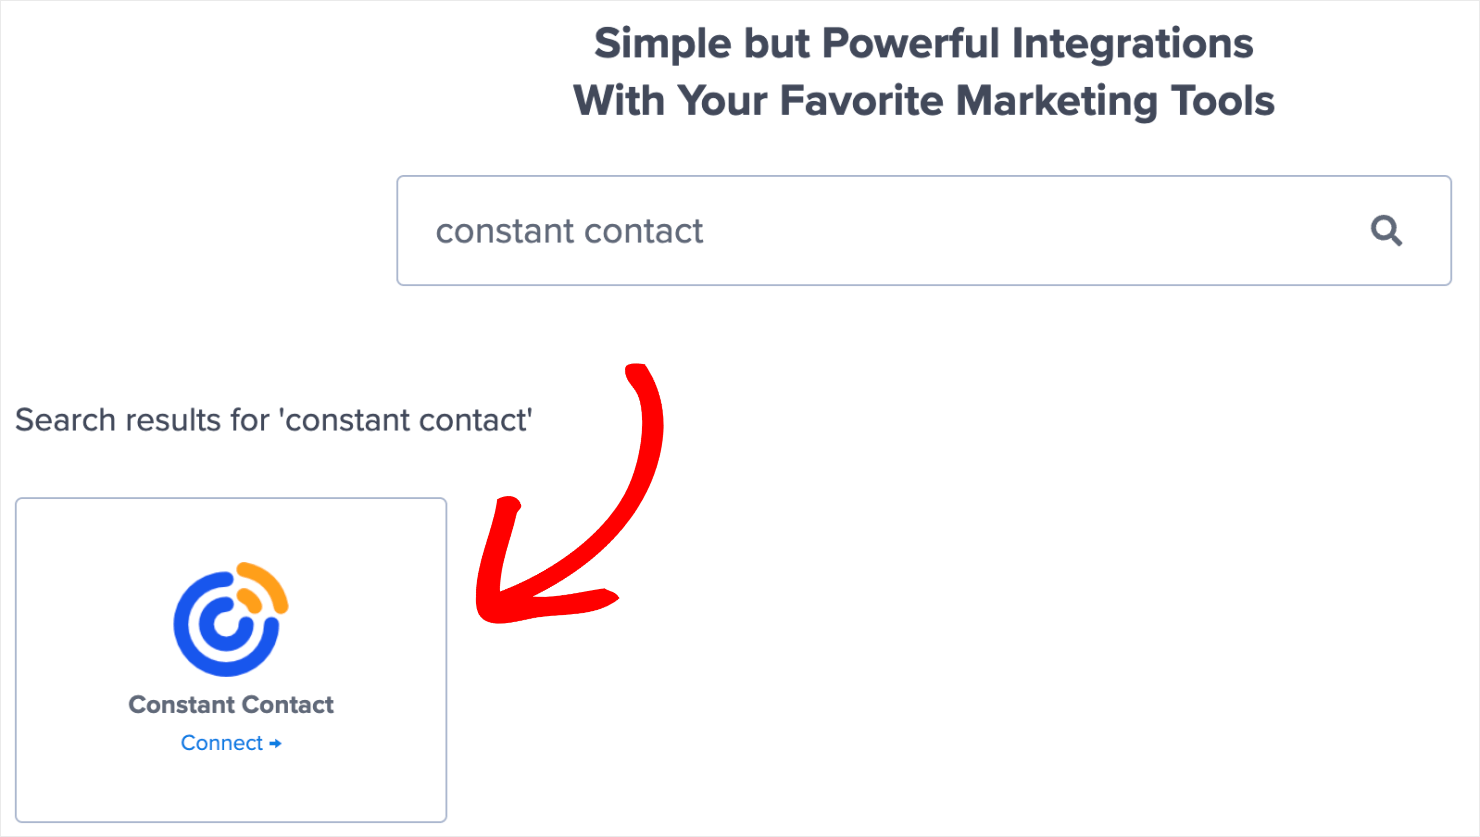
From there, the exact steps to connect OptinMonster with your ESP depend on which email marketing automation software you are using. For the most part, it involves copy-pasting your email account’s API key.
For more specific instructions, read our detailed guide on how to connect your email service provider with OptinMonster.
Pro-tip: Don’t see your ESP listed? You can get started with Monster Leads.
Monster Leads is OptinMonster’s internal lead storage tool. It lets you store your lead data, export it, and send individual emails from your existing email client.
Step 5: Save and Publish Your Campaign
The final step is to publish your WooCommerce checkout page popup.
First, go to the top-right of the page and click on the Save button. This will help you save changes you have made so far in your campaign:

Click on the Publish tab at the top of your editor:

Change the status to Publish:

And that’s it! There’s just one small thing left for you to do.
You’ll need to configure the WooCommerce settings to make sure the OptinMonster campaign appears on your website.
First, you’ll have to make sure your OptinMonster and WooCommerce plugins are installed on your website.
Here’s a simple guide for you to learn How To Install a WordPress Plugin (Step-by-Step Tutorial for Beginners).
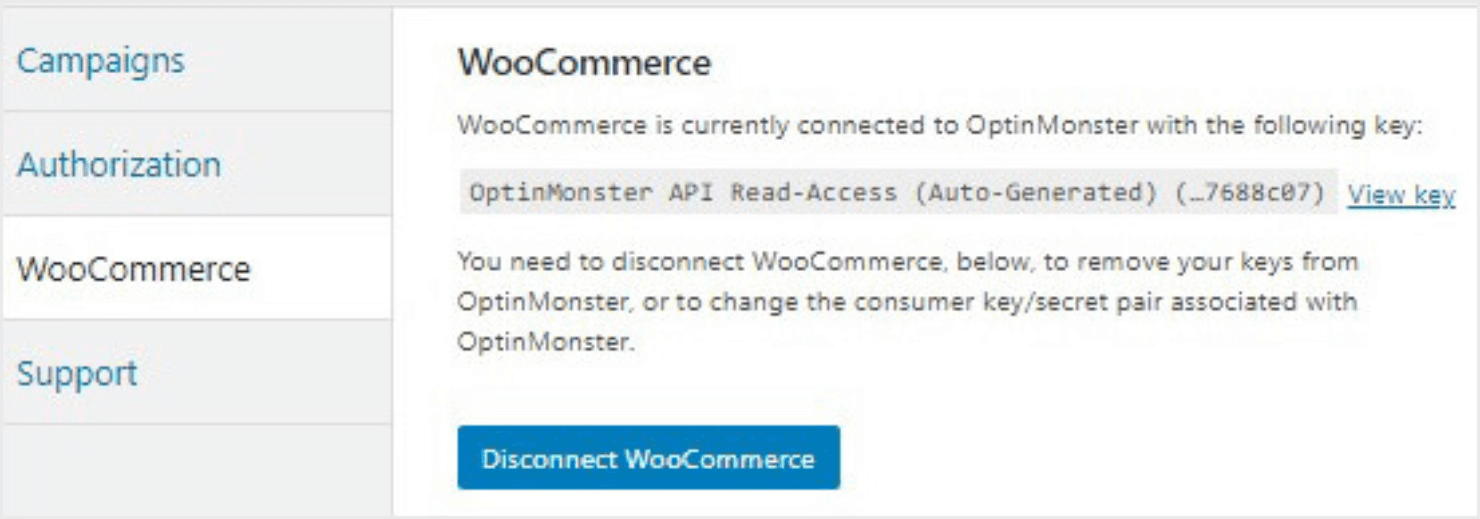
After you have activated both addons, you’ll need to connect OptinMonster with your WooCommerce store.
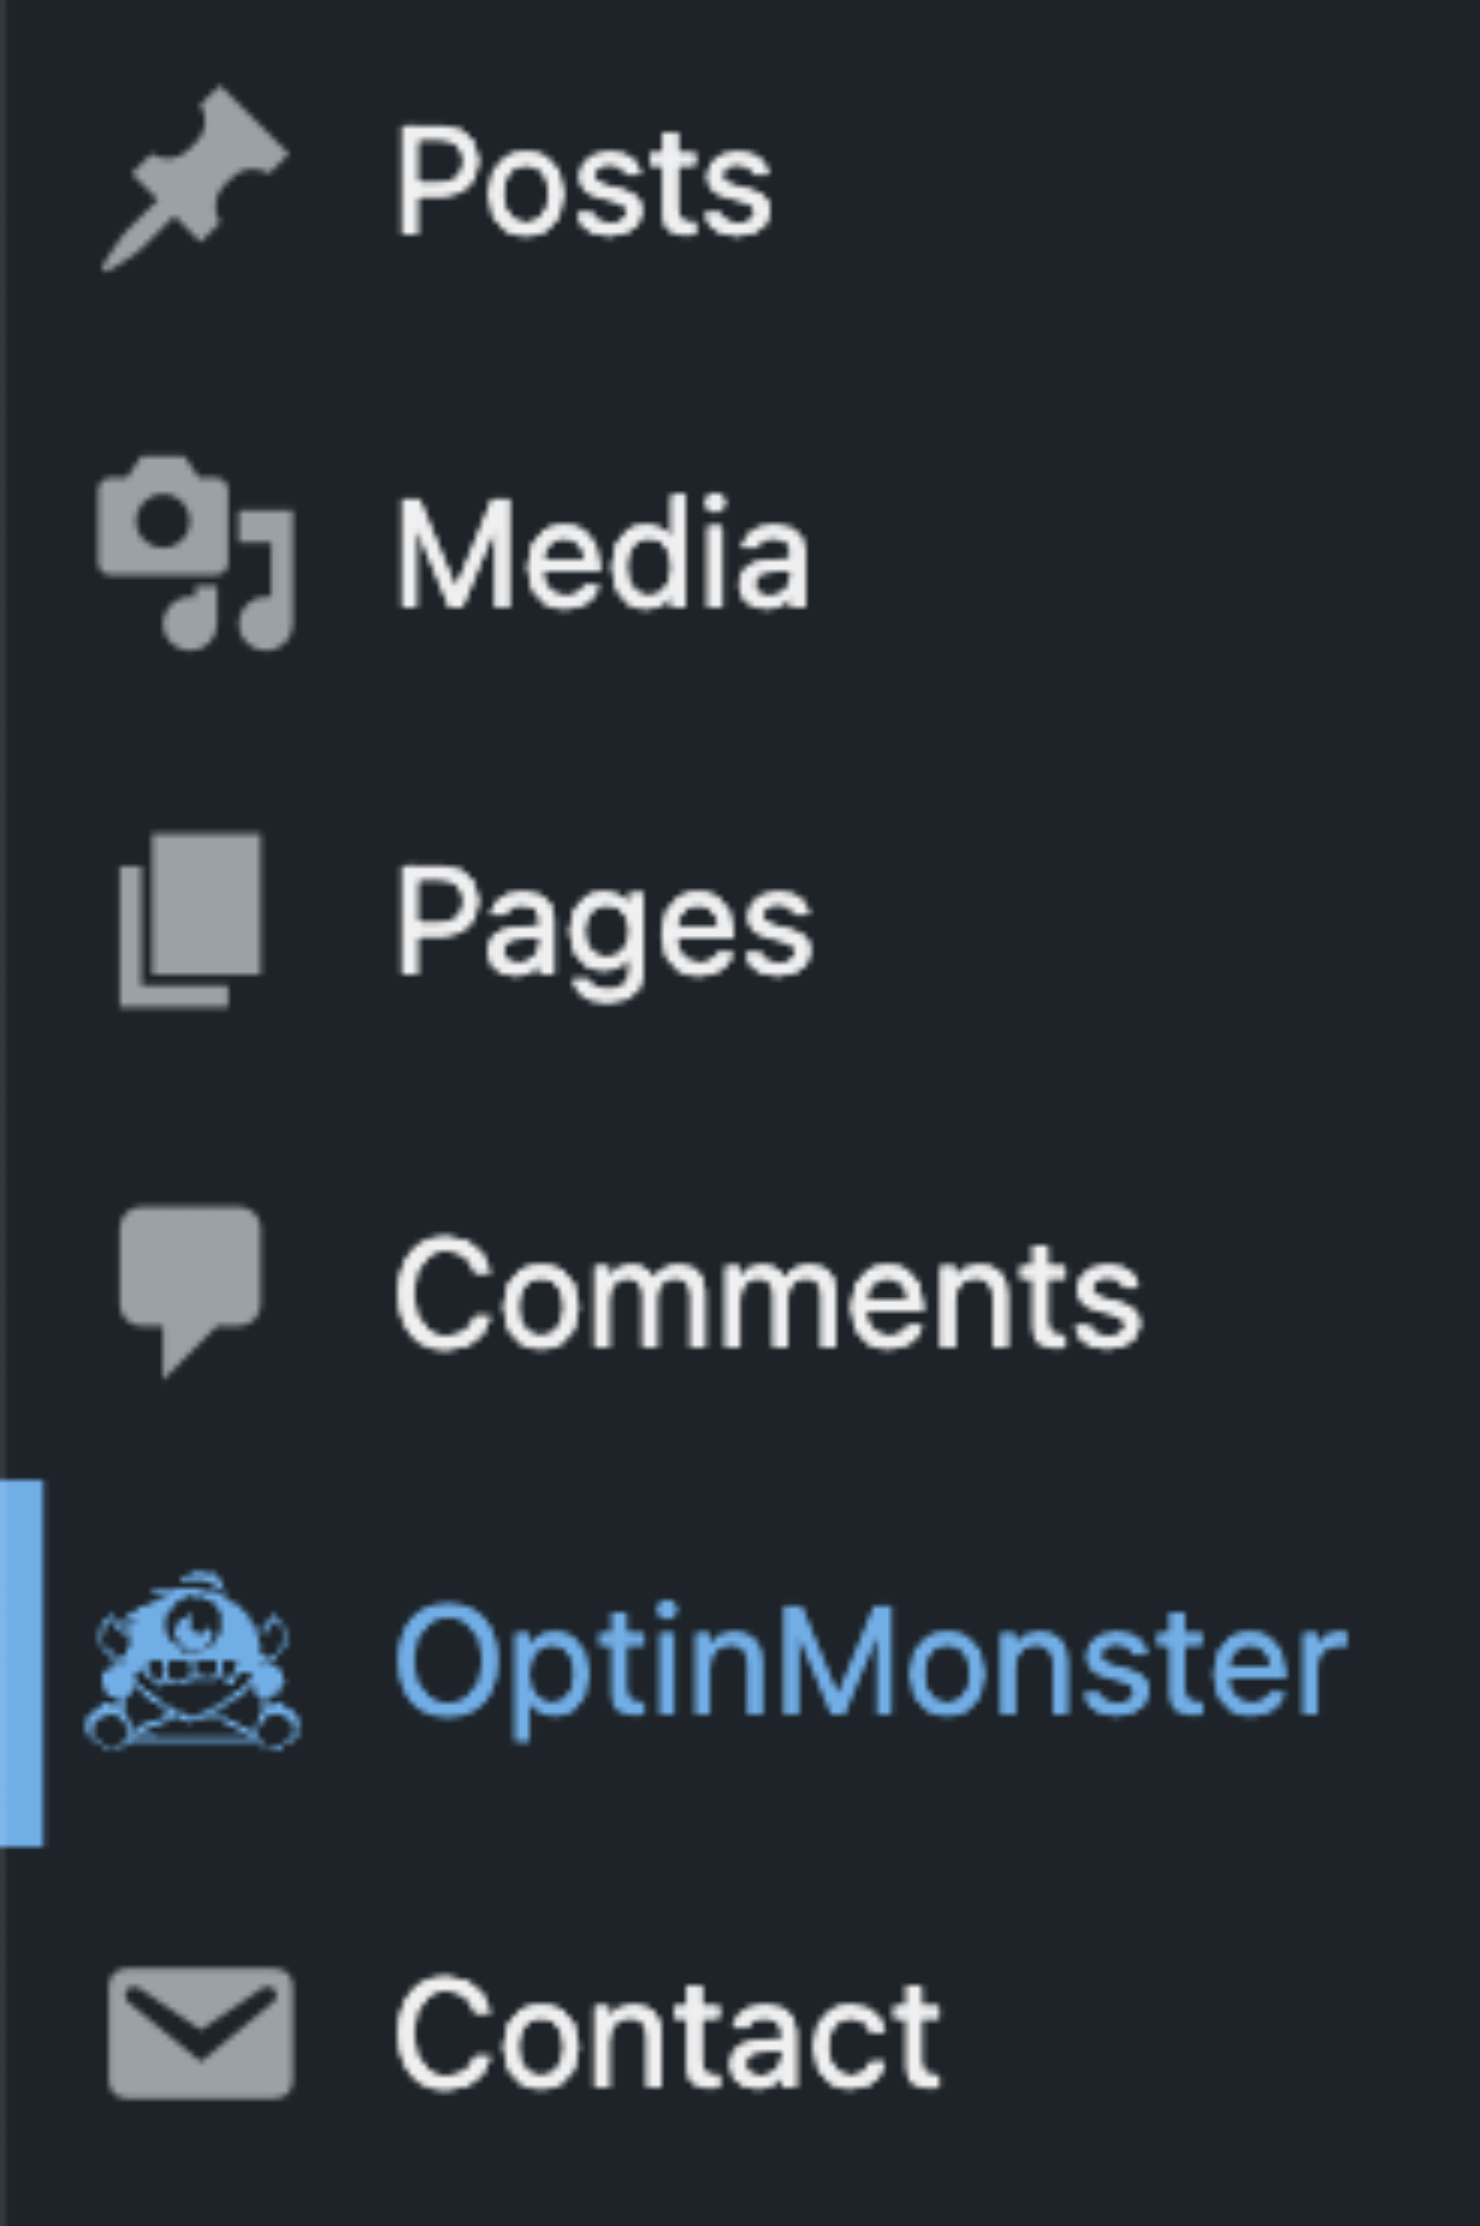
Head over to your WordPress site dashboard and select OptinMonster:
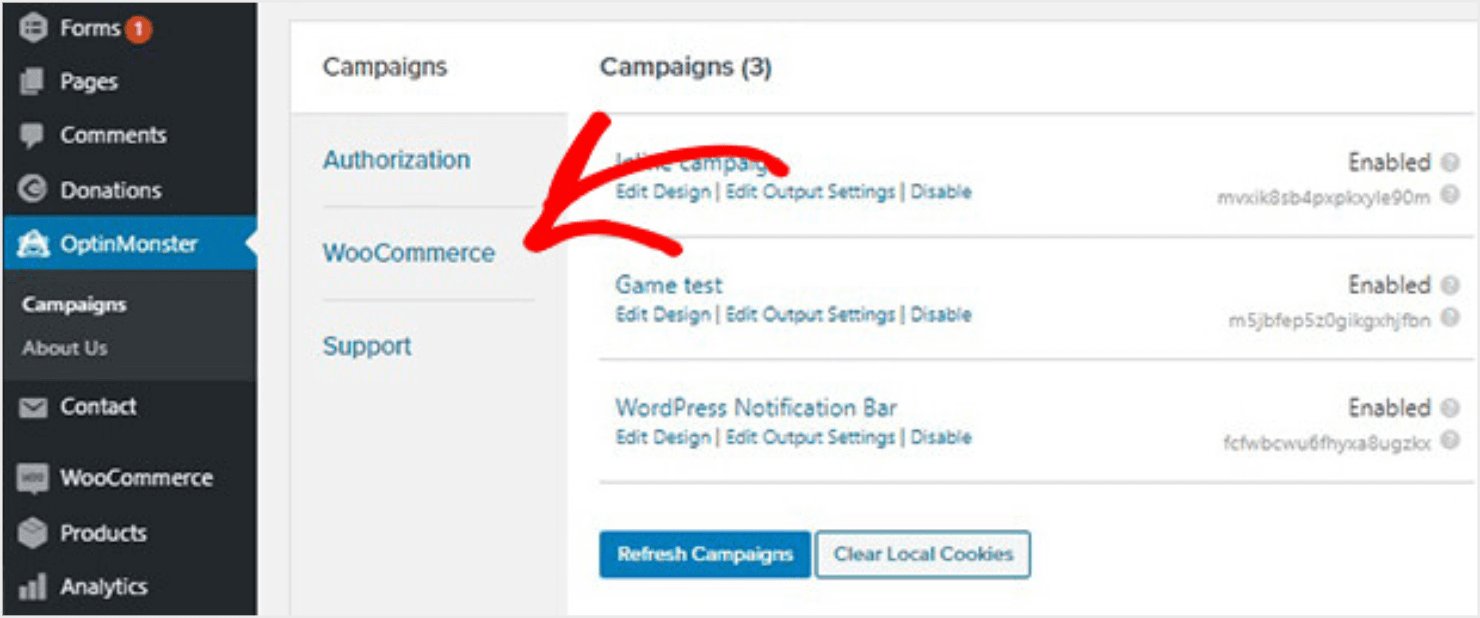
Click on WooCommerce from the OptinMonster dashboard:
Click on the Auto-Generate Keys + Connect WooCommerce button:

Your WooCommerce site will now be connected with OptinMonster:
Your Checkout Page Popup Is Live
That’s it. Now your popup will appear to your shoppers on your checkout page.
OptinMonster is the best tool for creating a stunning WooCommerce checkout popup. Build an eye-catching popup using OptinMonster’s special eCommerce templates. Make sure it matches your site using the visual drag-and-drop builder.
Get Started With a WooCommerce Popup Today!
If you enjoyed this article, you might find these eCommerce articles helpful:
- eCommerce Store Optimization Guide: 13 Steps to Instantly Boost Revenue
- 11 eCommerce Popup Examples That Actually Convert
- How To Recover Abandoned Carts: 12 Ways To Skyrocket Sales
- How To Add a Buy Now Pay Later Payment Method in WordPress
- What Is the Difference Between Upsell vs Cross Sell?
- Best WordPress Page Builders: Drag and Drop Your Way to a Stunning Website
Ready to boost sales with a WooCommerce popup? Get started with OptinMonster today.



Add a Comment