Fullscreen Welcome Mats help you get visitors’ attention from the moment they land on your site. In this article, we’re going to show you how to create a welcome mat popup that increases conversions (as much as 80%!) with a targeted call to action.
70% of the people who visit your site are going to bounce and never come back. There’s really no better way to grab visitors’ attention than with welcome mat popup that will help them remember you and connect with your brand.
But, it’s important to get it right. You can use welcome mat popups in many ways:
- Display a targeted offer or coupon
- Showcase new products and services
- Win new subscribers by highlighting your best content
- Send visitors to your social media profiles
- Update customers on company policies like changing business hours or new shipping fees
- Grow your email list
In this article, I’ll share some successful welcome mat popup examples, and I’ll share a step-by-step guide to creating your own welcome mat popups.
Start Creating Welcome Mat Popups Today
With OptinMonster, you can have a beautiful, high-converting popup up and running on your site in minutes.
Welcome Mat Popup Examples
Here are some examples of welcome mat popups from OptinMonster customers:
Singularity University

Singularity University picked up more than 2000 new email signups in just 9 days with this optin, converting an outstanding 77% of visitors.
Inbound Marketing Agency
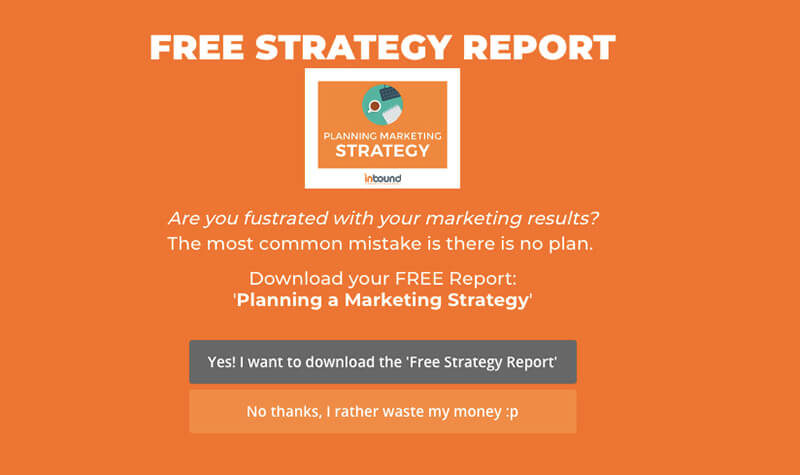
Inbound Marketing Agency shows this welcome mat popup to visitors who’ve been on their site for at least 10 seconds, converting a respectable 5.75% of visitors.
Nature TTL
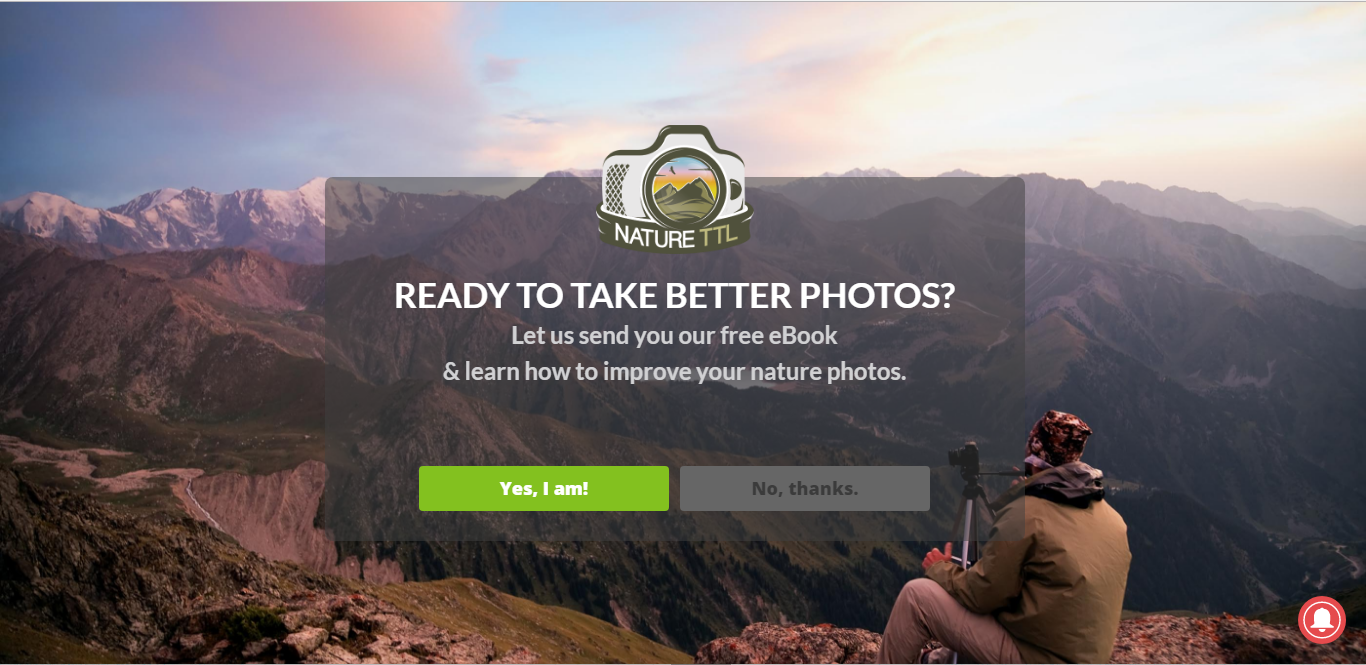
Nature TTL used this welcome mat popup to successfully boost their conversions by 808% and increase newsletter subscribers by more than 400%.
Bulkly
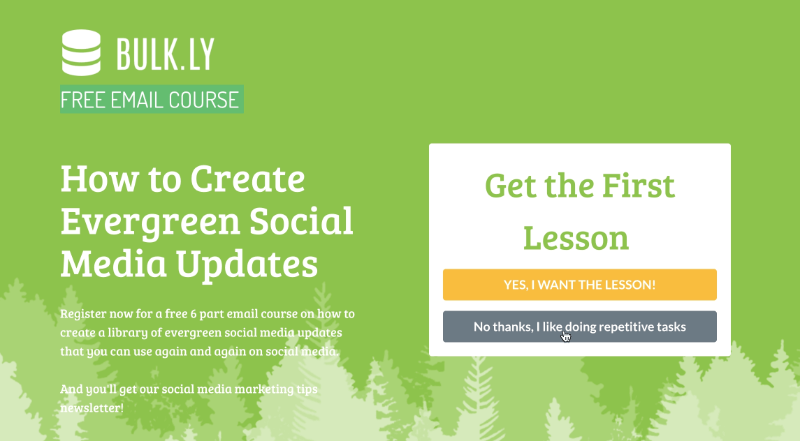
Bulkly used a welcome mat popup set to show up on most of their pages after 7 seconds to successfully convert 4.76% of abandoning visitors.
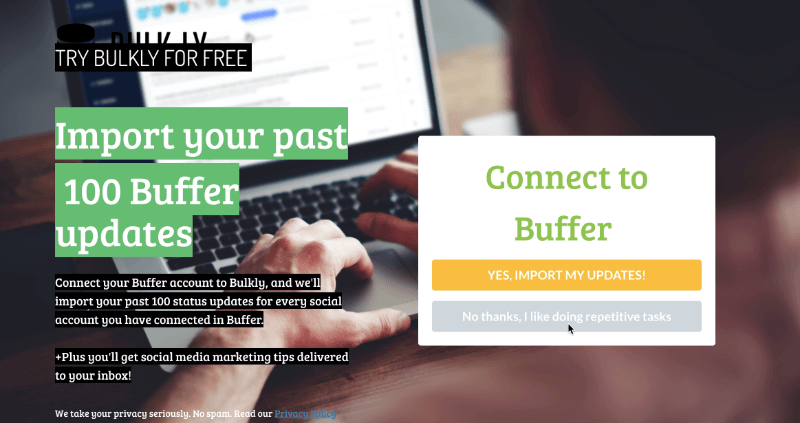
They used another welcome mat popup to more than double their free trial signups!
Cracku
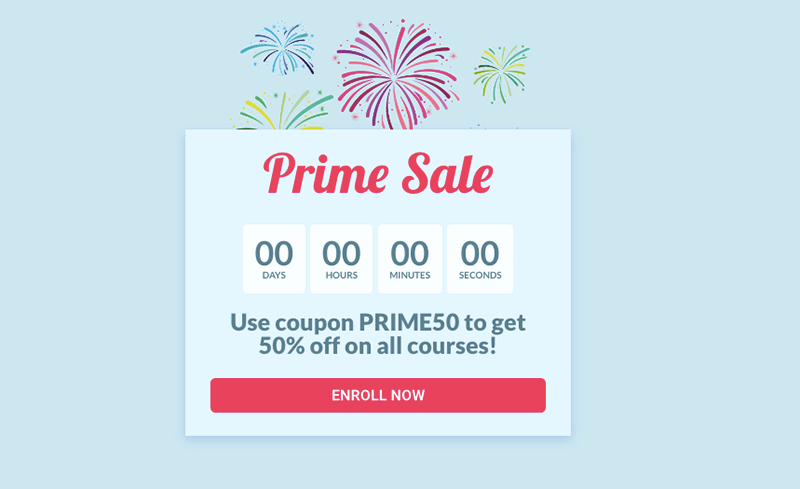
Cracku used this welcome mat popup to convert 3.5% of all visitors into customers.
Want to see a few more examples? Check these out:
Jeff Bullas
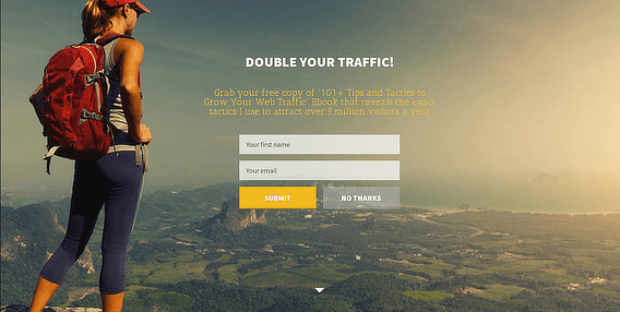
Sportique
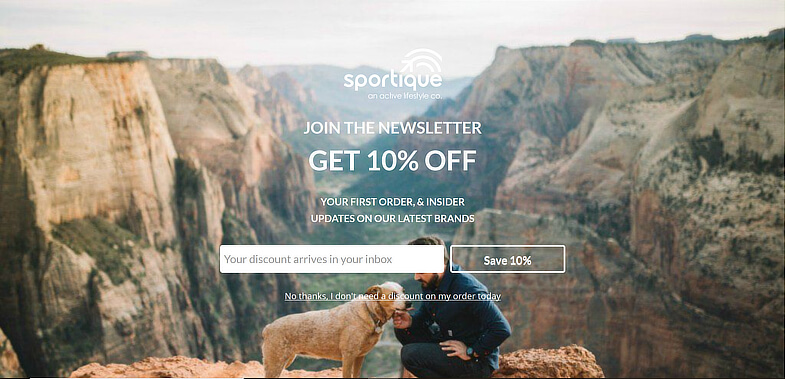
Conception Global Art Collective
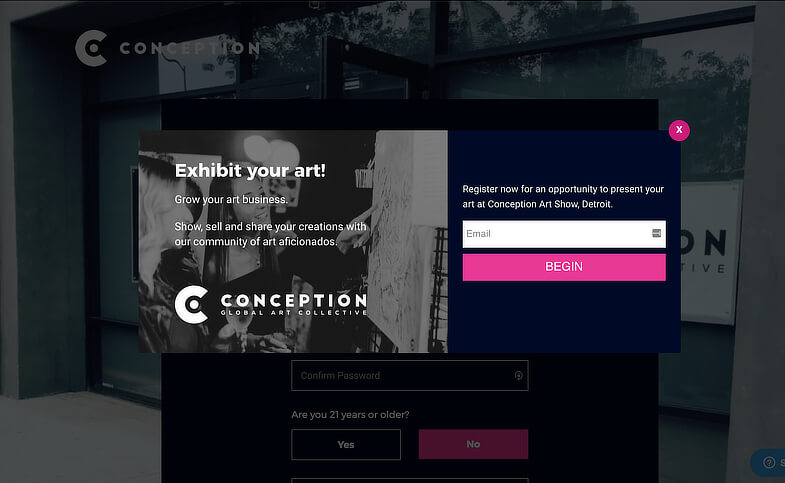
How to Create a Welcome Mat Popup
Start by signing up for OptinMonster, and then you’ll be ready to create your first welcome mat popup, also known as a Fullscreen Campaign.
1. Create a Campaign
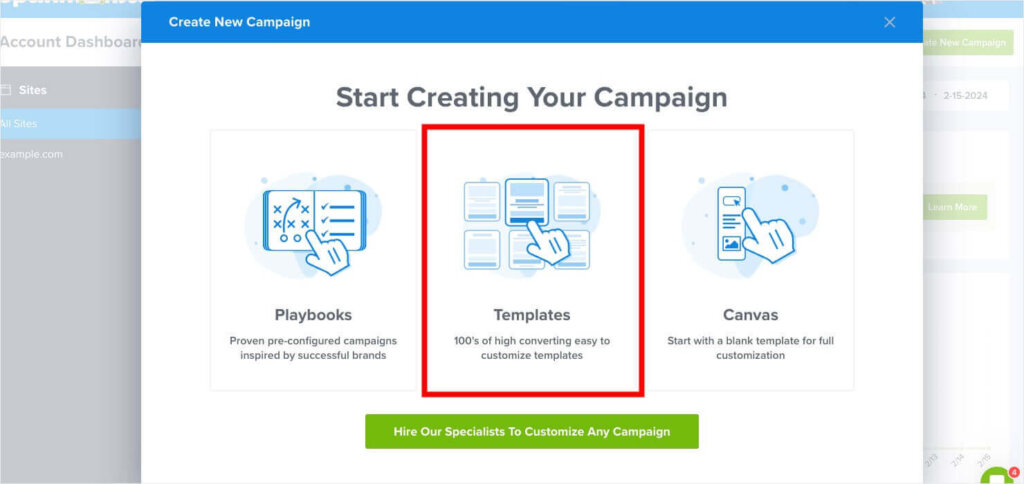
Login to your OptinMonster account and click the green Create New Campaign button.

While you can always design a campaign from scratch, we’re going to select Templates to choose from one of OptinMonster’s 700+ pre-made templates:
Choose a campaign type. For this tutorial, we’re using Fullscreen.
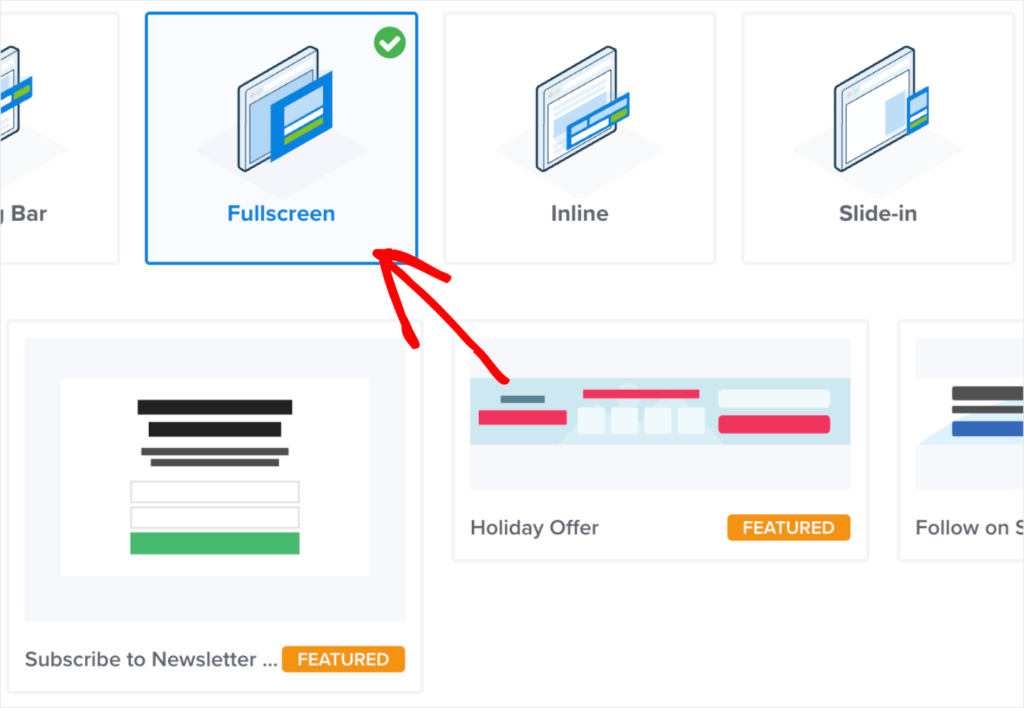
Choose any template that works best for your website and goal. You can hover over each template and click Preview to see exactly how that campaign will look to your visitors.
I’m going to select the Fullscreen version of OptinMonster’s Tech Discount template by hovering over it and clicking Use Template.

You’ll be prompted to name your campaign and choose the website you want to display it on.
Click Start Building to edit the template in OptinMonster’s drag-and-drop builder.
2. Edit the Campaign
Now, you’ll see the template you selected, in the builder. At the bottom of the screen, you’ll see Yes/No, Optin, and Success tabs. These are the 3 views of your campaign. You’ll want to customize each view. You can disable the Yes/No view by clicking the arrow in that tab and choosing to disable it.
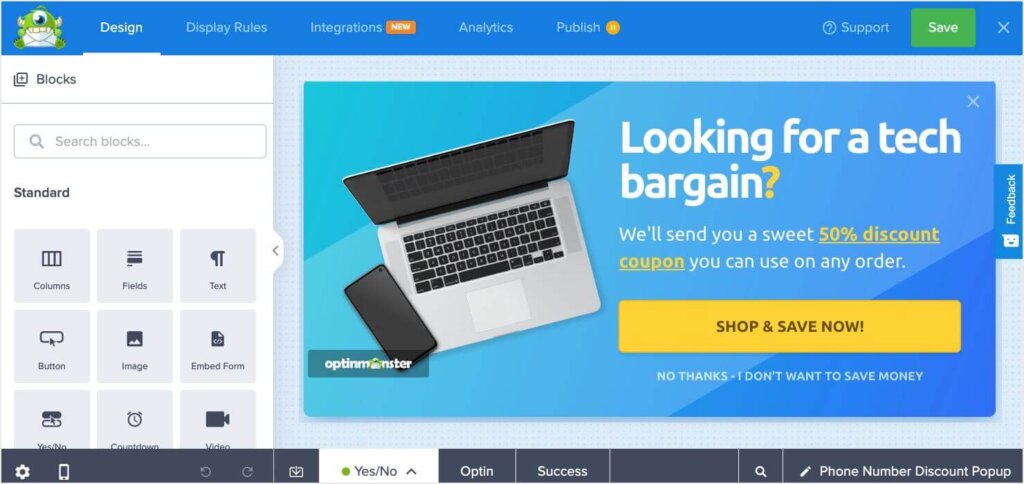
Quick Tip: Save your work regularly using the green Save button to the top right.
Take the time to make the welcome mat popup your own. You can change colors, fonts, images, size, everything! Just click on the element you want to edit to bring up the editing tools.
For a complete walkthrough tutorial, see our documentation.
I chose to disable the Yes/No view, and I edited the text to make my welcome mat popup look like this:
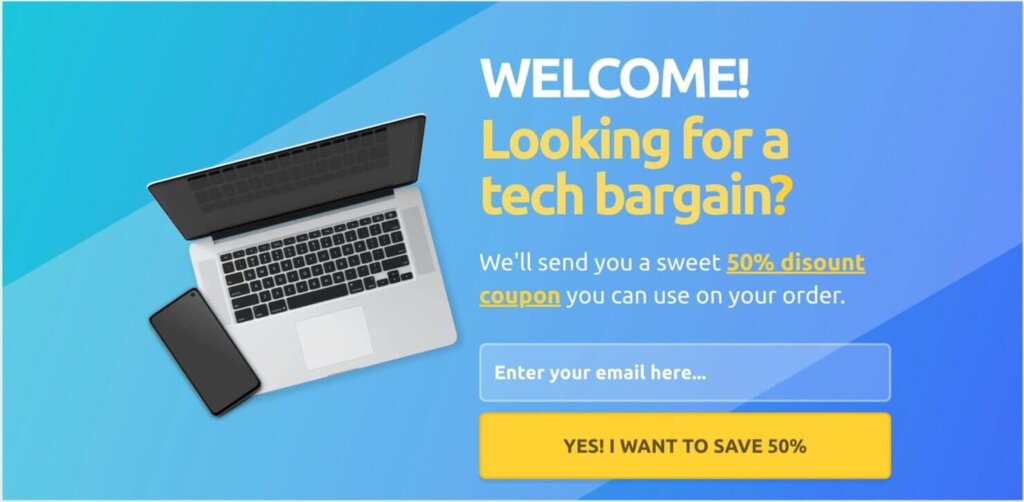
Once you get your design the way you want it we can move on to our Display Rules.
3. Set Display Rules
Display rules control when your campaign shows up on your site and who sees it. To get started, click Display Rules at the top of the campaign builder

By default, the campaign is set to appear to all site visitors after 5 seconds. I’m going to change the display rules so our welcome mat popup shows immediately.

Be sure to Save your campaign.
4. Publish Your Campaign
When you’re done editing and integrating, you’re ready to publish your welcome mat popup. To do this, click Publish in the top menu. Under the Publish Status heading, select Publish.
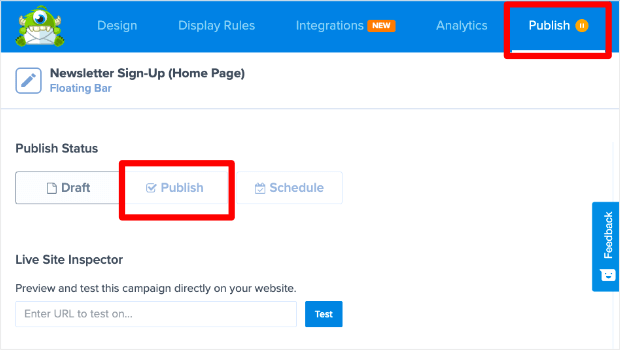
Scroll down the Publish page a little bit to see OptinMonster’s range of publishing options. If you need more information, take a look at the documentation for embedding OptinMonster on your site.
Convert More Visitors With Welcome Mat Popups
There you have it! You’ve successfully created a welcome mat popup. As you can see, it takes just moments to create an eye-catching campaign that converts.
Want to learn more about popups? Here are some articles to help:
- Popups Explained: Capture Leads and Drive More Conversions
- 11 Types of Popups to Grow Your Business (With Examples)
- 40 Exit-Intent Popup Strategies to Keep Visitors Engaged
- Email Popups That Convert: Examples & Best Practices
- eCommerce Popups: Examples & Templates to Boost Sales
And if you’re ready to get started, all you have to do is sign up for OptinMonster. It’s risk-free with our 14-day money-back guarantee.



Add a Comment