Are you looking for a fun way to boost your website engagement? Want to learn how to add a spin-to-win wheel promotion to your eCommerce store to gamify user experience (UX)?
Spin-to-win popups are an excellent way to engage your site visitors and convert them into leads. Spin-to-win promotions help you add a fun quotient to your website’s UX, whether you’re trying to reduce shopping cart abandonment, generate new leads, or increase sales.
But how can you quickly and easily build an animated spin-to-win wheel, especially if you don’t know how to code?
Today, I’ll show you how to add a spin-to-win wheel popup on your website.
Before that, let’s understand what’s a spin-the-wheel campaign and why it’s a valuable tool for online businesses.
What Is a Spin-to-Win Wheel Popup?
A spin wheel popup is a type of optin campaign that offers site visitors a fun way to interact with your website.
The campaign offers people an opportunity to play and win games, such as a discount coupon code, free shipping, or buy-one-get-one offers when they spin the wheel on their screen. Visitors might have to share their email addresses either to spin the wheel or claim the payouts.
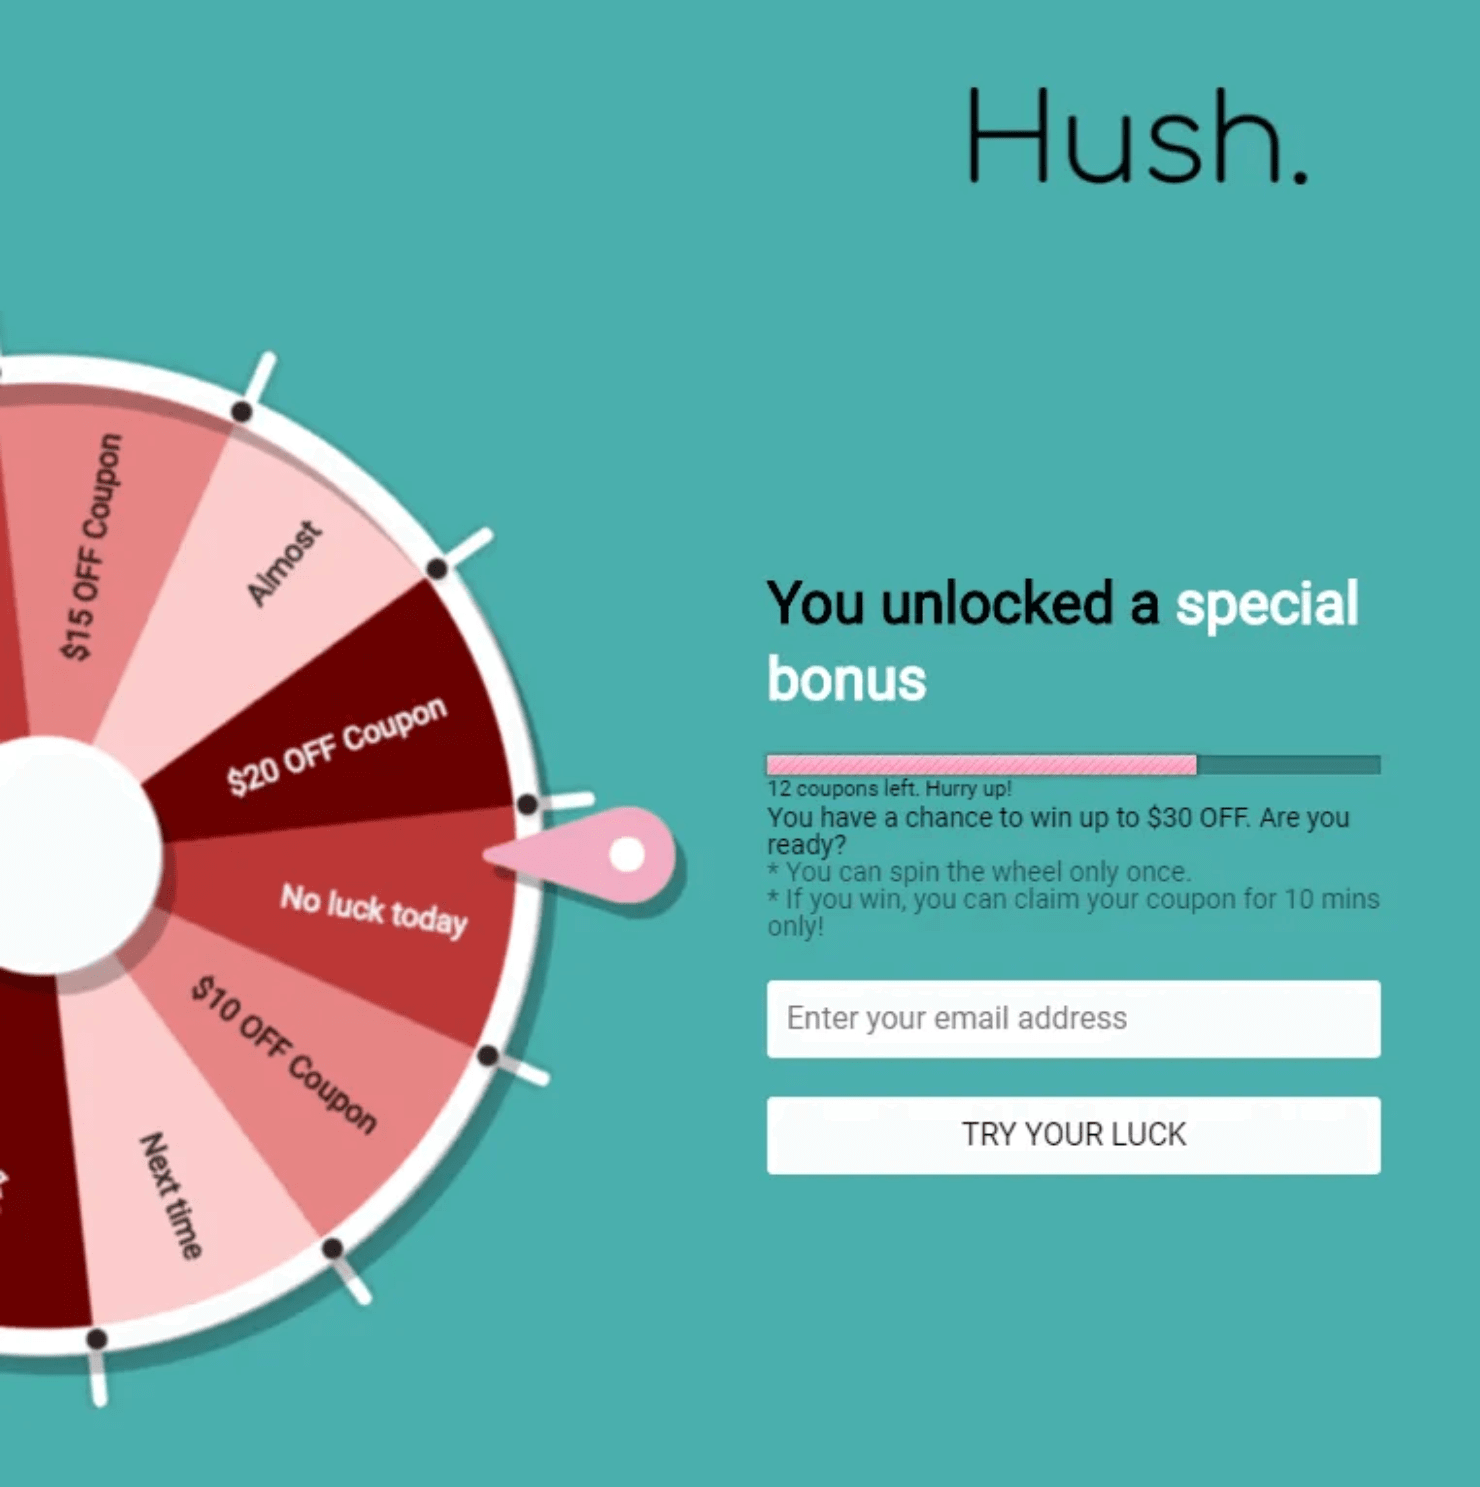
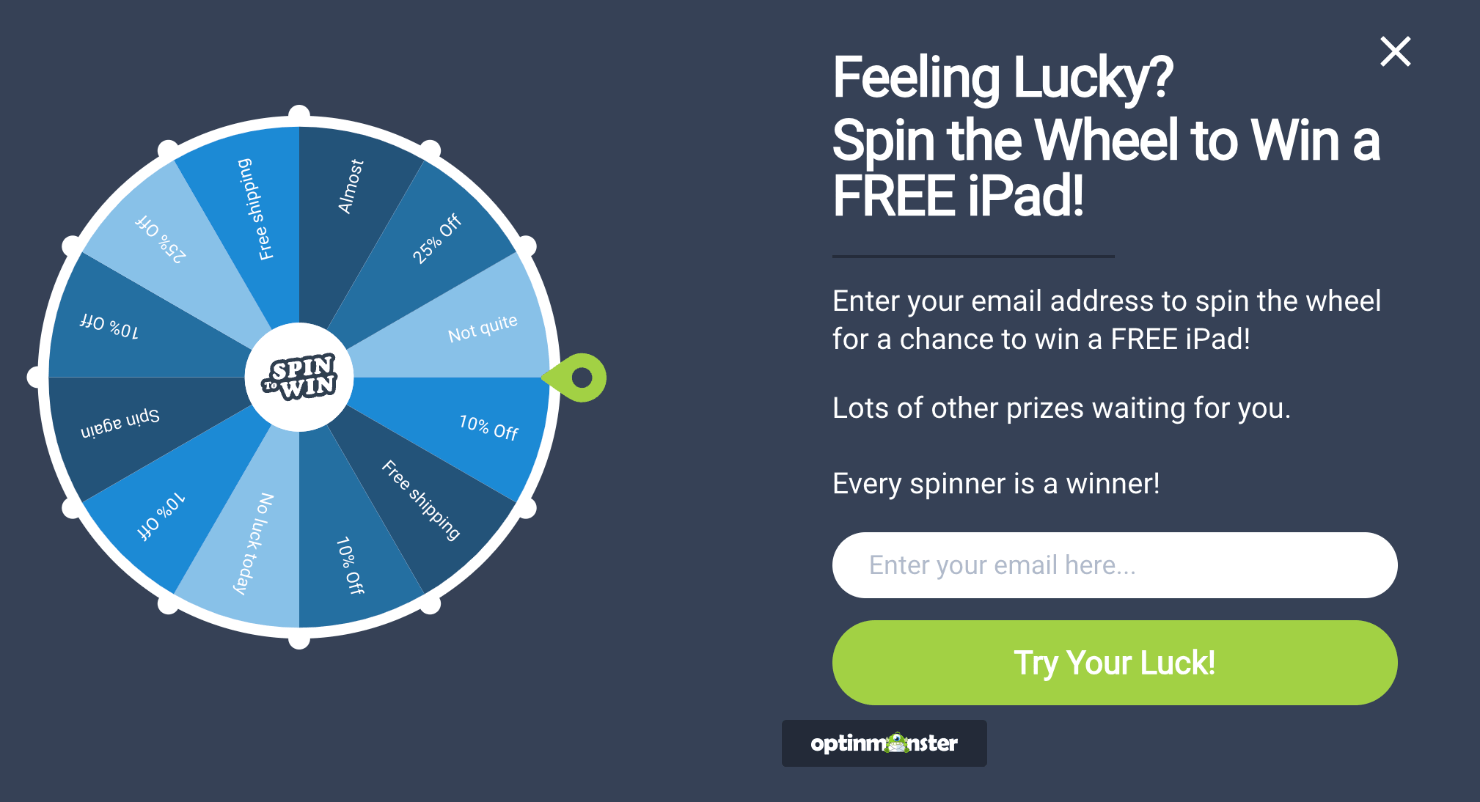
You’ve probably seen an online spin-to-win campaign before. It looks like this:
The spin game wheel is usually divided into different slices, each of which carries a different prize that users can win. Offering some kind of gameplay in your optin campaigns to engage with your target audience is known as ‘gamification.’
Adding gamification to your marketing strategy is an excellent way to engage with customers and grow your email subscribers.
Research shows that businesses that adopt gamification strategies, on average, see a 25.3% rise in sales conversions.
Here’s a look at how brands across the globe are using gamification in their marketing campaigns to grow their businesses:
- Google Pay (India) used gamification on its mobile app to boost its app traffic by up to 40%.
- Autodesk leveraged gamification to increase its free trial usage by 54%, ‘buy’ clicks by 15%, and channel revenue by 29%.
- KFC Japan created a mobile game to attract people to try their new line of battered shrimp with reward vouchers. 22% of people who played the game redeemed their vouchers.
Related Content Looking specifically for spin-to-win examples? See how PortraitFlip used a discount wheel in its giveaway campaign to convert over 3% of its mobile traffic into leads.
You can have similar success with a spin wheel promotion that grabs your audience’s attention, rewards them, and collects their personal info.
But how to add a spin-to-win wheel popup on your website from scratch?
You can choose from the best spin-to-win tools to add this type of campaign to your site.
For today’s tutorial, we’ll go with OptinMonster:
OptinMonster is the world’s #1 lead generation software on the market. It’s also one of the best spin-to-win tools you can use on your online website.
OptinMonster offers ready-to-launch gamified spin-a-win wheel popup campaign templates that you can customize and publish on your site in a matter of minutes.
Here’s the spin-to-win popup I created in OptinMonster for this tutorial:
It took me less than 5 minutes to create and publish this popup. There are many other advantages of creating a spin-a-wheel campaign with OptinMonster:
- Zero coding required to design a campaign from scratch.
- Choose a design from multiple templates.
- Customize it to match your brand’s style.
- Embed the campaign on any site.
Ready to see how? Let’s dive into the tutorial.
- Step 1: Select Your Campaign Type and Template
- Step 2: Customize Your spin-to-win Wheel Campaign
- Step 3: Set Your Display Rules
- Step 4: Integrate With Your Email Service Provider
- Step 5: Save and Publish Your Campaign
Step 1: Select Your Campaign Type and Template
First, you need to log in to your OptinMonster account.
Once you’re in, click on the Create New Campaign button in the upper right-hand corner:
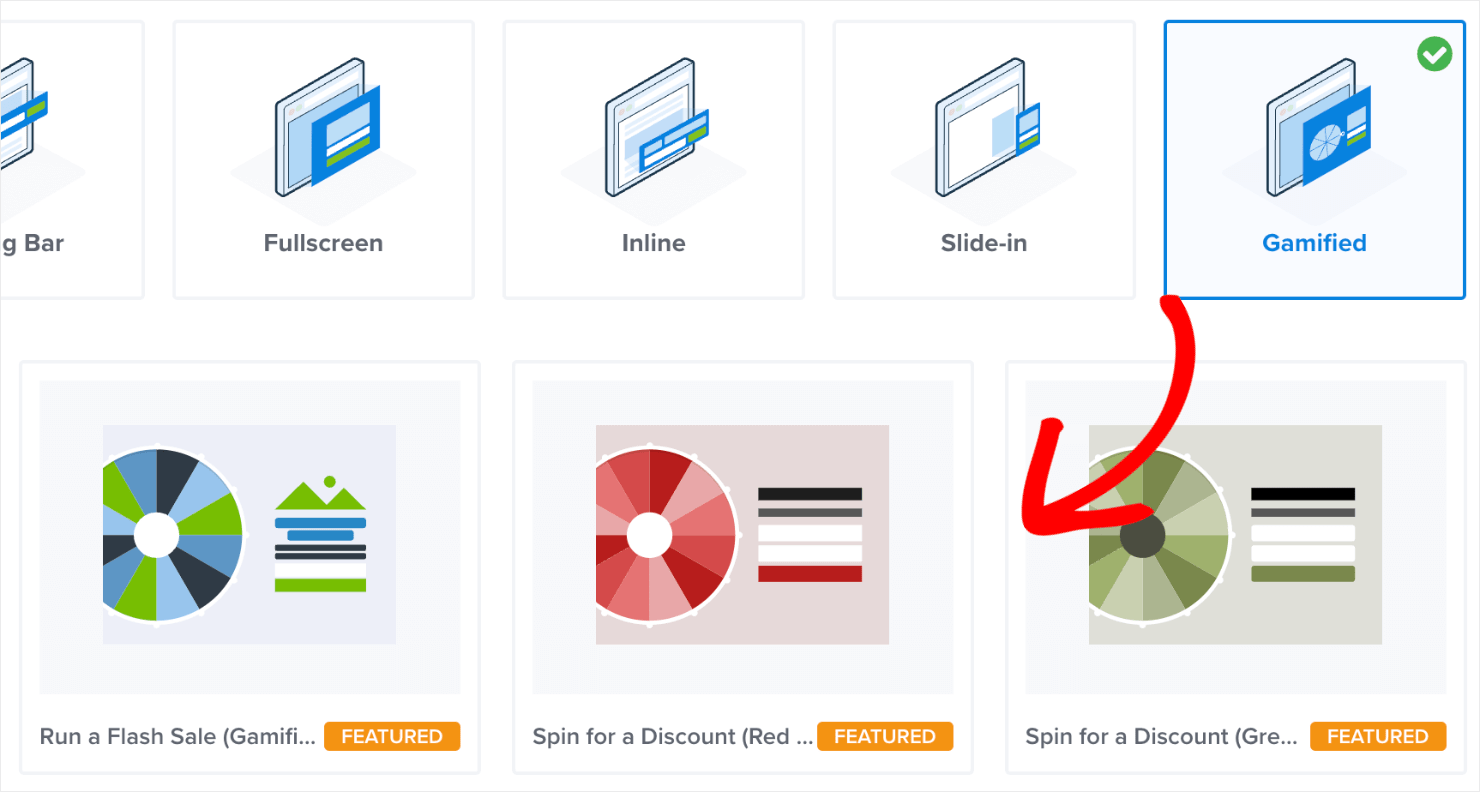
Now you’ll need to select your campaign type. For this tutorial, we’ll go with the Gamified campaign type:
This will give you plenty of ready-to-use, spin-to-win popup templates to choose from:
You can choose any template you like and customize it to match your brand’s style. I’ll choose the Spin for a Discount template:
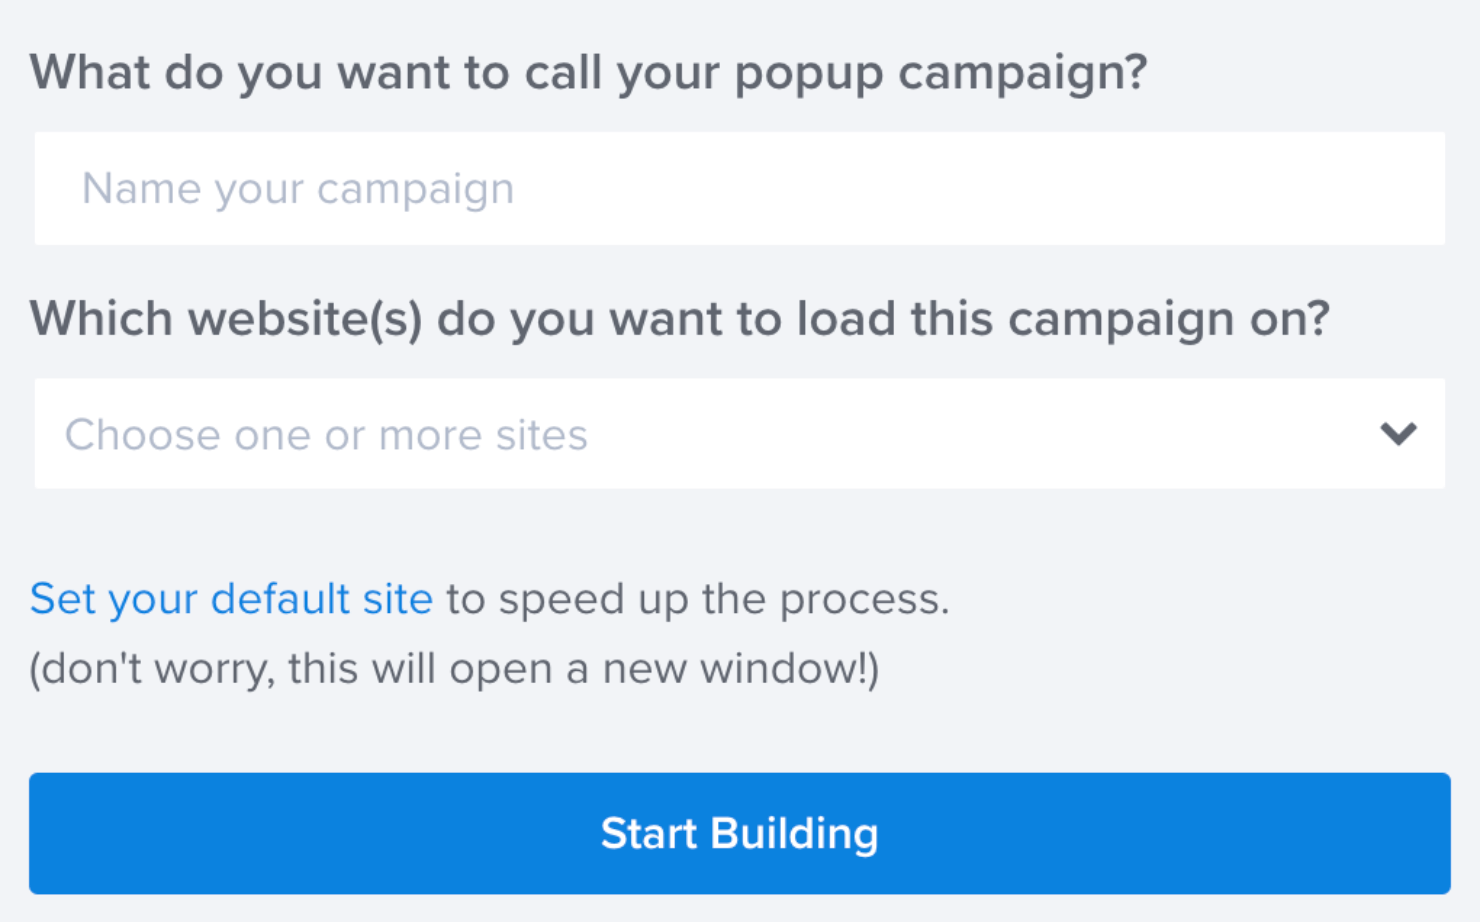
Next, give your campaign a name, assign it to your website, and click Start Building:
With this, you’re ready to customize your gamified popup.
Step 2: Customize Your spin-to-win Wheel Campaign
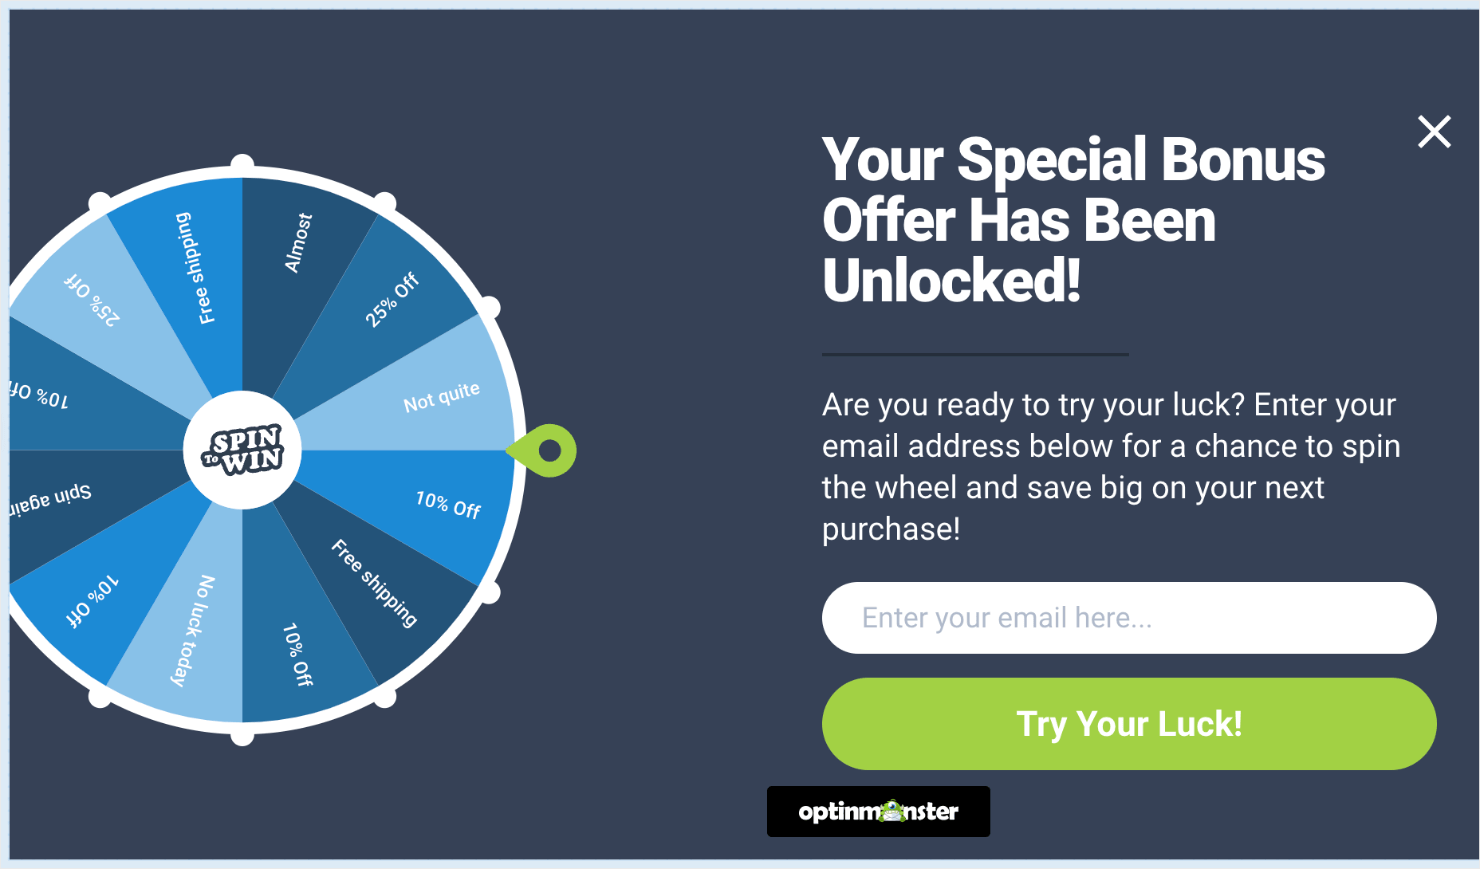
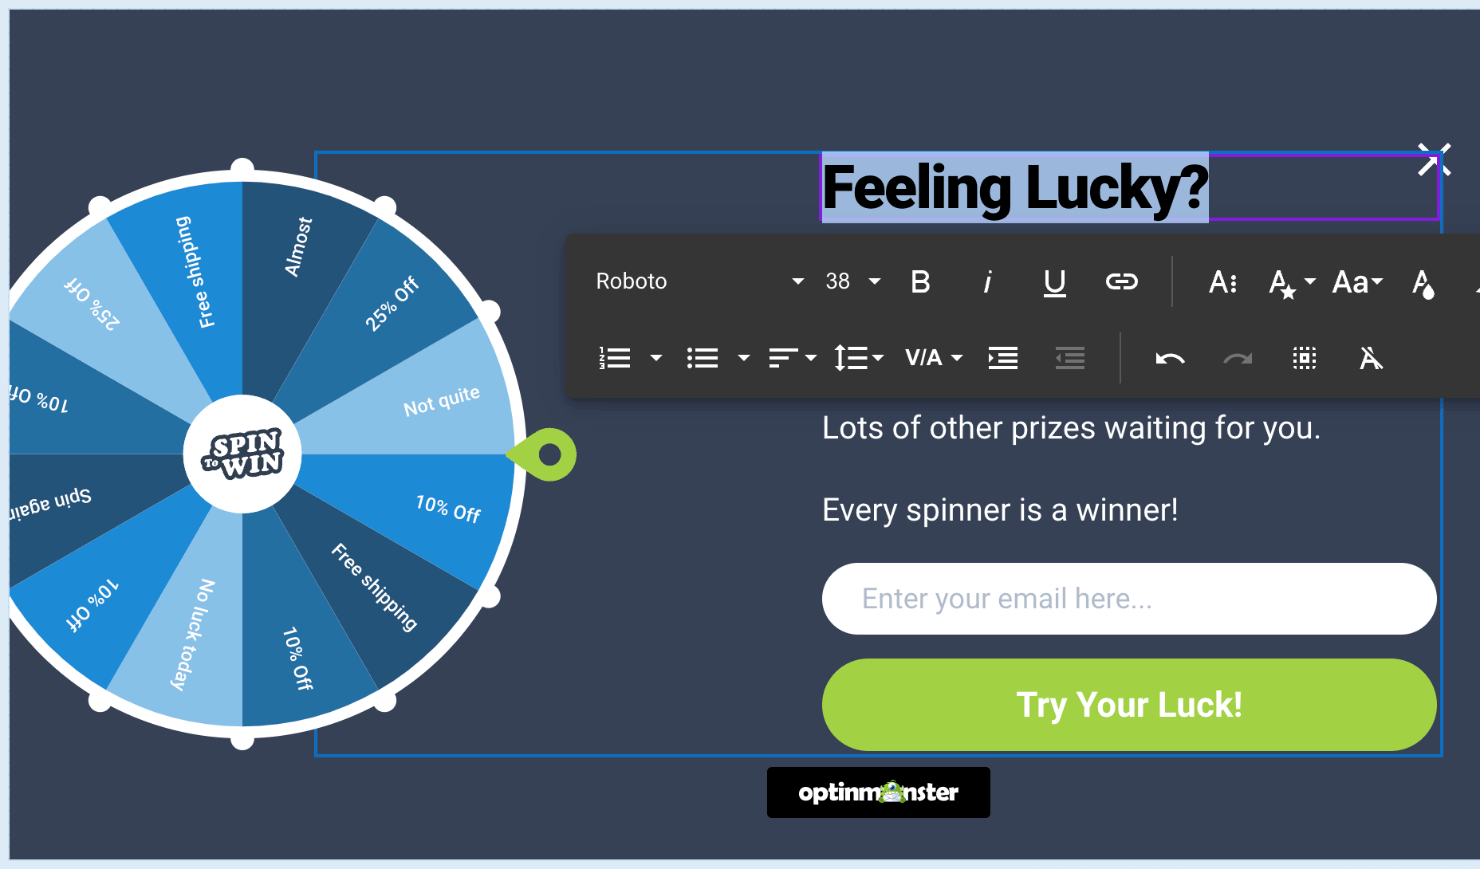
Here’s how the template looks like in the OptinMonster editor right now:
Making changes to your spin-the-wheel popup is really simple.
I’ll begin by changing the text. Click on the text you want to change and edit it directly in the OptinMonster editor:
Make sure your copy persuades the site visitors to interact with the campaign. For tips on writing copy that converts, read our guide on how to write a sales page.
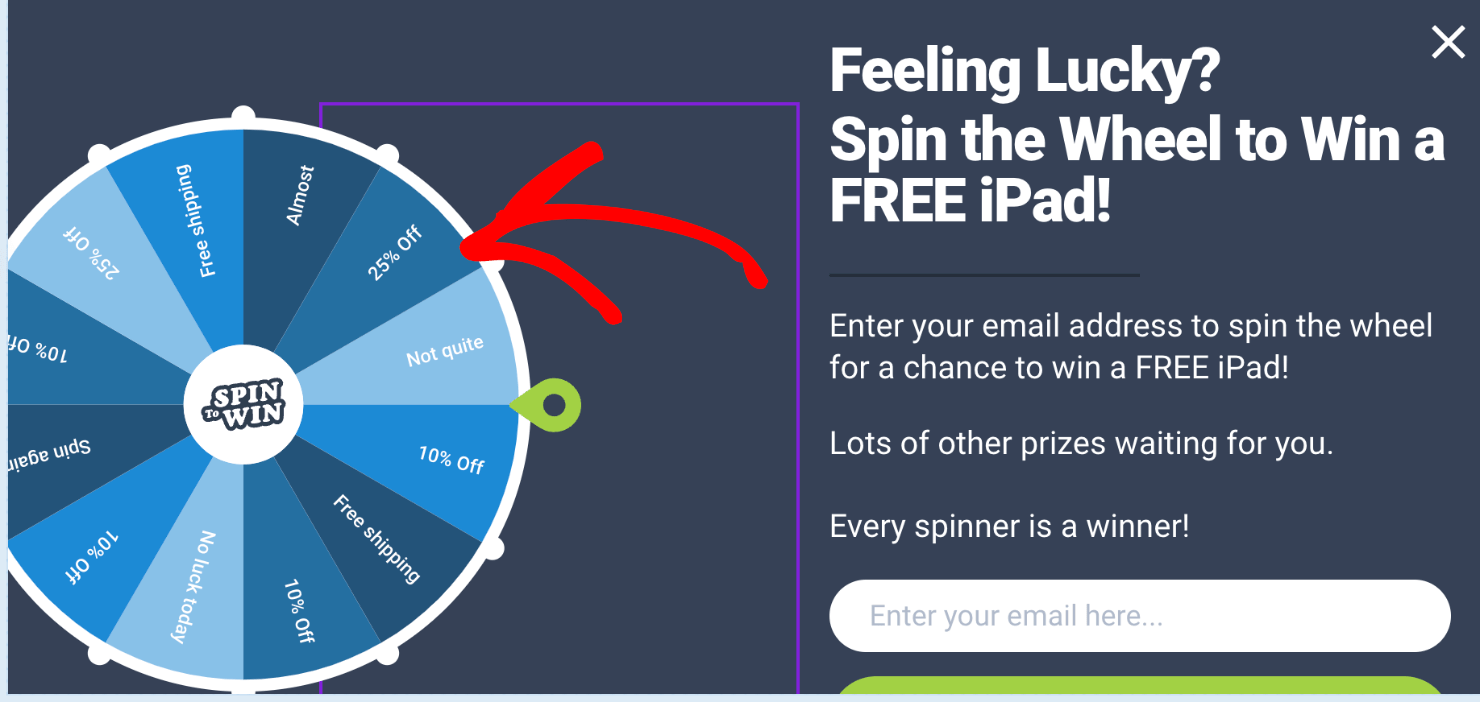
Next, you’ll want to customize the rewards that appear on the spin game. To do that, click on the wheel image in your editor:
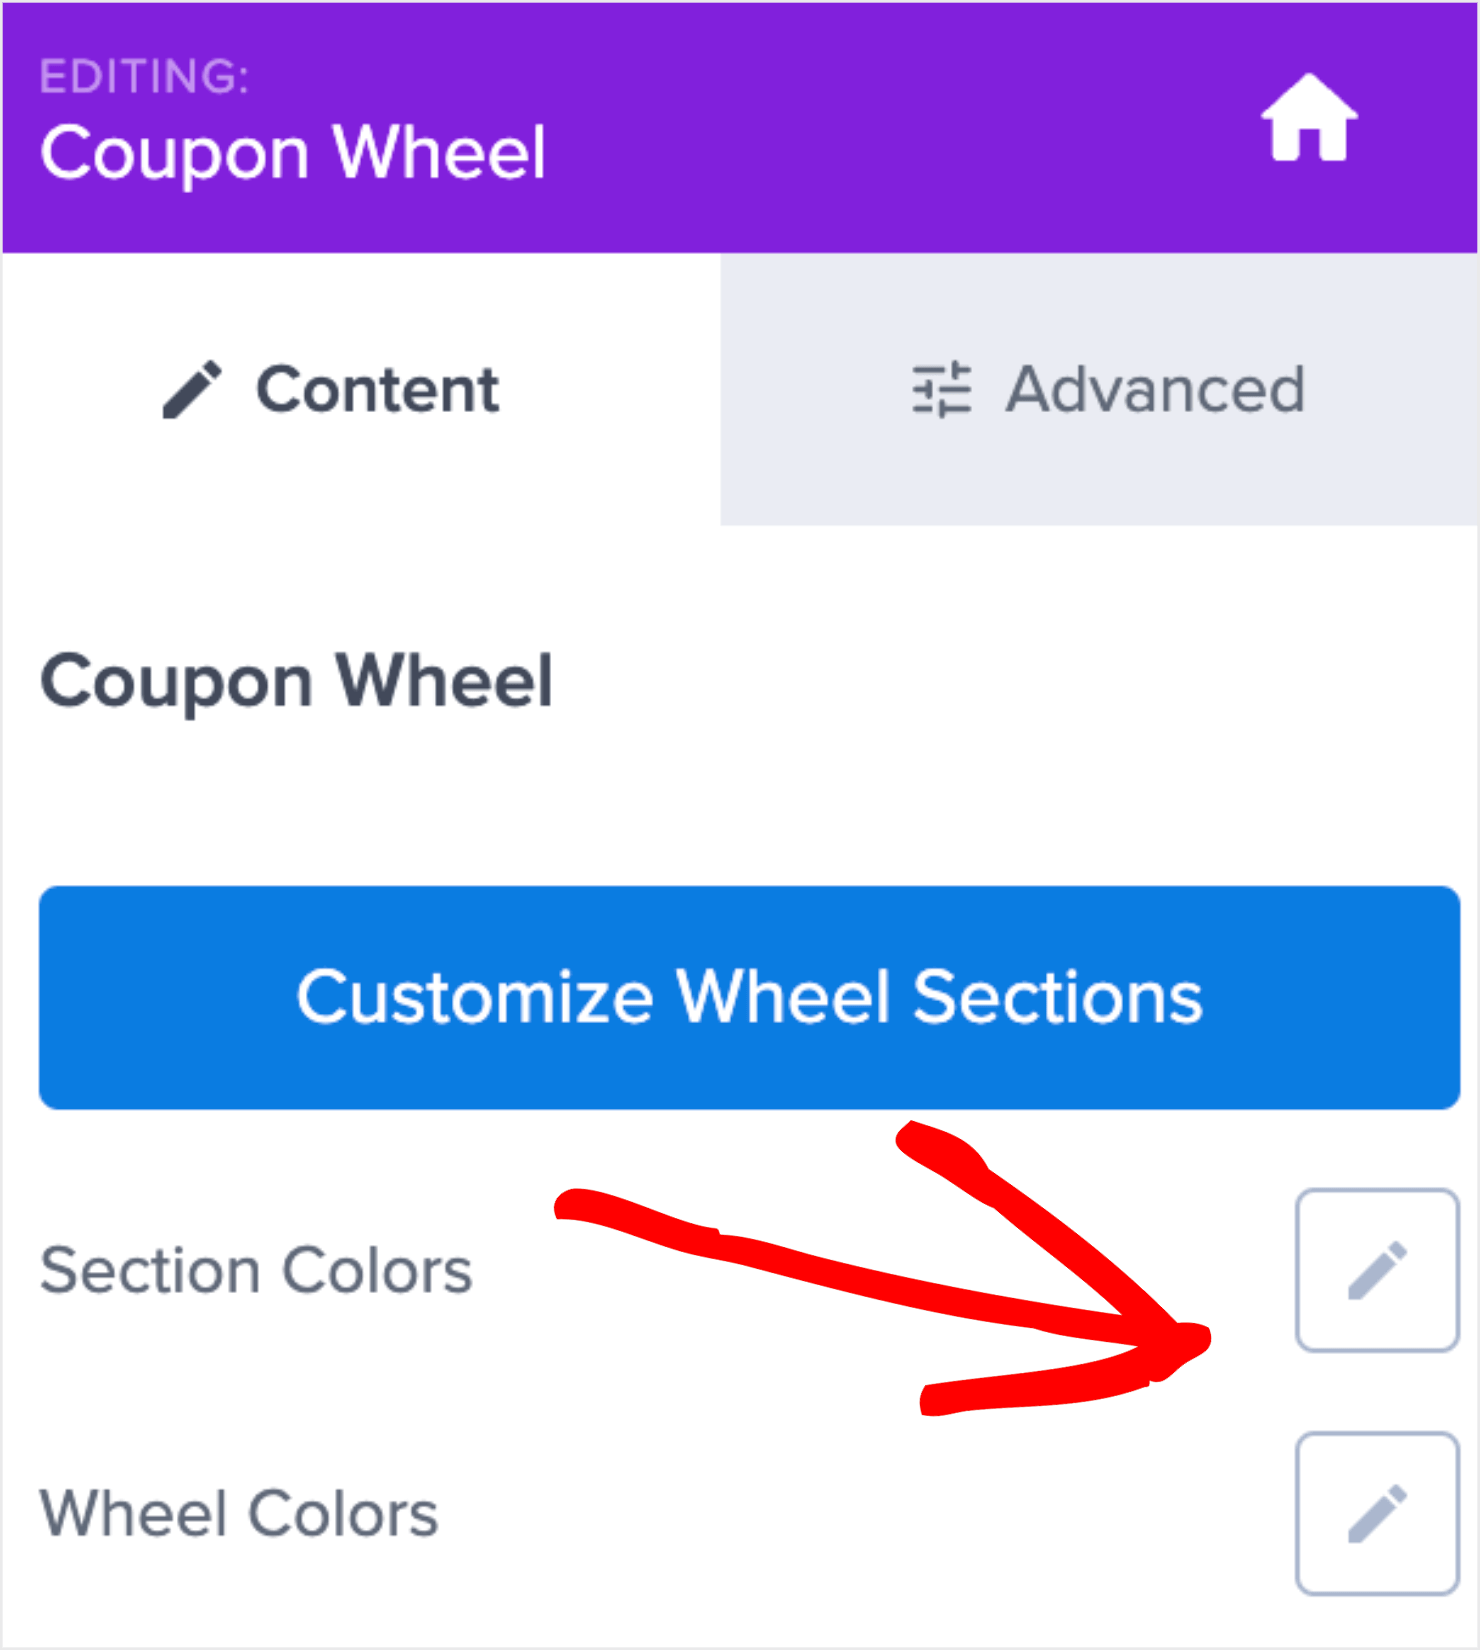
Here, you’ll see a menu appear on the left-hand panel. You can edit the section and wheel colors:
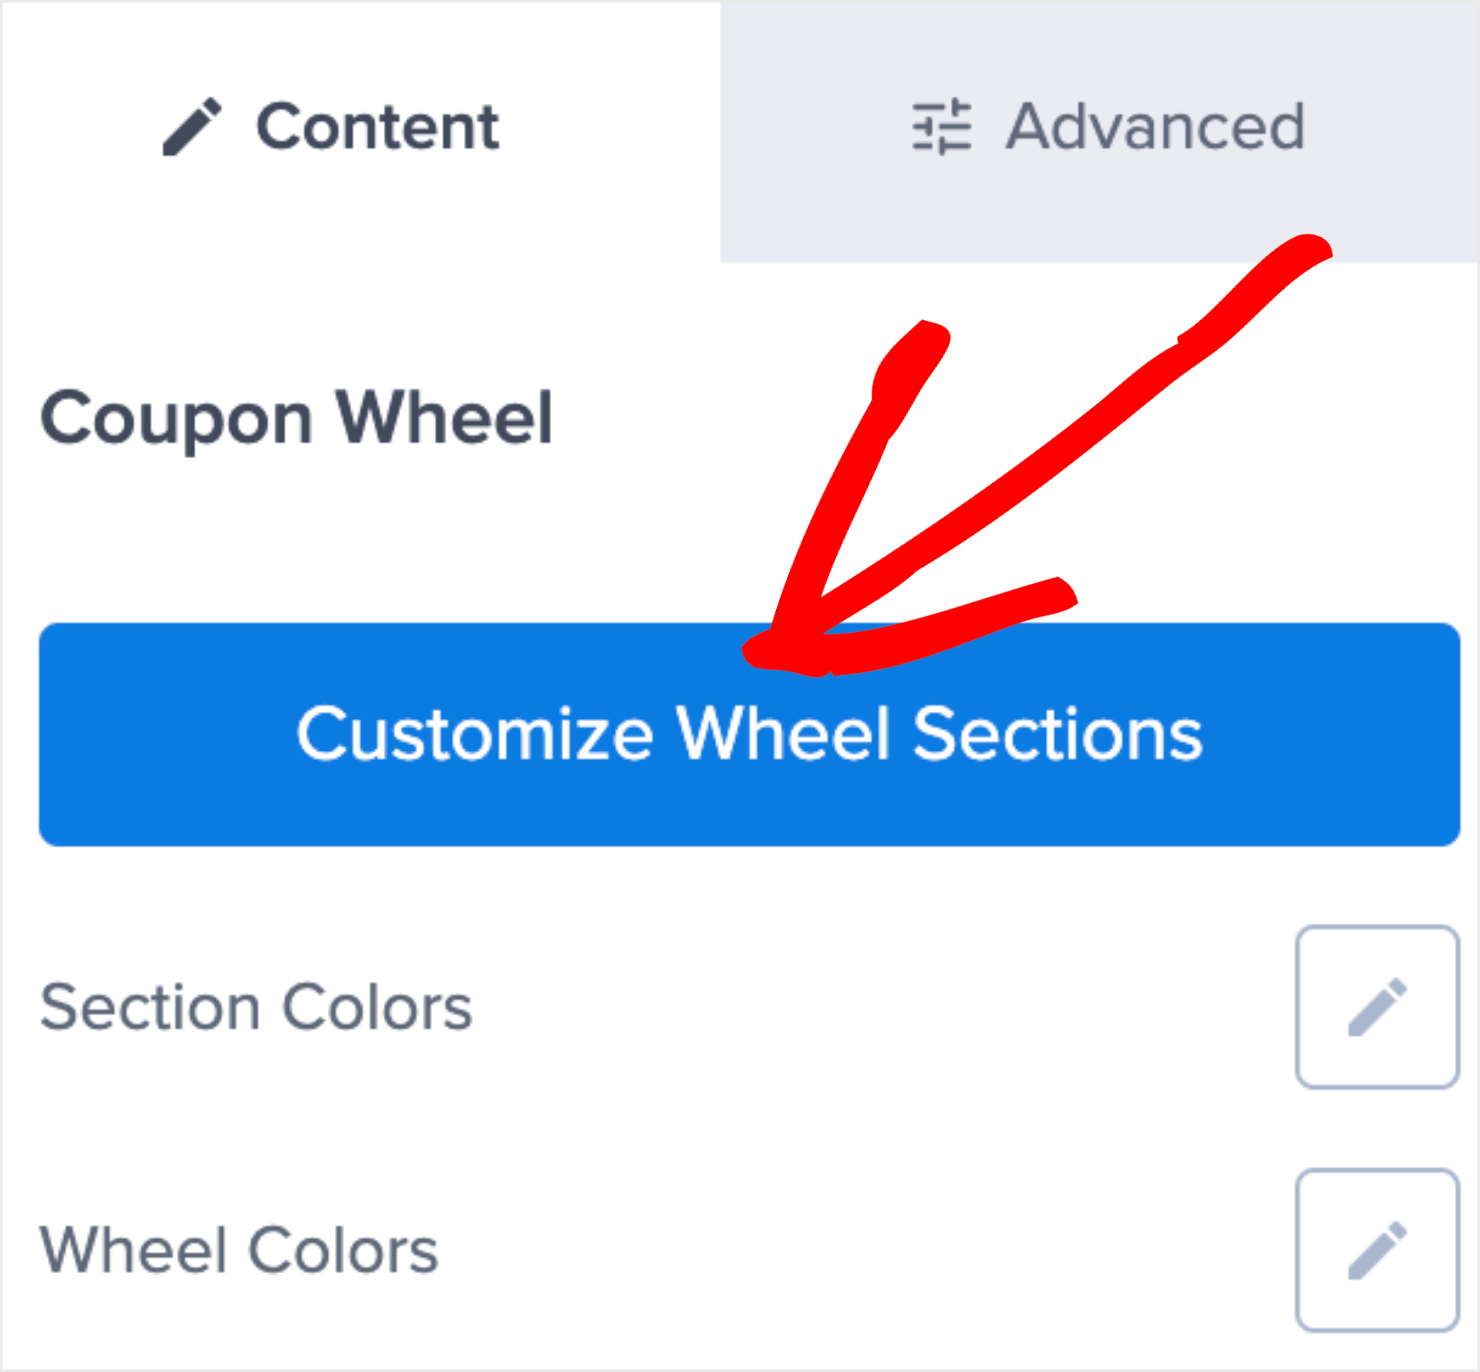
To change the rewards within the sections, click on the Customize Wheel Sections button:
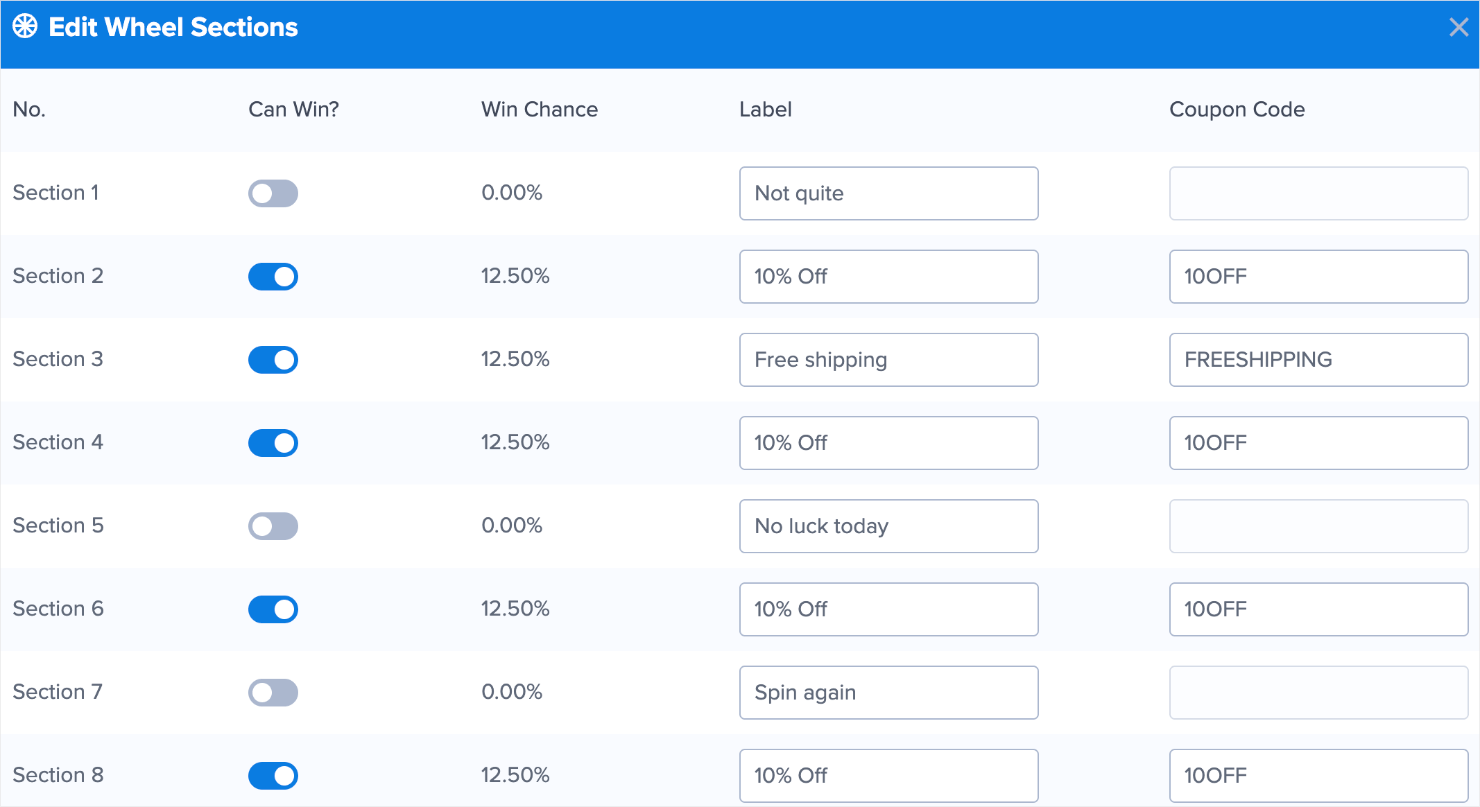
You’ll see a new window that allows you to change how you want the wheel campaign to work:
You can edit the following things about your spin wheel campaign:
- Can Win: This lets you make options that can’t be won which is useful if you have a product that recently went out of stock and you need to replace it. You can also turn off options like ‘spin again’ or ‘no luck this time’ to make sure all your participants win a prize.
- Win Chance: This shows the odds of your customer winning that specific prize based on how many options are available to win.
- Label: This is the name of the prize that will be on your spin wheel.
- Coupon Code: This is the coupon code that the user will receive when they win a specific prize.
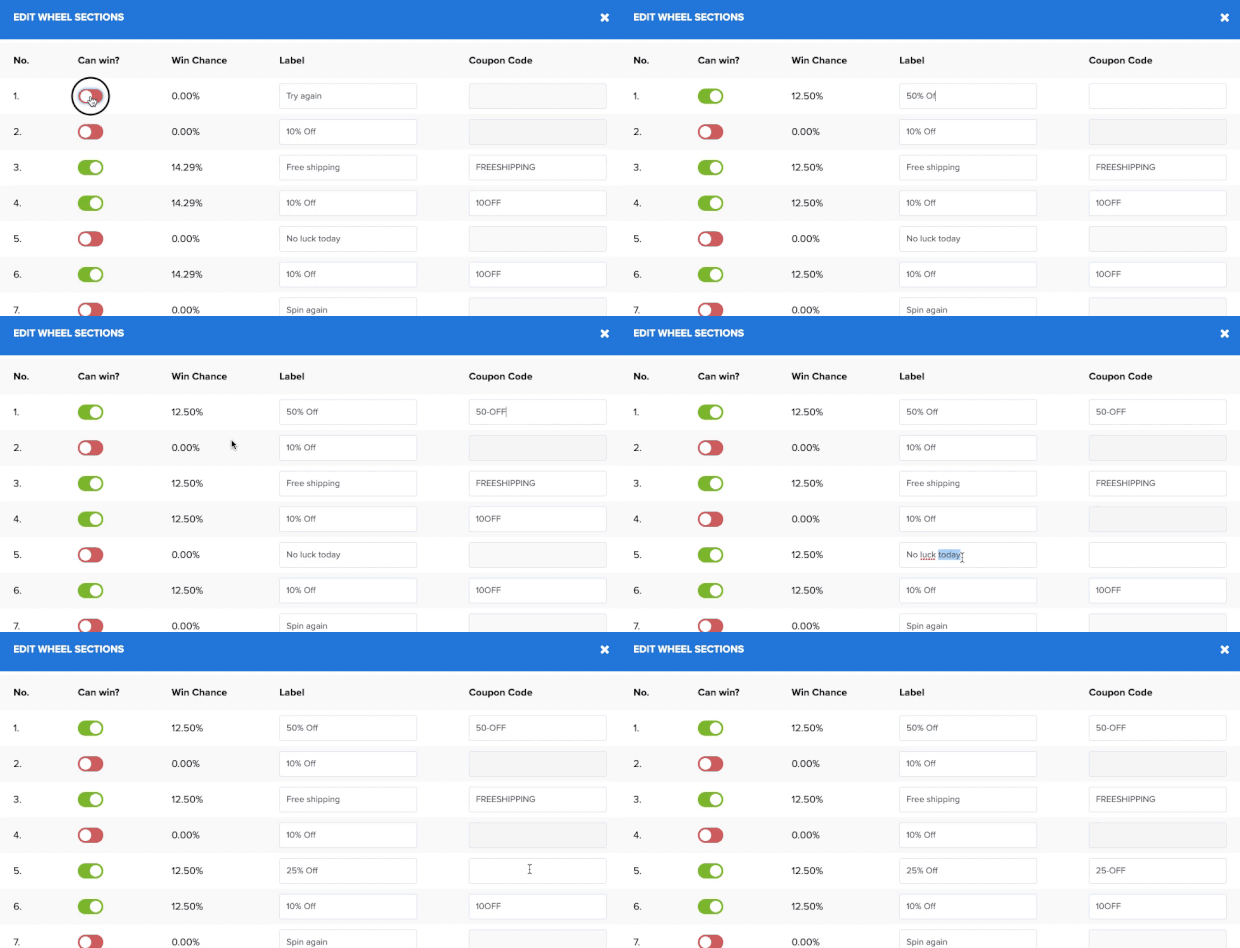
With these options, you can create custom prizes for your visitors to win:
If you do it well, you can use these rewards to generate leads and earn money through discount offers.
Next, I’ll set up a few display rules. It’ll help you control when and where the popup appears.
Step 3: Set Your Display Rules
At the top of your editor menu, click Display Rules:
This is the screen you’ll see:
OptinMonster has tons of display rules that you can use to show your campaign to the right people at the right time in their customer journey.
These display rules break down into 2 categories:
- Targets
- Triggers
Targets are rules that will show a popup based on users’ characteristics. This includes things like where the user is located, what device they use, or how they’ve interacted with your site in the past.
Triggers are rules that use your site traffic’s behavior to determine if a popup should appear. That can be events such as:
- What links they click (MonsterLinks™)
- How far down the browser page they scroll (Scroll Trigger)
- When users are about to leave your webpage (Exit-Intent® Technology)
For today, I’ll show you how to configure an Exit-Intent® trigger. This means that our spin-to-win wheel game will appear to users if they try to leave your site.
This is an incredibly effective trigger for engaging abandoning visitors. As an example, Crossrope used the Exit-Intent® popup to grow its email list by 900%.
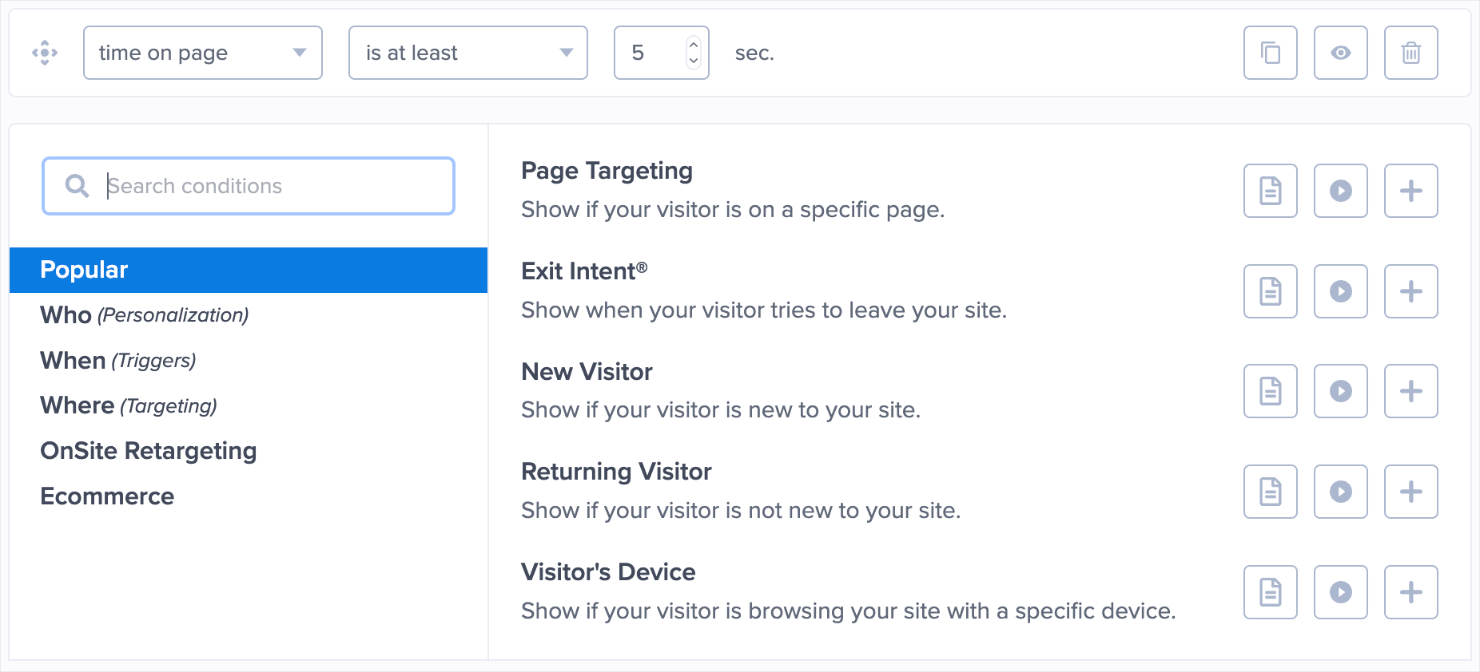
Back to your OptinMonster dashboard, click on the time on page condition. This will pull up your display rule options:
Click on When and select Exit Intent® from the options:
Next, you can choose which device you want your exit-intent popup to appear on. You can choose between:
- Desktop-only
- Mobile-only
- Both
Then you can also choose the Exit-Intent® sensitivity level as low, medium, or high:
The sensitivity level you choose will have a direct impact on how your campaign appears on mobile devices.
Low and Medium sensitivities create a scroll up trigger, whereas High sensitivity creates a back button trigger.
To learn more about how exit-intent popups work on mobile, read how to create mobile Exit-Intent® popups that convert.
Next, I’ll customize where the spin wheel popup appears. To do this, I’ll leave the current URL path option as it is. But I’ll click on is any page condition and change it to contains:
Here, you’ll need to enter the URL slug of the pages where you want the spin wheel campaign to appear.
For instance, let’s say you have an eCommerce store that sells skincare, makeup, and supplements products.
You might have a website structure where each of your product pages includes the URL path, such as:
www.mysite.com/skincare
www.mysite.com/makeup
www.mysite.com/supplements
So if you’re creating a spin-the-wheel campaign specifically for makeup products, you’ll have to enter the 2nd URL slug. To apply this condition, add the term ‘/makeup’ in the field next to contains:
This level of customization ensures that you’re showing your gamified popup to the right segment of your audience at the right time of their customer journey.
Once you’ve set the best display rules for your site’s campaign and goals, it’s time to integrate the popup with your email service provider.
Step 4: Integrate With Your Email Service Provider
One of the most common reasons for creating a spin wheel popup is to grow your email list. That way, you can monetize your site or products through email marketing best practices.
To connect your campaign with your email service provider (ESP), click on the Integrations tab at the top of the menu:
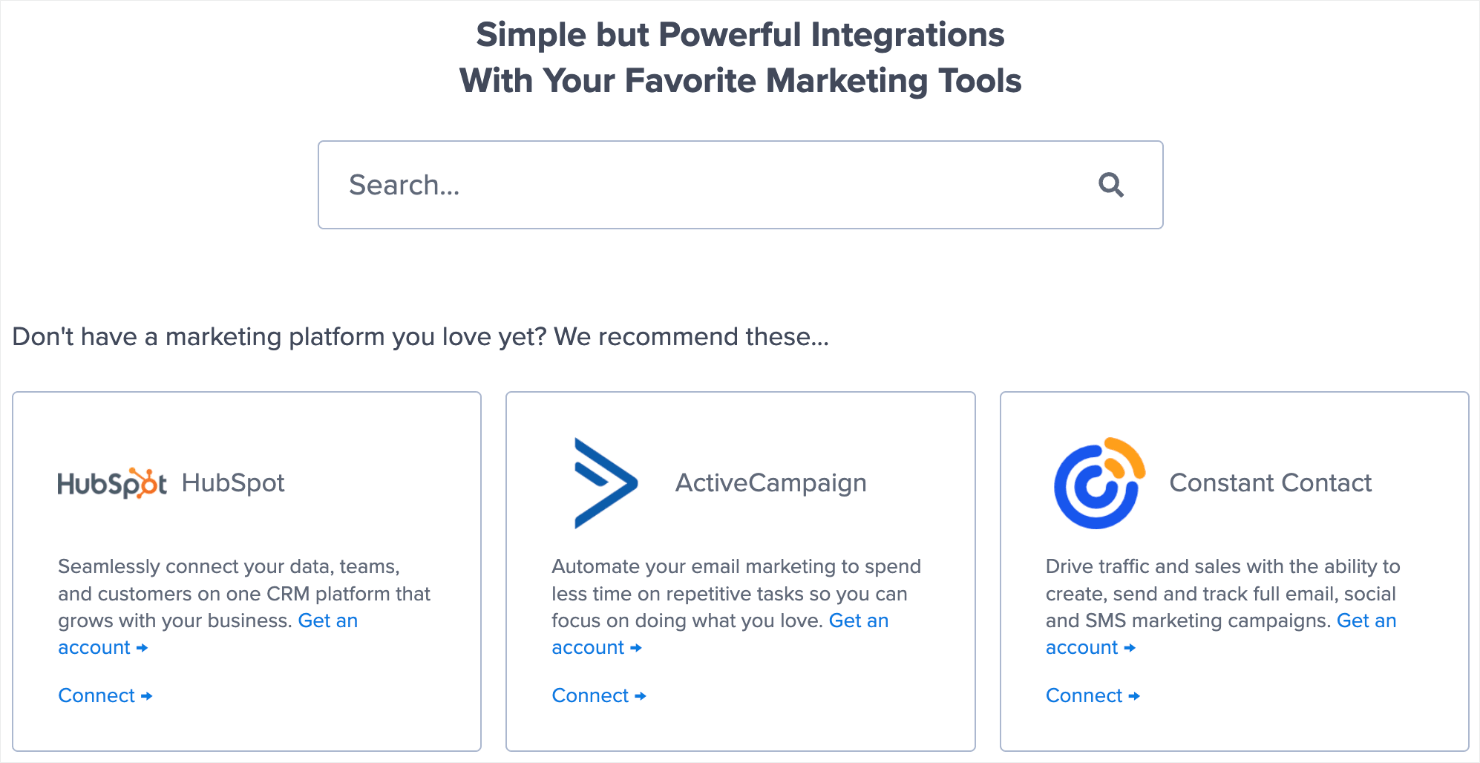
OptinMonster integrates natively with over 30 of the most popular ESPs on the market. This integration functionality allows you to automate your lead generation so you can add new leads from your marketing campaigns to your ESP.
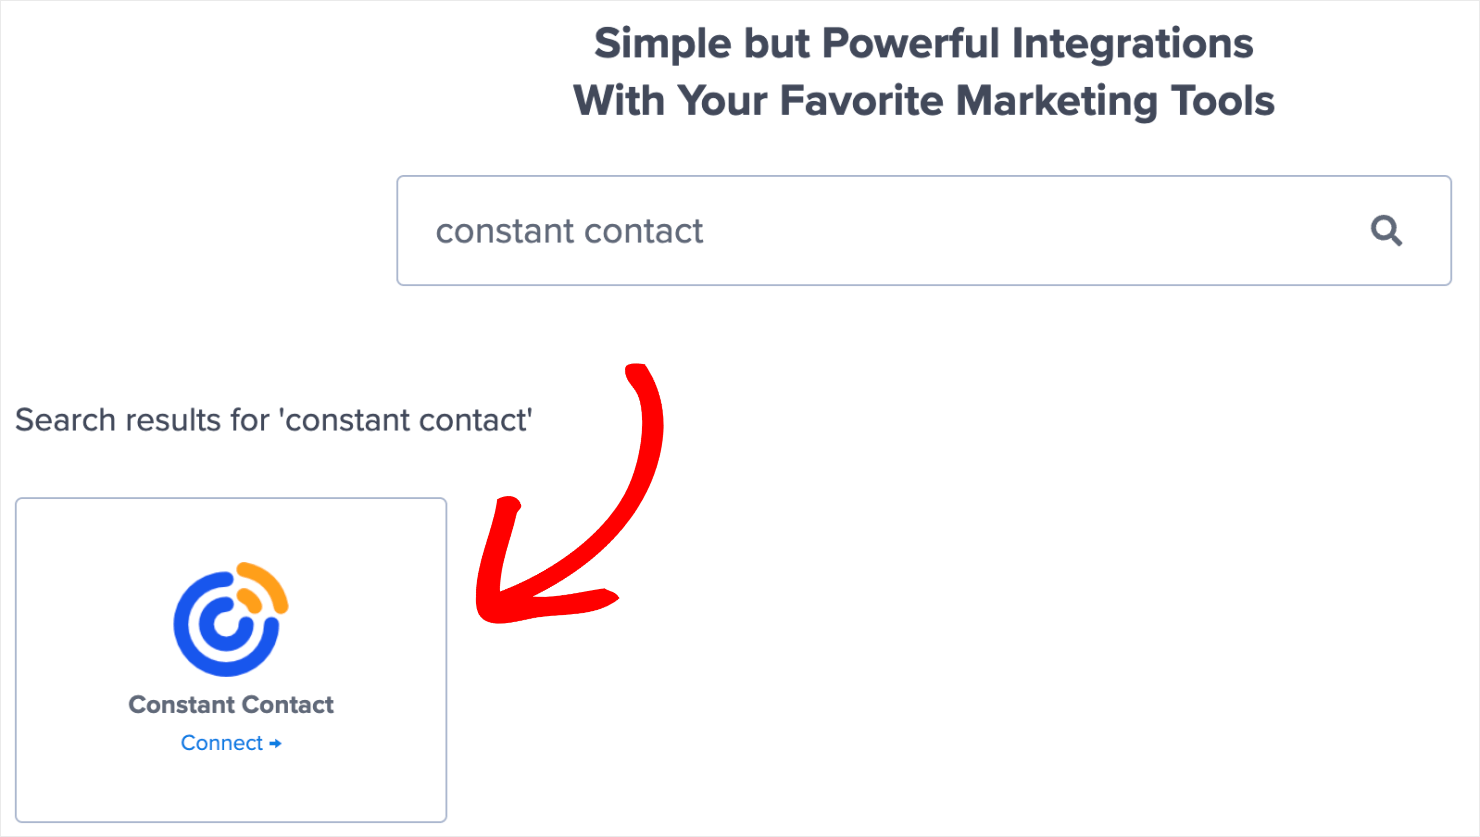
Type the name of your email service provider or scroll through the page to find it manually.
I’ll choose Constant Contact since that’s the ESP I use for my website:
From there on, the exact steps to connect OptinMonster with your ESP depend on which email marketing automation software you’re using. For the most part, it involves copy-pasting your email account’s API key.
For more specific instructions, read our detailed guide on how to connect your email service provider with OptinMonster.
Pro-tip: Don’t see your ESP listed? You can get started with Monster Leads.
Monster Leads is OptinMonster’s internal lead storage tool. It lets you store your lead data, export it, and send individual emails from your existing email client.
Once you’ve integrated your spin wheel campaign with your ESP, you’re ready to embed your campaign and launch!
Step 5: Save and Publish Your Campaign
Click on the Save button at the top-right of your screen to make sure you don’t lose the changes you’ve made so far:
Now go to the Publish tab:
Under the Publish Status section, click on Publish:
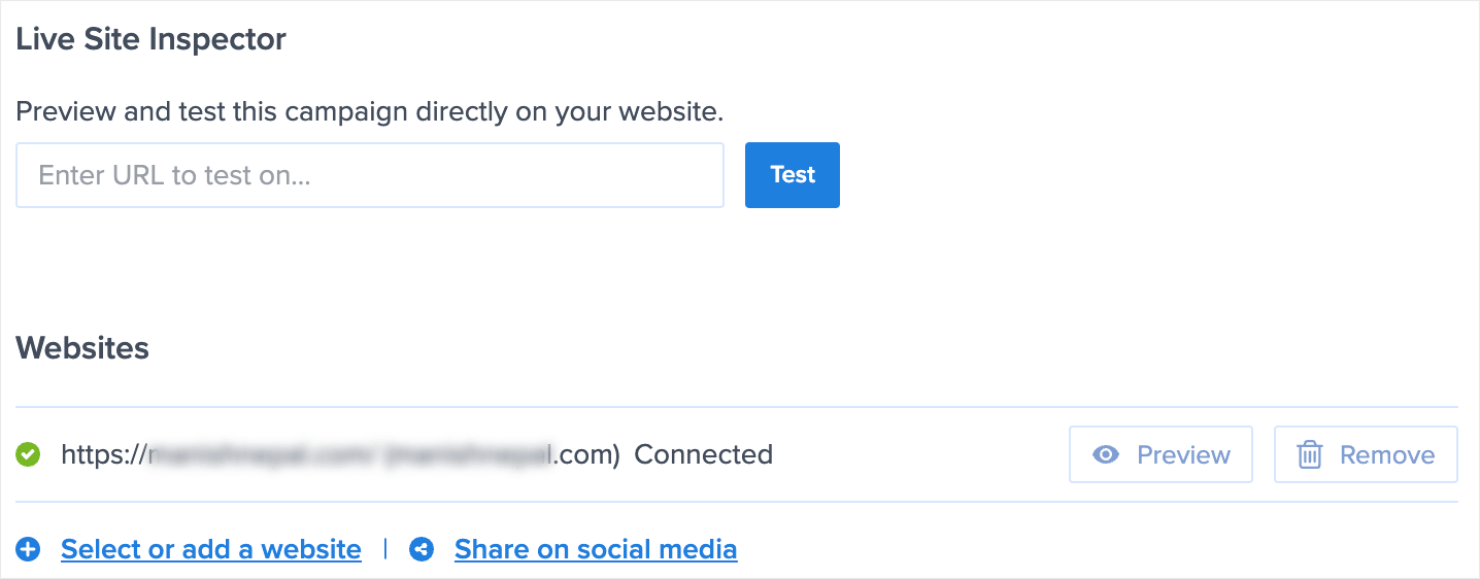
To check how the campaign appears on your site, you can enter one of your connected websites under the Live Site Inspector to check how the popup appears. Or, you can preview the popup by clicking the Preview button in the Websites section:
Here’s how the spin wheel campaign looks after I published it on my website:
Users will be able to play the spin game or win a prize only after they enter their email addresses.
Gamify Your Website’s UX with Spin-to-Win Popups
Games have the power to turn a boring website experience into an exciting one. Adding gamification to your website’s experience can help you convert casual visitors into leads and potential buyers.
If you want to learn more about the benefits of gamification in marketing, here are a few resources:
- What Is Gamification Marketing? Benefits and Examples
- 8 Best Gamification Marketing Ideas to Boost Your Conversions
- How to Use Gamification for More Customer Engagement
Ready to see if gamification can help you boost engagement and increase sales? Follow the steps outlined above to create your first spin the wheel popup campaign.












Add a Comment