Do you want to create highly-customizable popups for your website? Want to learn how to create a custom CSS and Javascript popup form but don’t know where to start?
When done correctly, popups can be an excellent addition to your site. They can help you grow your email list, prevent cart abandonments, and boost sales.
But done shoddily, popups or modal windows can be a major turnoff to your site’s visitors.
In today’s tutorial, I’m going to show you 2 methods for creating a popup on your website using CSS and JavaScript codes.
Before we dive into the tutorial, let’s talk about why to use popups on your site in the first place.
Why Use Popups on Your Site
Using popups on your website can be tricky. Popups can be pretty annoying if they interrupt the user experience (UX). Like online ads and cookie consent notifications, people develop a ‘blindness’ to popups that annoy them.
And yet, when it comes to getting users to take action on your website, one thing is clear:
Popups work.
On average, popups convert anywhere between 1-8%. Some OptinMonster customers who used popups have improved their conversions by up to 600%.
So why do some popups hurt UX while others engage users and boost conversion rates? It comes down to 2 main factors. High-converting popups or dialog boxes are:
- Visually appealing
- Personalized to the users
When you show generic, shoddy popups across your site that aren’t personalized for your visitors, you’re definitely going to annoy people.
But when you configure popups that are built to get people’s attention, you’ll improve your website’s conversion rates.
Take this simple popup box from Crossrope, for example:
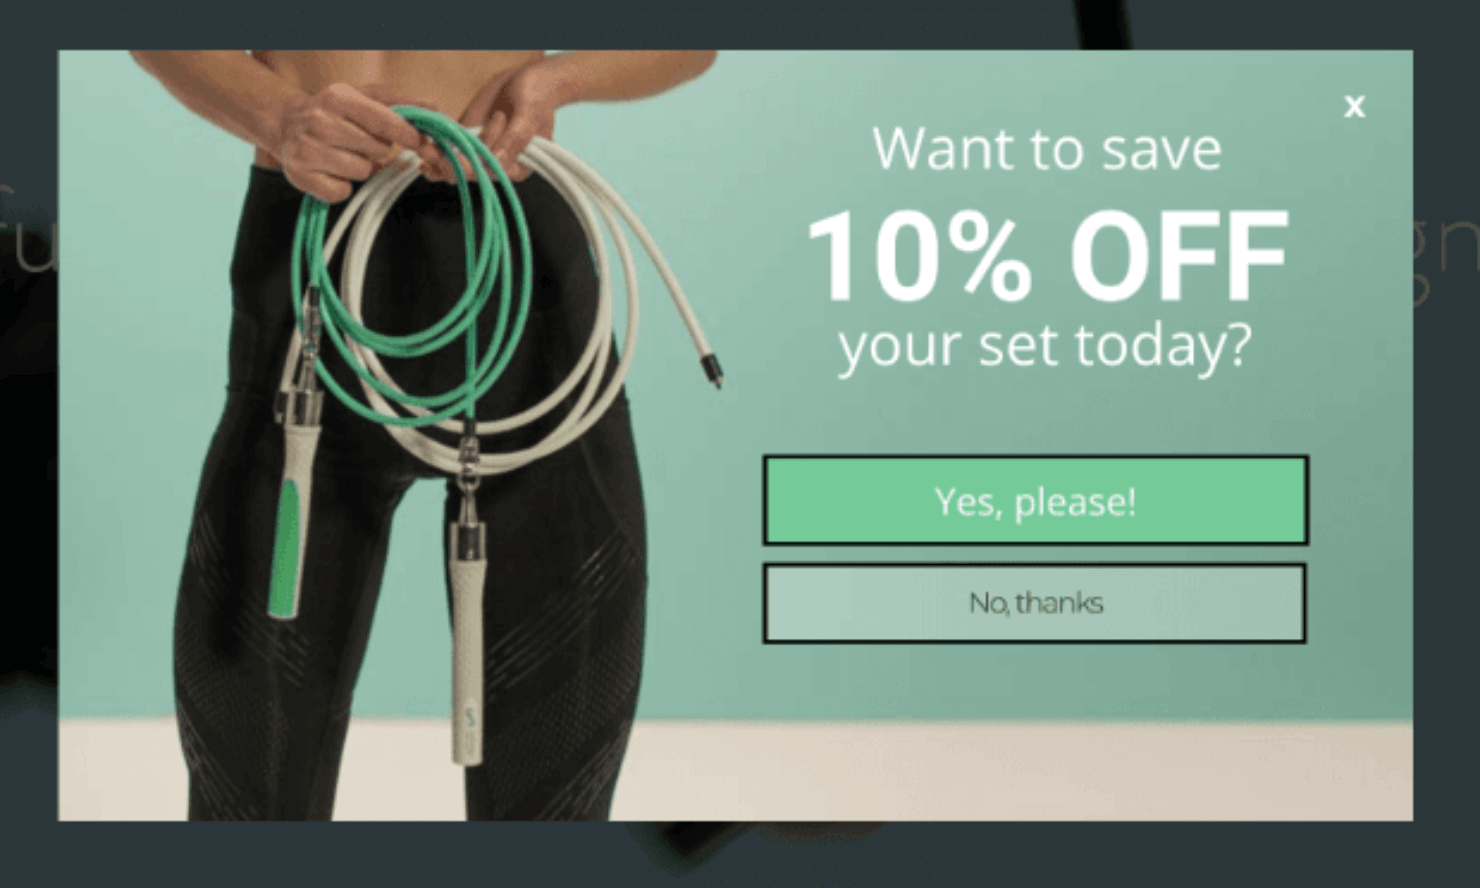
This popup offers customers a tangible value (10% discount) while they’re on the website. It’s also visually appealing and customized to match the site’s design.
This popup helped Crossrope grow its email list by 900% and recovered 7.65% of abandoning buyers.
Like I said, popups can work wonders when they are designed well.
And that’s exactly why OptinMonster gives online business owners the tools to create highly-targeted popups the right way.
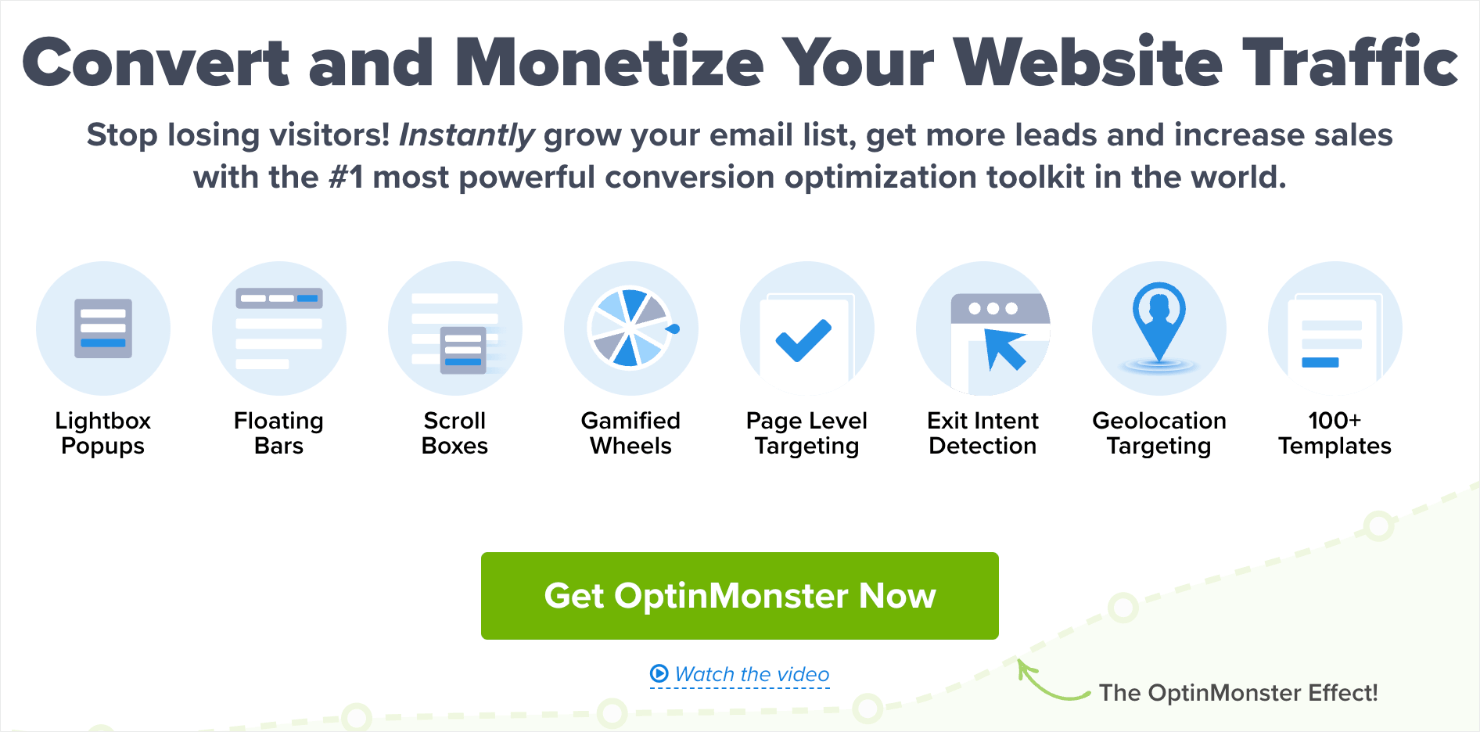
OptinMonster is the world’s #1 lead generation software. It helps you design highly-customizable popup campaigns and convert your website visitors through ‘optin campaigns.’
Optin campaigns are messages that appear on your site, usually in the form of a popup, fullscreen campaign, floating bar, or a website notification bar.
With OptinMonster, you can build stunning popups within a few minutes even if you don’t know anything about web development. Here’s one of the popups we’ll build today using OptinMonster:
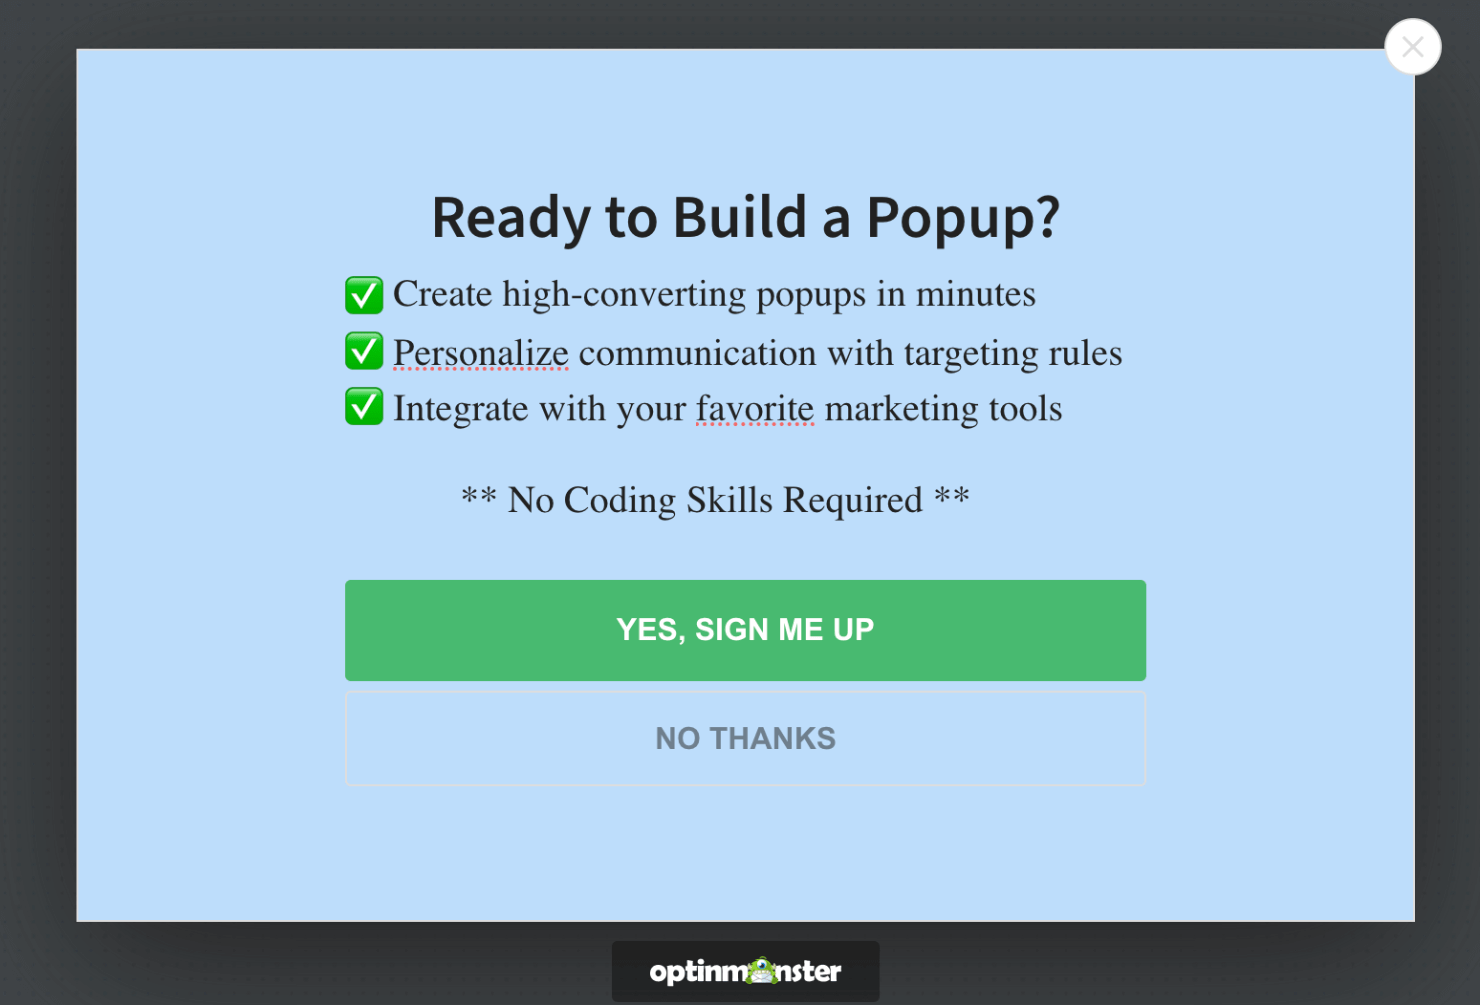
This popup took me less than 5 minutes to build. I also added targeting rules to make the popup more personalized for site visitors in their customer journey. And I integrated the campaign with an email service provider (ESP) so that I can organize all lead data in one place.
Now, let’s look at the 2 ways you can build a custom JavaScript popup form for your website.
How to Create a CSS and JavaScript Popup Form
OptinMonster allows you to use custom CSS and JavaScript codes to create high-quality, customizable campaigns that match your brand’s style.
For instance, using custom JavaScript codes in OptinMonster lets you:
- Load custom fonts.
- Set custom cookies.
- Create custom login forms.
- Add additional resources, like custom animation libraries.
- Include language translation based on location.
- Add support for 3rd-party tools.
- Load custom Google Analytics events for in-depth tracking.
Similarly, you can use custom CSS to control how HTML elements will be displayed.
In this article, I’ll walk you through the following 2 methods:
- Coding a ‘CSS and JavaScript’ popup from scratch
- Creating a “no-code” popup for any website in 3-5 minutes
Method #1 is more useful for users who know CSS and JavaScript to make a functional popup.
However, with OptinMonster, you can use its ready-to-use templates or use custom codes to customize a popup to your liking. This allows you to build the perfect campaign for your brand even if you have zero knowledge of programming languages.
And that’s what we’ll cover in method #2. Let’s first get the 1st method out of the way.
Method #1: Code Your CSS and JavaScript Popup
For this part of the tutorial, I’ll create a very simple popup that appears when your users click a button. This needs 3 things:
- HTML: Stands for ‘HyperText Markup Language’ and is one of the building blocks for designing web pages. It essentially tells your browser how to structure a web page content.
- CSS: Cascading Style Sheets (CSS) is a programming language that you can use to style your web pages. This includes visual aspects like font, color, page layouts, margin-bottom, and so on.
- JavaScript: It’s a programming language that’s mostly used to make web pages interactive.
Since we aren’t creating a web page, we don’t need a website-building platform to add these codes. Instead, we’ll just use a few lines of HTML, CSS, and JavaScript codes available online to customize our popup in OptinMonster.
Let’s dive in!
Note: The following popup is based on code created by Darshan Rajadhyaksha. You can check out his CodePen profile here.
Step 1: Select Your Campaign Type and Template
Before you start, you first need to sign up with OptinMonster or log in to your account.
Once you’re in, click on the Create New Campaign button:

Select your campaign type. OptinMonster has multiple campaign types to choose from, such as:
- Popup
- Floating Bar
- Fullscreen
- Slide-in Scroll Box
- And many more
For today’s example, I’ll choose Popup:

Next, select your template. OptinMonster offers over 100 pre-built templates, all of which look great across desktop, tablet, and mobile:
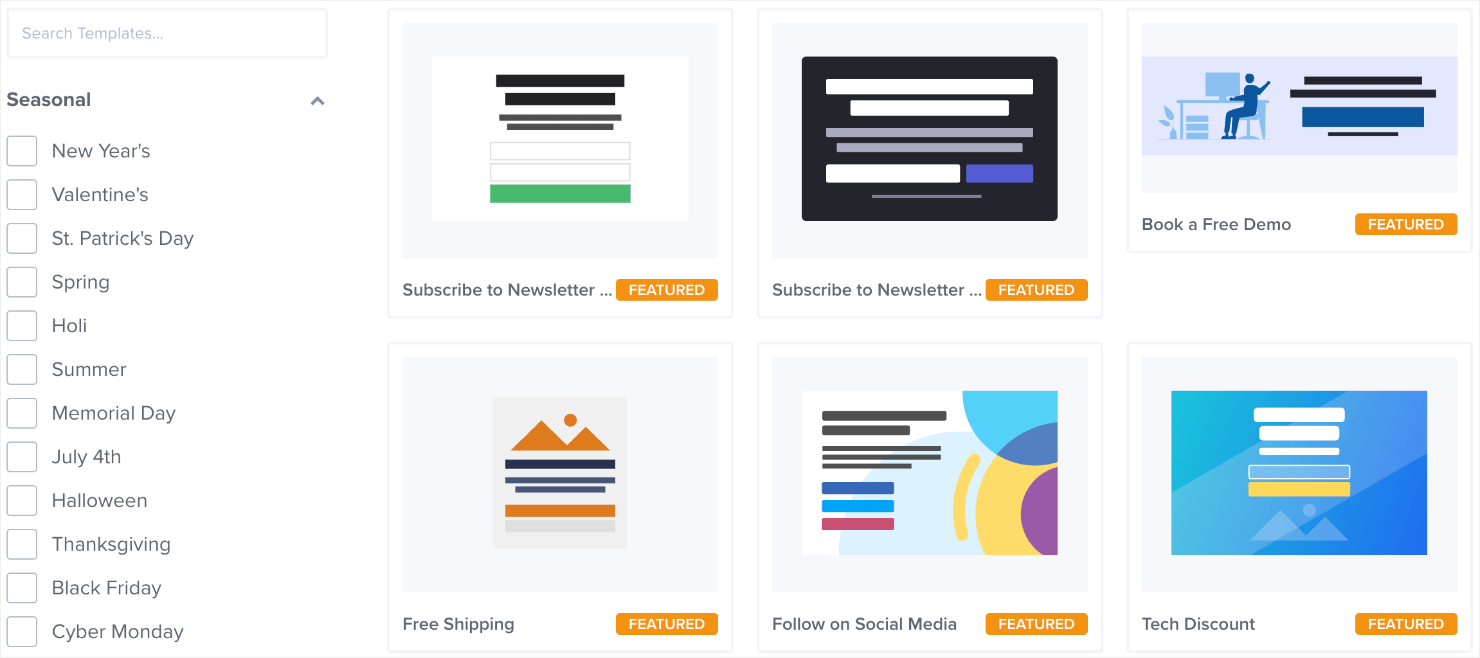
For today’s tutorial, I’ll choose the Canvas template:
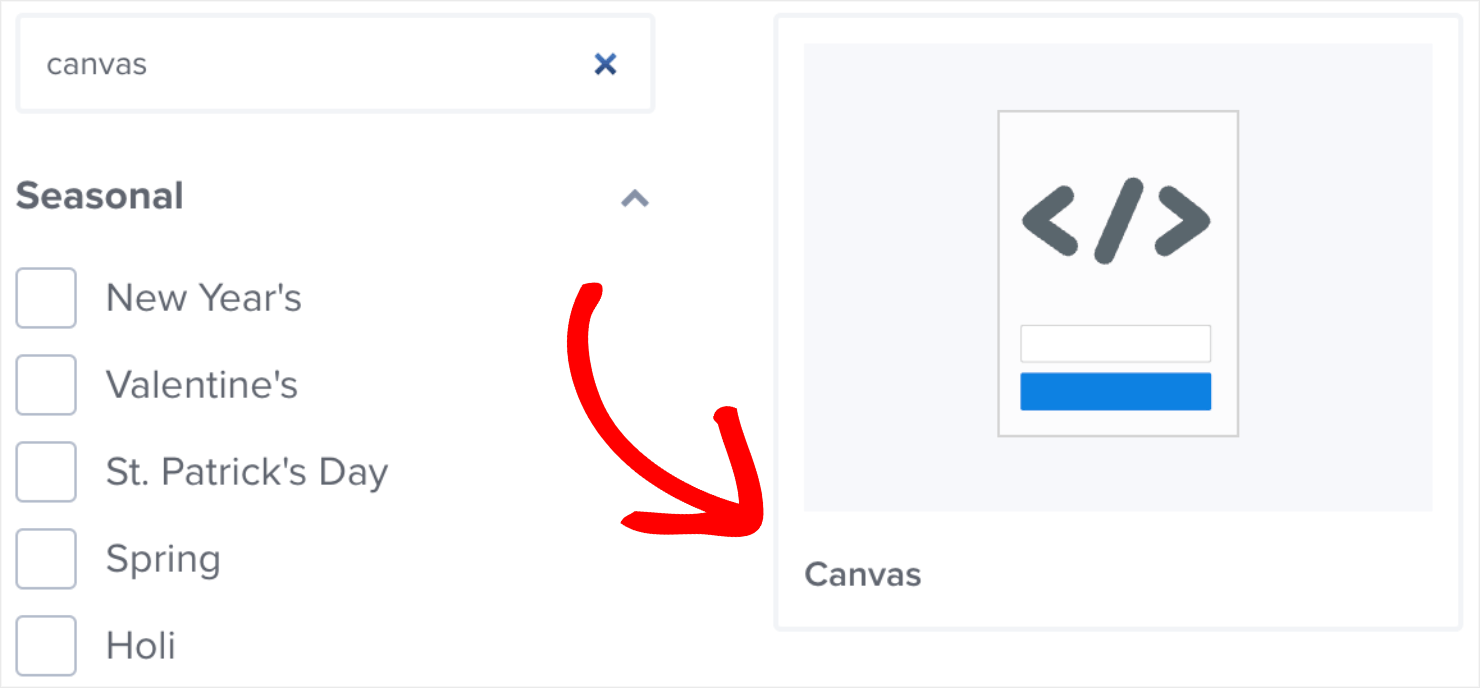
Although you can add HTML, CSS, and JavaScript codes to any OptinMonster templates, Canvas is the best option when building a popup from scratch.
The good news is that you don’t always need any coding skills to create a beautiful campaign.
OptinMonster’s intuitive drag-and-drop designer allows even beginners to create a JavaScript popup form.
Step 2: Add the HTML Element
Go to the Blocks menu on the left. Locate the HTML element from the options.
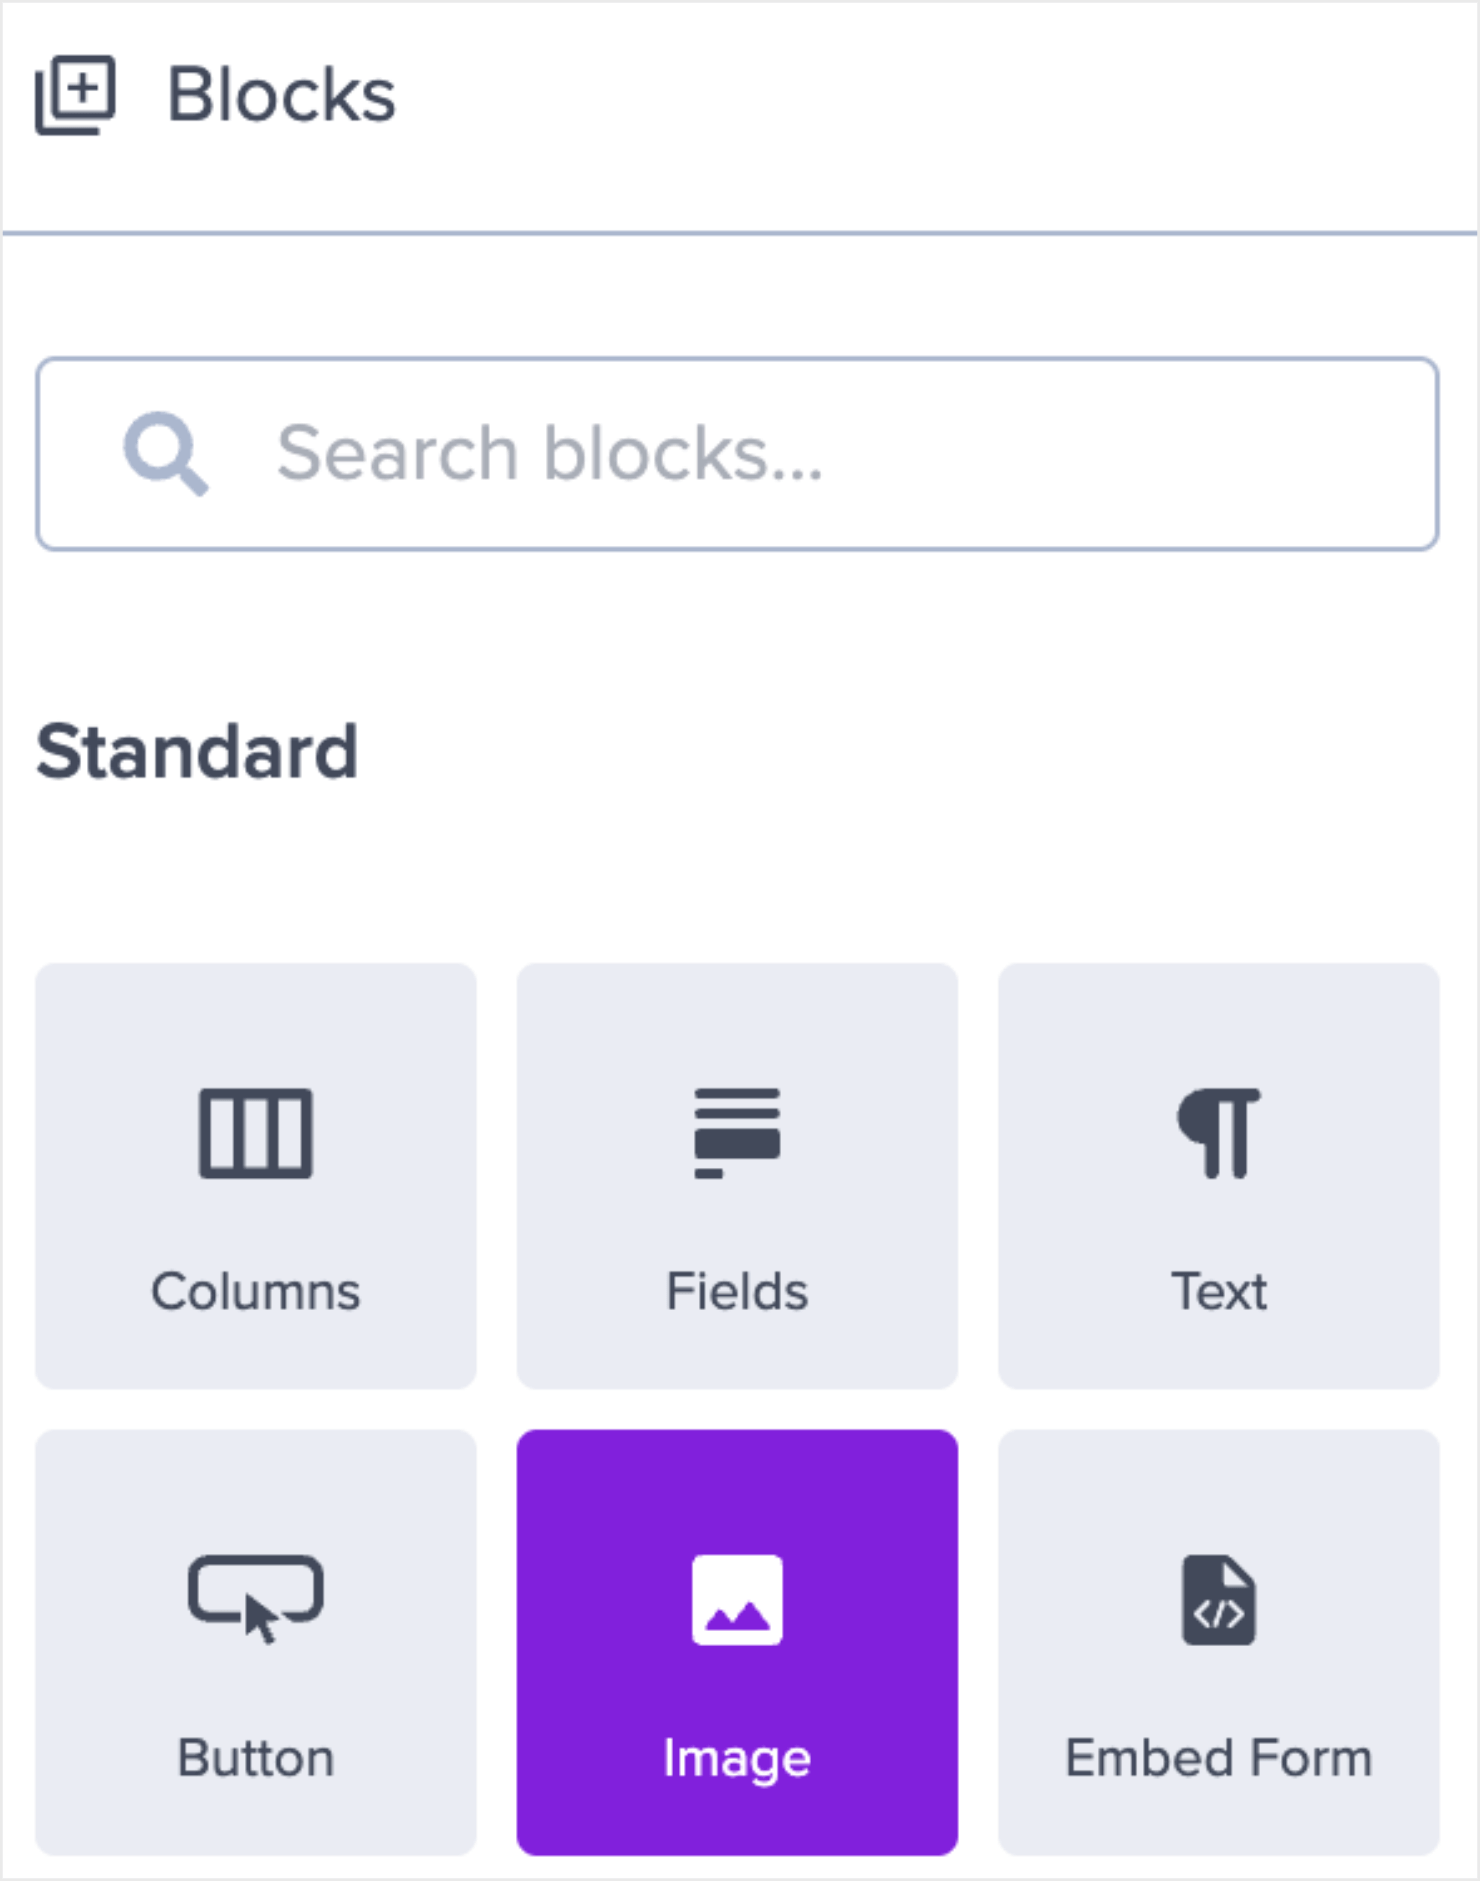
Next, drag and drop the HTML block in the campaign builder.

Once it’s in the campaign builder, you’ll see the HTML editor appear in the left-hand menu.
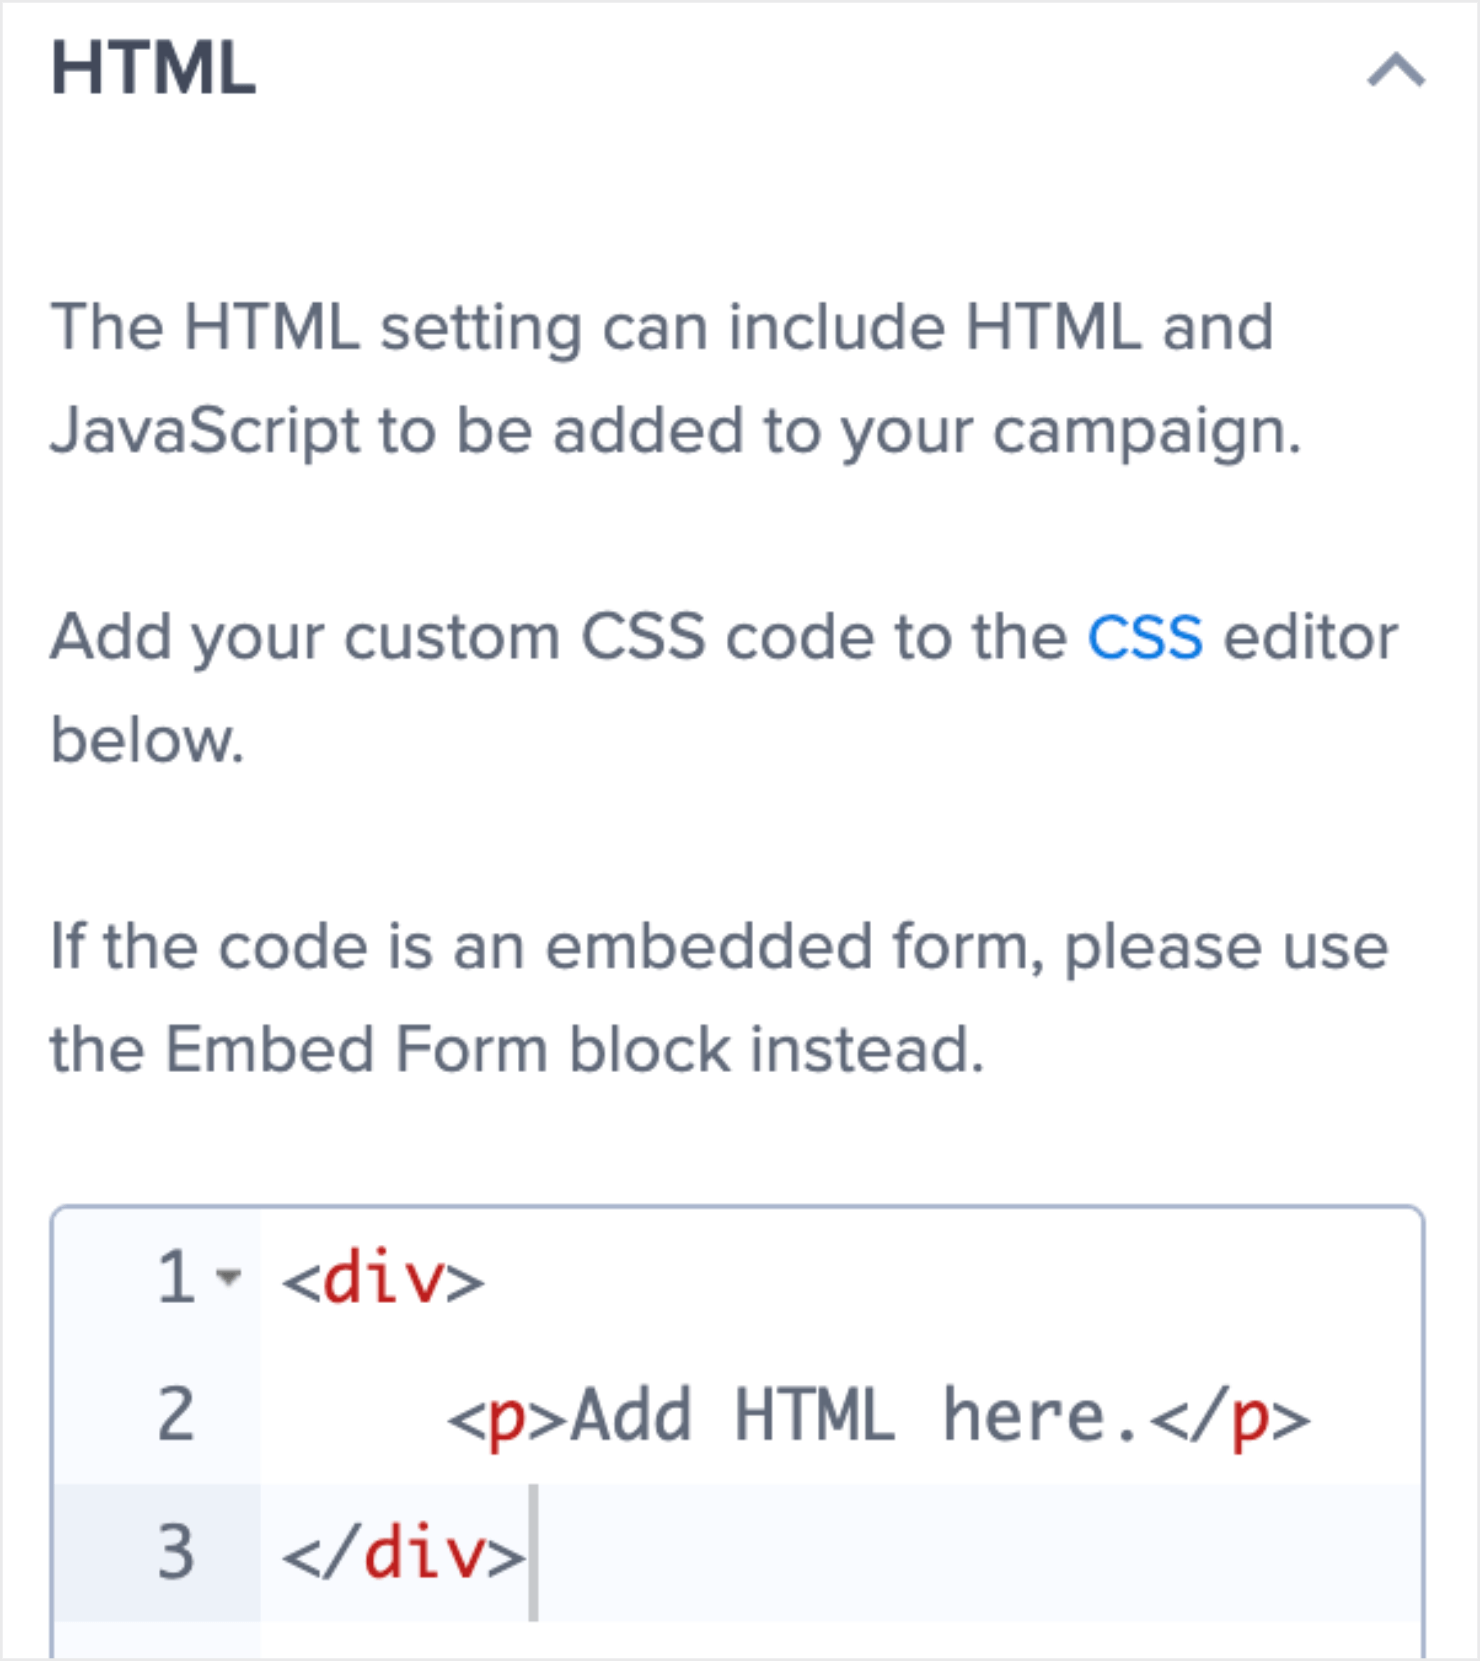
Delete the placeholder code from the editor. Copy and paste the following code:
You can change the popup content directly in the HTML editor if you want:
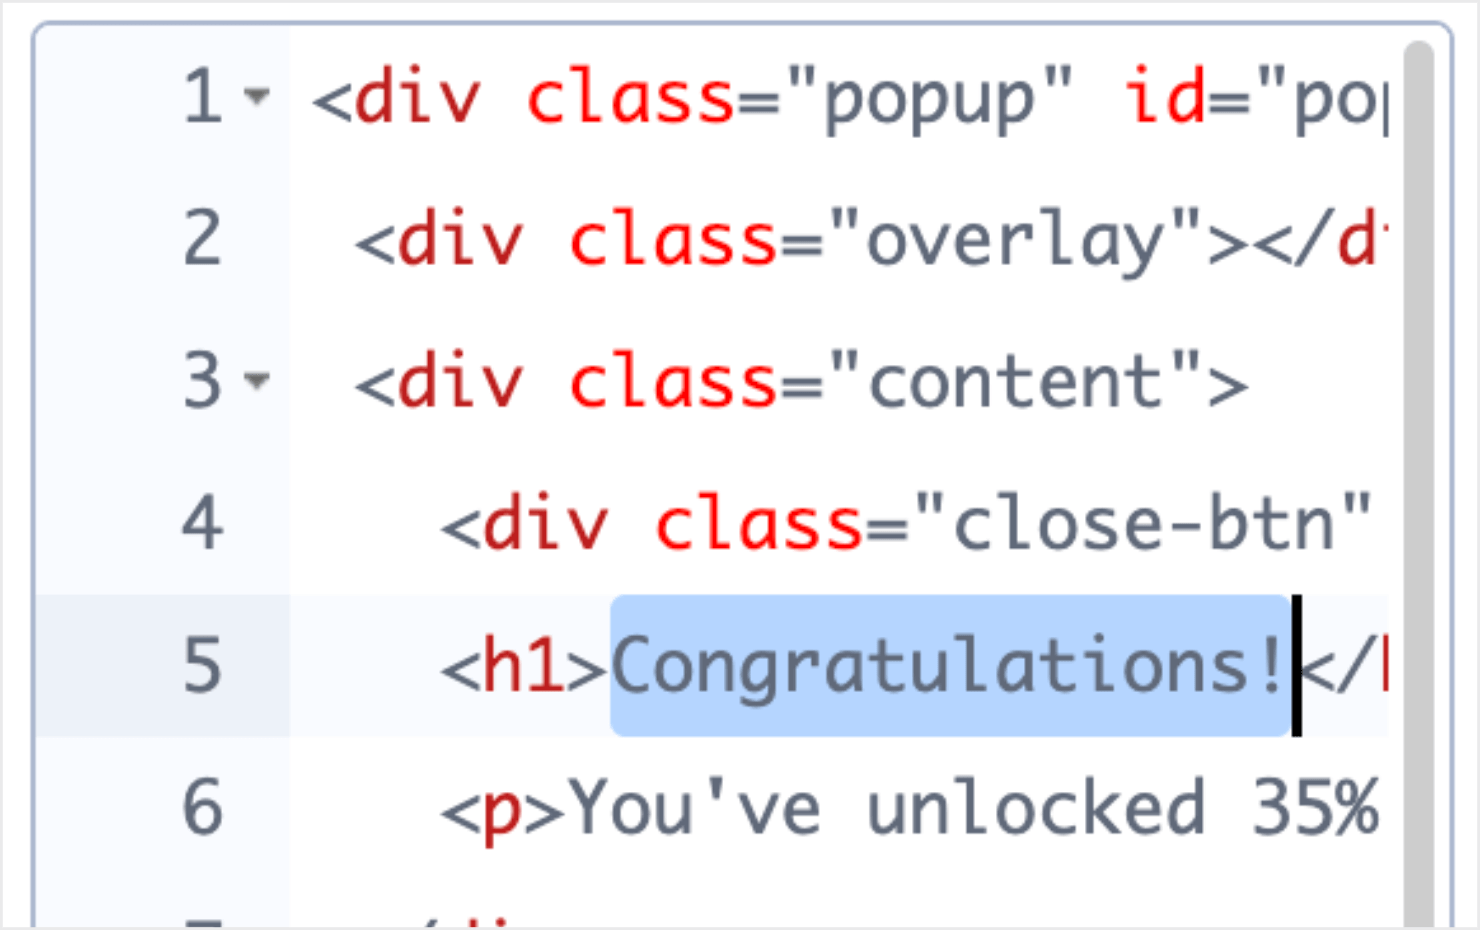
Next, I’ll add a bit of CSS to style the popup’s content and button appearance.
Step 2: Add the CSS Code
Go to the gear icon at the bottom-left of the dashboard.

Click on the Advanced tab at the top of the menu bar.

You’ll see the Custom CSS and Custom JavaScript options towards the bottom of the menu.
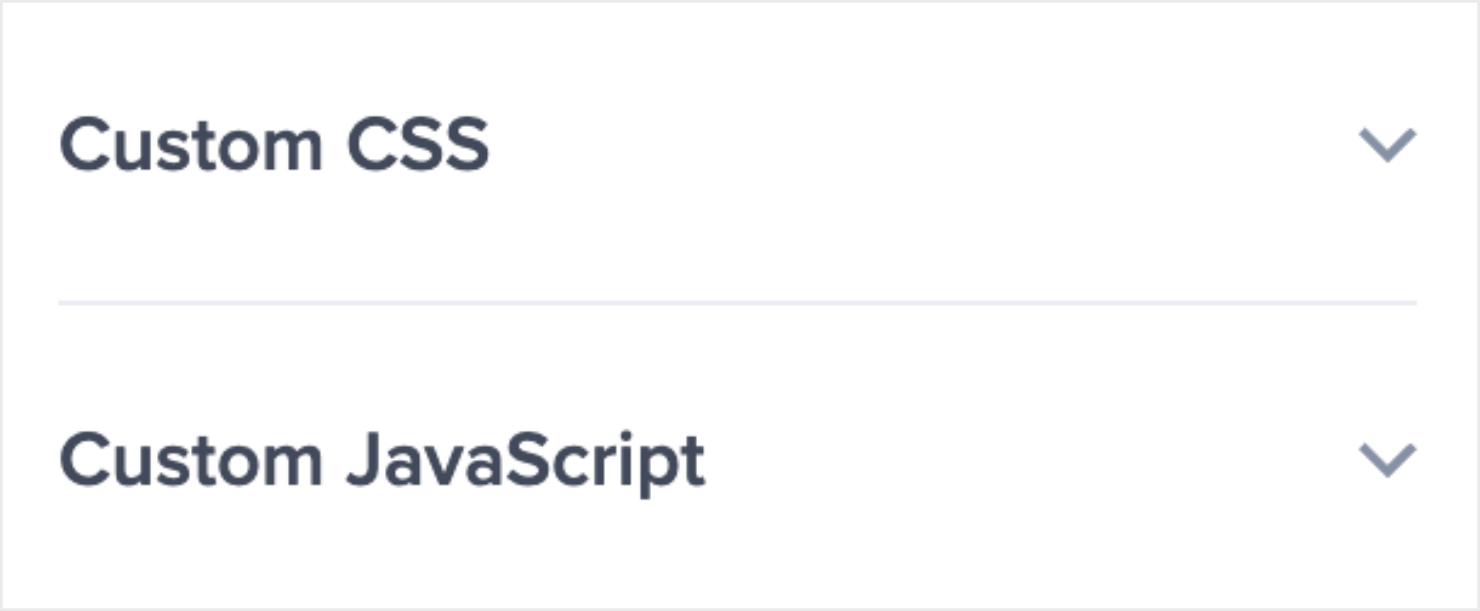
Click on the Custom CSS option to open the CSS editor.
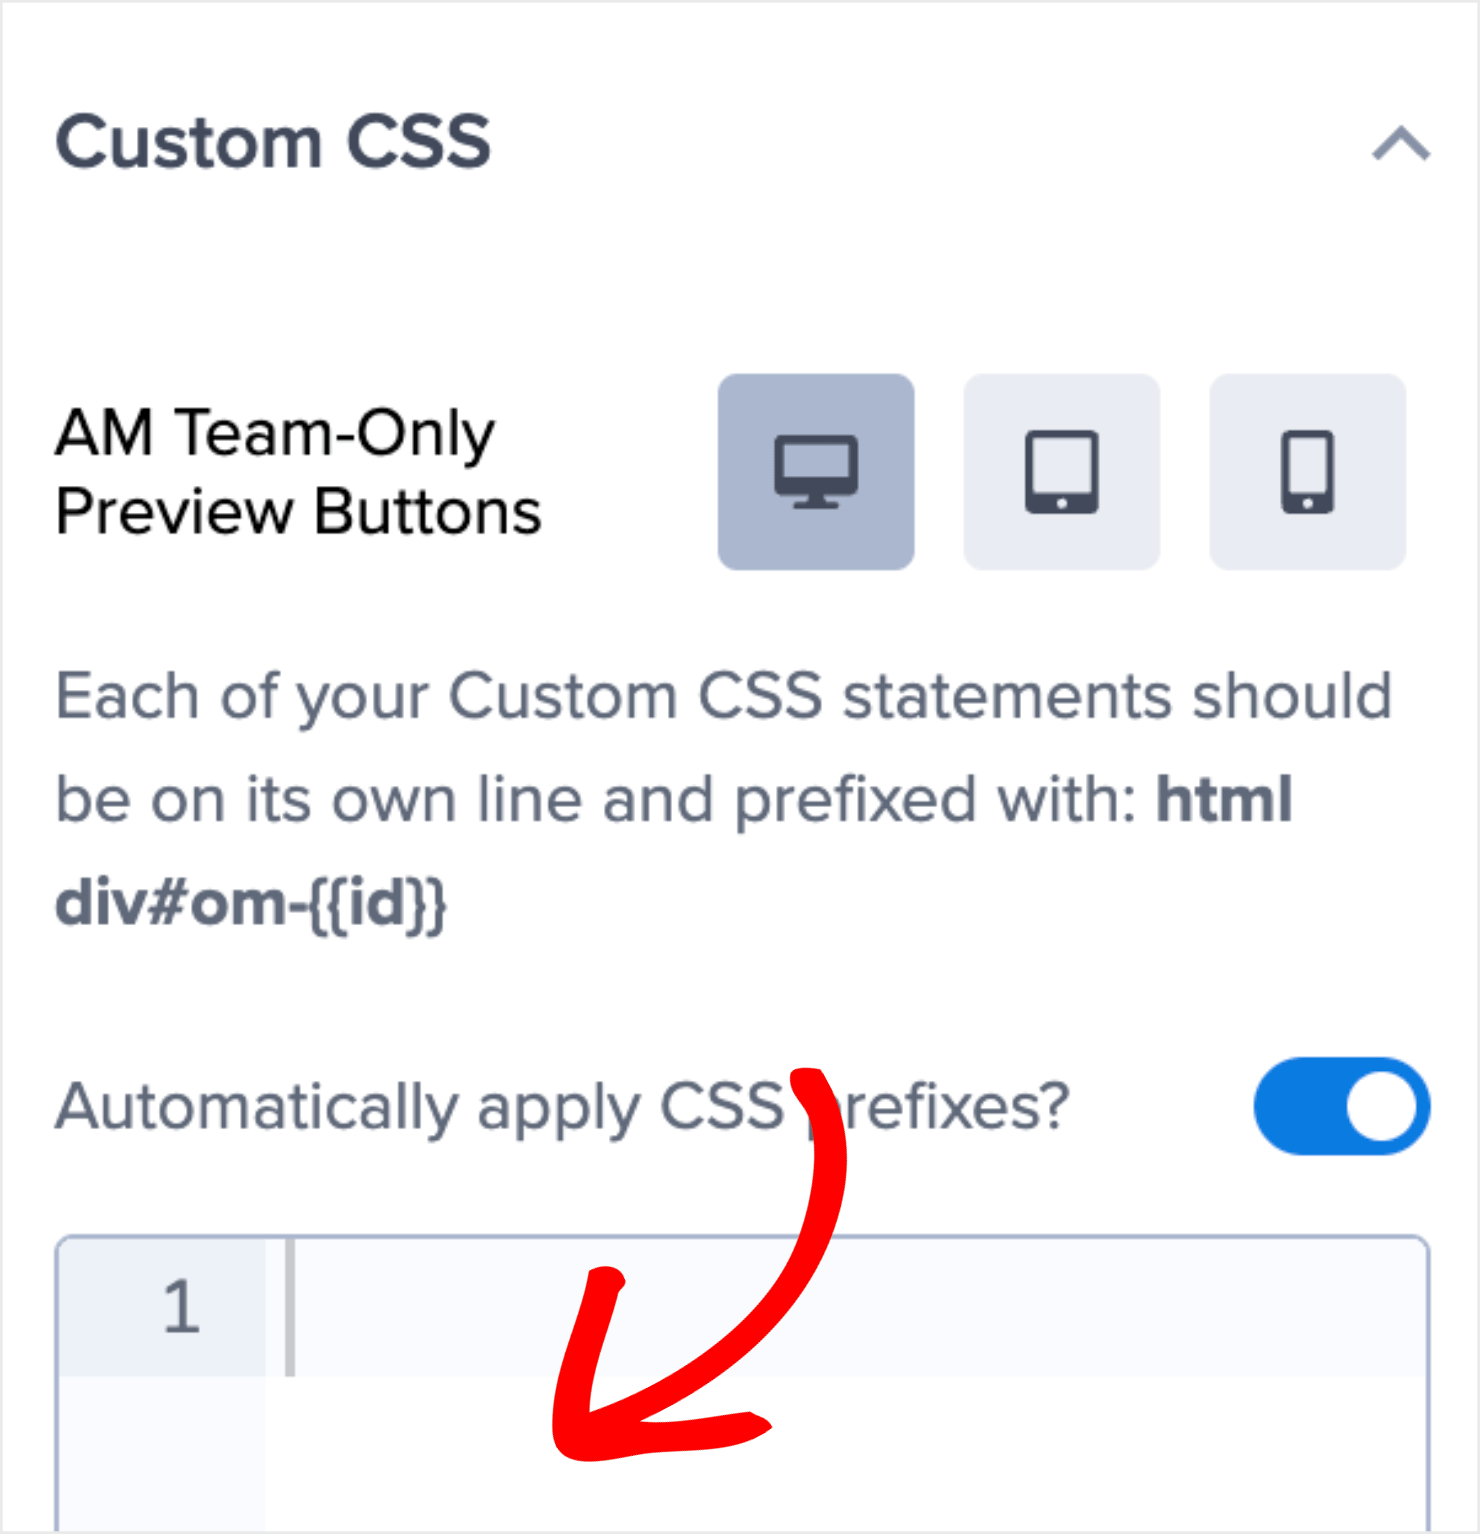
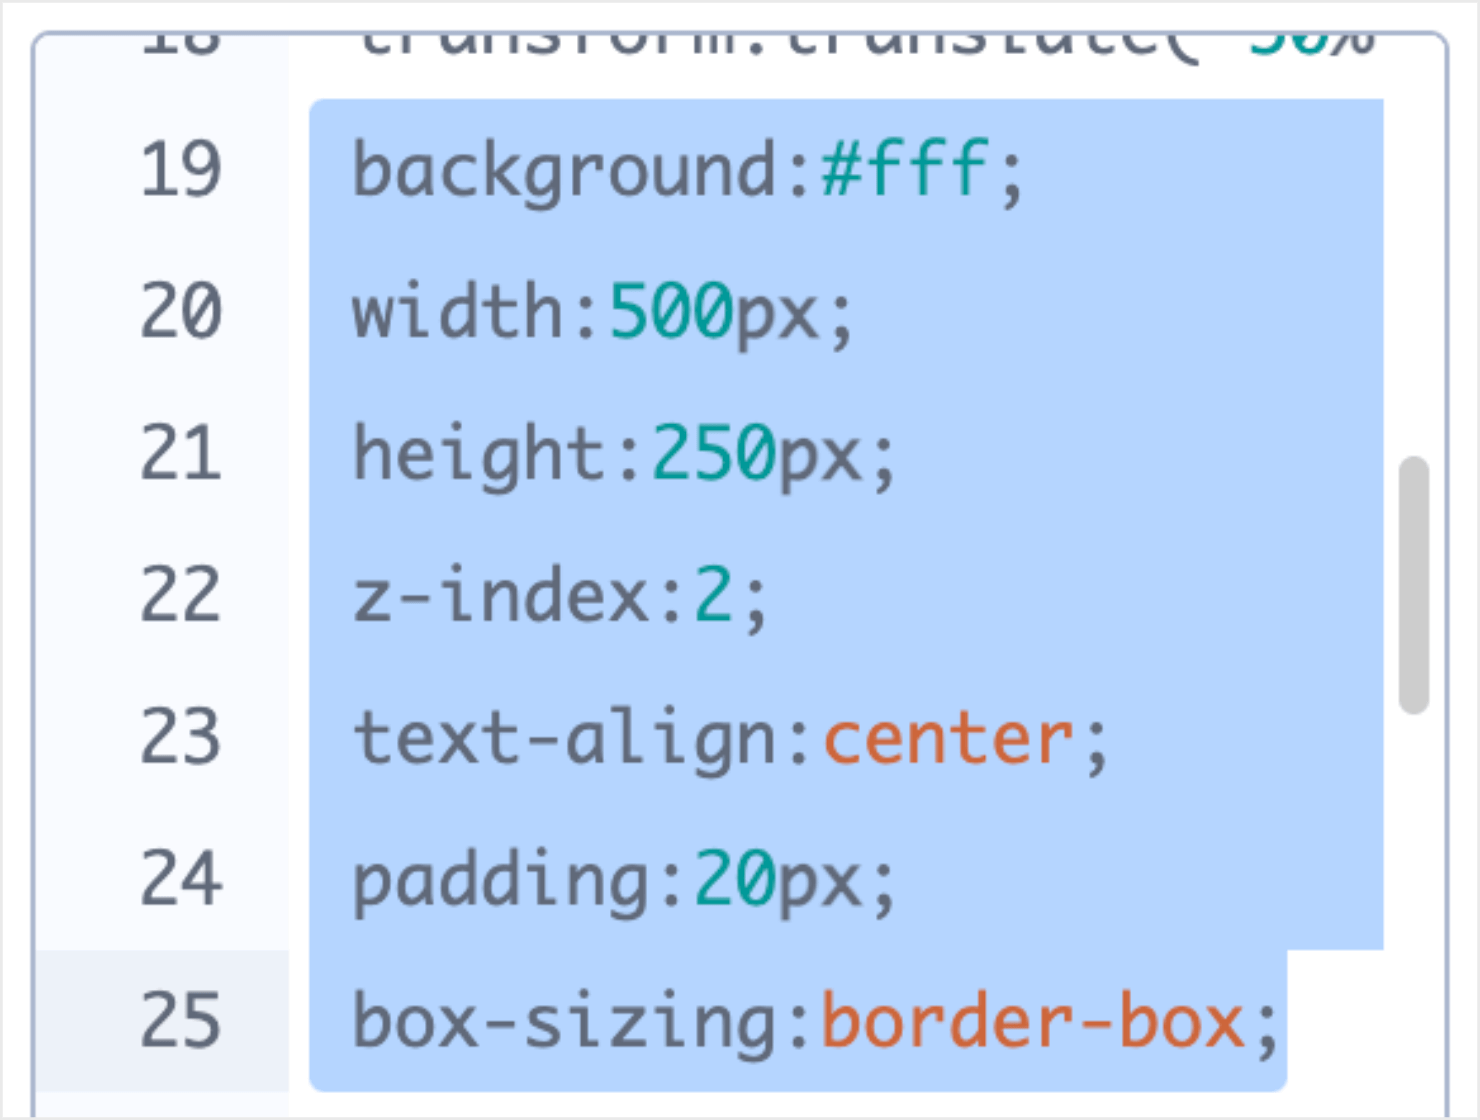
Copy the following CSS code and paste it into the editor to style your popup button and content:
With this code, you can change the visual appearance of your popup button and content. That includes font, font size, color, and more.
You can also change the background color in the ‘background’ or the text alignment under ‘text-align’ fields. These visual aspects are optional, and you should only modify these aspects if you know CSS.
Here’s how the popup appears in the campaign builder after I added the CSS code.

And now comes the last step: adding a bit of JavaScript.
Step 3: Add JavaScript Code
Like I mentioned earlier, JavaScript is a programming language that’s mostly used to make web pages interactive. Here, adding the JavaScript code below will allow your popup to open when users click on it.
First, click on the Custom JavaScript option right under the Custom CSS menu to expand the JavaScript editor.
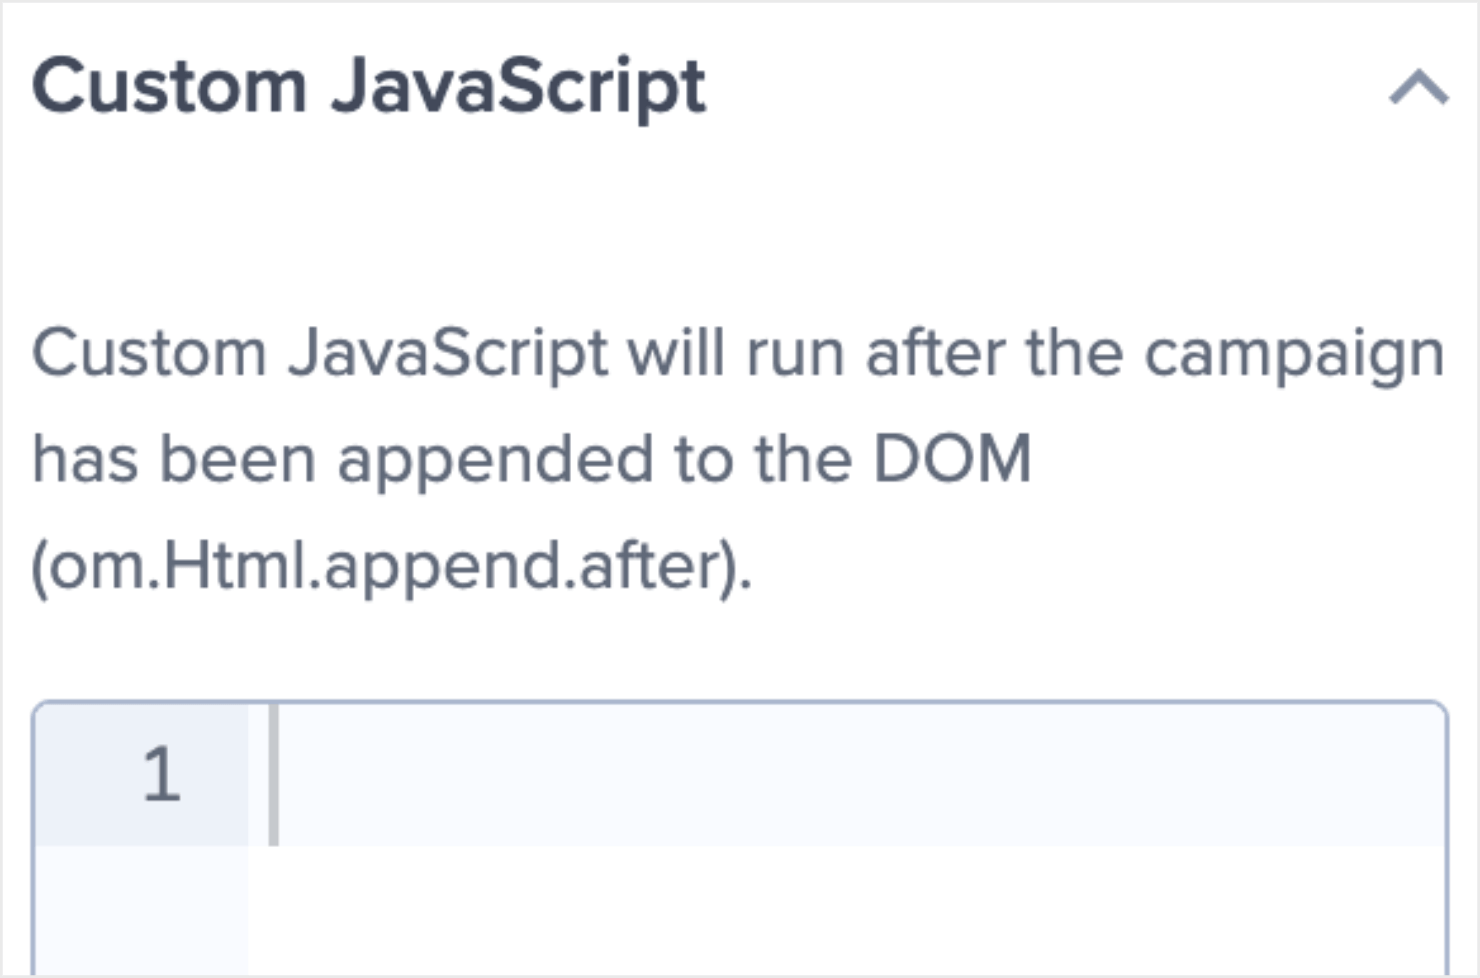
Copy and paste the following JavaScript snippet in the editor:
And that’s it! You have designed a simple popup for your site that opens with the click of a button.
Now let’s set the display rules to make sure the popups appear meaningful to site visitors in their customer journey.
Step 4: Set Your Display Rules
When you’re coding your own JavaScript code to create a popup form, it can be difficult for you to set up specific rules that target customers at the right time.
But it’s really simple with OptinMonster.
OptinMonster has 2 types of display rules that allow you to personalize your campaign to specific segments of your audience:
- Triggers
- Targets
Triggers rely on user behavior to determine whether or not a user will see your campaign.
This can include showing an Exit-Intent® popup when users are leaving their browser tab. Or you can trigger a popup when people scroll past a certain percentage of a web page. You can also show a popup based on the time people spend on a specific page.
For a deeper understanding of OptinMonster’s targeting rules, you can go through our guide: how to use display rules to customize when a campaign will appear.
Targets use characteristics of your customer profile to make your campaign appear.
This would include features like Geo-Location targeting which lets you show a popup based on your visitor’s geographical location. Similarly, you can set your popup to appear based on the device they’re using or how they’ve interacted with your site in the past.
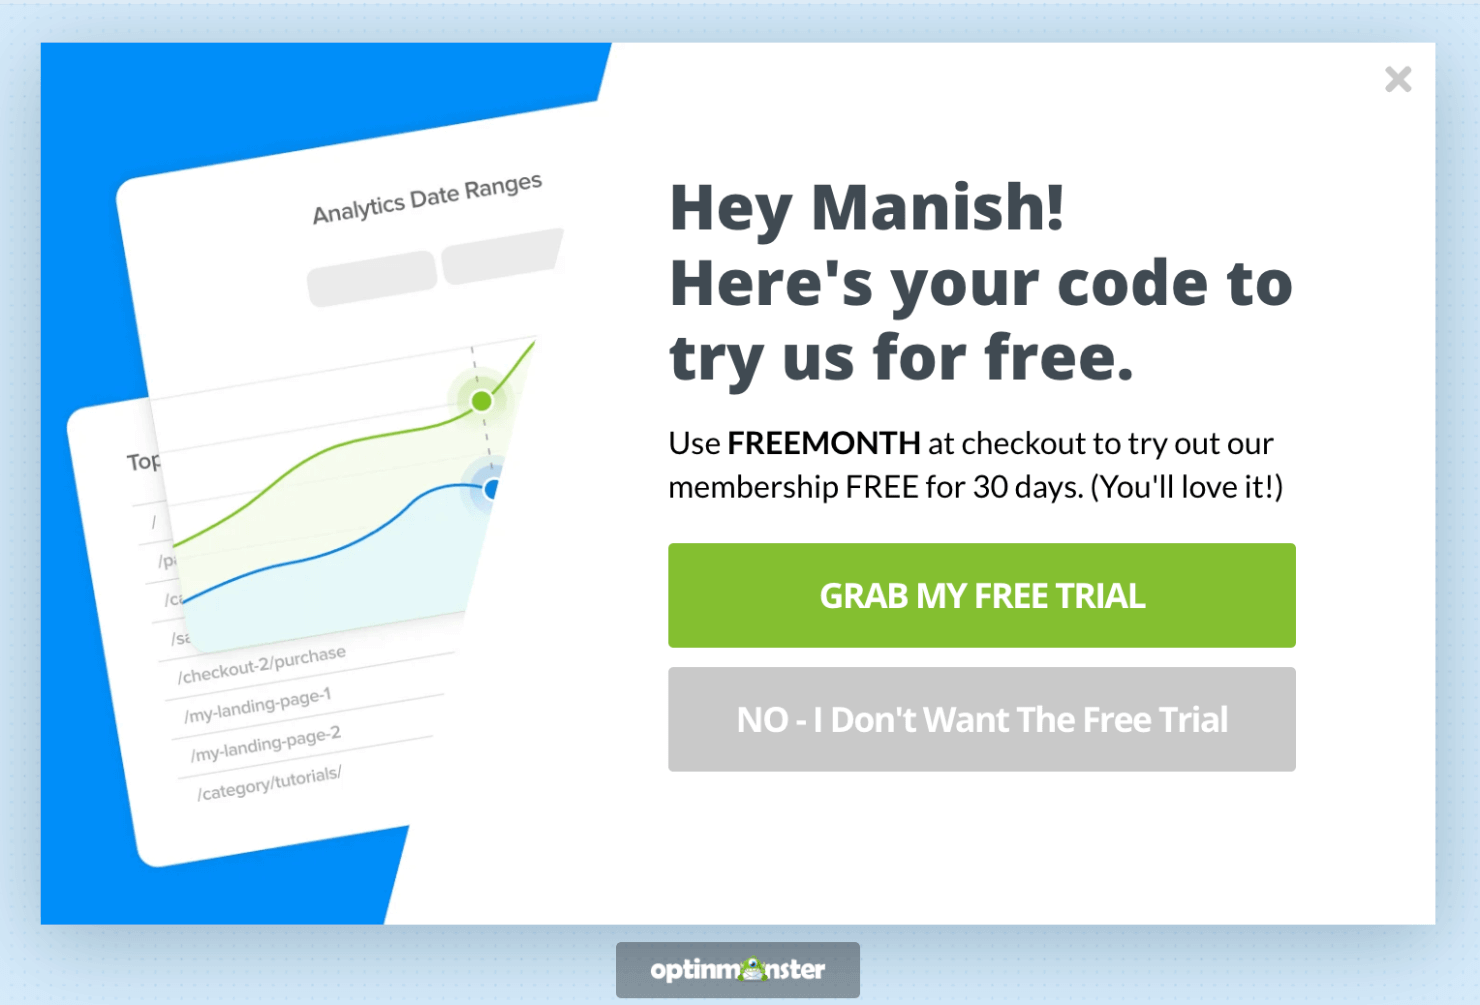
You can also use Smart Tags to make a dynamic popup that refers to your visitor’s name or location. That would look something like this:
And with our OnSite Follow Up Campaigns®, you can build drip campaigns. That means you can display popups depending on how your users have interacted with the campaigns they’ve already seen.
For more information on OptinMonster’s user behavior targeting, read how Page-Level Targeting can help you attract more leads.
Ok. So all these features are pretty cool. But what do they do for you at a practical level?
OptinMonster’s targeting rules allow you to quickly and easily personalize how you communicate with your audience. The more targeted your campaigns are, the higher conversion rates you can expect.
That means more growth for your business in a fraction of the time.
In fact, these personalization techniques are how Expat.com was able to grow its contact list with over 30,000 new members each month.
You can have similar success by targeting your popups to the right audience without writing a single line of code.
Back in the editor, I’ll set a simple rule for the popup we’re designing. To do this, go to the Display Rules tab and click on Edit.

By default, the time on page is set to is at least 5 seconds. This is good, but I want to make sure site visitors spend a bit more time on the page before I show them the popup message. So I’ll change the 5 seconds to 15 seconds.

And because I want the popup to be contextual to site visitors, I want the popup to appear only on specific pages. For that, I’ll change the is any page to is the homepage.

This way, people will now see the popup when they land on the homepage and spend at least 15 seconds there.
This is much better than showing the popup as soon as visitors land on your website, or when they navigate to a different page on your site.
Next, let’s look at how to connect your campaign with your choice of email service provider so that you can manage your lead data easily.
Note: You can apply the same technique to set display rules for the popup that we’ll design in method #2.
Step 5: Integrate With Your Email Service Provider
If you’re using email marketing to communicate with your audience and boost sales, OptinMonster can help you grow the list further and seamlessly add new contacts to your list.
You can also segment your new leads directly from your OptinMonster account to offer a personalized customer experience.
In other words, you can use OptinMonster to put your email marketing strategy on auto-pilot. That saves you more time and energy to focus on other areas of your business growth.
OptinMonster has over 30 native integrations with the most popular email service providers on the market.
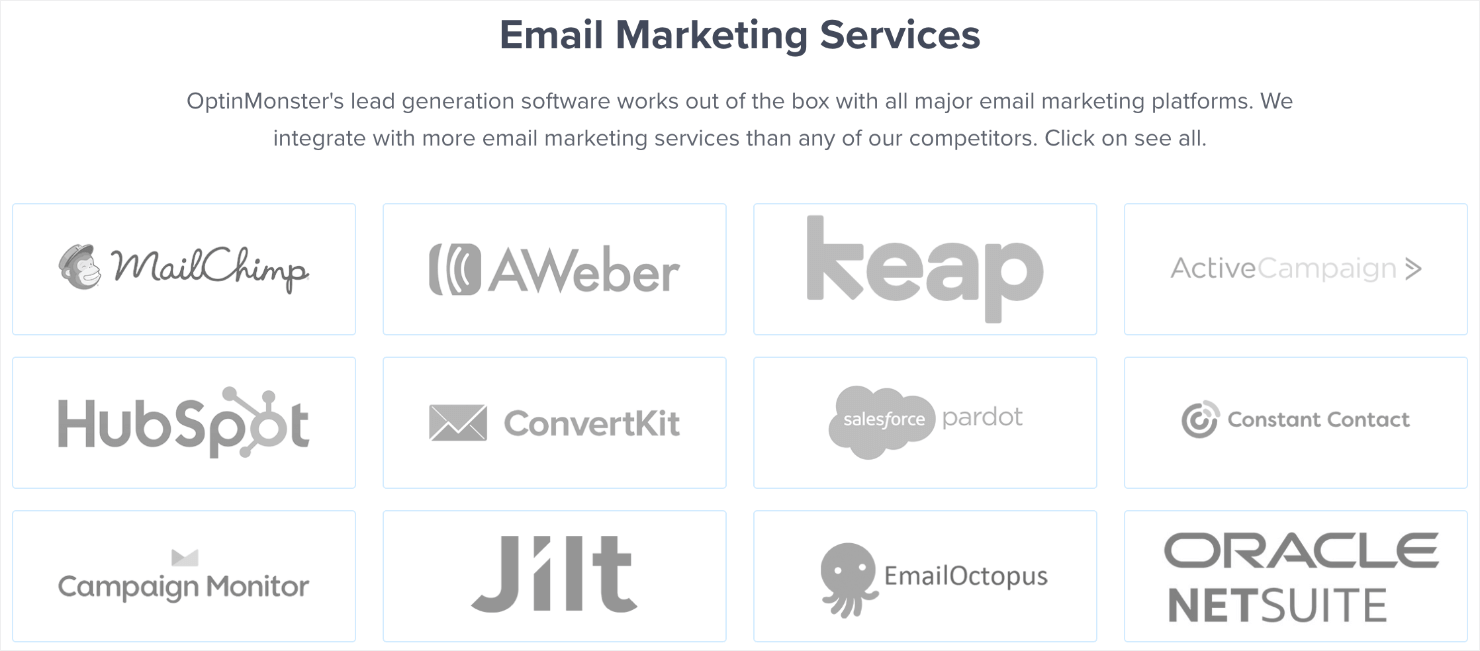
Here’s how to integrate your OptinMonster campaigns with an ESP. Go to the Integrations tab at the top.

Type the name of your email service provider or scroll through the page to find it manually.
I’ll choose Constant Contact since that’s the ESP I use for my website.
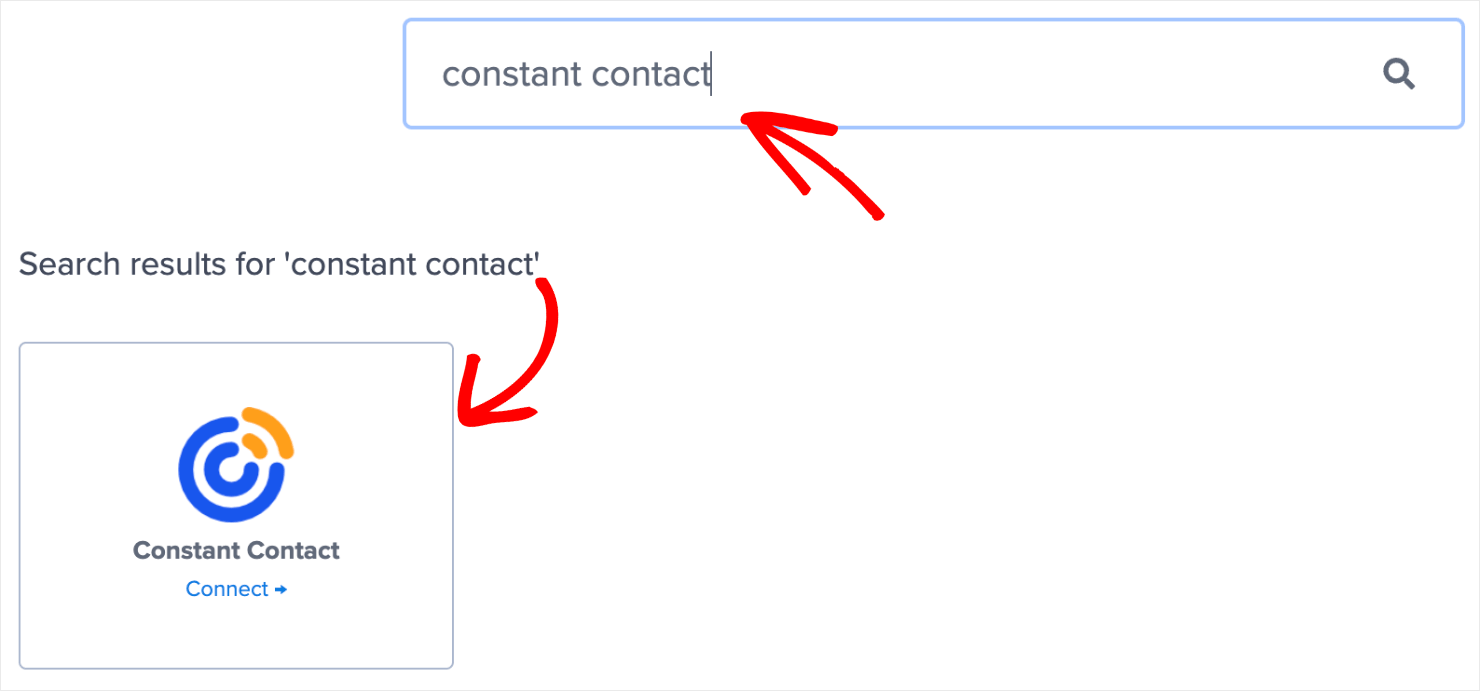
From there on, the exact steps to connect OptinMonster with your ESP depend on which email marketing automation software you’re using. For the most part, it involves copy-pasting your email account’s API key.
For more specific instructions, read our detailed guide on how to connect your email service provider with OptinMonster.
Pro-tip: Don’t see your ESP listed? You can get started with Monster Leads.
Monster Leads is OptinMonster’s internal lead storage tool. It lets you store your lead data, export it, and send individual emails from your existing email client.
Note: Once again, you can apply the same technique to integrate your email marketing software to the campaign that we’ll design in method #2.
Step 6: Save and Publish Your Campaign
Click on the Save button at the top-right of your screen to make sure you don’t lose the changes you’ve made so far.

Next, go to the Publish tab.

Under the Publish Status section, click on Publish.

And that’s done!
For validation, you can enter one of your connected websites under the Live Site Inspector to check how the popup appears. Or, you can preview the popup by clicking the Preview button in the Websites section.
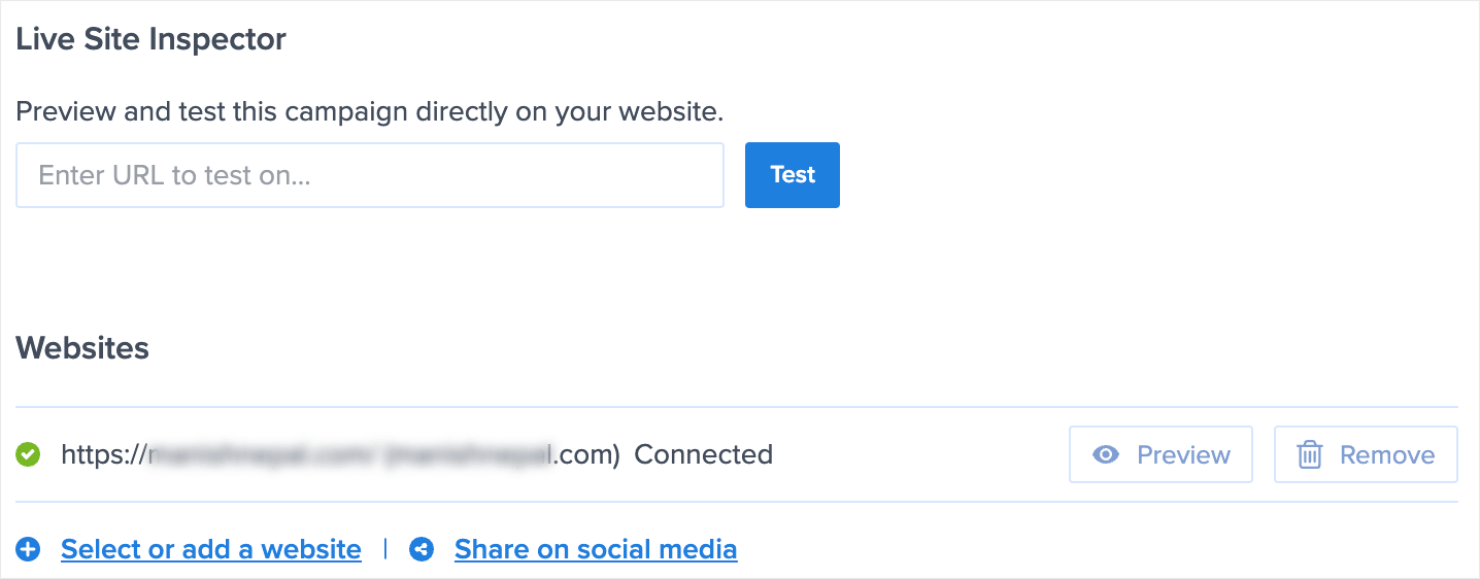
Here’s how the popup window looks on the live site.

And when you click on the button, here’s how it appears.

Now, let’s go through another method to create a CSS or JavaScript popup form without coding the popup manually.
Method #2: Create a High-Conversion ‘No-Code’ Popup
Step 1: Select Your Campaign Type and Template
Follow the same process that we covered in method #1 to choose a campaign type. When it comes to choosing the template, choose the Subscribe to Newsletter from the available options:
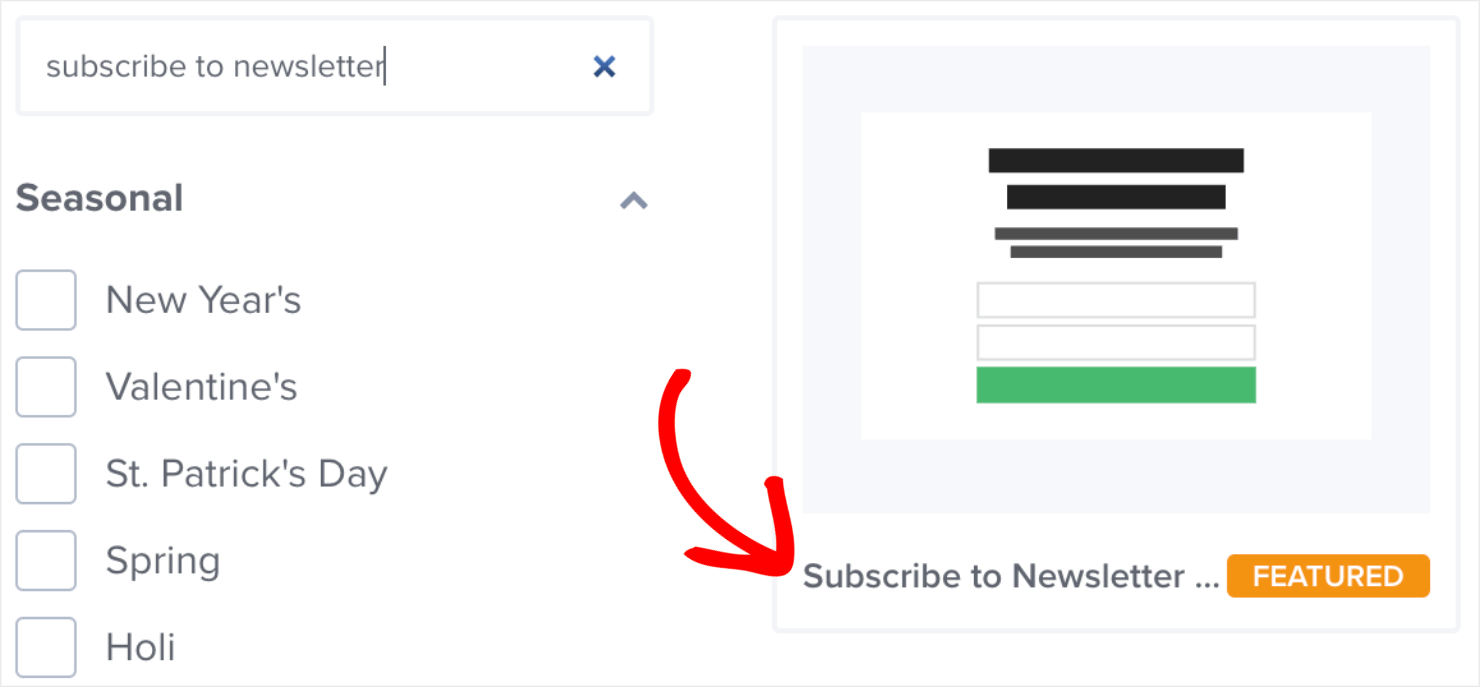
This is an excellent choice for beginners as it’s minimalistic in design but leaves plenty of room for adding a compelling copy.
Here’s what the campaign template looks like after you select the campaign template and click on Start Building:
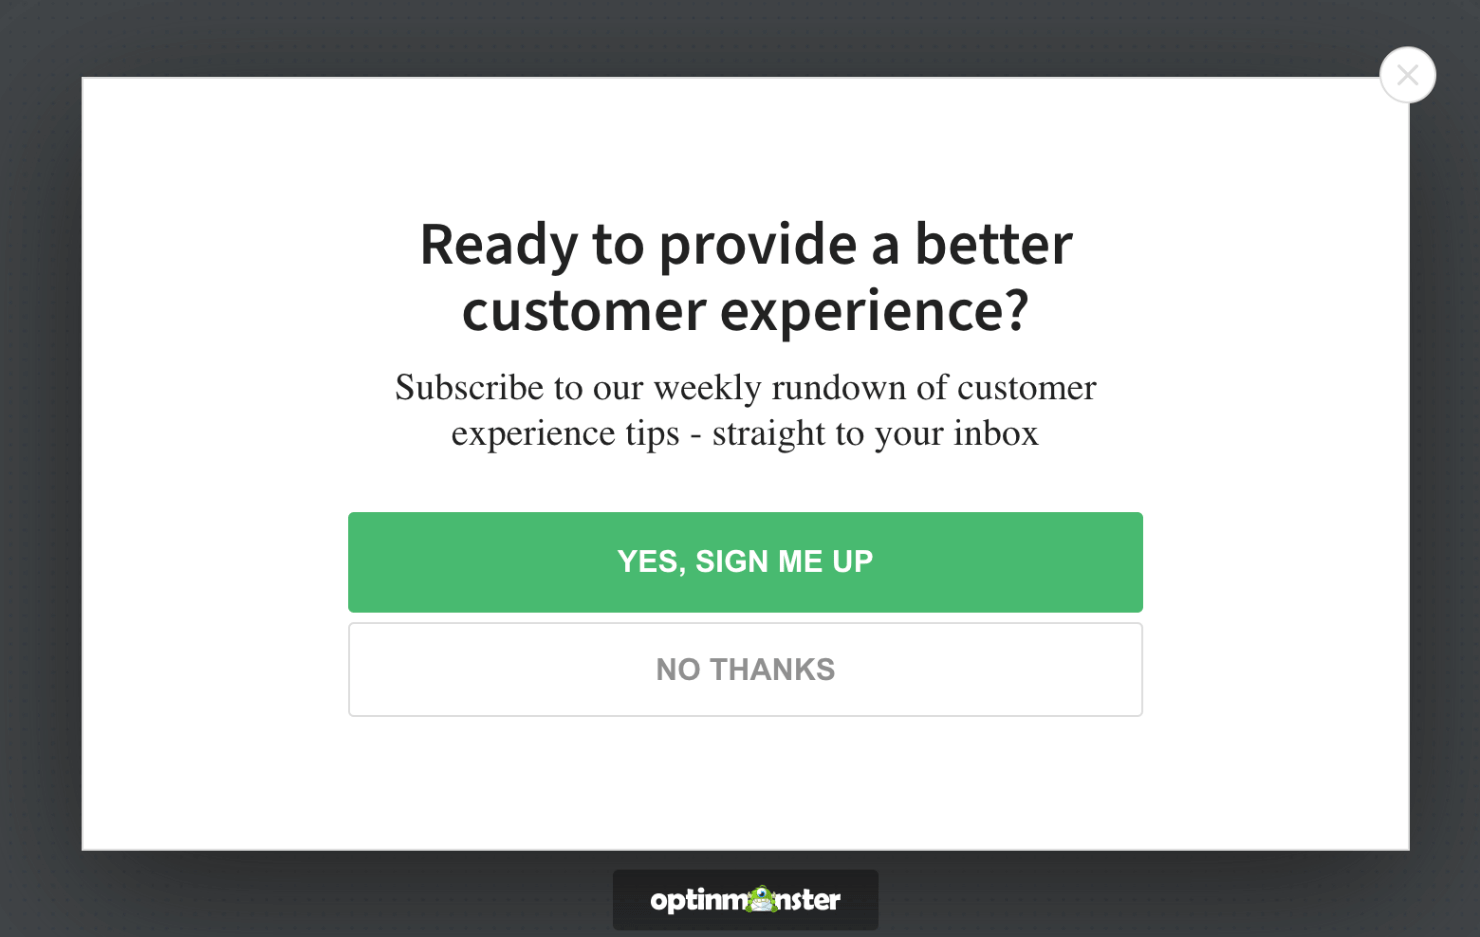
Next, it’s time to design the popup.
Step 2: Design Your Popup
There are hundreds of ways to design your popup campaign in OptinMonster. In this tutorial, I won’t get into all the details of how to design your campaign.
You can learn more about how to build an aesthetically pleasing campaign in our guide: creating your first campaign.
For today, all pre-built OptinMonster templates are made up of ‘blocks.’ You can click and drag any block from the left-hand menu to the editor, like we did with the HTML block earlier.
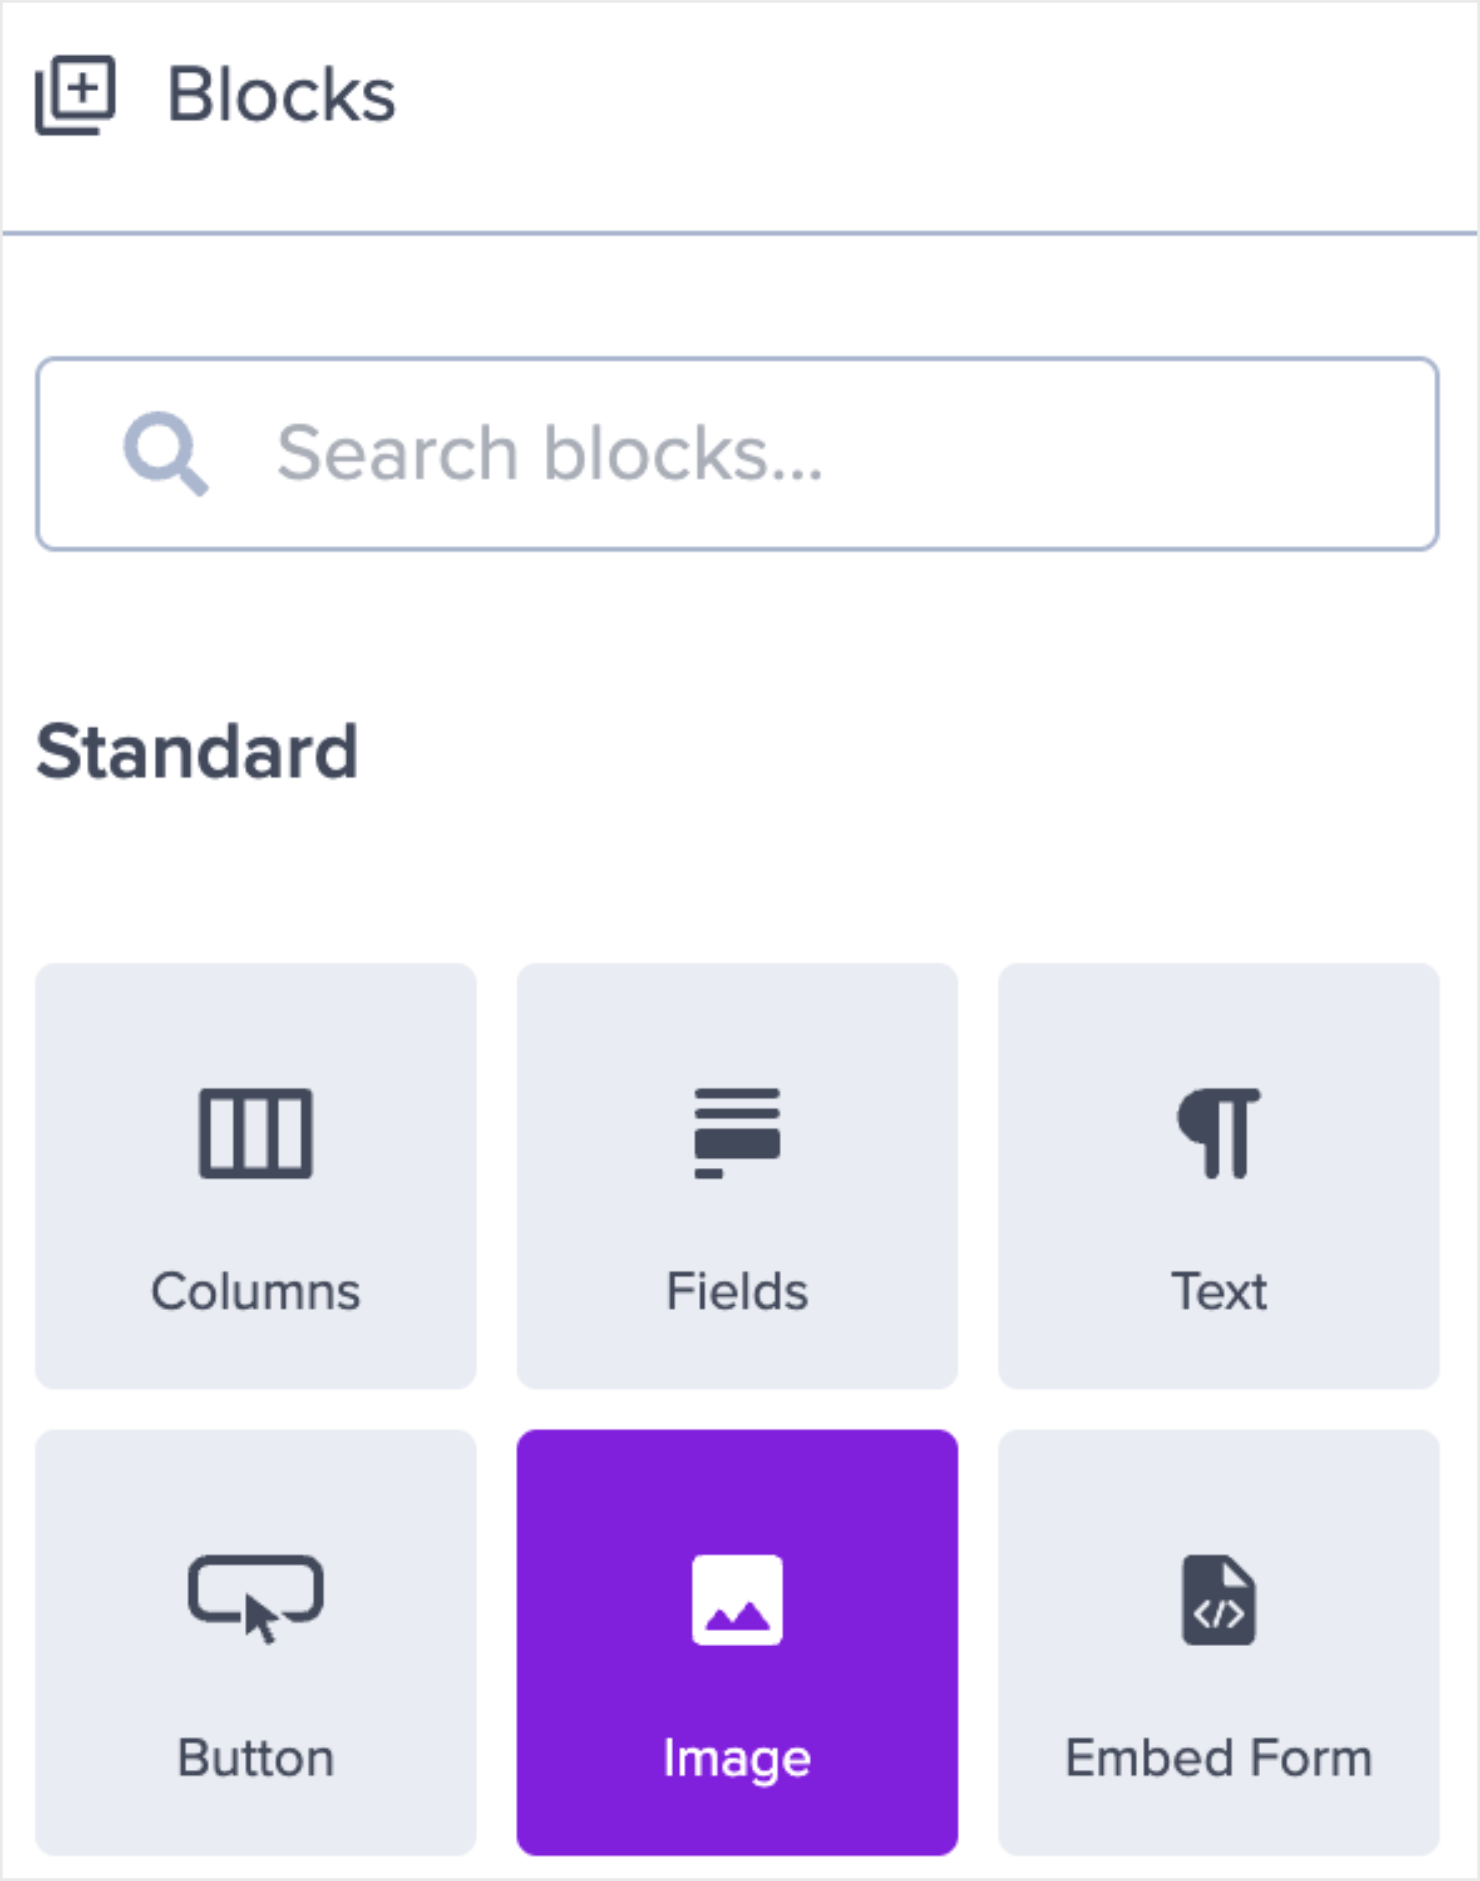
Making changes to these blocks is super simple. To edit your text block, for example, you just need to click on the text and type directly in the campaign builder:
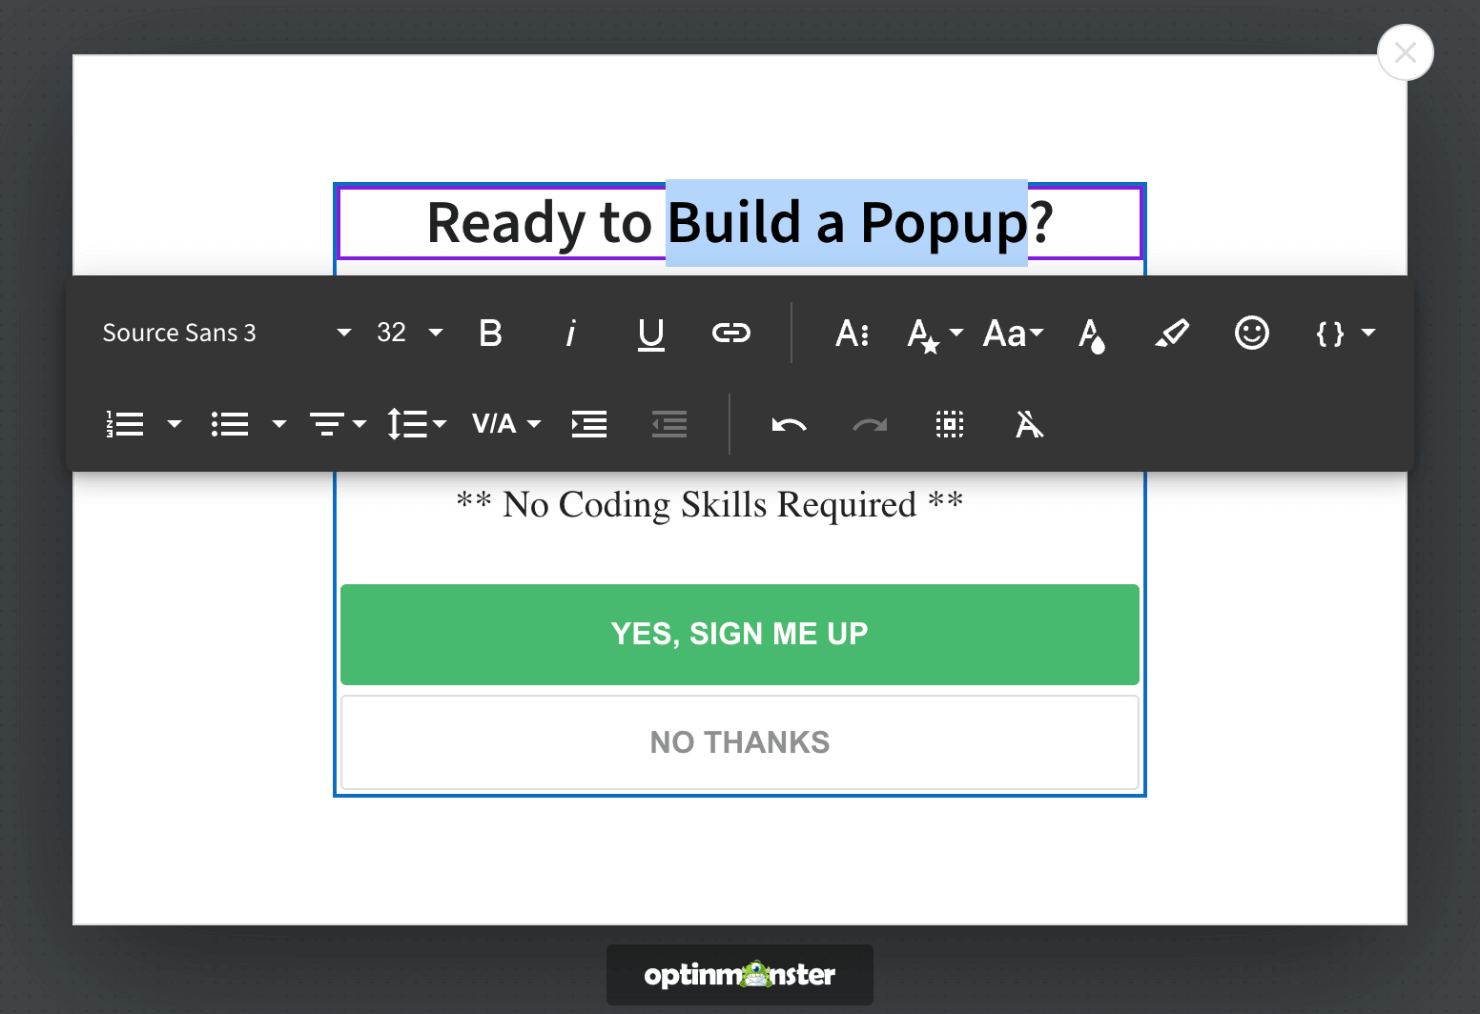
To change other block elements, click on them in your campaign builder, and the editing tools will appear on the left-hand side:

I’ll go ahead and change the background color to make the popup stand out:
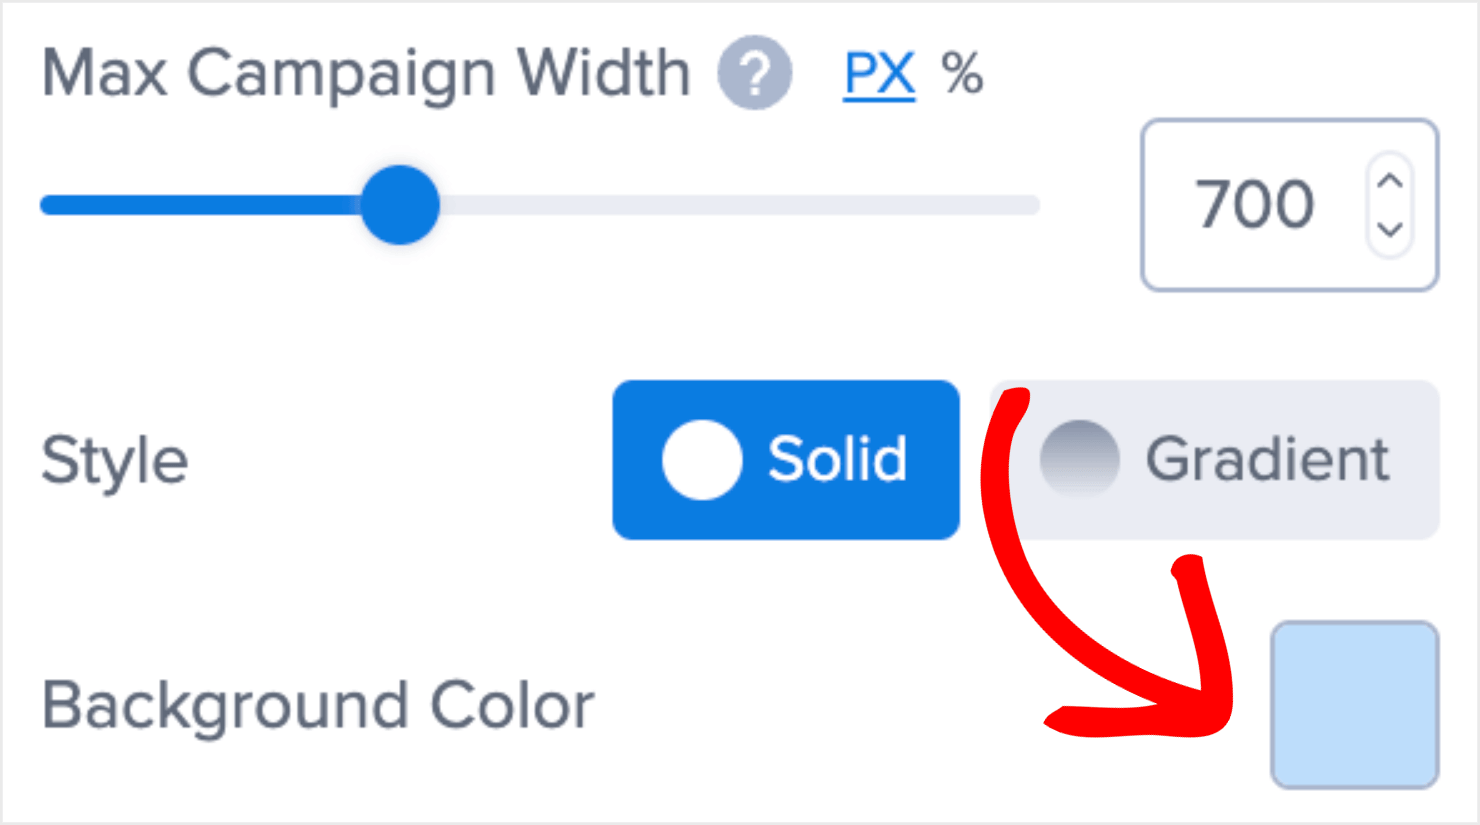
Here’s the best part: you can still add custom HTML, CSS, or JavaScript to any of the campaigns.
To add HTML, you’d simply drag and drop the HTML block into your popup:

Or you can add custom CSS and JavaScript to your popup, like we did earlier in method #1. Simply click on the gear icon at the bottom-left corner of the dashboard.

Click on the CSS or JavaScript menu:

Add the CSS code in the field box:

Do the same with your custom JavaScript:
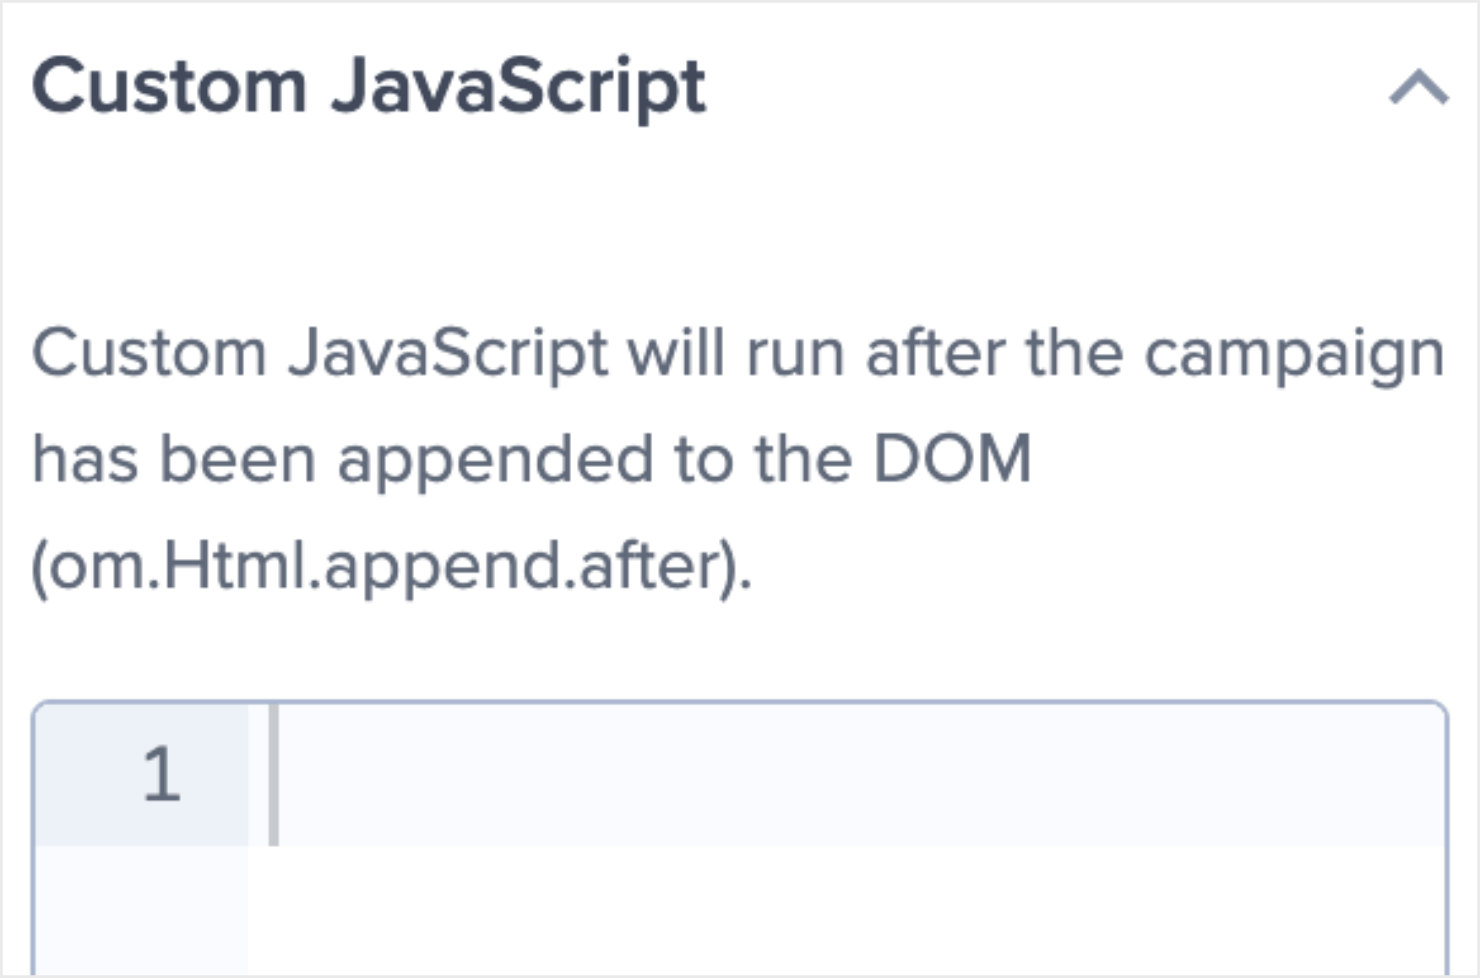
This means that you can customize your OptinMonster campaigns with HTML, CSS, and JavaScript.
But since we chose a ready-to-use template for this method, there’s no need to add any custom CSS, JavaScript, or HTML codes to our campaign. So I’ll leave the campaign as it is.
Once you’ve designed the right popup for your site, it’s time to set a few display rules.
Step 3: Set Your Display Rules, Add ESP, and Publish
We’ll not go through these steps again since we already covered them in the first half of the tutorial. For your ease, I’ll add links that’ll take you back to the respective steps:
And that’s it!
Which Method Will You Choose?
Some developers love to get their hands dirty and build everything from scratch. But most business owners don’t have the time, energy, or resources to do so.
OptinMonster is the perfect solution if you’re:
- A business owner or a busy marketer with no coding experience.
- A new developer who wants custom CSS and JavaScript popup forms but doesn’t want to spend days building them from scratch.
- An experienced developer who would rather spend more time building their website or products than coding all of their marketing tools.
So why not try it out for yourself by signing up for your risk-free account today? Get started with OptinMonster!



Add a Comment