Do you want your website visitors to contact you online? Want to know how to create a contact form popup for your WordPress website?
Contact forms help visitors get in touch with you easily. But many visitors don’t even visit the contact page or refrain from filling out a form if it’s too long.
Triggering a simple contact form as a popup is a good solution to solve this problem. A contact form triggered as a popup makes it easier for people to fill out the form, no matter where they are on your site. And they can share their feedback directly with you through the popup form.
Creating a WordPress contact form popup is easy and requires 2 addons:
- An easy-to-use contact form plugin.
- A powerful popup plugin.
In this post, I’ll walk you through the steps you need to follow to create a contact form popup for your WordPress site. In the end, I’ll also show you how to add a popup to a WordPress menu to help you boost your conversions.
Here’s everything that I’ll cover in this blog:
Creating a Contact Form in WordPress
The first thing you’ll need is a contact form that you can embed inside the popup.
With so many contact form plugins available, finding the right one for your needs can be challenging.
For this article, I’ll go with WPForms because it’s easy to use, lightweight, and has over 13,000+ 5-star reviews on WordPress.org.
Here is why I prefer WPForms over other plugins:
- Free: WPForms plugin is available for free, with premium versions available for more advanced features.
- Ease of use: It’s user-friendly and comes with an easy-to-use drag-and-drop builder.
- Templates: You get 1500+ pre-built form templates to save you time.
- Integrations: WPForms integrates with all the popular email marketing tools like Constant Contact, Mailchimp, and Aweber.
- Security: WPForms comes with a variety of spam-blocking tools to prevent contact form spam.
Now that you know why WPForms is the best form widget, let’s take a look at how to create a form with it.
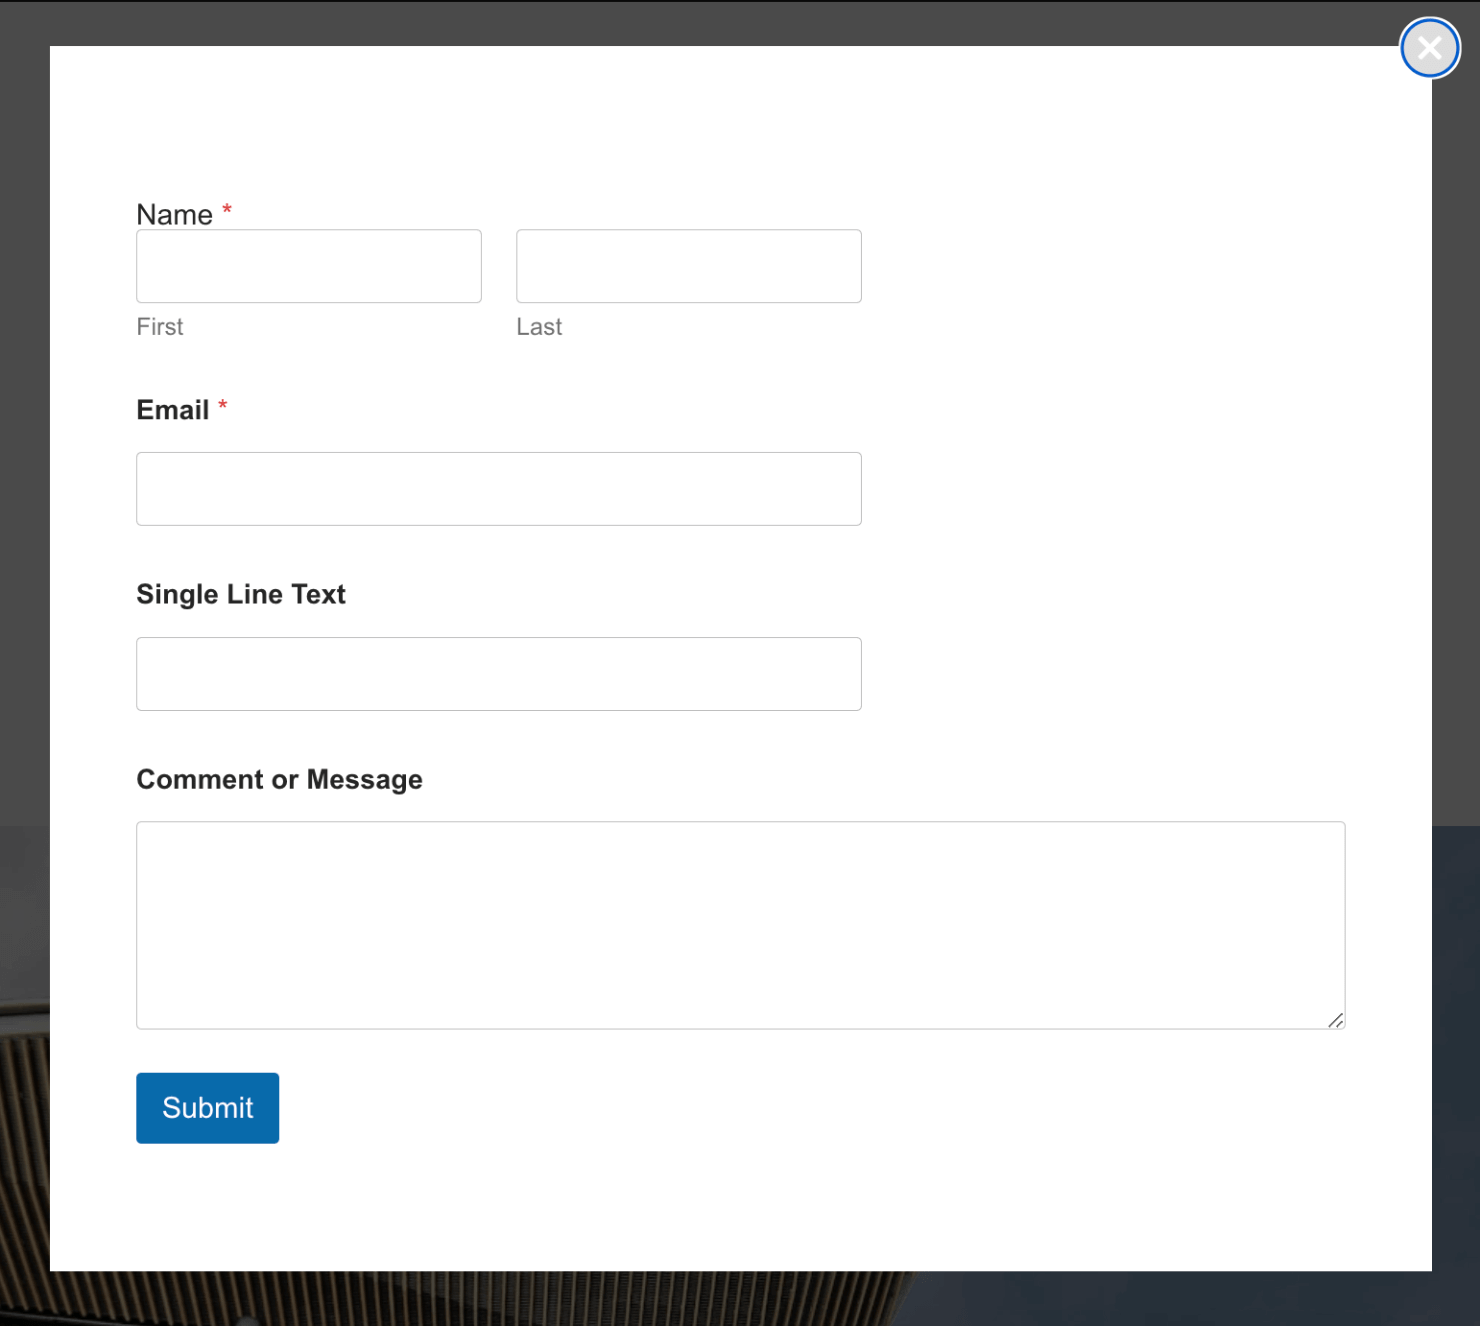
Here is what the contact form popup will look like at the end of this tutorial:
- Step 1: Install and Activate the WPForms Plugin
- Step 2: Create a Contact Form with WPForms
- Step 3: Install and Activate OptinMonster Popup Plugin
- Step 4: Create an OptinMonster Campaign
- Step 5: Embed the Form in the Popup
- Step 6: Set Your Display Rules
- Step 7: Publish Your Contact Form Popup
Step 1: Install and Activate the WPForms Plugin
The first step is to install the WPForms plugin.
If you’re installing a plugin for the first time, check out this beginner-friendly guide on installing a WordPress plugin.
Open your WordPress dashboard and click on Add New Plugin from the Plugins menu:
Search for ‘WPForms’ in the search box located at the top-right of the webpage:
Install and activate the plugin:
Next, it’s time to create a new contact form.
Step 2: Create a Contact Form with WPForms
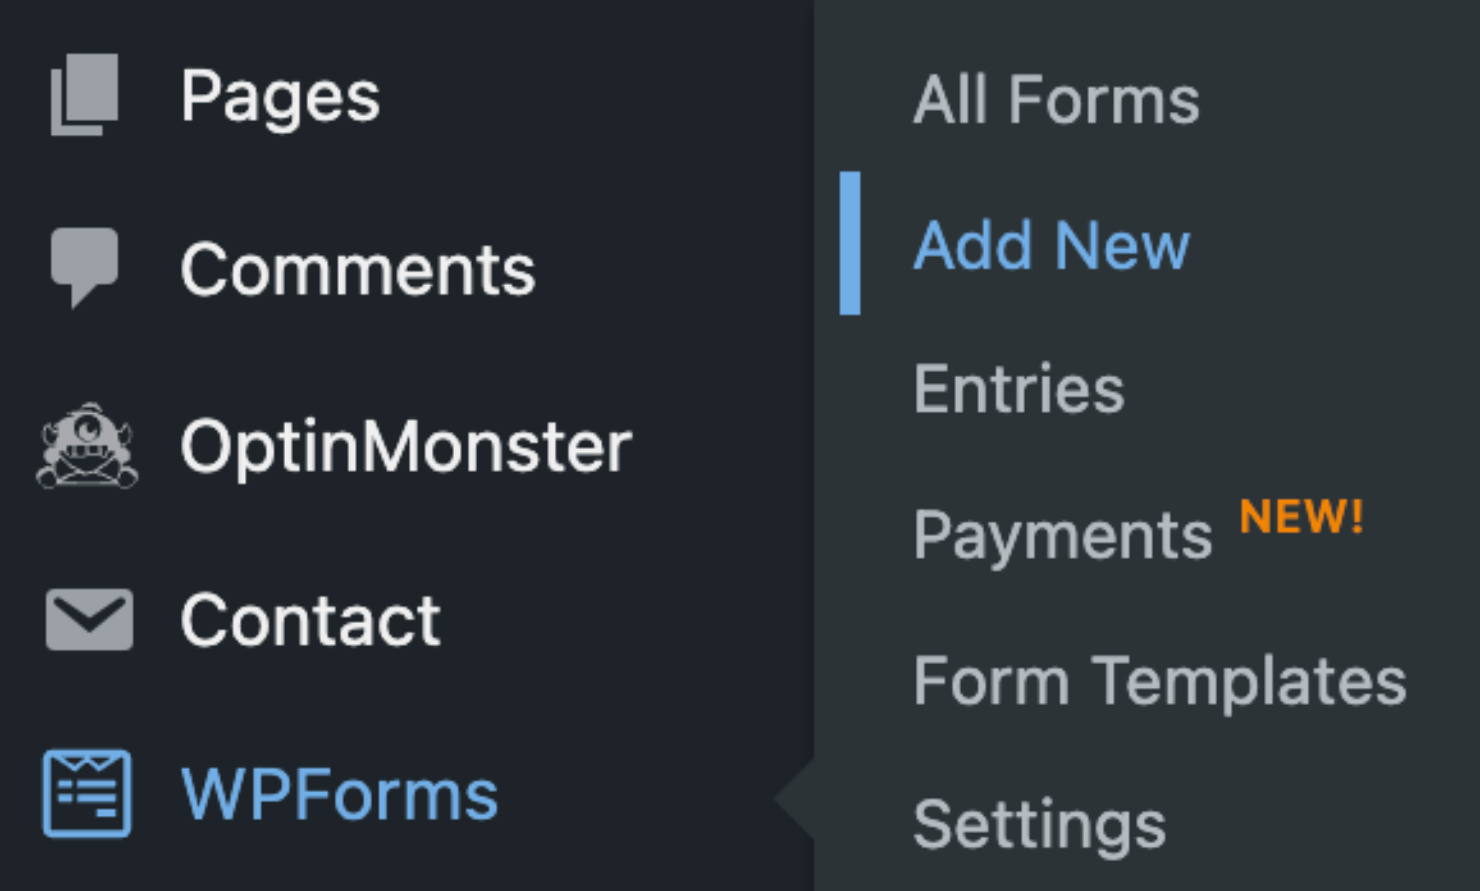
Go to WPForms in your WordPress menu and click on Add New:
Here, you’ll need to assign your form a name and choose a template.
I’ll start by giving my contact form a name:
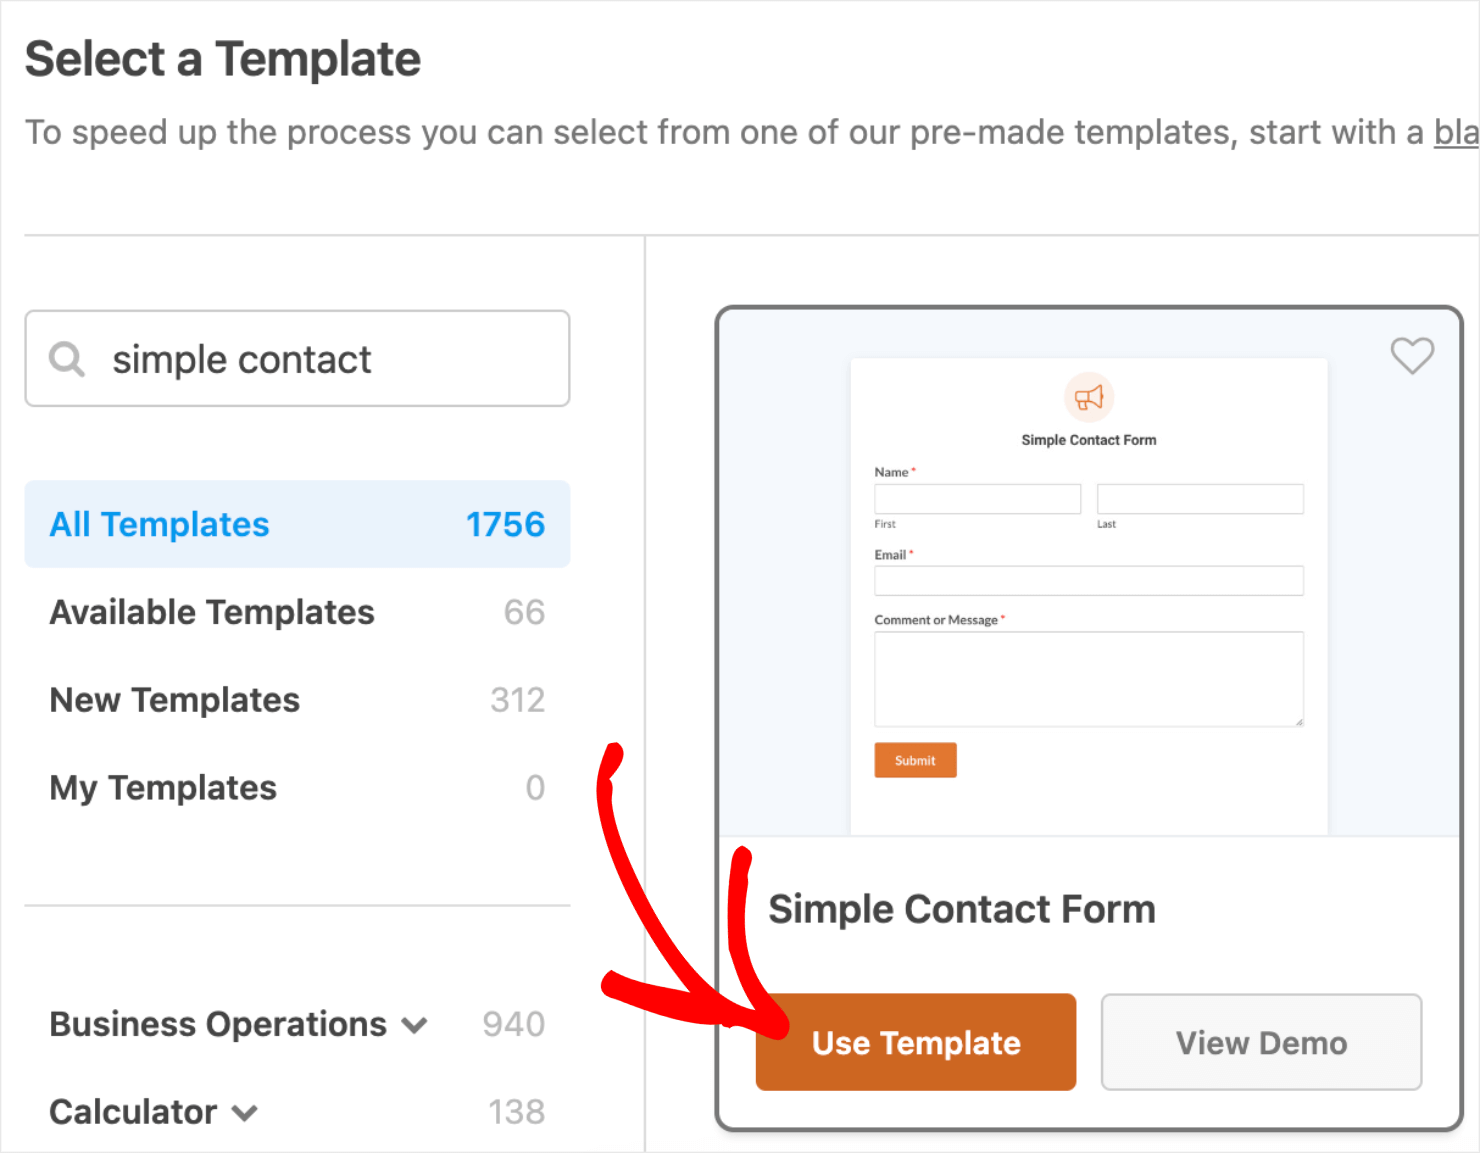
For the template, I’ll select the Simple Contact Form option. Click on the Use Template button to get started:
This will open up the drag-and-drop form builder on your screen:
By default, this template has 3 fields: first name, last name, and email address.
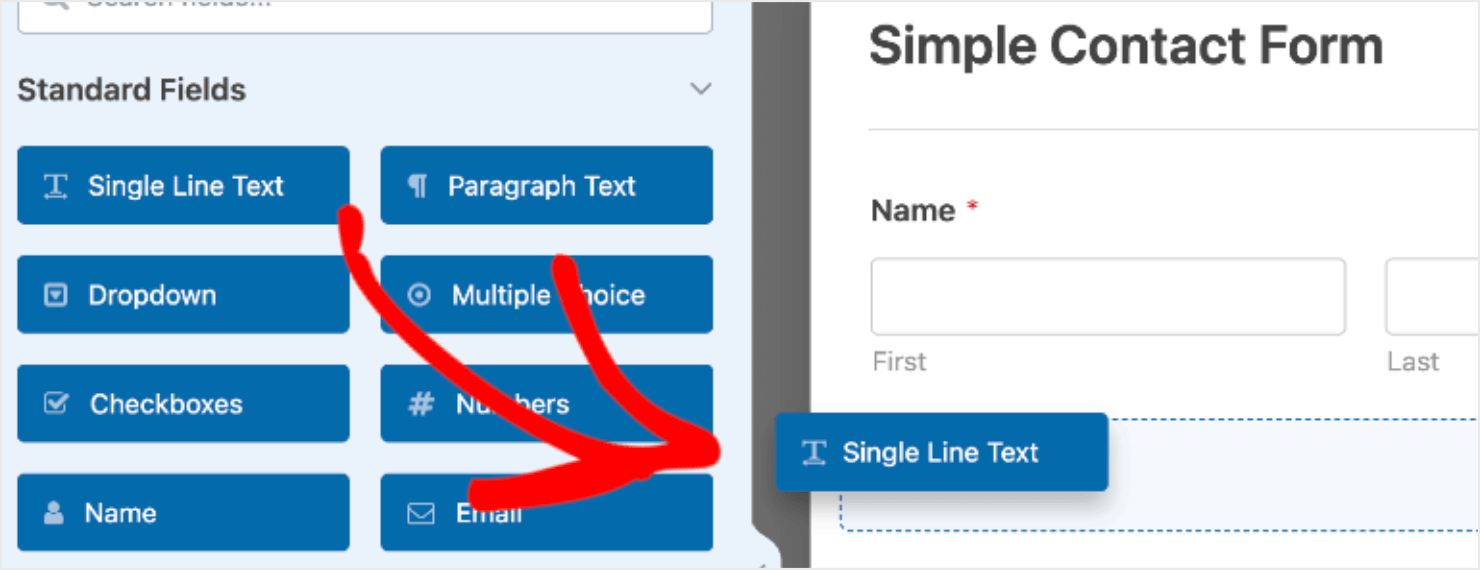
If you want to add new form fields, just drag them from the left-hand side and drop them in the form.
For example, I added the Single Line Text field to the form:
Now people trying to contact you can write the reason why they are contacting you.
Next, click on the Save button on the top-right of the screen to save your changes:
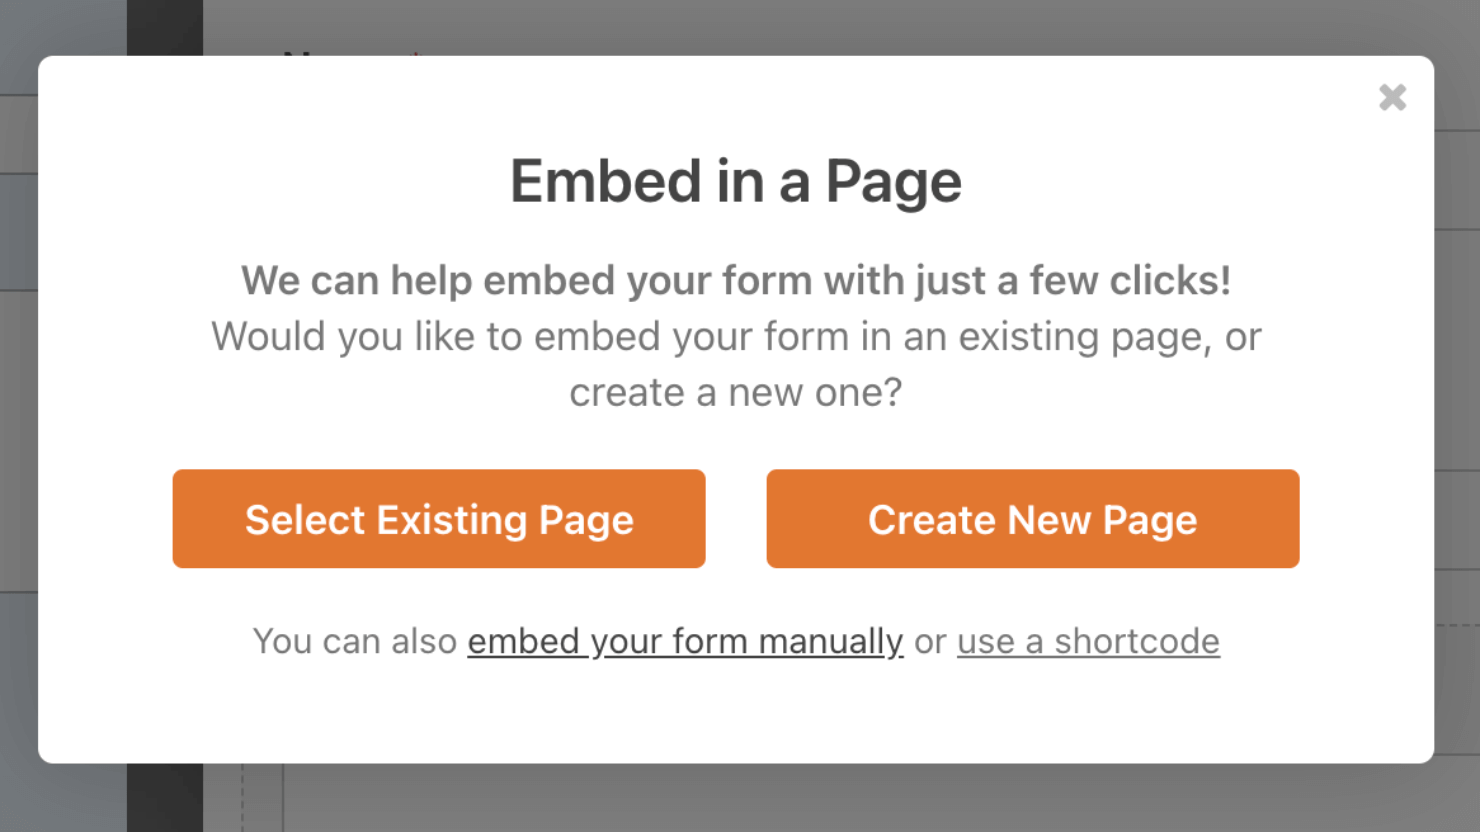
Now, click on the Embed tab right next to the Save button to get the form shortcode:
This will trigger a modal popup with various options:
I’ll go with the ‘use a shortcode’ option. I’ll copy the shortcode for later:
The shortcode will allow me to easily embed the form into the popup that I’ll create next.
And that’s it! The contact form is now ready for use.
Step 3: Install and Activate OptinMonster Popup Plugin
For this tutorial, I’ll use OptinMonster as our popup maker plugin:
OptinMonster is the best WordPress popup plugin for growing email subscribers and increasing your online sales. Its drag-and-drop builder makes it easy to embed the contact form inside the popup.
If you’re using OptinMonster for the first time, sign up for an account
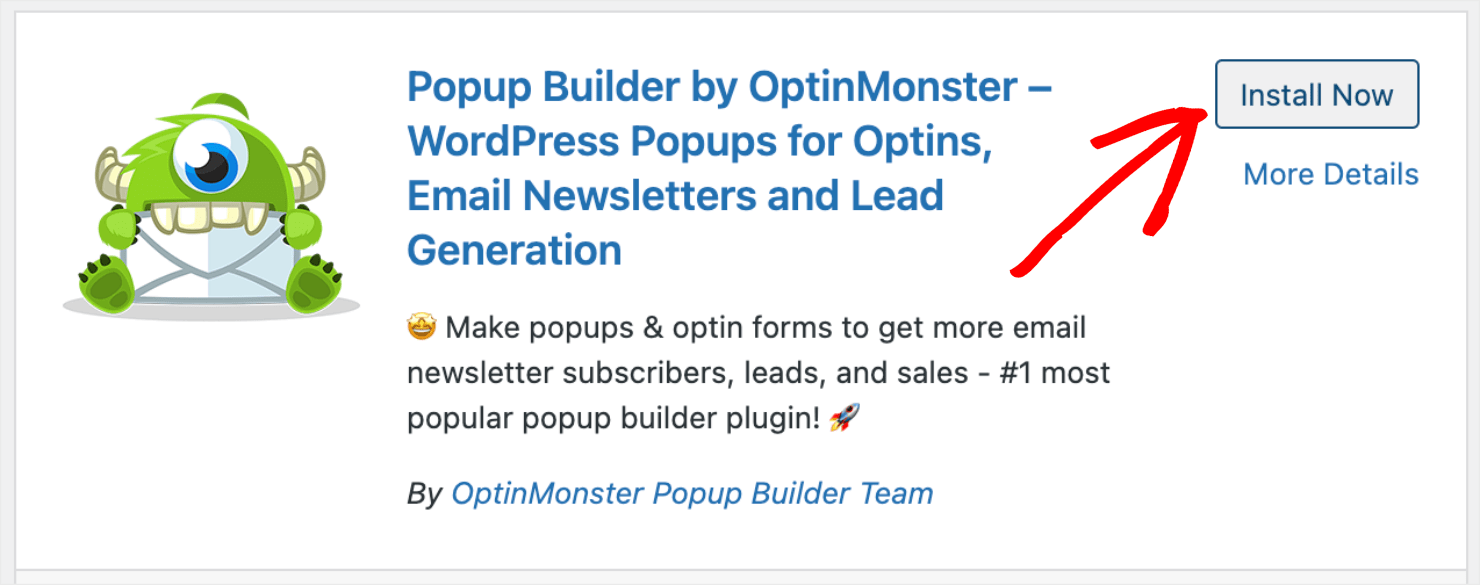
And follow the same steps for installing the OptinMonster plugin as we did for the WPForms plugin:
- Go to Add New Plugin from the Plugins menu.
- Search for ‘OptinMonster’ in the search box located at the top-right of the page.
- Install and activate the plugin.
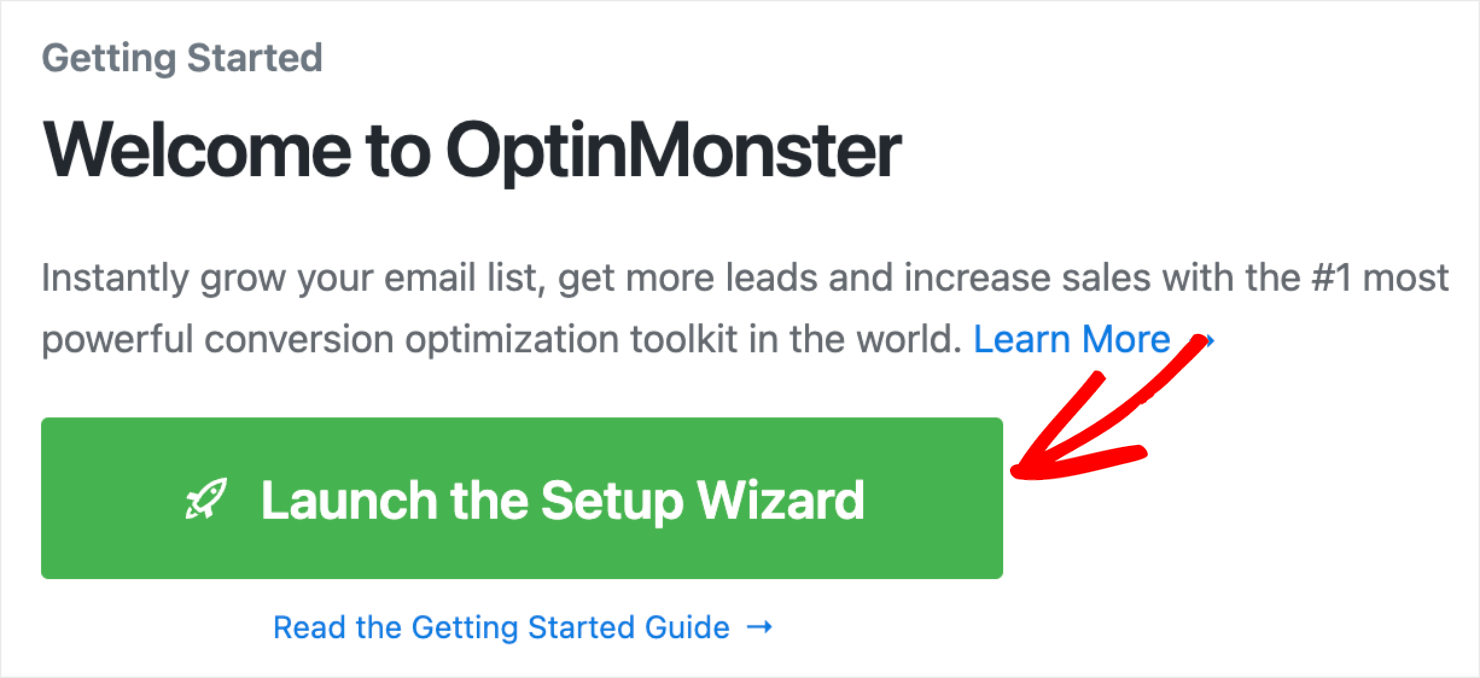
Once you activate the plugin, you’ll see a setup wizard for connecting OptinMonster to WordPress:
Click on the Launch the Setup Wizard button to complete the setup process.
With this step, you’ve successfully completed the first half of this tutorial.
Step 4: Create an OptinMonster Campaign
The next step is to create a popup with OptinMonster.
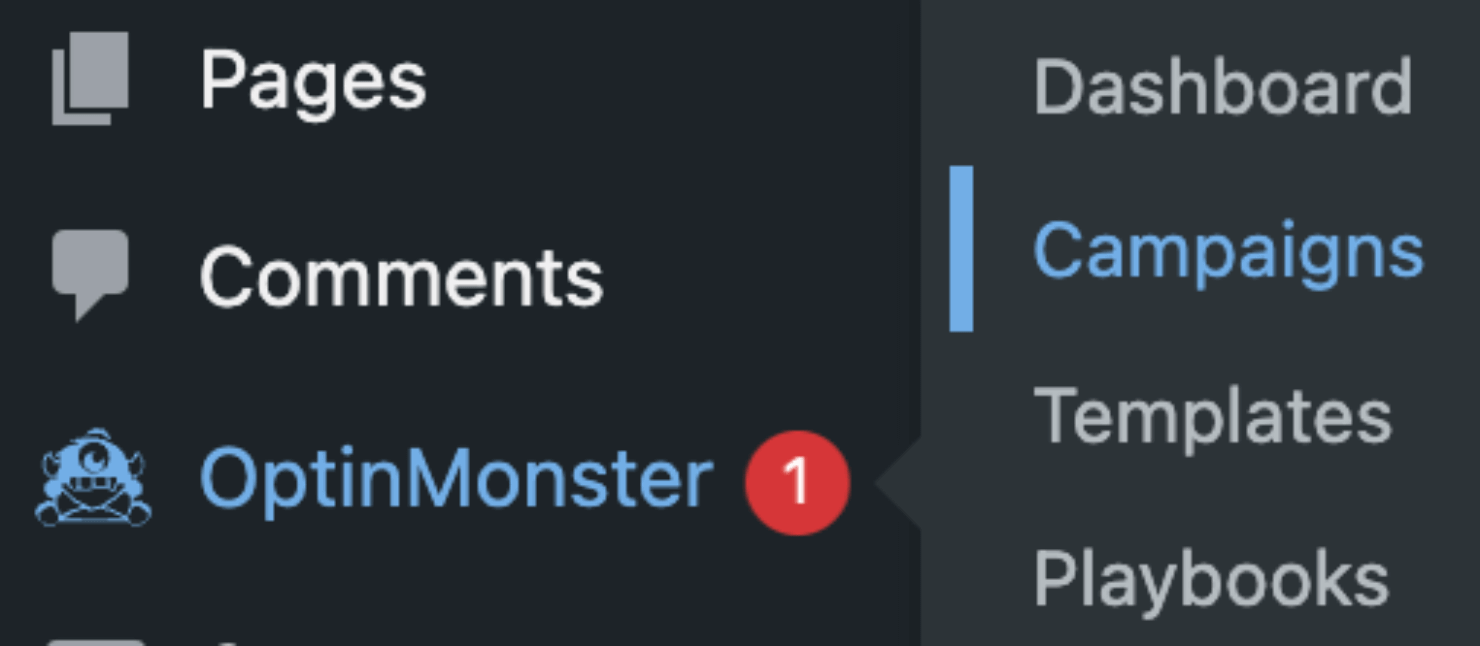
Click on Campaigns from within the OptinMonster menu in WordPress:
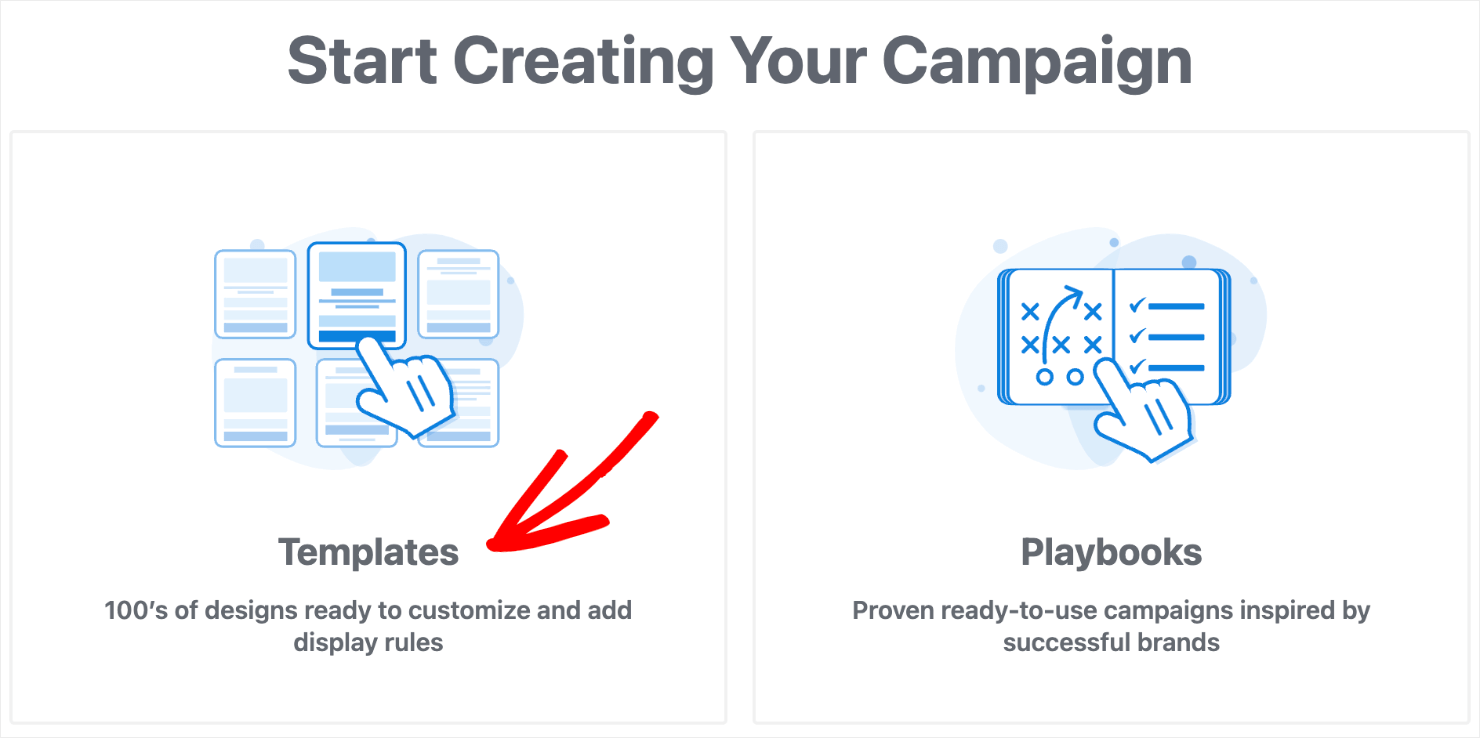
Next, click on Templates to get started:
In the next step, I’ll select Popup as my Campaign Type since that’s what our goal is with this tutorial:
OptinMonster’s templates library comes with 700+ ready-to-use templates designed for conversions:
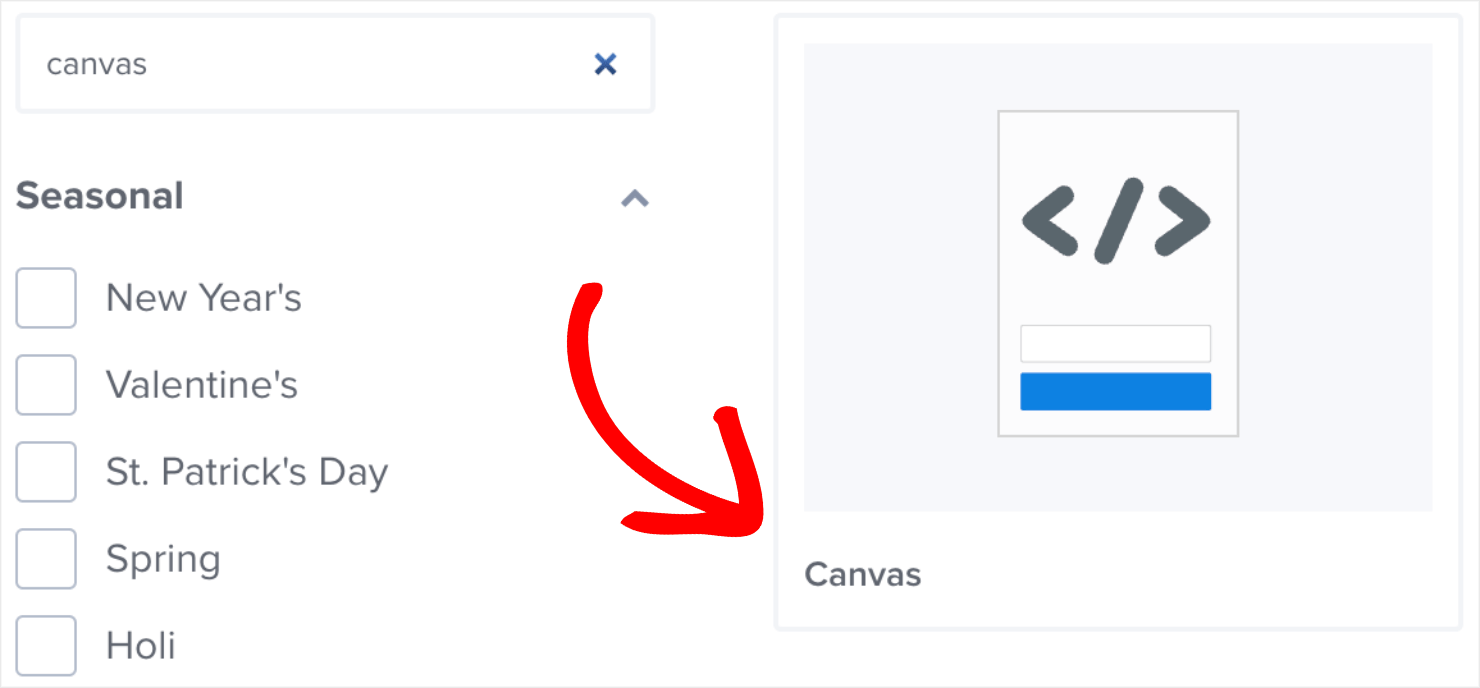
Since we’ll need to add a shortcode from WPForms, I’ll select the Canvas template:
Canvas is a blank template that lets you add HTML, CSS, or JavaScript shortcodes so that you don’t have to write any code manually.
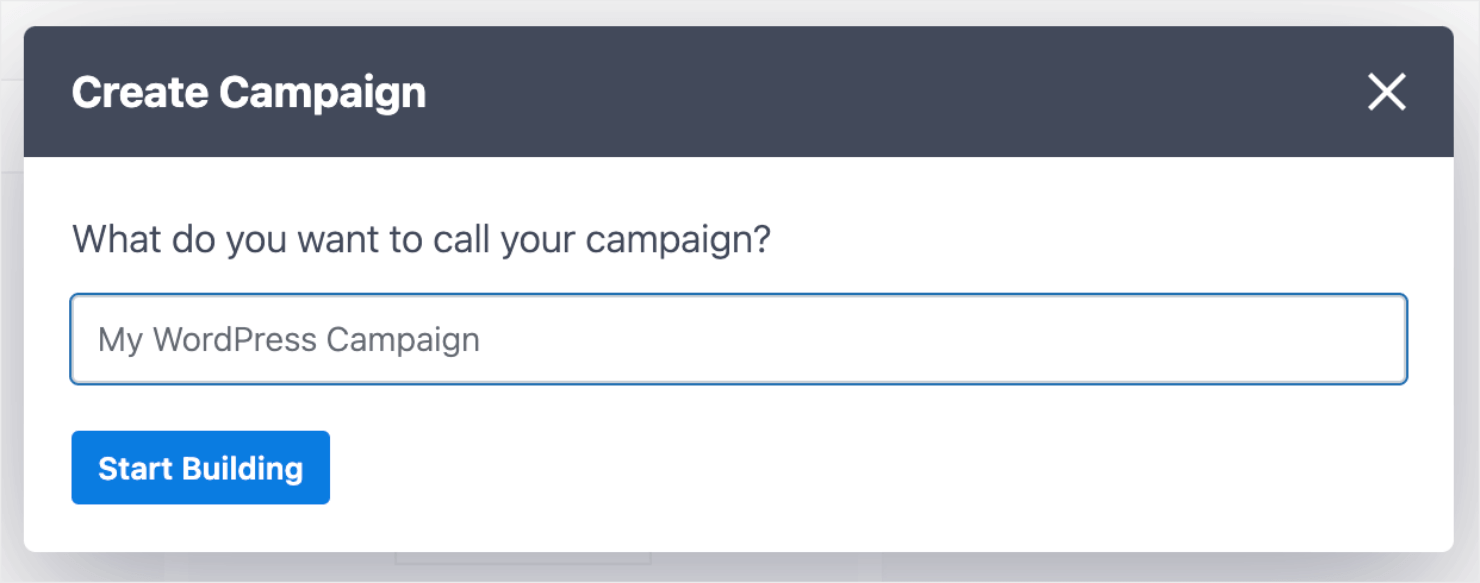
Next, give your campaign a name and click on Start Building:
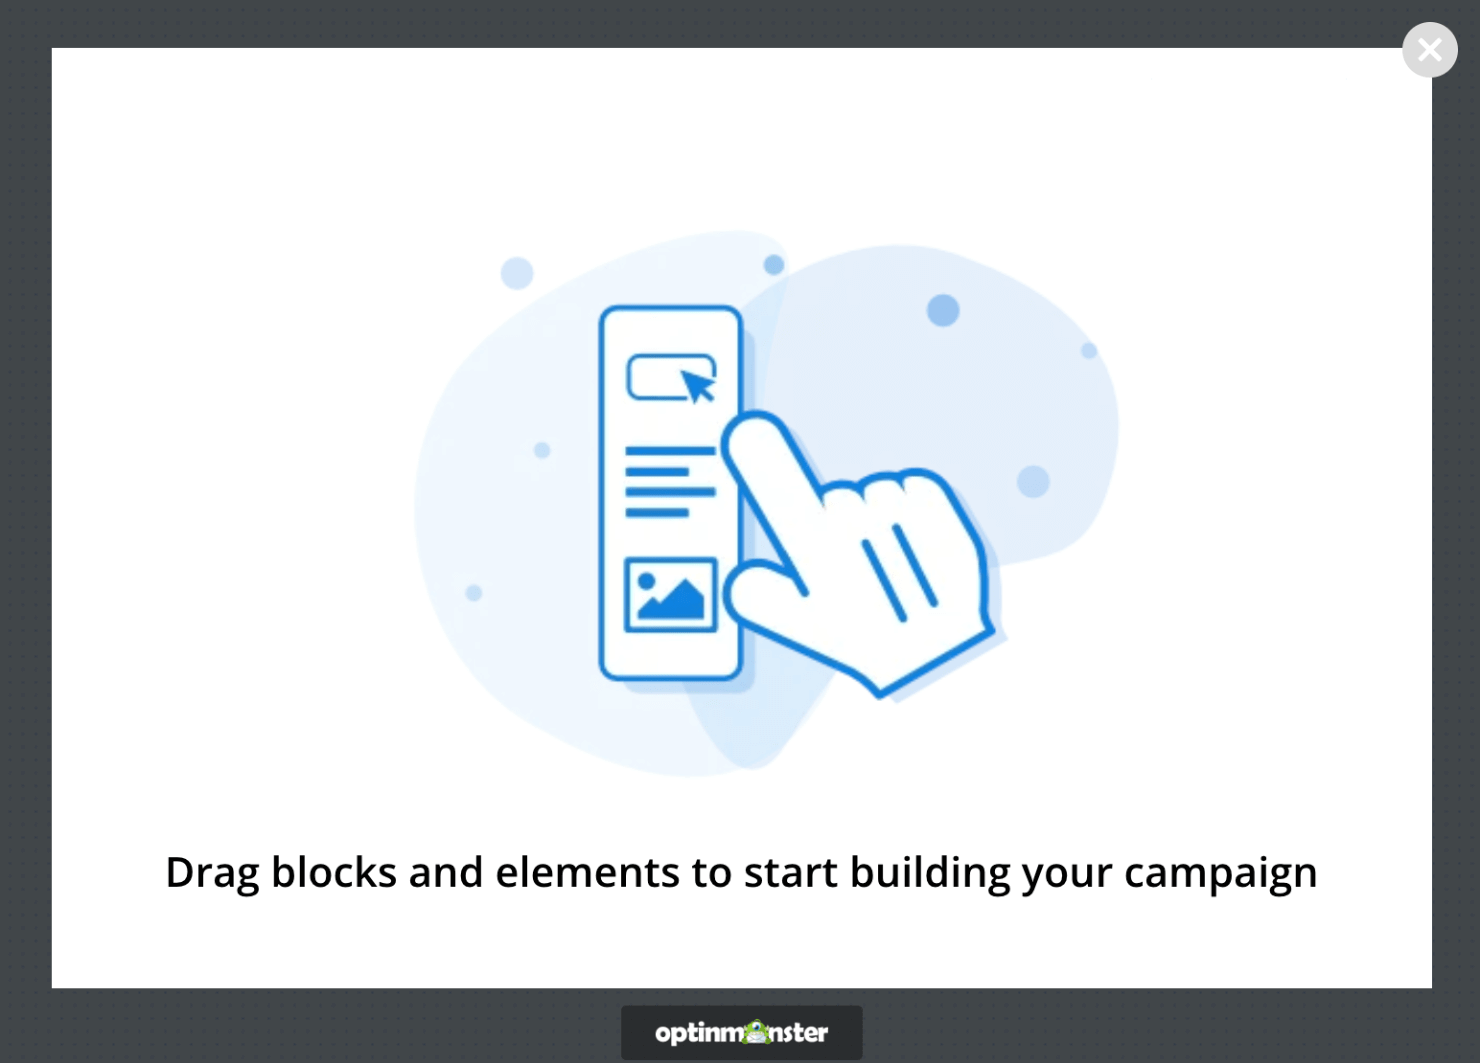
You’ll now land on OptinMonster’s drag-and-drop campaign builder. This is how the Canvas template looks on the editor:
In the next step, I’ll embed the form that I created with WPForms to OptinMonster.
Step 5: Embed the Contact Form in Popup
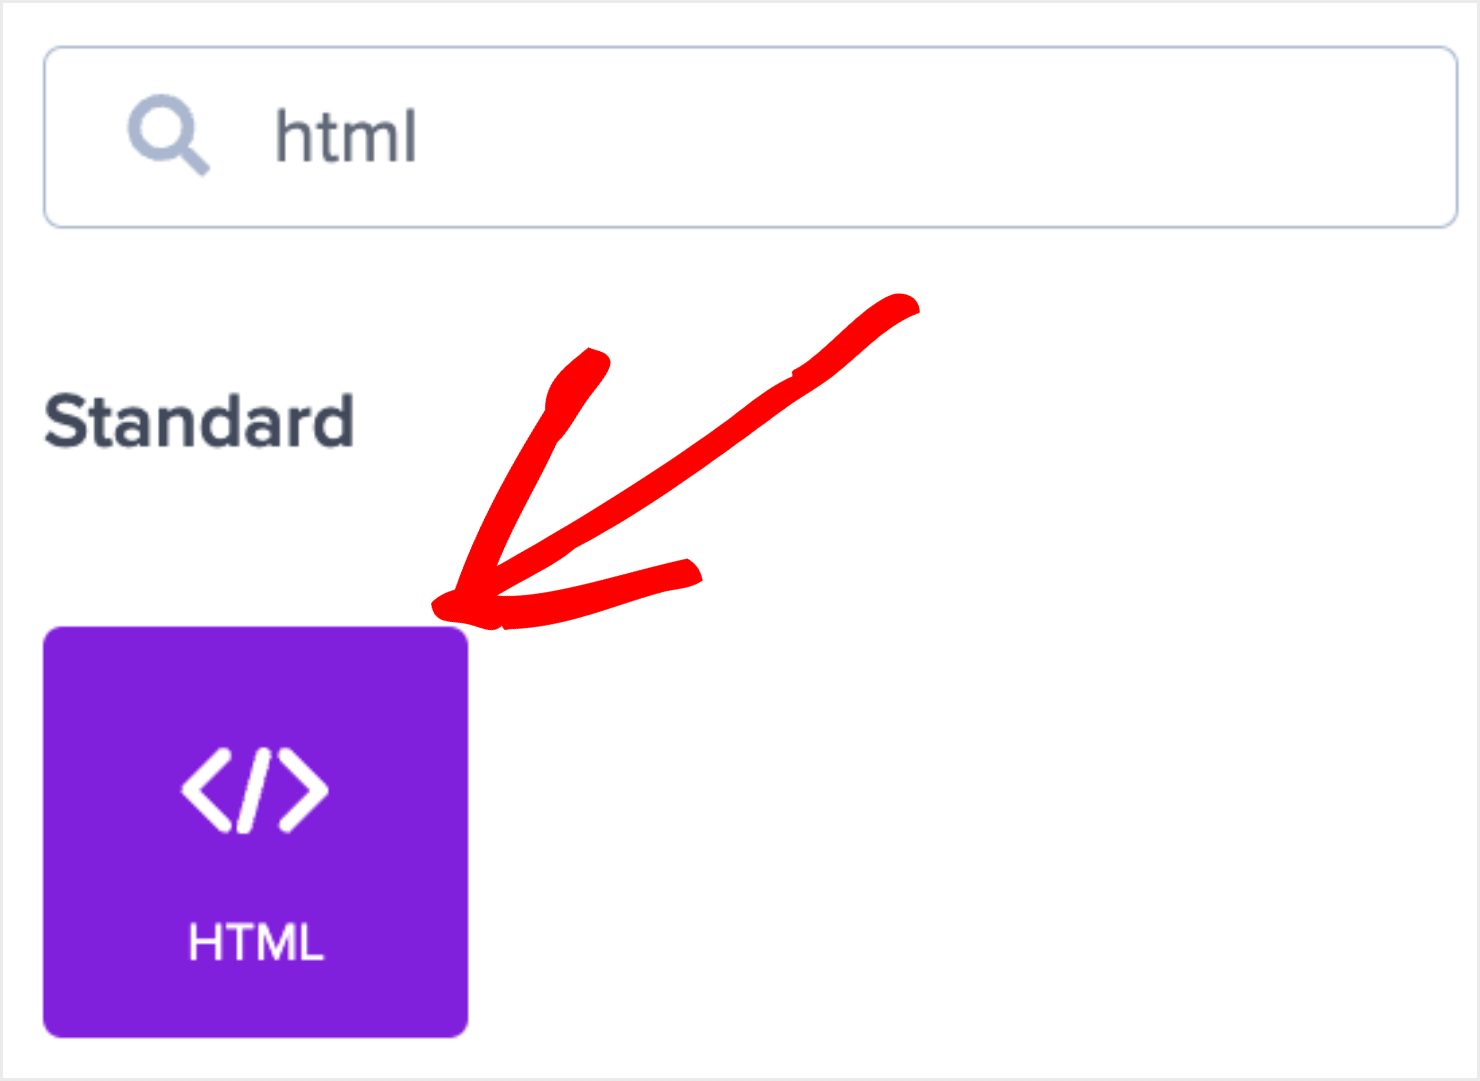
Search for the HTML block from the left-hand blocks section and drop it on the blank canvas:
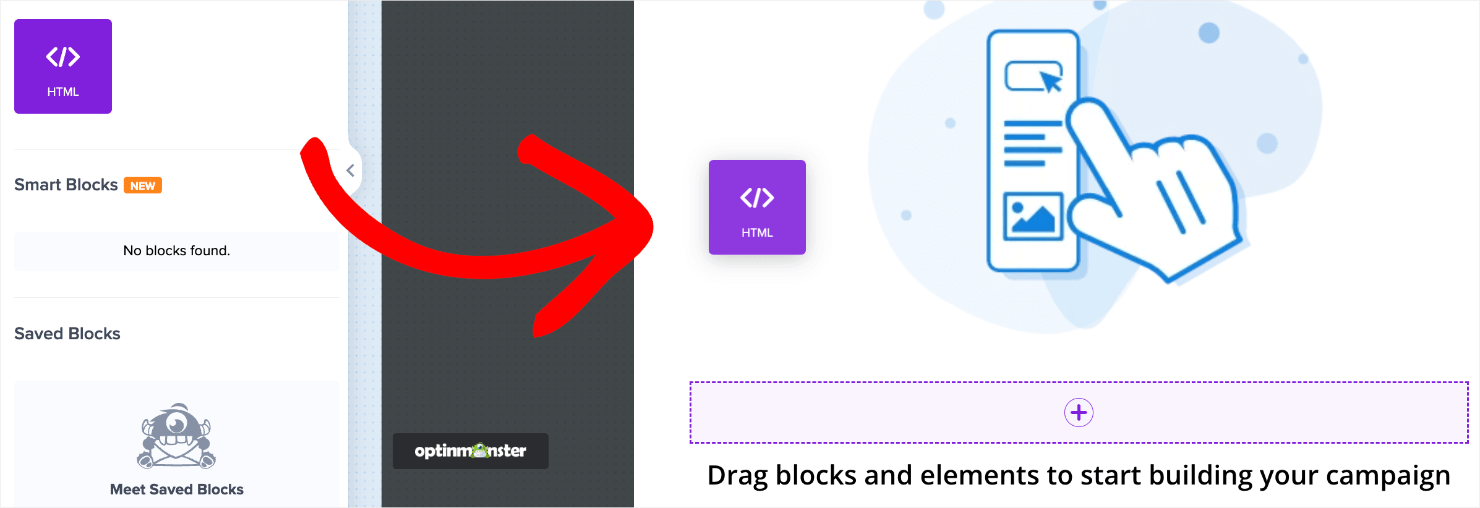
Click on the HTML element, and drag and drop it to the default template in the editor:
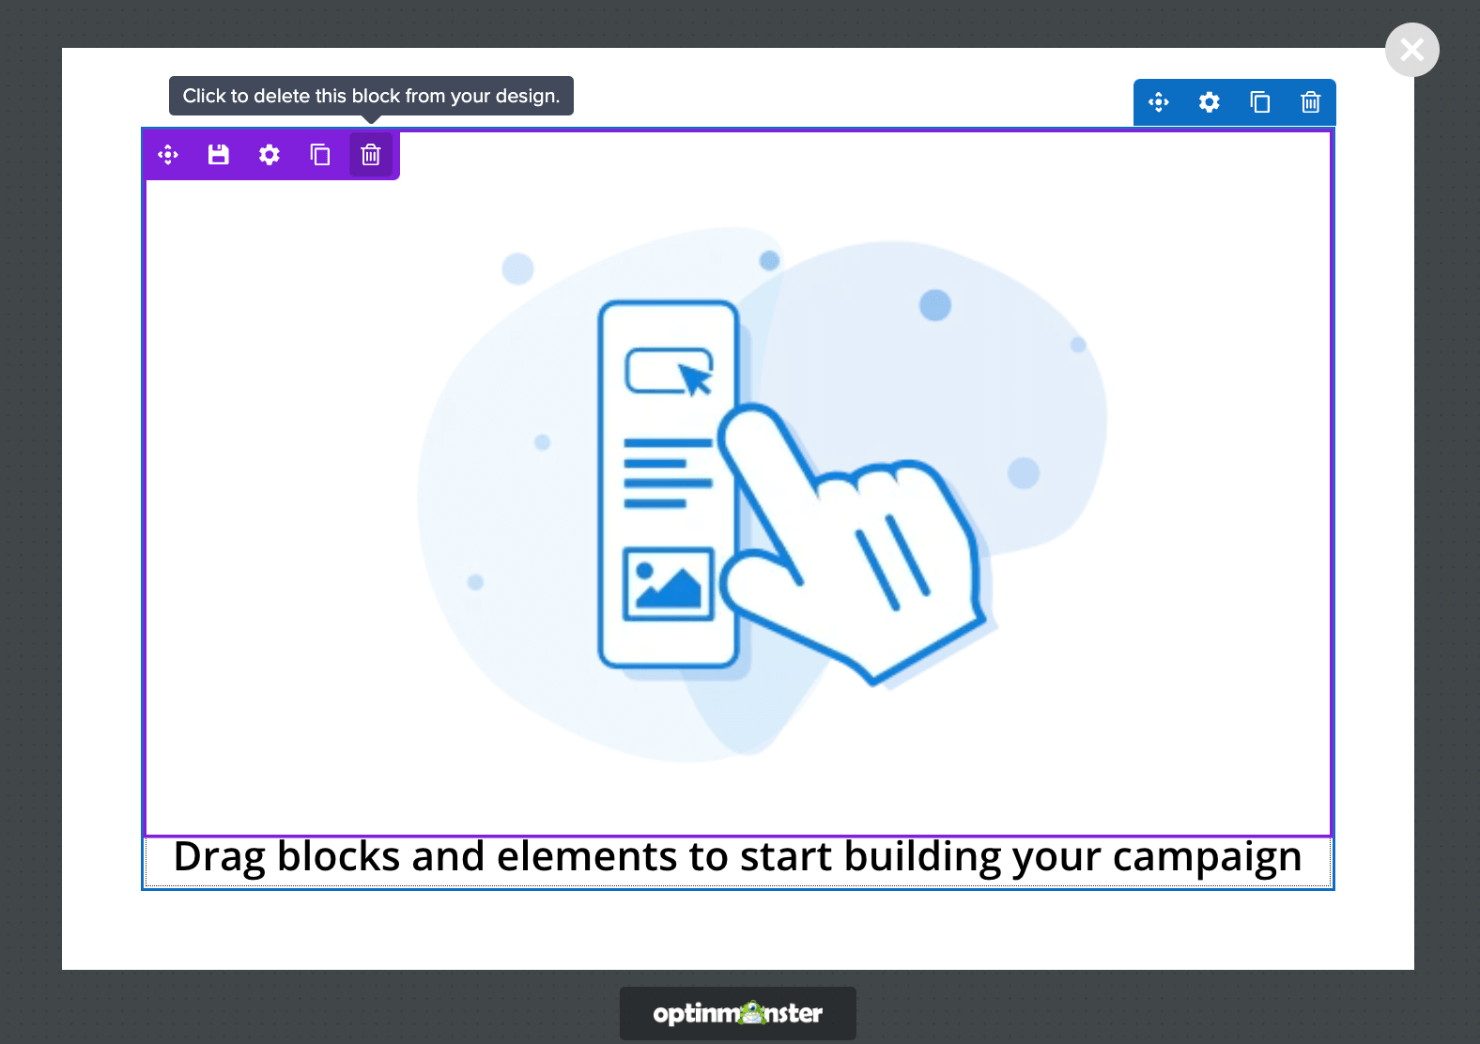
At this point, you can also delete the other default elements in the editor since we don’t really need them.
I’ll start by hovering over the image element and clicking on the trash can icon that appears on the top-left of the screen:
I’ll do the same with the text element:
The contact form template will now look like this:
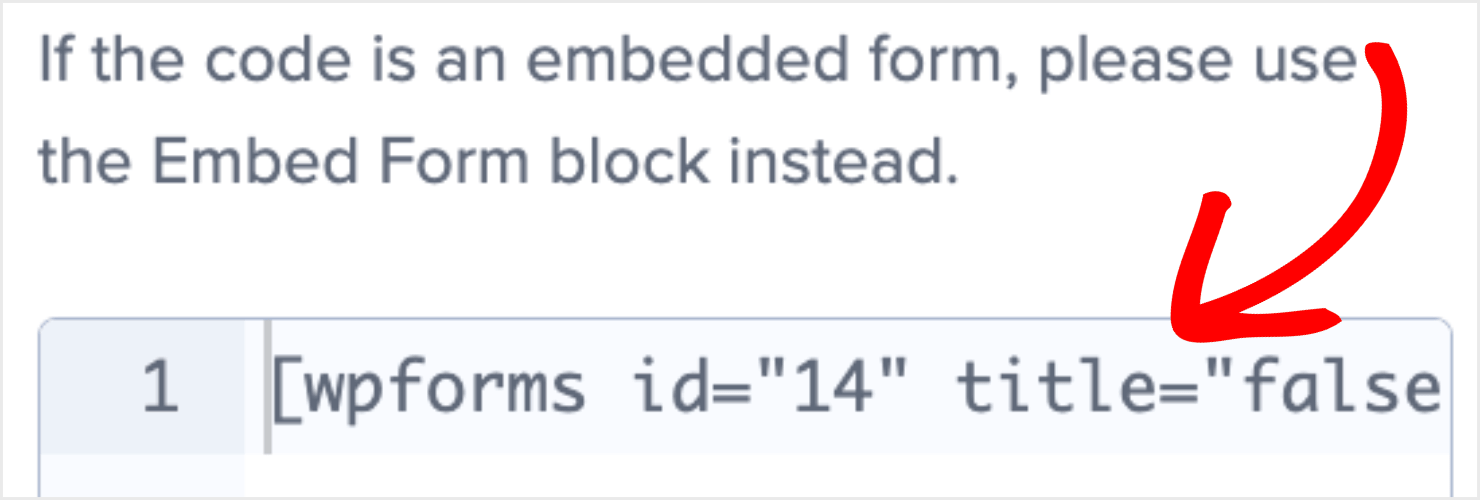
Here, you’ll need to add the WPForms contact form shortcode that you had saved earlier.
To do this, click on the HTML element in the editor. On the left-hand side, you’ll see the HTML editor appear.
Copy the code and paste it over the existing code:
This is how the shortcode will appear in the editor:
Click on the Save button to go to the next step:
Next, I’ll add custom CSS to our contact form to make it stylish and more appealing.
Don’t worry if you’re new to CSS. You’ll just need to copy the code below and paste it into the Custom CSS Setting in OptinMonster.
Related Content: How to Use OptinMonster’s Custom CSS Tool
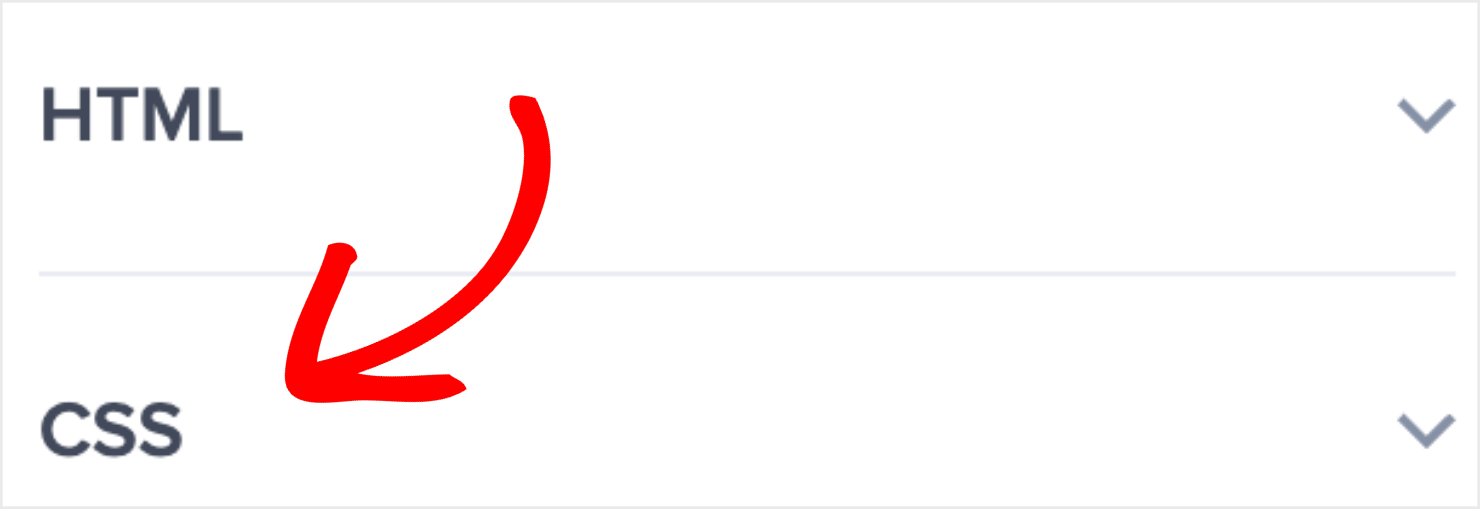
To locate the CSS editor, scroll past the HTML editor:
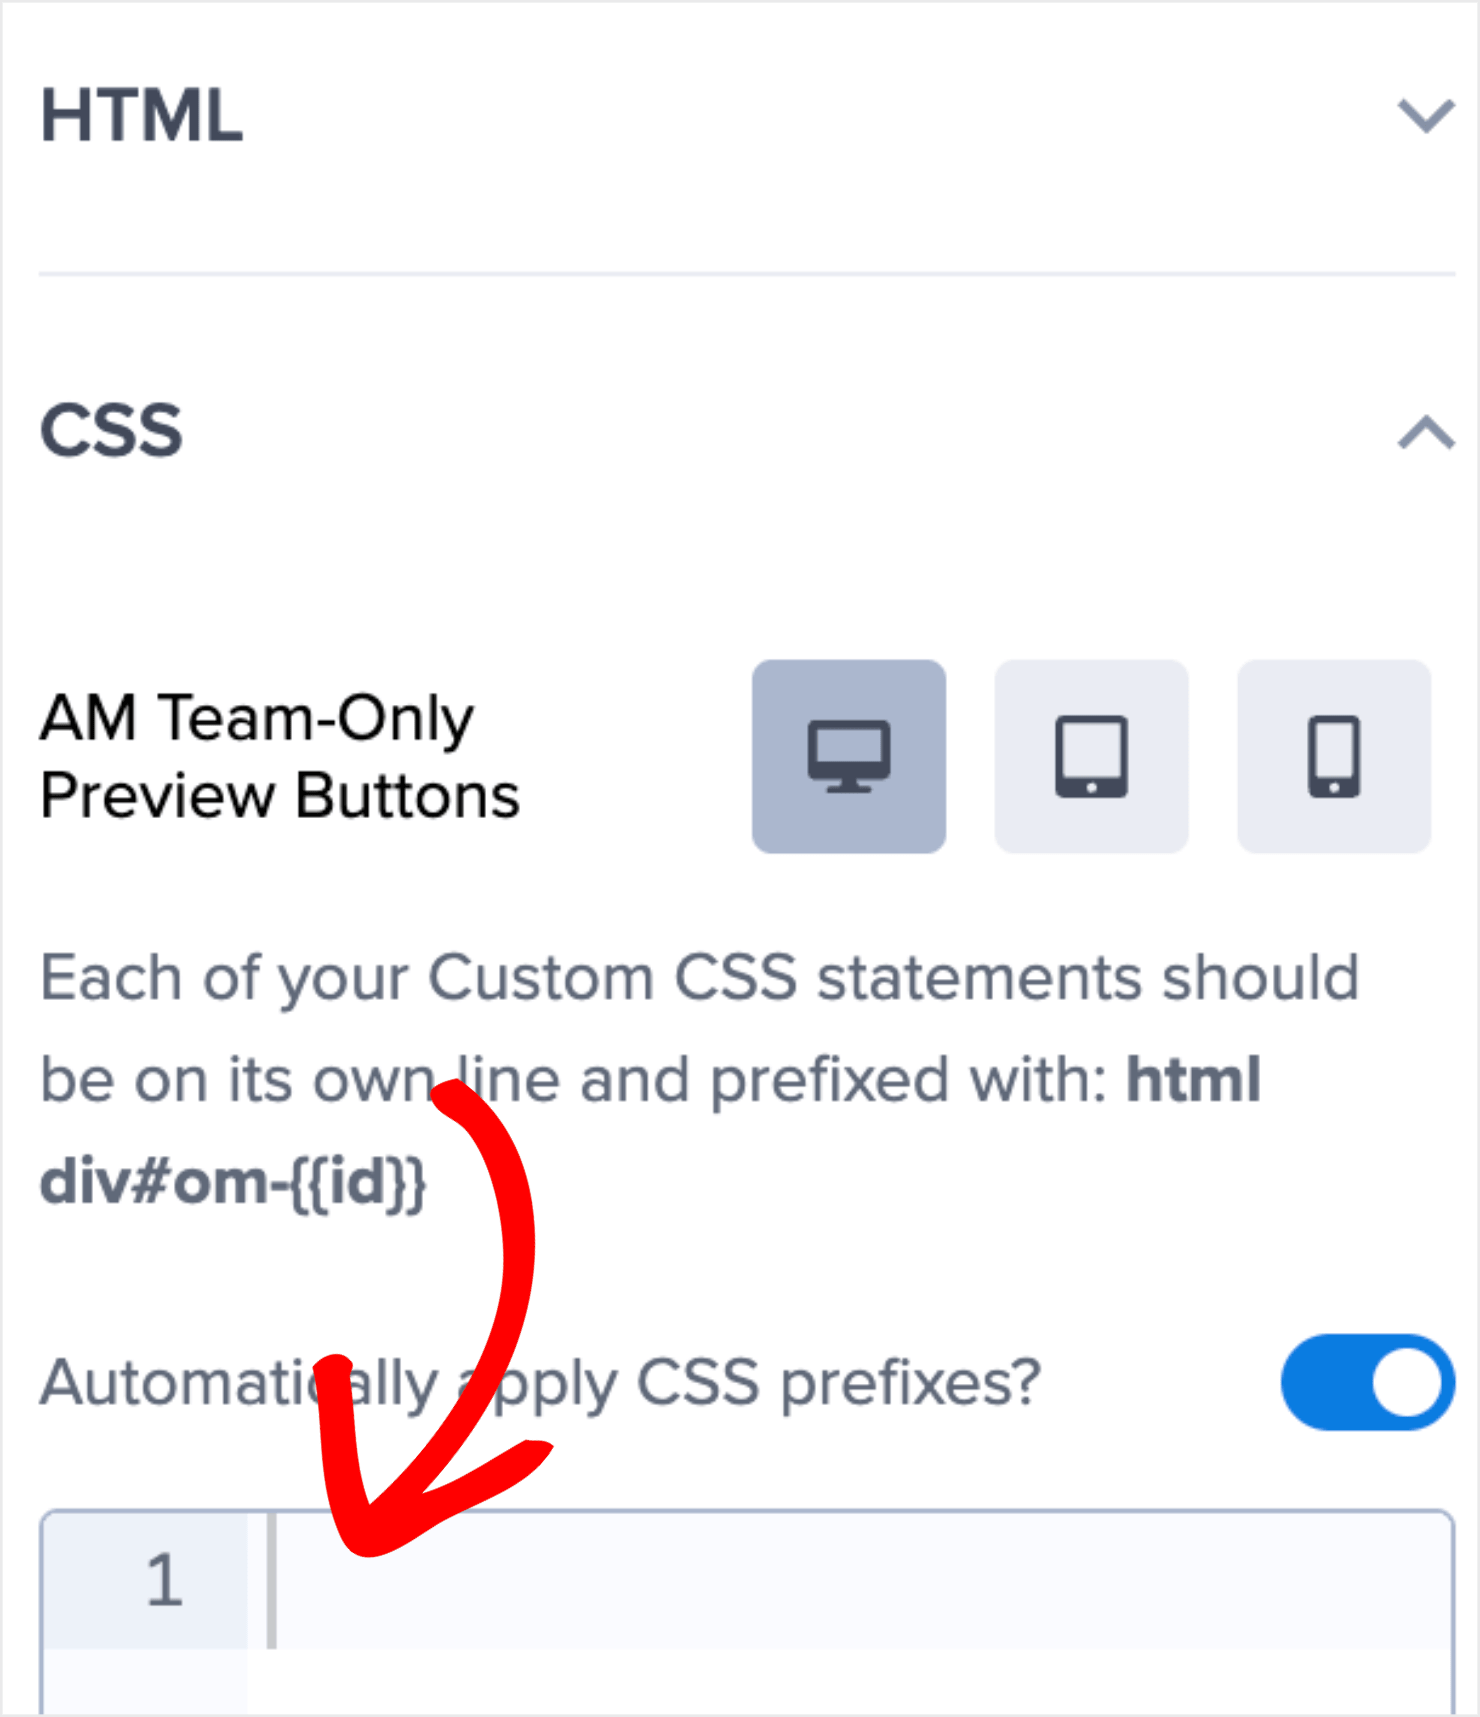
Click and expand the CSS option to open the CSS editor:
Here’s the code you’ll paste in today’s demo to style the contact form:
Next, I’ll set the display rules to determine where and when the popup appears on my WordPress site.
Step 6: Set Your Display Rules
Before moving to the display rules step, I recommend checking out this guide on creating your first OptinMonster campaign.
The guide will help you learn more about setting display rules for your campaigns.
OptinMonster offers plenty of targeting rules and triggers that you can choose from.
Some of the most popular triggers for contact form popups are:
- MonsterLinks™: Trigger the popup when a user clicks a link.
- Exit-Intent® Technology: Trigger the popup when a user is about to leave your site.
I recommend you choose only 1 of these display rules considering your popup settings.
MonsterLinks™ is best if you want your contact form popup to appear when the user clicks a link, button, or image.
This means that anytime a visitor clicks on a hyperlink connected to MonsterLinks™, they will see the contact form popup on the same page. They can then submit their contact details directly in the popup without having to navigate to a different page.
This process offers a better user experience than redirecting your site visitors to a new page and asking them to fill up a form.
Setting up the MonsterLinks™ display rule is easy. Check out this complete guide on how to use MonsterLinks™ in OptinMonster.
For this tutorial, I’ll show you how to set up the Exit-Intent® display rule. The Exit-Intent® Technology triggers a popup to site visitors when they’re about to leave your website.
If you own an eCommerce website, I highly recommend using an Exit-Intent® popup on a product page or a checkout page to reduce shopping cart abandonments.
That way, if someone leaves your page without making a purchase, you can show them a contact form. Your buyers can use this opportunity to easily reach out to you and submit their queries or concerns if they have any.
Let’s see OptinMonster’s Exit-Intent® Technology in action by applying it to our contact form popup.
To get started, go to the Display Rules tab in your OptinMonster editor:
Click on the time on page rule:
Next, go to When and click on the Exit-Intent® option on the right-hand menu:
You can choose which device you want your exit-intent popup to appear on:
- Desktop-only
- Mobile-only
- Both
I’ll go with all the devices:
You can also choose the Exit-Intent® sensitivity level as low, medium, or high:
The sensitivity level you choose will have a direct impact on how your campaign appears on mobile devices.
Low and Medium sensitivities create a scroll-up trigger, whereas High sensitivity creates a back button trigger.
To learn more about how exit-intent popups work on mobile, read how to create mobile Exit-Intent® popups that convert.
You can also configure the 2nd ruleset to decide where the popup will appear on your site.
For instance, I’ll click on the drop-down arrow beside is any page and select is the homepage to make sure the contact form popup appears only on the website’s homepage:
To summarize, I’ve set the following display rules for this contact form popup:
- The popup will display when exit is detected on any device.
- It will display only when users exit from the website’s homepage
Save the changes you’ve made so far before moving on to the publishing step:
Step 7: Publish Your Contact Form Popup
The last step is to publish the campaign live on your website.
Go to the Publish tab at the top of your screen:
Under the Publish Status section, click on Publish:
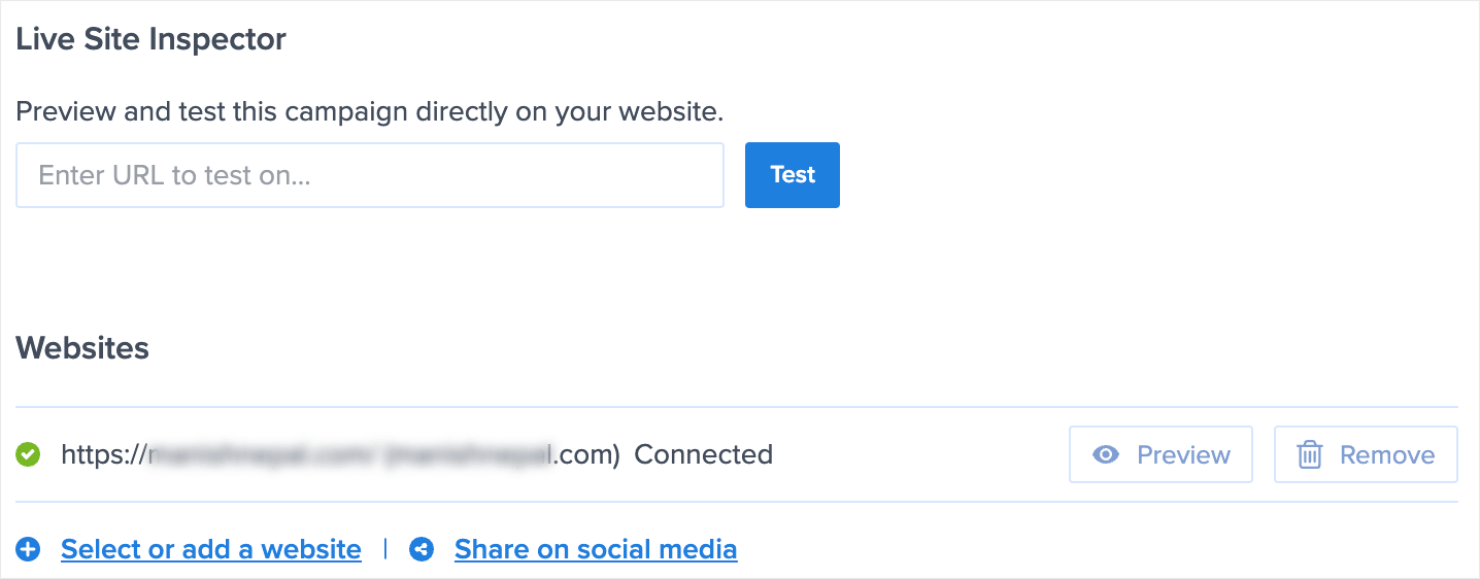
To check how the popup appears on your site, you can enter one of your connected websites under the Live Site Inspector.
Or, you can preview the popup by clicking the Preview button in the Websites section:
And that’s it!
Now, whenever a visitor is about to leave your homepage, they’ll see the contact form popup so that they can leave their questions or concerns they might have for your site.
Here’s how the contact form popup looks on my WordPress site:
Congratulations! You’ve successfully created a contact form popup using WPForms and OptinMonster.
BONUS! Adding a Popup To a WordPress Menu
Are you looking to generate more targeted leads from your WordPress site? One easy way to do that is to open a WordPress lightbox popup from a custom menu link like this:
Research shows that the top-left corner of a landing page attracts the most views. That makes your main menu a great place to attract attention with a tempting offer.
In this section, I’ll show you how to use MonsterLinks™ to add on-click optins in your WordPress menus, so you can get more targeted leads and interested subscribers.
If you prefer a visual guide, here’s a video tutorial that explains how to add a popup to a WordPress menu:
For an in-depth guide, you can follow the step-by-step instructions below.
Simply follow all the steps mentioned in the above tutorial until step #6. When you arrive at step #6, choose MonsterLinks™ instead of Exit-Intent®.
Next, go to the Display Rules tab. Click on When from the dropdown menu and select MonsterLink™ (On Click):
The next step is to create your WordPress menu item and add the MonsterLink™.
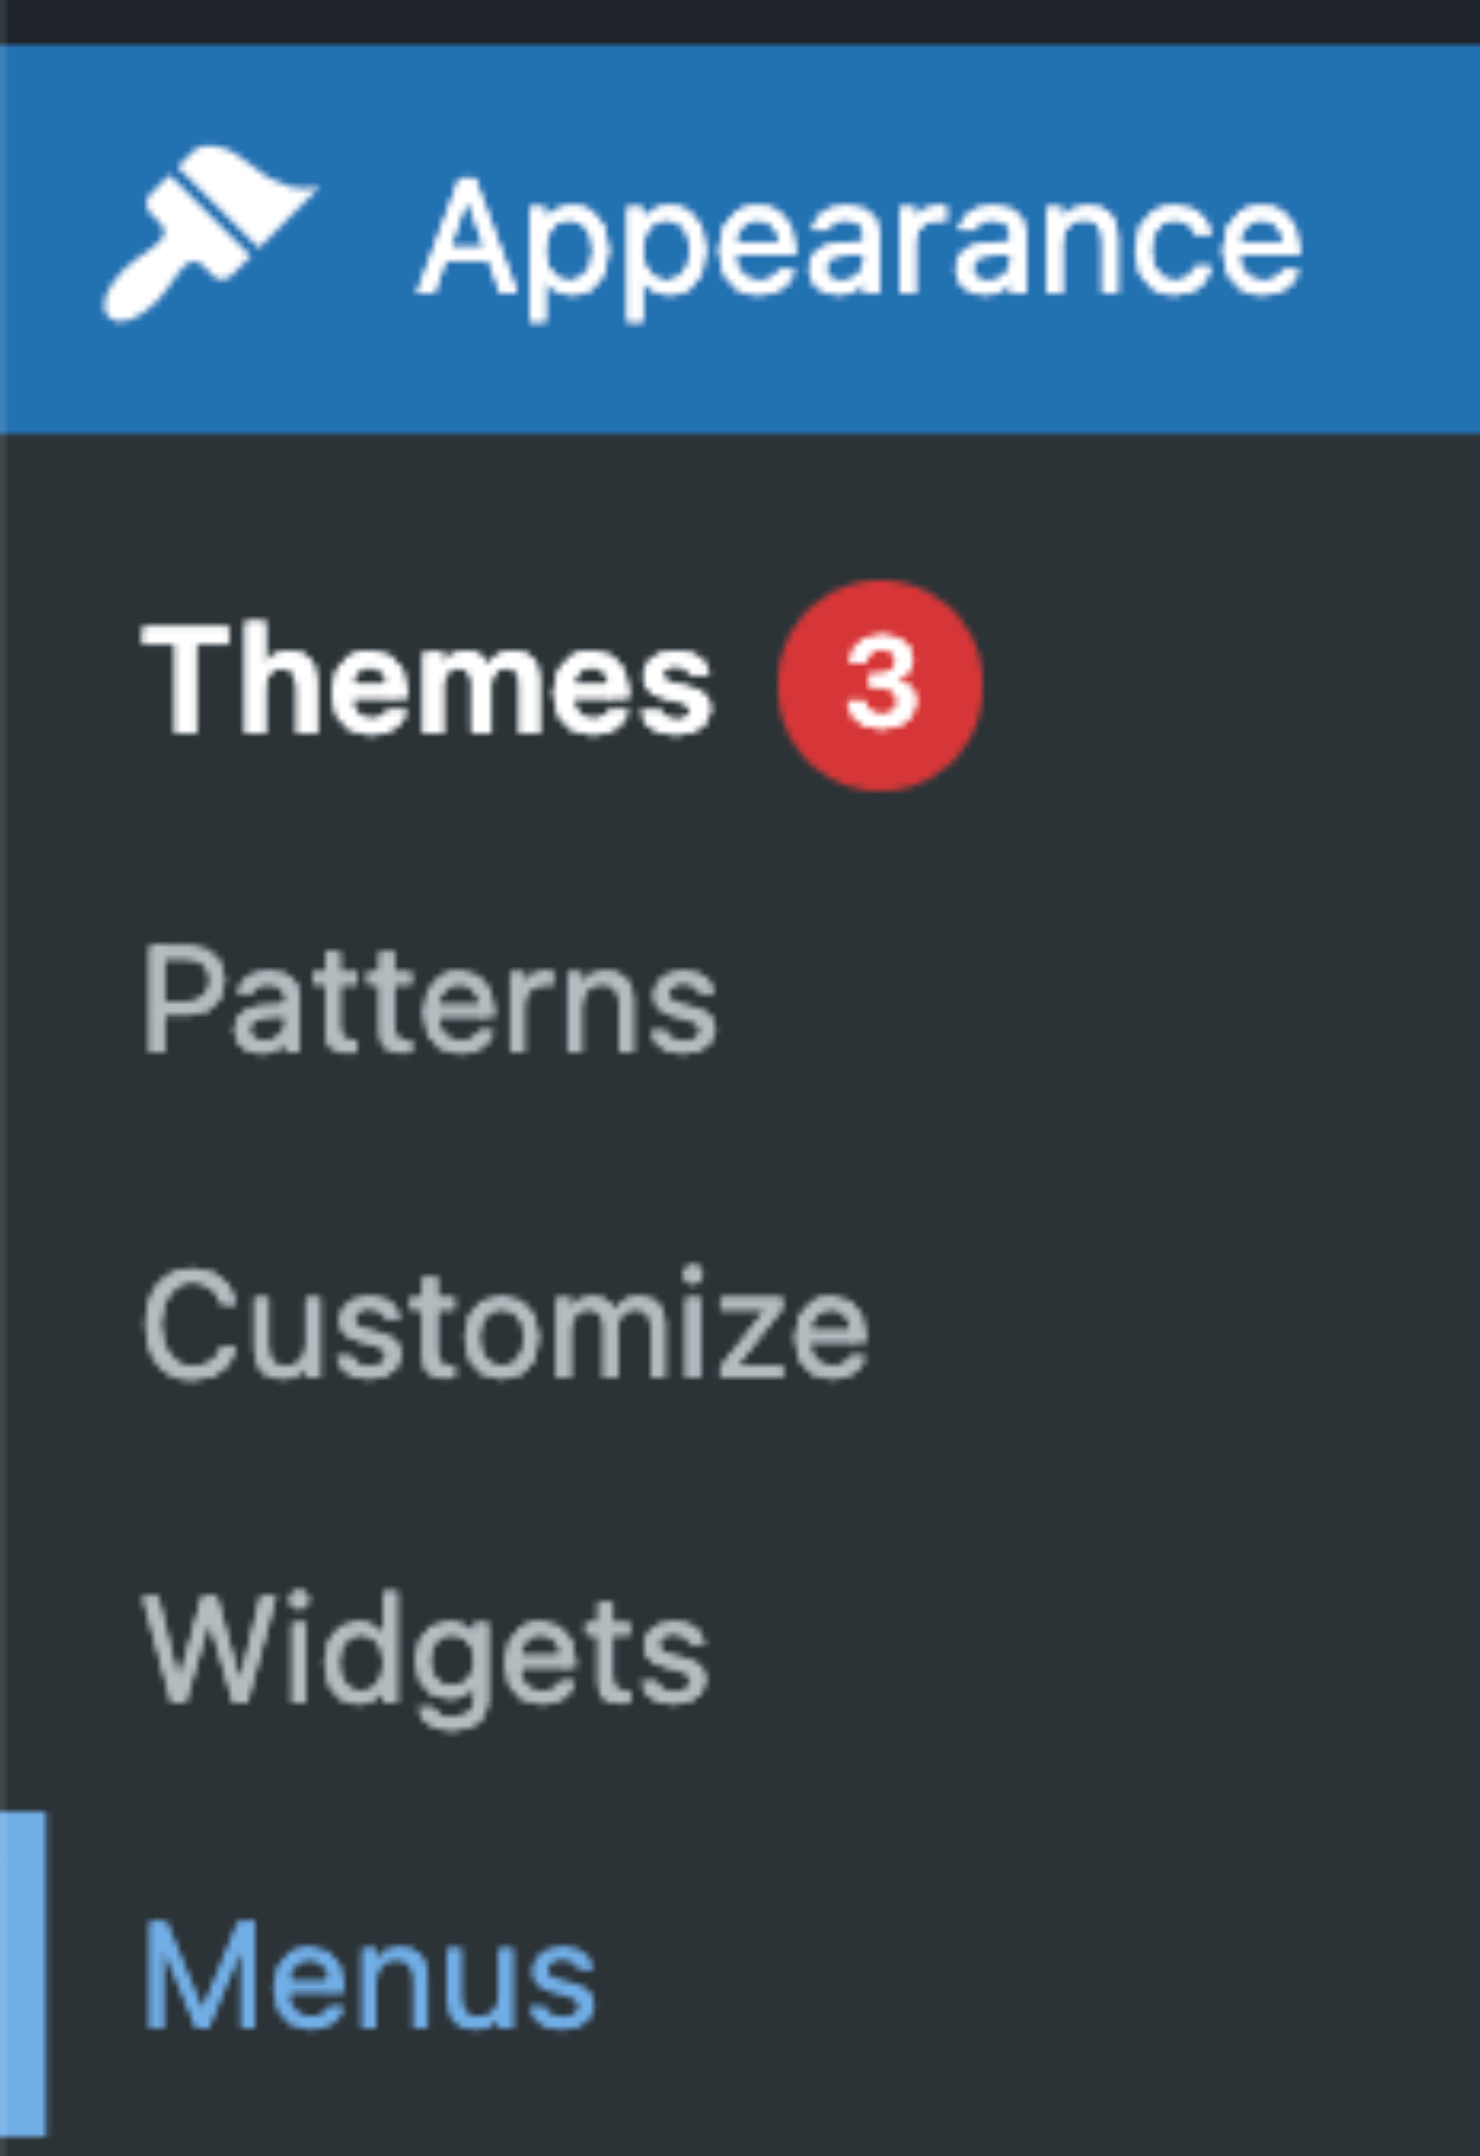
To do this, log in to your WordPress dashboard. Go to Appearance and click on Menus:
Choose the menu you want to add your link to.
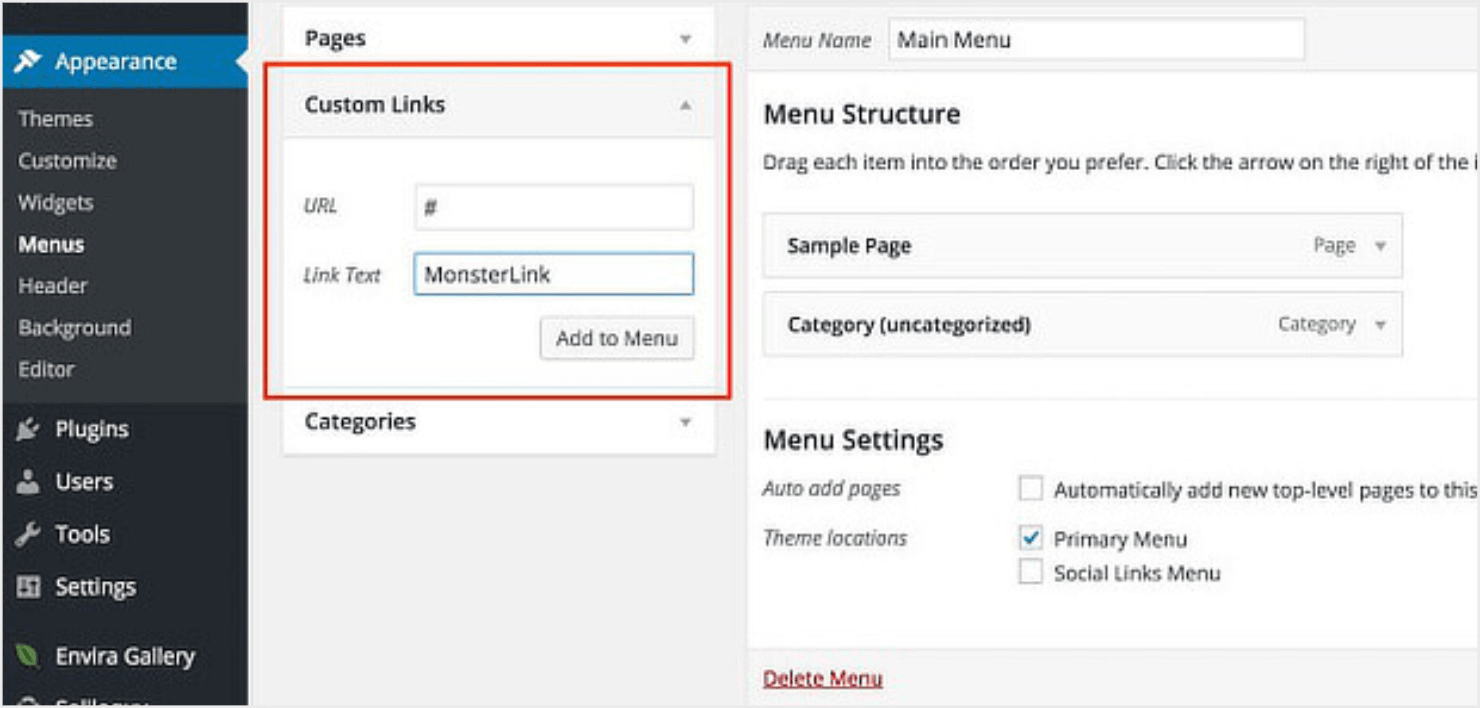
To add a new link, select Custom Links. Give the menu item a name via the Link Text field, and add a hashtag (#) in the URL field.
Click Add to Menu, then Save the menu.
Keep this window in your browser open, since you’ll need it for the next step:
Next, you’ll need to add code to the functions.php file of your WordPress theme.
Here’s an example of the code you’ll need:
add_filter( 'nav_menu_link_attributes', 'ekf_menu_attribute_add', 10, 3 );
function ekf_menu_attribute_add( $atts, $item, $args )
{
  // Specify the menu item ID we want to add our attribute to
  $menu_link = 64;

  // Conditionally match the ID and add the attribute and value
  if ($item->ID == $menu_link) {
    $atts['data-optin-slug'] = 'jiqobgwsx9qinkci';
    $atts['class'] .= 'manual-optin-trigger';
  }
  //Return the new attributes
  return $atts;
}
You can copy and paste this code to use yourself, but you’ll have to tweak a few things to get it to work for your website.
The items you’ll need to change are:
- The number after $menu_link = in line 5
- The string of characters in single quotes after $atts[‘data-optin-slug’] = in line 9
For the first item, you’ll need the ID of the link in your menu.
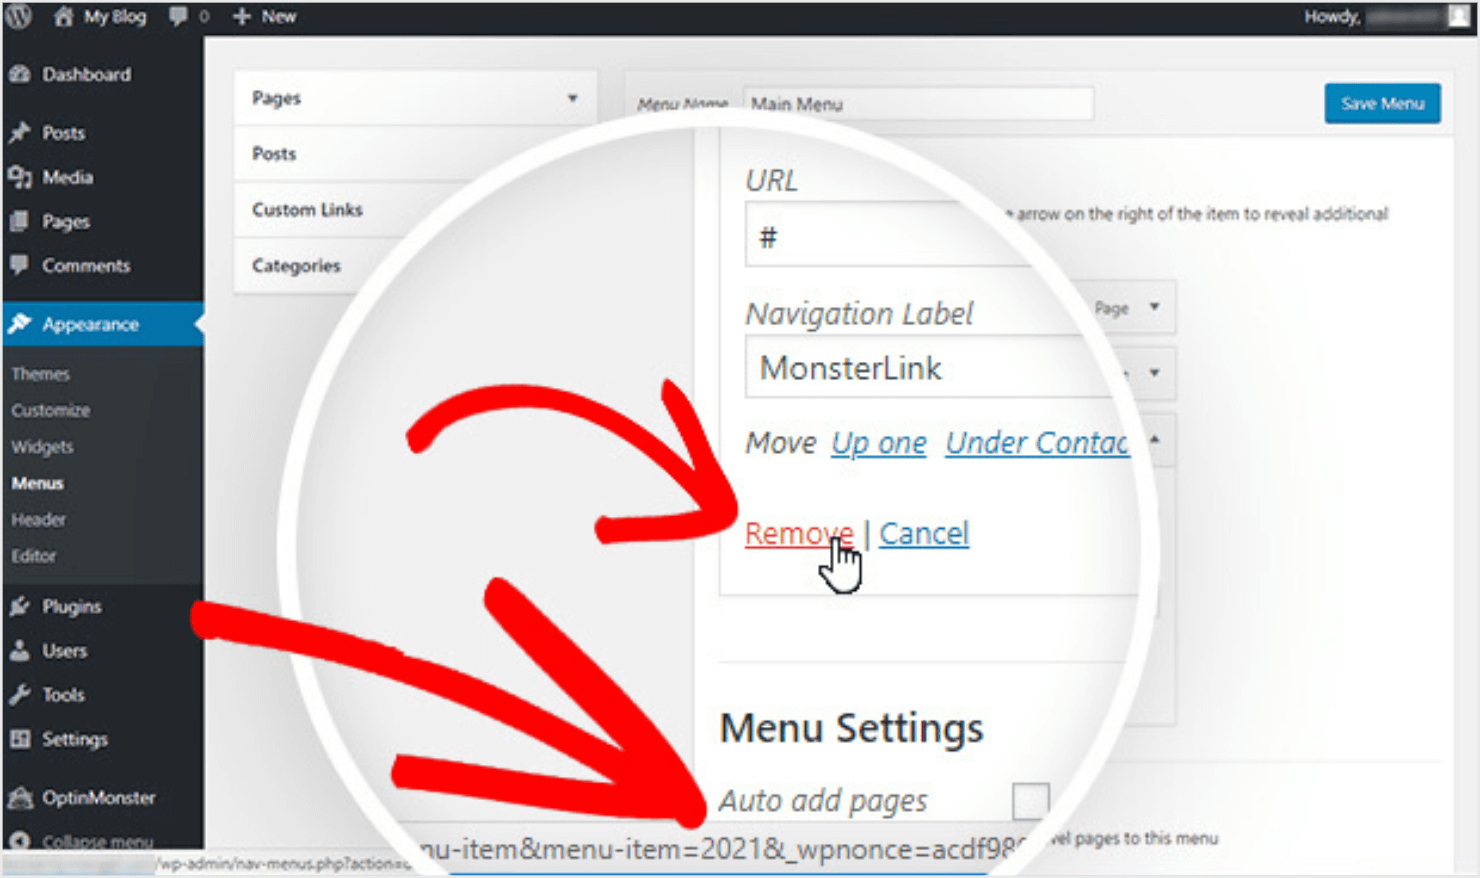
You can find the ID in the menu editing screen you’re already in. Simply hover your mouse over the Remove button.
That’ll bring up a link in the bottom of the browser that shows the menu ID, right after the part that says &menu-item=.
In this example, the menu ID is 2021:
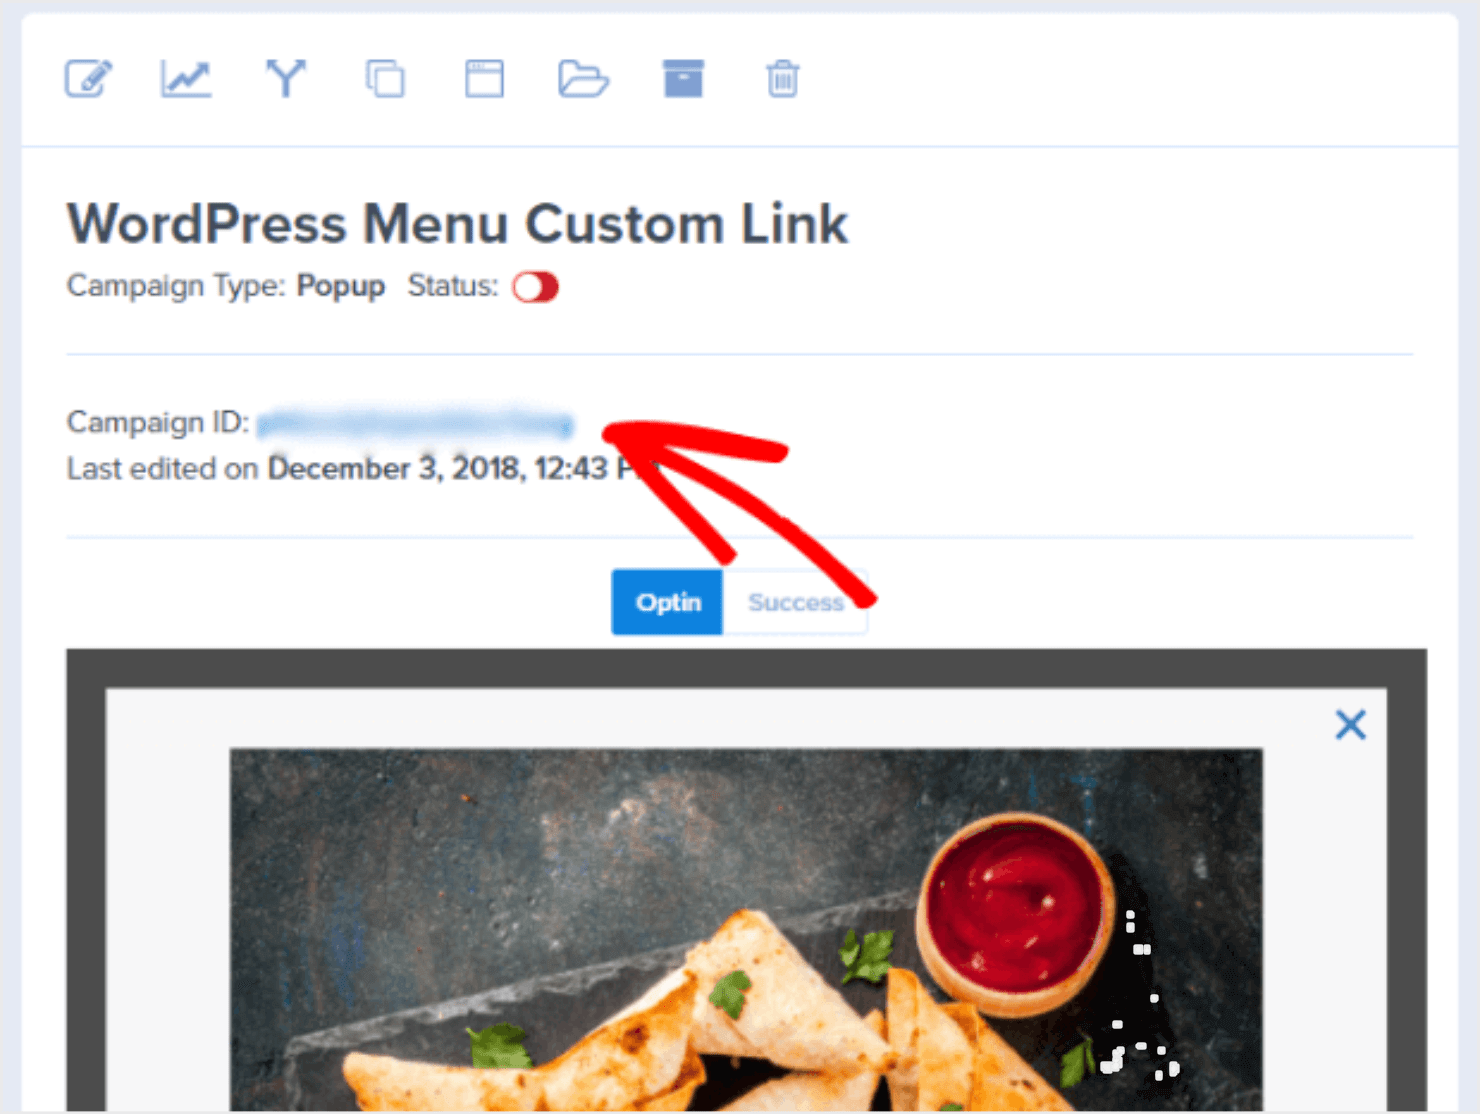
Then you’ll need the slug for your campaign. You can find this in the campaign dashboard.
In the campaign list, click on the campaign you want to preview. It will show up in the campaign preview pane. There, you’ll find the Campaign ID for the campaign slug:
Add those two items to the code, and then save your changes to the functions.php file.
Over To You
Now you know how to use a WordPress menu custom link to trigger a lightbox popup so you can get more targeted leads. Don’t forget to publish the form as mentioned in the above WordPress tutorial.
If you liked this post, you may also be interested in the following blogs:
- 40 Exit Intent Popup Hacks and Examples To Grow Your Email List
- How To Create a Popup Based on Location To Boost Your Sales
- 14 Amazing Lead Generation Form Examples To Boost Sales Now
- How To Add Social Media Buttons to Your Campaign
Ready to use popups to grow your business? Get OptinMonster today to get started!






















Add a Comment