If you run a WooCommerce store, knowing how your website is performing is crucial for growing your business. You need to track how many people visit your store, what products they are interested in, and, most importantly, how many of them actually make a purchase.
This is where Google Analytics comes in. With GA4 (Google Analytics 4), you can get deep insights into your store’s performance, including:
✅ How many people visit your store and where they come from
✅ Which products are generating the most revenue
✅ Where customers are dropping off during checkout
✅ How well your marketing campaigns are converting into sales
The problem? Setting up WooCommerce tracking in Google Analytics can feel overwhelming, especially since Google discontinued Universal Analytics (UA) and replaced it with GA4, which works very differently.
In this guide, I’ll walk you through everything you need to set up WooCommerce tracking in GA4 step by step, without the confusion.
Why You Need Google Analytics for WooCommerce
If you’re just looking at basic site traffic, you’re only scratching the surface. Google Analytics can help you understand not just who visits your site, but how they behave once they’re there.
Let’s break it down.
1. Understand Key Metrics That Matter
With WooCommerce eCommerce tracking enabled, you’ll gain access to critical performance metrics such as:
- Conversion Rate: The percentage of visitors who make a purchase
- Average Order Value (AOV): The average amount a customer spends in a transaction
- Cart Abandonment Rate: How many people add items to their cart but never complete checkout
- Customer Acquisition Cost (CAC): How much you’re spending on marketing to acquire a new customer
Without these insights, you’re flying blind and making marketing decisions based on guesswork.
2. Track Customer Behavior Inside Your Store
Wouldn’t it be great to know exactly where potential customers get stuck in the buying process? With Google Analytics, you can track:
- How customers move through your site from browsing products to completing a purchase
- Which pages are causing people to leave
- Where people drop off during checkout
With this data, you can fix problem areas on your website and improve your sales funnel.
3. Improve Your Marketing Strategy
Google Analytics helps you see which marketing channels bring in the most sales, whether it’s:
- Google search (SEO)
- Paid ads (Google Ads, Facebook Ads, etc.)
- Social media referrals
- Email marketing campaigns
Instead of wasting money on ineffective marketing, you’ll be able to double down on what works.
How to Set Up WooCommerce Conversion Tracking
Now that you know why tracking your WooCommerce store is essential, let’s walk through exactly how to set up conversion tracking the right way without touching a single line of code.

We’re going to use MonsterInsights, which is hands down the best Google Analytics plugin for WordPress. It makes setting up WooCommerce conversion tracking ridiculously easy, even if you’re not tech-savvy.
Instead of fiddling with Measurement IDs or manually configuring events in Google Analytics, MonsterInsights handles everything for you behind the scenes. It automatically installs your GA4 tracking code, enables Enhanced eCommerce, and even sets up conversion events all with just a few clicks.
Here’s how to get WooCommerce conversion tracking up and running in less than 10 minutes.
Step 1: Install the MonsterInsights Plugin
First things first, you’ll need a MonsterInsights Pro license to unlock WooCommerce conversion tracking.
Head over to the MonsterInsights Pricing page and choose the Pro plan. Once you sign up, you’ll be able to download the plugin ZIP file from your account dashboard.
Then in your WordPress admin area:
- Go to Plugins → Add New
- Click Upload Plugin
- Upload the ZIP file you downloaded
- Click Install Now → Activate
That’s it! MonsterInsights is now installed on your site.
Step 2: Connect Google Analytics to Your Website
After activating the plugin, MonsterInsights will walk you through a simple setup wizard to connect your site with Google Analytics 4 (GA4).
All you need to do is:
- Click Connect MonsterInsights
- Sign in with your Google account
- Choose your GA4 property
- Click Complete Connection
MonsterInsights will automatically place your Google Analytics tracking code on your site, no manual work needed.
If you want a step-by-step walkthrough of this process, check out our full guide: How to Add Google Analytics to WordPress.
Step 3: Enable WooCommerce Conversion Tracking
Now it’s time to start tracking your store’s conversions.
From your WordPress dashboard, go to:
Insights → Addons → eCommerce
Click the Install button on the eCommerce addon, and MonsterInsights will instantly start tracking your WooCommerce sales data.
This includes:
- Transactions
- Revenue
- Conversion rate
- Average order value
- Add-to-cart and remove-from-cart events
- Checkout steps and abandonment behavior
All this data is tracked automatically and compiled into clear, easy-to-read reports inside your WordPress dashboard.
Step 4 (Optional): Track Paid Ads Conversions
If you’re running Google Ads, Microsoft Ads, or Facebook Ads, you’ll want to track conversions from those campaigns too.
MonsterInsights makes this easy with its PPC Ads Tracking addon.
To turn it on:
- Go to Insights → Settings → Conversions
- Enable PPC Ads Tracking
- Enter your Google Ads or Facebook conversion info
Once that’s done, you’ll be able to track how your paid campaigns contribute to WooCommerce sales right inside Google Analytics.
Bonus: Using WooCommerce Data to Increase Sales and Revenue (Highly Recommended)
Now that you have valuable insights into your WooCommerce store, you can convert that information into actions on your site.
The most powerful tool you can use for that is OptinMonster.
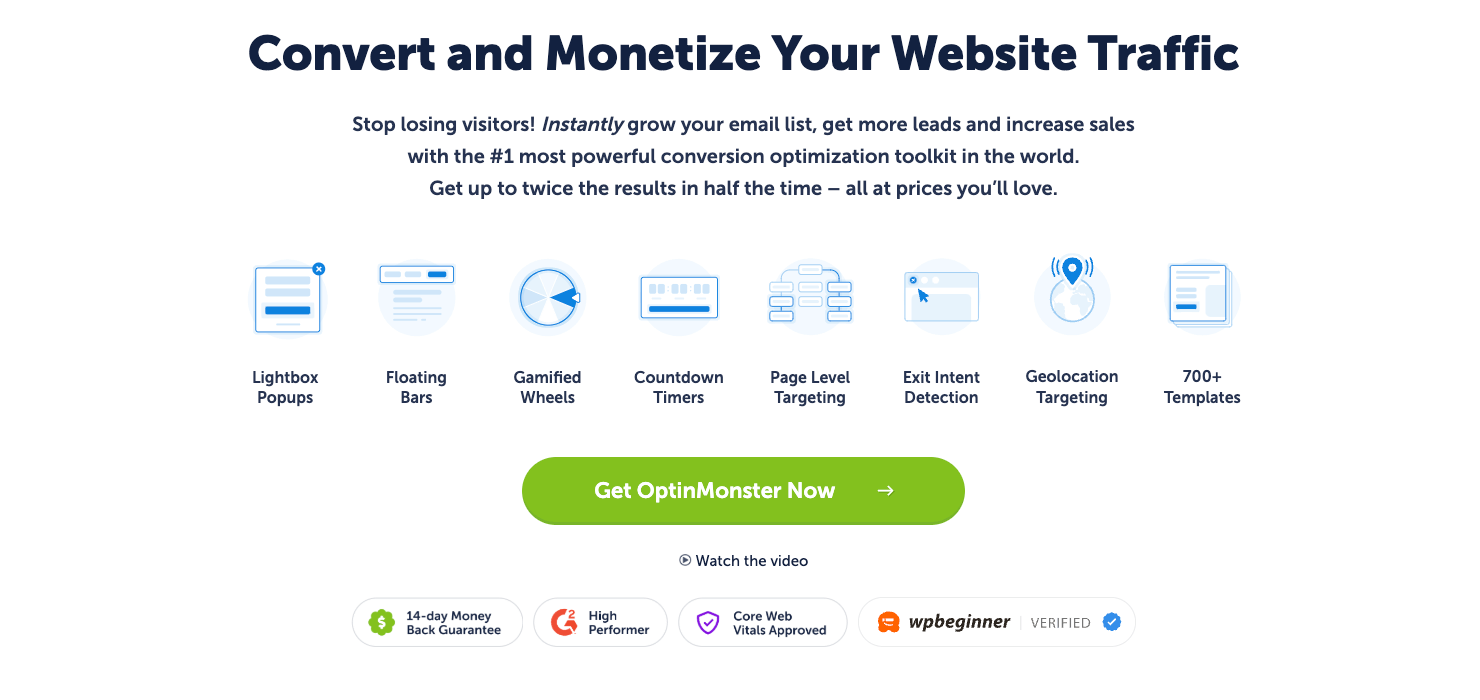
OptinMonster is hands down the best lead generation and conversion optimization tool for WooCommerce.
It lets you create marketing campaigns like popups, slide-ins, banners, gamified wheels, floating bars, and more.
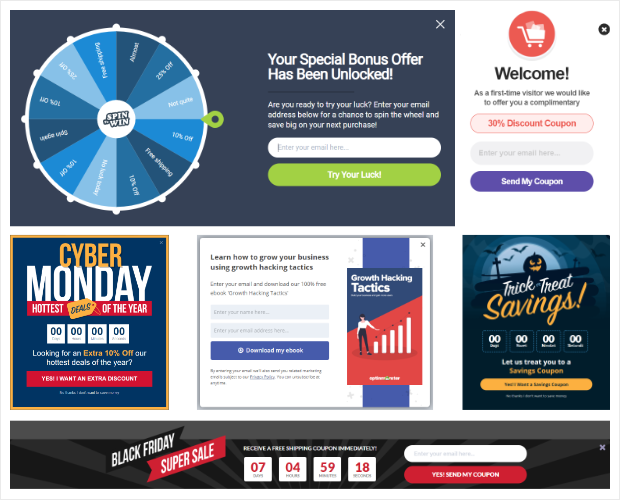
But that’s not all. OptinMonster has really powerful targeting rules to show campaigns based on a customer’s actions, interests, and behavior on your site.
One of the most popular rules is Exit-Intent® which lets you display a campaign right before a visitor leaves your site.

You can target by page, product, category, date, and time. You can even schedule campaigns to run on their own.
This means you can use OptinMonster to:
- Promote popular products
- Offer discounts and promotions
- Recover abandoned carts
- Get more email subscribers
- Run flash sales and seasonal sales
- And so much more…
OptinMonster is so flexible it can suit any marketing goal.
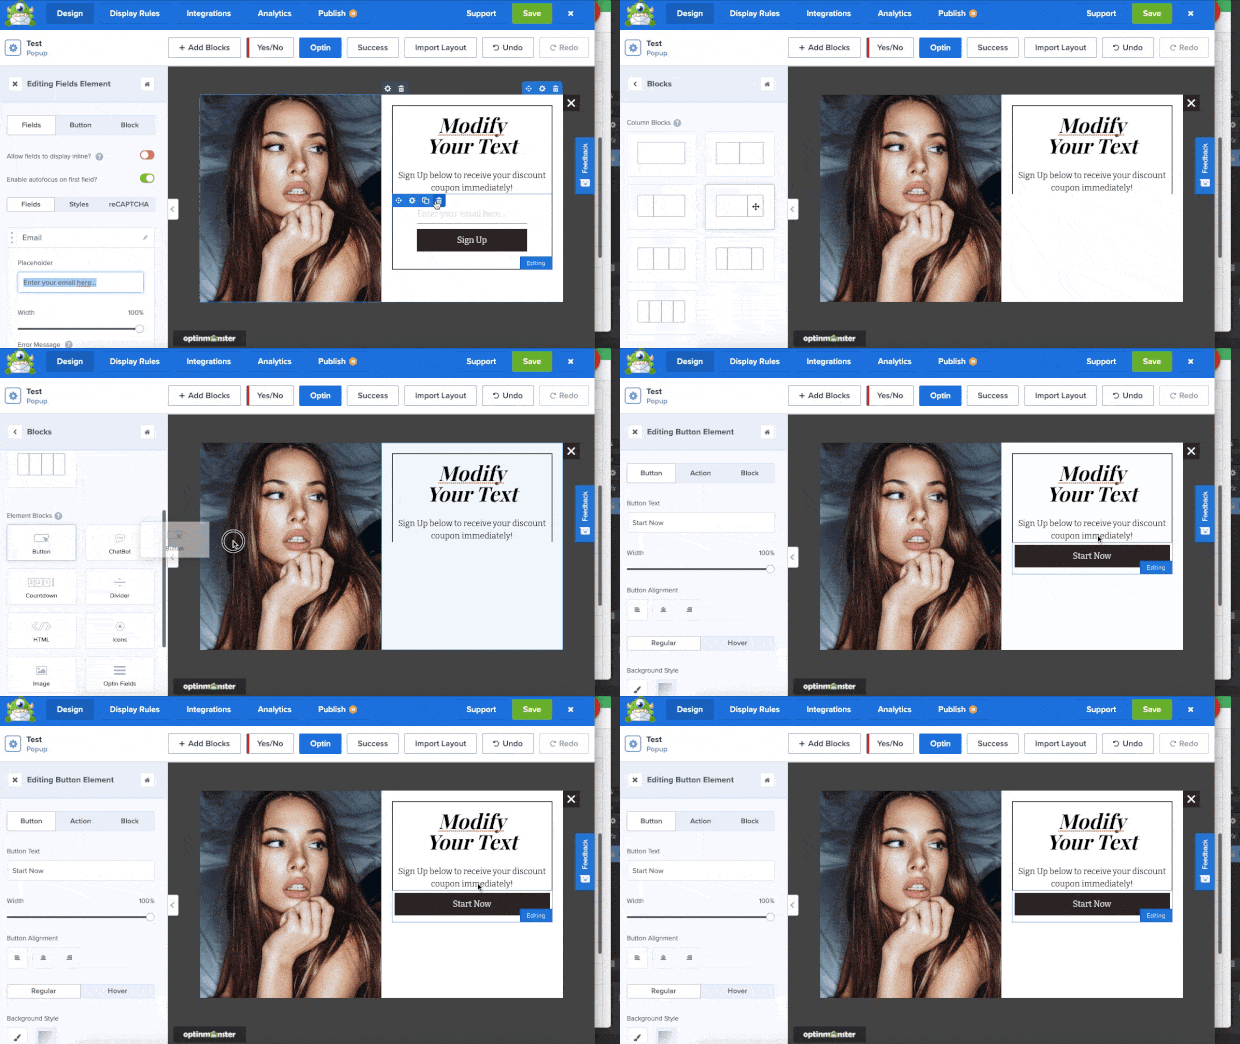
Plus, there are 700+ templates and a drag and drop builder to create eye-catching campaigns in minutes. That means there’s no coding required whatsoever!
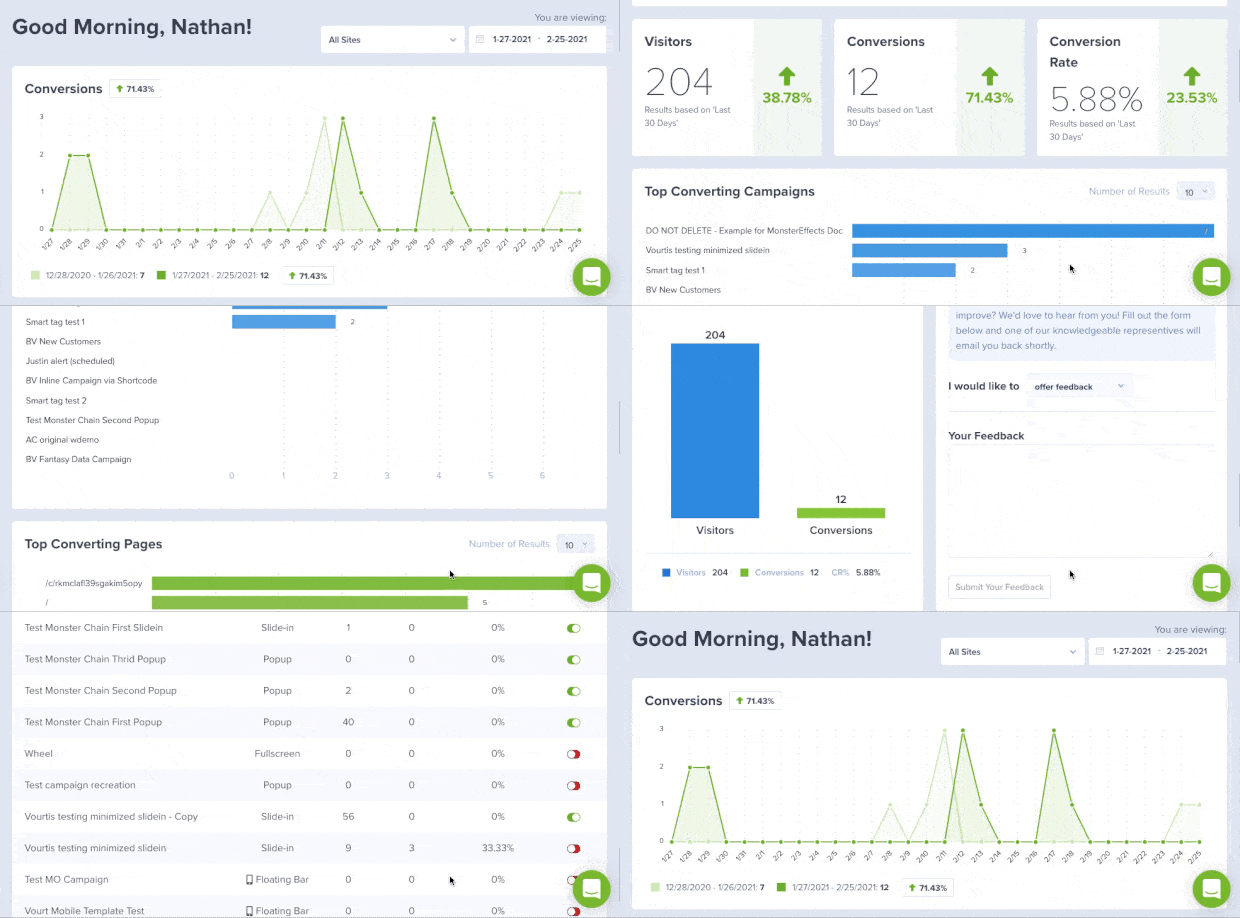
OptinMonster also comes with built-in analytics and seamlessly integrates with Google Analytics. You can easily track how well your campaigns are performing and how much money they earn for you.
That way, you’ll have all the data you need to optimize your lead generation strategy.
Want to create a campaign in just 5 minutes? Follow our quick guide: How to Create a WooCommerce Popup (+ 7 Ways to Boost Sales).
Still on the fence about OptinMonster? Just check out some of these success stories from WooCommerce stores just like yours:
- How Kennedy Blue Increased Sales 50% by Overcoming Sales Objections with Popups
- How Sportique Increased Conversions 200% with OptinMonster’s Geo-Targeting
- How SnackNation Adds 1200 Segmented Leads Every Week
Ready to boost your WooCommerce sales and promotions? Get your 100% risk-free OptinMonster account by clicking below:
We hope you found this post helpful in enabling WooCommerce tracking in Google Analytics.
Google Analytics is really powerful and there’s so much you can do with it if you learn to navigate it.
If you’re looking for more ways to improve your engagement, conversions, and sales, check out more of our guides:
- Ecommerce Optimization to Instantly Boost Revenue
- The Ultimate Guide to Growth Hacking for Exponential Success
- Exit Popup Hacks That Will Grow Your Subscribers and Revenue
These posts will help you grow your WooCommerce store and set it up for long-term success!



Add a Comment