
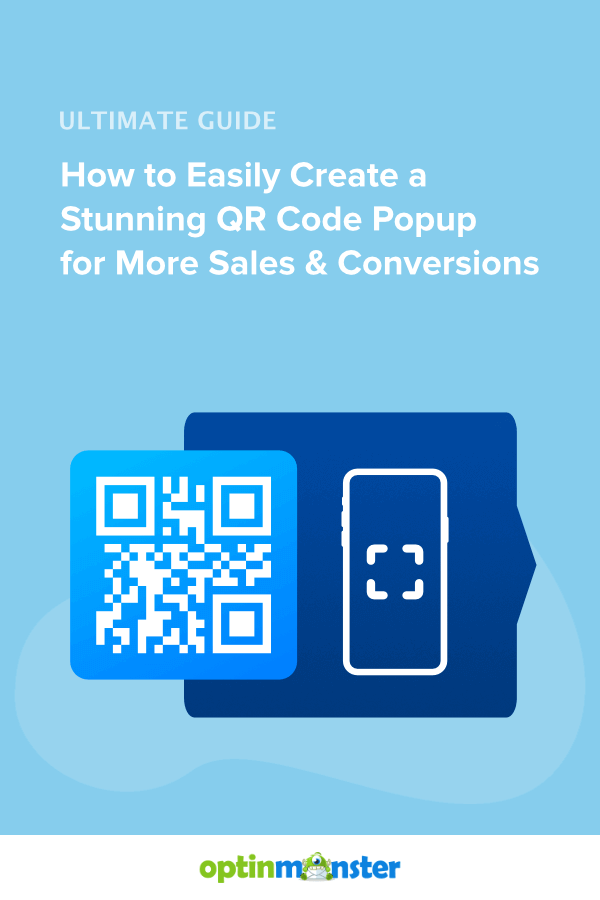
How to Create a QR Code Popup for Higher Conversions
Last updated on
by

Do you want to make a QR code popup to improve the user experience (UX) across your site?
A QR code popup lets you condense or hide information that customers can easily access by scanning the code.
You can use it for an unbelievably wide range of purposes like securing payments, file downloads, coupon codes, sharing social media links, and so much more.
This tutorial will show you how to create a stunning QR popup with powerful targeting rules to maximize sales and conversions.
The BEST Way to Create a QR Code Popup
QR codes serve multiple purposes, so it might be difficult to find the right tool that matches your site’s goals.
For instance, you may want to display the QR code popup only when a customer clicks on a transactional button or link on your site.
Or you may want to add the QR code to a promotional popup to encourage them to register for an event, download a PDF, or participate in a contest.

Ideally, you’ll want a popup builder that lets you:
- Insert a QR code easily
- Use premade templates that make it easy to get started
- Customize the popup to match your brand and goals
- Target visitors according to their activity and interest on your site
- Test and view performance to make improvements
- Integrate with email accounts to send automated emails if needed
OptinMonster offers all this and more:

OptinMonster is the 1# popup builder to create any kind of popup for your site. You’ll also get to create other marketing campaigns like floating bars, slide-ins, inline forms, and others, so you won’t be limited to just popups.
With OptinMonster, you can use 50+ pre-made templates or create your own campaign from scratch.
You also get a drag and drop builder to add/change elements like images, videos, text, optin forms, and even countdown timers.

The best part about OptinMonster is it gives you full control over your popup display. This means you target website users based on what they are doing on your site. This includes:
- On click: Open a QR code popup when a user clicks a button, link, or image
- On Exit: Show when a visitor is about to leave your site
- Pageview: Target visitors according to the page or product they’re viewing
- Geolocation: Engage with visitors from a certain geographical area
- Time spent: Time the popup to appear after the visitor has spent a little time on your site
- Scheduled time: Show during a specific time period like a flash sale
There’s really so much you can do with your QR code popup. If you want to see how OptinMonster works, take a look at how IMSource increased conversions 6,500% using OptinMonster’s behavioral automation.
Added to these features, you’ll get all the analytics you need right inside your OptinMonster dashboard.

You can view how many people viewed your popup and converted, top-performing pages and campaigns, along with other important stats.
Ready to create your own high-converting QR code popup? Then sign up for your 100% risk-free OptinMonster account below:
In the tutorial below, we’ll show you how to set up a QR code popup like this:

You’ll learn to create and add this campaign to your site in just 4 simple steps. Let’s get started.
Creating a Targeted QR Code Popup
To follow along in this tutorial, you’ll need 2 things:
1. A QR Code
If you don’t already have a QR code, you can generate one online. There are plenty of platforms that let you create a QR code for free. We recommend using a trusted site like Shopify’s free QR code generator.
If you plan on using the QR code to collect payments, you can create a code with your payment provider like PayPal.
You’ll need to get clear on what it is that you want your QR code to actually do (make a payment, sign up for a newsletter, reveal a discount, and so on) to choose the best tool for your strategy.
Then save your QR code as a PNG image so that you can easily embed it inside the popup.
2. An OptinMonster Account
You’ll need to create an OptinMonster account.
OptinMonster works with any website including WordPress, Shopify, BigCommerce, and even HTML sites.
In other words, you can use OptinMonster regardless of which platform you used to build your website.
When you sign up, you can connect your website to your OptinMonster account. There are apps and plugins available for WordPress, Shopify, and BigCommerce.
For all other websites, you can follow our detailed docs on connecting your site to OptinMonster.
Step 1: Creating a Popup Campaign
Inside the OptinMonster dashboard, use the Create New Campaign button. to get started with your popup.
 - OptinMonster")
On the next page, you’ll see the different campaign types along with the templates available. You can explore these templates by previewing them to find the one that matches your goals best.

We’ll use the Canvas template that lets you start with a blank slate. Feel free to choose any template you like, the steps below will remain the same.
Once you select a template, OptinMonster lets you add a name for your campaign. This is for internal use so that you can easily find the campaign later in the dashboard.

Then hit the Start Building button to launch OptinMonster’s campaign builder.
Step 2: Adding QR Code to Popup Campaign
The campaign builder is simple for anyone to use. There are no coding skills needed at all. You’ll see a preview of your template and you can make edits to it directly.
Let’s start by editing the text to add your own message. Simply select the text block and type in your own content.

When you select all the text, a menu bar will appear. This lets you change every aspect of the text such as:
- Font
- Style
- Size
- Alignment
- Color

Next, you’ll see that there’s an image block already present in the template. If you select it, you’ll get an option on the left to upload an image. You can select your QR code from your computer and OptinMonster will display it here.

However, we want to make this popup look stunning by adding 2 images.
First, delete the image that’s in the template.
Then using the Add Blocks button, select the split column block from the left menu and drag it into the template.

Now you can add image blocks into these columns and then either select a stock image or upload images from your computer.

In the first image block, we’ll upload the QR code PNG file. And in the second image block, we’ll add a colorful image to make the campaign pop.
It’s really that simple. You can also add a custom background. Simply click anywhere in the campaign outside the added blocks.

This will pull up the background options in the left taskbar where you can add a solid color, gradient effect, or an image.
If you want to add more elements to the popup, use the same Add Blocks button and simply drag and drop new blocks into your campaign where you want them to appear.
Now your campaign design is ready, we recommend saving your changes first, then you can add targeting rules to the popup.
Step 3: Targeting Visitors with QR Code Popup
OptinMonster lets you decide where and when the popup appears on your site. To add these settings, open the Display Rules tab from the top navigation menu.
You’ll see that by default, OptinMonster shows the campaign to a visitor who spends at least 5 seconds on a page.

To change this, edit any rule here to access all the targeting options available. OptinMonster offers a long list of possibilities and you’ll find them neatly categorized.
If you want the popup to appear on click, choose the MonsterLinks™ rule.

This will create a link that you can copy and embed on your site in a button, link, or image on your site.
If you want it to appear when someone comes to your website for the first time, then choose the New Visitor rule.

Then you can use the Page Targeting rule to add a specific URL to make the popup appear only on that page.
This lets you target customers with different QR code popups based on whether they are browsing your blog, homepage, or product catalog.

In this way, you can add any rule you want with just 1 click. You can even add multiple rules using the ‘AND’ button.
You’ll want to be careful here because there are two options to add multiple rules:
- “AND” rule: Create a new rule where both conditions need to be met and only then will the popup display. For instance, you can make the popup appear if the visitor is new AND browsing the homepage.

- “OR” rule: Create a new rule where either condition needs to be met. For example, you can show the popup if a visitor is exiting the site OR has been inactive for a while. In this case, if one condition is met, the popup will appear.


Now that your rules are added, the QR code popup is ready to be published.
Step 4: Publishing QR Code Popup
Publishing your new popup is just a button click away. Head over to the Publish tab from the top navigation menu.
Here, you’ll see a Preview button that lets you view a sample of your campaign so you can see what it would look like when it’s live.

All that’s left to do is set the status here to ‘Publish’.
That’s it! Your QR code popup is live on your site. You can visit your website and you’ll see the popup appear according to the display rules you set.
Remember, if you’re using a MonsterLink™ to make the popup appear on click, you’ll need to add the link inside a button on your site.
If you’re using WordPress, you can select the button in the page editor. Then use the link icon to get the URL field where you can paste your MonsterLink™.

Now that you’ve learned how to use OptinMonster, you can create all kinds of conversion and lead generation campaigns for your site.
We suggest getting started with a welcome popup or an exit survey to engage with customers and boost sales.
If you haven’t already signed up yet, get your 100% risk-free OptinMonster account below:
That’s all we have for you today. We hope you found this tutorial helpful in creating a stunning QR code popup.
For more ways to increase sales and conversions, you’ll want to check out these resources we have for you:
- Recover Abandoned Carts: 12 Ways to Skyrocket Sales
- Write a Sales Page That Actually Converts
- Create a Recent Sales Popup to Boost Your Revenue
These posts will show you creative ways to get customers to buy more so you can drive revenue and growth.
Disclosure: Our content is reader-supported. This means if you click on some of our links, then we may earn a commission. We only recommend products that we believe will add value to our readers.

-01 - OptinMonster")


Add a Comment