Are you using Sendloop for your email marketing campaigns and want to grow your subscriber list? With OptinMonster, you can create engaging, high-converting popups that integrate seamlessly with Sendloop, helping you collect more leads and boost conversions.
In this guide, I’ll show you how to create a Sendloop popup in minutes using OptinMonster.
- What Is Sendloop?
- What Is a Sendloop Popup?
- Why Use OptinMonster to Create Sendloop Popups?
- How to Create a Sendloop Popup With OptinMonster
What Is Sendloop?

Sendloop is an email marketing platform that enables businesses to create, automate, and manage effective email campaigns. Known for its user-friendly interface and robust features, Sendloop allows you to:
- Design responsive emails with a drag-and-drop builder.
- Manage unlimited subscribers and lists.
- Utilize marketing automation tools for targeted campaigns.
Pairing Sendloop with OptinMonster elevates your lead generation by capturing high-quality leads through engaging popups.
What Is a Sendloop Popup?
A Sendloop popup is an optin form that appears on your website to capture visitors’ attention and encourage them to subscribe to your email list. These popups overlay your content and are designed to promote offers, share updates, or collect email addresses.
Using OptinMonster, you can create visually appealing Sendloop popups tailored to your audience, helping you grow your subscriber list and boost engagement effortlessly.
Why Use OptinMonster to Create Sendloop Popups?
While Sendloop excels in email delivery, OptinMonster ensures you have a growing list of subscribers to engage. OptinMonster is a leading lead-generation platform that allows you to create professional optin forms like:
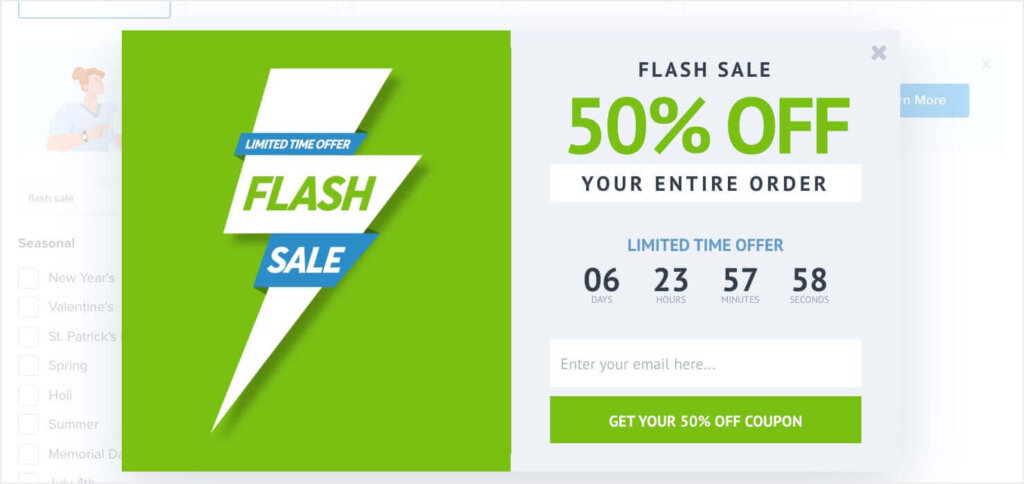
With OptinMonster, you can build your Sendloop email list with great-looking popups like this one:

With features like advanced targeting and Exit-Intent® technology, you can display your campaigns to the right audience at the right time, maximizing engagement and conversion rates.
How to Create a Sendloop Popup With OptinMonster
Follow these simple steps to set up your Sendloop popup using OptinMonster:
Step 1: Create a New Campaign in OptinMonster
- Log into your OptinMonster account.
- Click Create New Campaign in your dashboard.
- Select your campaign type, such as Popup.
- Choose one of OptinMonster’s 700+ templates.
- Name your campaign and click Start Building.
- Customize your template with OptinMonster’s drag-and-drop builder.
- Once your design is complete, click Save at the top of the editor.
For more detailed instructions, see our guide to Creating Your First OptinMonster Campaign.
Step 2: Connect OptinMonster to Sendloop
To integrate OptinMonster with Sendloop:
- Go to the Integrations tab in the campaign builder.
- Click Add New Integration and select Sendloop.
- Enter a Sendloop Account Name (for internal use) and your Sendloop API Key in the appropriate fields.
- Click Connect to Sendloop, and OptinMonster will sync with your Sendloop email lists.
For more details, see our How to Connect OptinMonster with Sendloop guide.
Step 3: Publish Your Campaign
Once integrated, you’re ready to publish:
- Head to the Publish tab and click Publish.
- Follow any additional instructions based on your website’s platform.
And you’re done! Your popup is now live and ready to start growing your Sendloop email list.
Boost Your Email Marketing Results With Sendloop Popups
By using OptinMonster to create Sendloop popups, you’ll quickly build an email list full of highly engaged leads. With features like Exit-Intent® technology, advanced targeting, and drag-and-drop customization, you’ll see immediate results in your lead-generation efforts.
Ready to get started? Sign up for OptinMonster today and enhance your Sendloop campaigns.
Learn More About Popups and Email Marketing


Add a Comment