
How to Add Email Optins to WordPress in Under 5 Minutes
Last updated on
by

TL;DR: Add Email Optins to WordPress in Under 5 Minutes
You can add high-converting email optins to your WordPress site in just a few minutes using OptinMonster — no coding needed.
1. Install & activate the OptinMonster plugin.
2. Create a campaign (like a popup or floating bar) from 50+ ready templates.
3. Customize it with drag-and-drop tools — add headlines, images, or countdown timers.
4. Set targeting rules (like exit-intent) to show the optin at the right time.
5. Connect your email provider (Constant Contact, HubSpot, etc.).
6. Publish your campaign and start collecting leads instantly.
This guide walks you through each step with screenshots and pro tips to boost conversions fast.
Are you trying to figure out how to add an email optin to WordPress, but you’re not sure of the best method?
Email marketing is still one of the most effective ways of reaching your audience and driving more sales for your online store.
But growing your email list can be a challenge, especially if you’re starting from scratch. You’ll need powerful and high-converting optin forms to motivate your site’s visitors into action.
That’s why, in today’s tutorial, we’re going to teach you how to add an email optin to WordPress in under 5 minutes.
Before we get started, though, let’s get clear on what we mean by “email optin.”
What Is an Email Optin Campaign?
An “email optin” is a type of form or campaign that’s designed to capture your audience’s email addresses.
It’s usually presented with a lead magnet or some kind of discount. These offers are more motivation for your site’s traffic to join your mailing list.
Email optin campaigns come in all shapes and sizes.
They can be a static form resting on a page or post on your WordPress website. Or they can be dynamic campaigns that are presented as:
- Lightbox popups
- Floating bars
- Fullscreen welcome mats
- Slide-in scroll boxes
- Gamified spin-to-win wheels
- And much more…
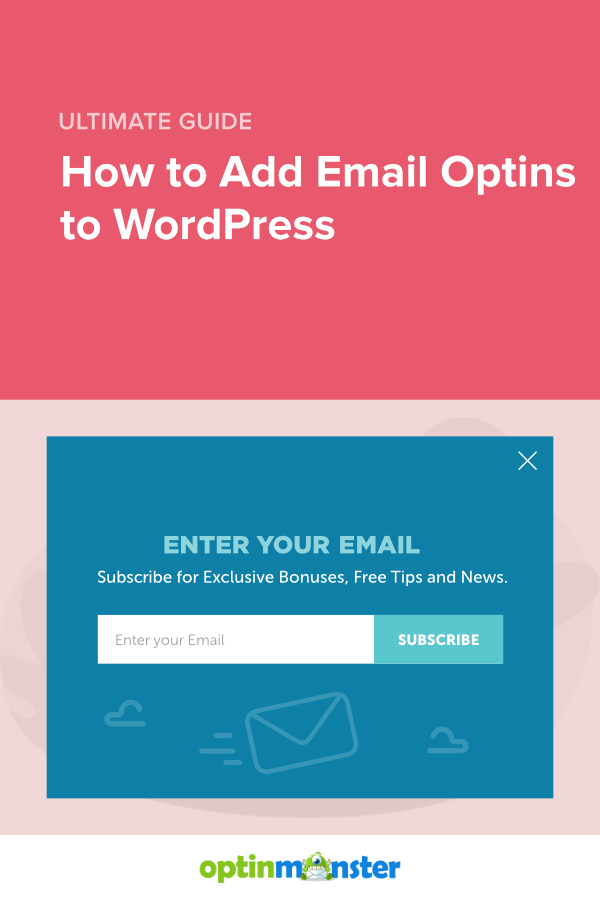
Here’s an example of the email optin popup campaign we’ll build for today’s tutorial:
There are some BIG advantages to making your email optin forms dynamic.
That’s because you’re able to target these campaigns to determine when, where, and to whom they’ll appear.
This level of personalization drastically boosts conversions and helps you grow your list FAST.
So, today, we’re going to teach you exactly how to add email optins to WordPress.
And the method we’ll use will let you create both static and dynamic optin forms to get the highest conversions possible for your website.
How to Add Email Optins to WordPress
In today’s tutorial, we’ll build the email optin form with OptinMonster:

OptinMonster is a premium lead generation software that makes it EASY to add email optins to your website.
This tool allows you to create all kinds of optin campaigns for your website, like popups, floating bars, inline campaigns, and much more.
Imagine having the ability to leave static signup forms directly in your blog posts or pages.
This would come in the form of a sidebar widget or an “inline” campaign that appears to all users on certain pages of your site.
But then also imagine being able to target visitors with special offers based on how they engage with your brand.
This allows you to present your offers or lead magnets to the right people, in the right places, and at just the right times in their customer journey.
And the best part is that there’s zero technical experience required. That means ANYONE can create these stunning campaigns in no time.
Ready to follow along? Click below to start your 100% risk-free OptinMonster account today:
Once you’ve signed up, you’re only minutes away from your first campaign.
Let’s get started with the tutorial.
Step 1) Install & Activate the Plugin
The first thing you’ll need to do is install and activate your OptinMonster plugin.
From your WordPress admin menu, go to Plugins » Add New:
Then search for OptinMonster in the plugin repository. When you’ve found it, click Install Now:

When the plugin has successfully installed, click Activate:

And now your plugin will be ready to go.
You’ll be taken through a helpful Setup Wizard to finish building your account. It only takes a few seconds, and it doesn’t require any kind of coding or technical knowledge.
If you need more help, we recommend this in-depth guide: How to Integrate OptinMonster With WordPress.
From there, you’ll be ready to build your first email optin campaign.
Step 2) Choose Your Campaign Type & Template
If you don’t arrive there by the setup wizard, you can navigate to OptinMonster » Campaigns from your WordPress dashboard.
Then you can click Add New to create an optin campaign:

Next, you’ll need to choose your campaign type.
OptinMonster gives you several options, including:
- Popup
- Floating bar
- Fullscreen
- Inline
- Slide-in scroll box
- Gamified
For today’s tutorial, we’ll select a Popup campaign:

Now you’ll need to select one of OptinMonster’s 50+ templates:

These templates are designed to save you time, energy, and headaches in the campaign creation process.
They’re all mobile-friendly and fully responsive.
Plus, many OptinMonster customers hardly make any customizations at all. Instead, they select a template that matches their offer, and it’s ready to go out of the box.
Once you select your template, you’ll be prompted to name your campaign and click Start Building:

Then you’re ready to start customizing your email optin for WordPress.
Step 3) Design Your Campaign
At this point, you’ve selected your campaign type, chosen a template, and given your campaign a name.
Now you’ll likely want to make some modifications to the template to personalize the messaging to YOUR audience.
Fortunately, the process couldn’t be easier.
OptinMonster uses a codless drag and drop visual builder. That means there’s no coding or technical components to modifying your templates.
If you want to change any text in your email optin, for example, you can do so with the inline editor.
Simply click on the text you want to modify, and you can make the changes directly on the template:

This allows you to change the font, font family, font size, color, and much more.
To change other elements, simply click on them in your builder. That will pull up the editing tools on the left-hand side:

But sometimes, you might want to add a new feature to your email optin form.
For example, you might want to add things like:
- Video demos of your products or service
- Icons to grab a user’s attention
- High-quality images
- Custom HTML
- Countdown timers to build urgency
- And much more…
You can do so by clicking + Add Blocks at the top of your editor screen.
Then select the feature you want to add and drop it into place:

And just like that, you can create custom email optin forms for your WordPress site.
If you wanted to create a static optin form (one that rests on your posts or pages) for everyone, then you wouldn’t need the next step.
But since we’re creating a dynamic optin campaign to get MORE conversions, we’ll need to determine what triggers this campaign to appear.
Step 4) Configure Your Targeting Rules
Building your optin campaign is only half the battle. The other half is making sure it gets in front of the right people.
That’s where OptinMonster’s powerful targeting rules come into play.
While we won’t go into detail about every trigger or rule OptinMonster offers, here are a few of the most popular:
- Exit-Intent® Technology: Recover abandoning visitors as they’re actively leaving your website.
- Geolocation: Personalize offers by targeting users based on their physical locations.
- OnSite Retageting®: Keep visitors engaged by showing fresh offers to returning users.
- MonsterLinks™: Boost conversions by adding your optin campaigns to any text-based content (blog posts, website buttons, emails, and more).
Again, these are just a few examples of OptinMonster’s powerful targeting rules, though there are many others.
To set this up, click the Display Rules tab at the top of your editor.
You’ll see that your campaign has 2 rules in place by default:
- Time on page is 5 seconds
- Current URL path is any page

We’re going to change that first rule. Click Time on Page, and the display rule menu will appear:

Today, we’ll change this to an exit-intent popup.
This is a great way to recover abandoning visitors. As users are actively leaving your site, their behavior will trigger your email optin form to appear.
It’s how a company like Fastrack is able to recover 53% of their abandoning site traffic.
Find and click Exit Intent®:

Then you’ll be able to select which device you want to use this trigger with:

And set your exit-intent popup’s Sensitivity level:

This sensitivity level will determine how quickly your popup appears as users leave the browser screen.
For mobile devices, it’s even more important.
That’s because Low and Medium sensitivity levels will trigger your popup as users scroll up on their smartphones.
High sensitivity levels will make your popup appear when users click the Back button.
Keep this in mind as you’re setting up the display rules for YOUR campaign.
And remember, Exit-Intent® is just one example that we’re using for this tutorial. But you can play around with these display rules to find the best ones for YOUR audience.
In fact, we highly recommend testing your campaigns to see which rules and offers get the best results.
When you’ve set up your display rules, we’re now ready to sync your email provider.
Step 5) Integrate Your ESP
When people sign up to your mailing list through your email optin form, you’ll need to send those leads somewhere.
OptinMonster does save your list with Monster Leads, a default integration option that saves your data.
But you’re likely working with an email service provider (ESP), such as Constant Contact, Brevo (formerly Sendinblue), HubSpot, Drip, or others.
In that case, you’ll want to sync OptinMonster with your ESP.
Head to the Integrations tab at the top of your editor.
Then click + Add New Integration:

Then select your ESP from the drop-down menu:

With most integrations, you’ll simply need to add your API key, which can be found from the account with your email provider.
Don’t see your ESP on the list? No worries.
Check out this helpful article on how to connect OptinMonster to ANY email provider with webhooks.
Now your email optin form will send new leads directly to your ESP.
This automates your email marketing strategy and gives you more time to focus on other aspects of your business.
All that’s left is to save and publish your campaign.
Step 6) Publish Your Campaign
Click the Publish tab at the top of your editor.
Here, you’ll be able to preview your campaign before you push it live:

And when you’re ready, you can switch your campaign’s status from Draft to Publish:

You may also want to verify the status from your WordPress menu.
To do so, you can always go to OptinMonster » Campaigns from your WordPress admin menu.
Then you can see the status of your email optin form and switch it to Publish:

And now you know exactly how to add email optins to WordPress.
We hope you found this tutorial helpful. If you did, you’ll definitely want to check out the following resources:
- eCommerce Marketing Strategies to Explode Your Sales
- 11 eCommerce Case Studies You Can Learn from to Boost Sales
These articles will have more information that you can use to drastically GROW your list, get HIGHER conversions, and DRIVE sales to your WordPress site.
Disclosure: Our content is reader-supported. This means if you click on some of our links, then we may earn a commission. We only recommend products that we believe will add value to our readers.

-01 - OptinMonster")


Add a Comment