Google Analytics 4 (GA4) is a powerful tool for understanding your website visitors. If you’re struggling to come up with new lead magnet ideas, GA4 can help. By analyzing user behavior, search terms, and engagement patterns, you can create lead magnets that truly resonate with your audience.
At OptinMonster, we’ve spent over 11 years helping businesses generate more leads and conversions. Our powerful popups, floating bars, and other onsite campaigns let you target your lead magnets to the right people at just the right time.
In this article, I’ll walk you through how to use GA4 to discover high-performing lead magnet ideas.
- Find Lead Magnet Ideas from Your Top Content
- Use Click Tracking to Identify High-Interest Topics
- Analyze On-Site Search Data for Content Gaps
- Segment Your Audience for Personalized Lead Magnets
- Track Low-Engagement Pages and Improve Them
- Take Action with OptinMonster
Find Lead Magnet Ideas from Your Top Content
The easiest way to come up with a lead magnet is to look at what’s already working. Your best-performing pages show what topics your audience finds most interesting.
How to Find Your Top Content in GA4
- Go to Reports > Engagement > Pages and Screens in GA4.
- Sort the data by Average Engagement Time to see which pages keep visitors engaged the longest.
- Look for pages with high engagement and strong conversion rates (if you have goal tracking set up).
How to Turn Popular Content into a Lead Magnet
- If a blog post is performing well, turn it into a downloadable PDF guide.
- If a page about a specific topic gets a lot of attention, create a checklist, template, or video tutorial on the same topic.
- Use OptinMonster’s Content Lock feature to offer an exclusive bonus to readers who opt in.
Use Case Example
Let’s say you have a digital marketing blog. You have a post called “Beginner’s Guide to Email Marketing” that consistently ranks as one of your top pages. In GA4, the Reports > Engagement > Pages and Screens report shows that this page has a high Average Engagement Time and a strong conversion rate from an existing opt-in form.
To maximize this success, you decide to repurpose the content into a downloadable PDF cheat sheet summarizing key takeaways. Using OptinMonster’s Content Lock feature, visitors must enter their email to access the PDF. Within a month, your email list grows by 10% from adding a helpful lead magnet to a single high-traffic post.
Use Click Tracking to Identify High-Interest Topics
Tracking which links and buttons people click can help you understand what catches their attention. GA4’s Enhanced Measurement and Google Tag Manager (GTM) let you track these interactions.
How to Track Clicks in GA4
- Ensure Enhanced Measurement is turned on (Admin > Data Streams).
- Go to Reports > Engagement > Events and find the click event to see what users are clicking.
- For deeper insights, set up custom events in Google Tag Manager to track specific button clicks.
How to Use Click Data for Lead Magnets
- If a link gets a lot of clicks, turn that topic into a lead magnet.
- If visitors frequently click on pricing pages, offer a pricing comparison guide in exchange for their email.
- Use OptinMonster’s Yes/No popups to encourage users to opt in before they leave.
Use Case Example
You notice that a blog post on your site has a button link to a free SEO checklist, and GA4’s Reports > Engagement > Events shows that this button gets a high number of clicks. This tells you that visitors are highly interested in SEO resources.
To capture more leads, you turn the checklist into a full SEO toolkit, including a keyword research template and an optimization guide. You use OptinMonster’s Yes/No popups to ask visitors if they want the free toolkit. Those who click “Yes” enter their email to receive it.
As a result, your lead generation improves, and you now have a list of highly engaged prospects interested in SEO.
Analyze On-Site Search Data for Content Gaps
Your visitors are telling you exactly what they want—if you know where to look. GA4 tracks on-site searches, which can reveal topics your audience is interested in.
How to Find Search Data in GA4
- Ensure site search tracking is enabled in GA4 (Admin > Data Streams > Enhanced Measurement).
- Go to Reports > Engagement > Events and look for the event called view_search_results.
- To see actual search terms, create a custom dimension for search_term under Admin > Custom Definitions.
How to Use Search Data for Lead Magnets
- If many users search for the same topic, create a lead magnet that directly addresses it.
- Offer a free mini-course or cheat sheet answering common questions.
- Create poups to promote lead magnets related to search topics.
Use Case Example
You enable site search tracking in GA4 and check Reports > Engagement > Events for the view_search_results event. The data reveals that many visitors search for “social media content calendar”, but your site doesn’t have a dedicated resource for it.
To meet this demand, you create a “Social Media Content Calendar Template” and offer it as a free download. Create a popup for that lead magnet that displays whenever someone searches for related terms.
After launching the lead magnet, GA4 shows an increase in engagement and email sign-ups, proving that listening to visitor search behavior leads to better conversions.
Segment Your Audience for Personalized Lead Magnets
Not all visitors are the same. Segmenting your audience helps you create targeted lead magnets that appeal to different groups.
How to Segment Your Audience in GA4
- Go to Explore > Free-Form Report in GA4.
- Create segments based on location, device type, referral source, or engagement levels.
- Compare segments to see which groups engage the most with your content.
How to Use Segments for Lead Magnets
- Create different lead magnets for new visitors vs. returning visitors.
- Offer industry-specific lead magnets based on the visitor’s behavior.
- Use OptinMonster’s Page-Level Targeting or OnSite Retargeting® to show different lead magnets based on user behavior.
Use Case Example
You check GA4’s Explore > Free-Form Report and segment your audience by new vs. returning visitors. The data shows that new visitors spend more time on beginner-friendly content, while returning visitors engage more with advanced strategy guides.
To maximize conversions, you create 2 separate lead magnets:
- A “Beginner’s Toolkit” for new visitors, featuring an introductory guide and checklist.
- An “Advanced Growth Playbook” for returning visitors, offering in-depth strategies.
Using OptinMonster’s Page-Level Targeting, you display the “Beginner’s Toolkit” opt-in on posts that are basic guides. You set the “Advanced Growth Playbook” lead magnet to display on more advanced content. This personalized approach increases your opt-in rates and ensures each visitor gets a lead magnet that matches their needs.
You can also use the New vs. Returning Visitor settings to specialize your messaging for first-time visitors.
Track Low-Engagement Pages and Improve Them
Not all content performs well. If a page has a low engagement rate, it may need improvement, such as a lead magnet to keep visitors interested.
How to Find Low-Engagement Pages in GA4
- Go to Reports > Engagement > Pages and Screens.
- Look for pages with low Average Engagement Time and high exit rates.
- Sort by Engagement Rate to find pages that need improvement.
How to Fix Low-Engagement Pages
- Add videos, infographics, or step-by-step guides to make them more engaging.
- Offer a content upgrade, like a worksheet or case study, in exchange for an email.
- Use OptinMonster’s Slide-In Boxes to capture leads before they exit.
Use Case Example
You check Reports > Engagement > Pages and Screens in GA4 and notice that a blog post has low Average Engagement Time and a high exit rate. Visitors aren’t staying long, which means the content isn’t holding their attention.
To fix this, you add a short explainer video and an infographic to make the content more engaging. You also create a downloadable worksheet related to the topic and use OptinMonster’s Slide-In Box to offer it before visitors leave.
After these updates, GA4 shows that the page’s engagement rate improves, and more visitors are opting in for the worksheet. With just a few tweaks, you’ve turned a previously weak page into a lead-generating asset.
Start Generating More Leads (& Grow Your Business!)
Google Analytics 4 helps you find high-performing content, content gaps, and user behaviors that can guide your lead magnet strategy. But you still need a way to convert those visitors into leads.
With OptinMonster, you can:
- Add targeted popups to capture leads on your top pages.
- Use Exit-Intent® Technology to prevent lost leads.
- Create personalized lead magnets based on GA4 data.
OptinMonster’s 700+ pre-made templates include several designed specifically for lead magnets, such as this one:

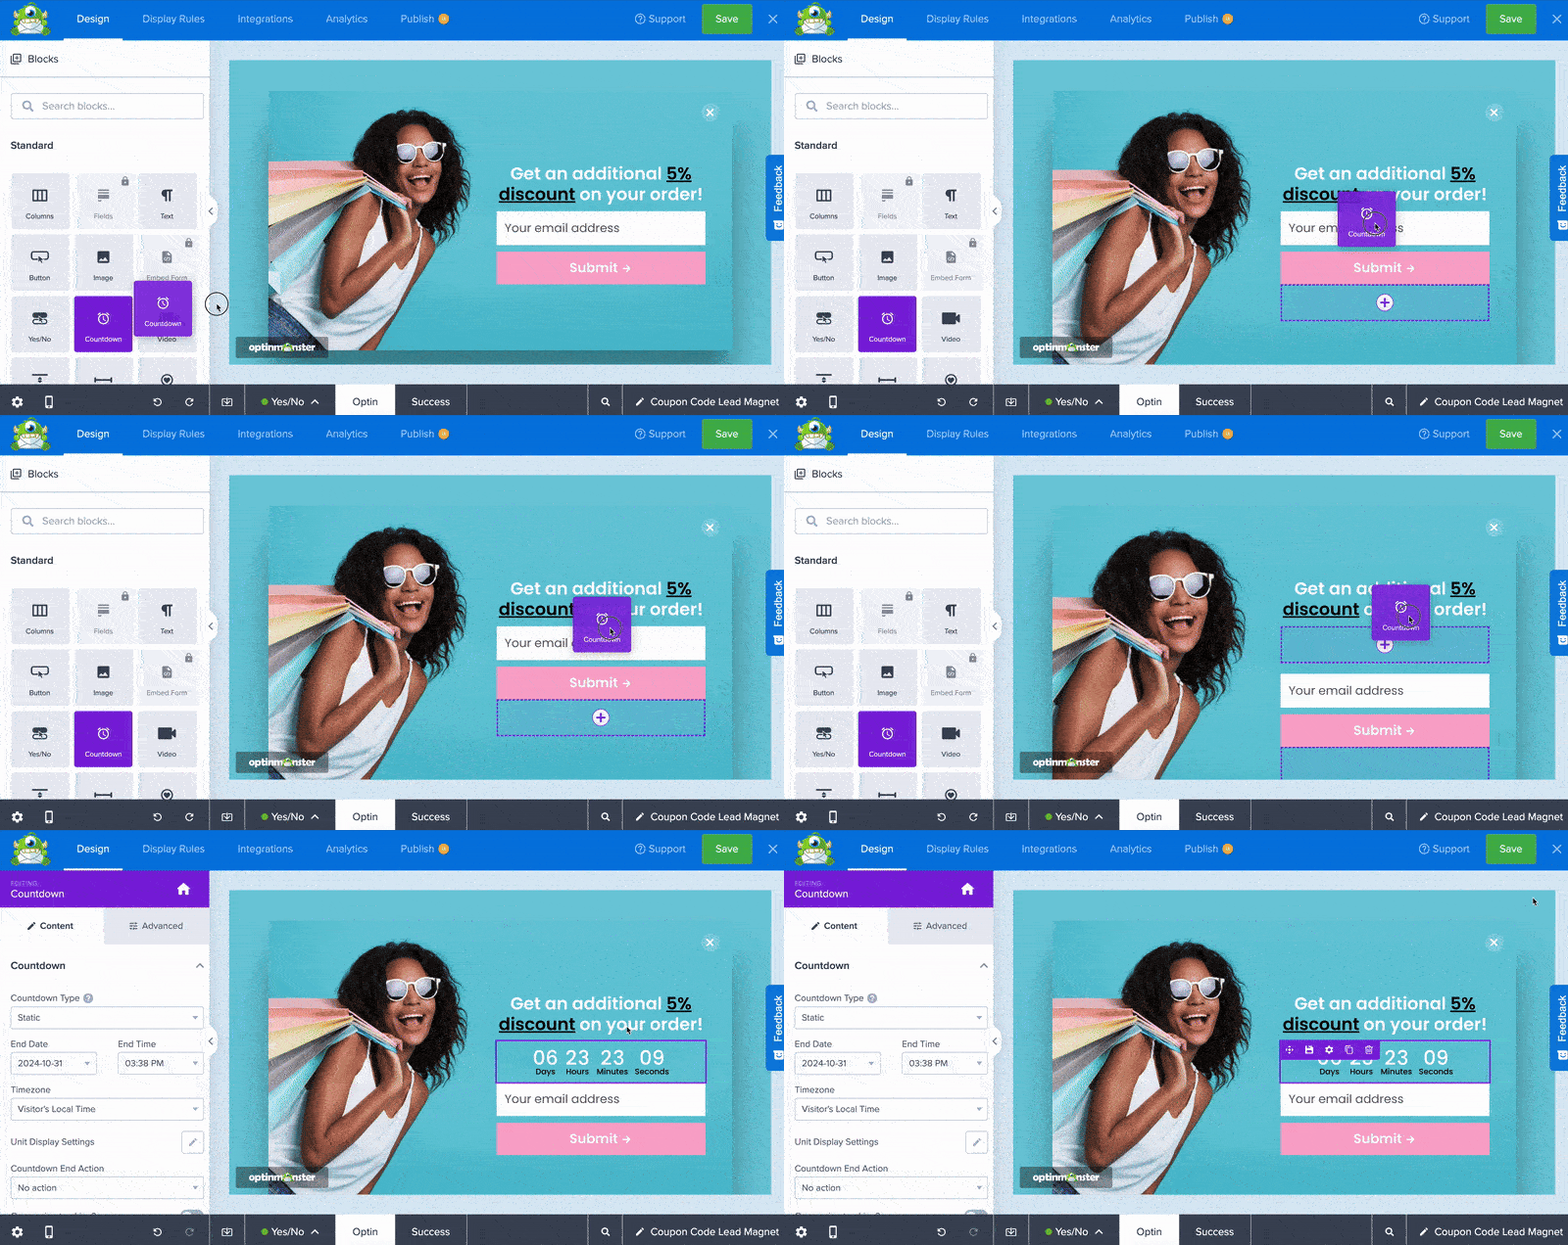
You can fully customize any template in minutes with the easy drag-and-drop builder:

And finally, you can configure you targeting and triggering rules with just a few clicks:

Ready to turn your traffic into leads? Get started with OptinMonster today!
Related Resources:


Add a Comment