Do you want to create a popup with Contact Form 7 to make it easier for your site’s visitors to get in touch with you?
Having a contact form on your WordPress website is a great way to interact with your visitors directly. However, some site visitors need an extra nudge to fill out a contact form to reach out with questions, problems, or general inquiries.
That’s why using a WordPress popup plugin can be a great way to boost user experience (UX) while growing your email list.
In this post, I’m going to teach you how you can create a popup with Contact Form 7 step-by-step, even if you’re a beginner.
Before we start the tutorial, let me briefly explain why you need a contact form popup in the first place.
Why Create a Popup With Contact Form 7?
When your site visitors have a question about your product, services, or pricing, you want to make sure they have an easy way to contact you.
One way to enable this is by adding a live chat widget to your website so that you can respond to customers instantly. But as a small business, you may not have the time and resources to hire a live chat team.
An equally good solution is to create a contact form that allows customers to send you a message to your business inbox. There’s just one small problem:
How do you get people to fill out the form embedded in your site?
Chances are, visitors either won’t notice the form or will ignore the opportunity to type their query since there’s no one nudging them.
They’ll most likely hit the back button and look up their queries on Google. Worst case scenario, they’ll land on your competitor’s website and buy from them.
This is a scenario a targeted contact form popup can help with.
A contact form popup is a small modal box that shows on your site, nudging people to contact you with any questions or problems they may have.
This allows you to interact with your potential customers wherever they are in their customer journey, guide them through the sales funnel, and improve your sales conversions.
The best part is that even if you don’t get an immediate sale, you’ll generate a new lead for your email list. This lets you nurture your leads and prime them to do business with you.
But how do you create a contact form popup?
There are many ways to do it. For today’s tutorial, I’m going to teach you how to create a WordPress Contact Form 7 popup with OptinMonster.
OptinMonster is the world’s #1 lead generation software on the market. OptinMonster makes it easy for you to build stunning and highly targeted popups in a matter of minutes. You can also use its popup maker to embed contact forms from popular contact form plugins.
Similarly, Contact Form 7 is a WordPress plugin that lets you add online forms to your site. This popular plugin has 5 million+ installations.
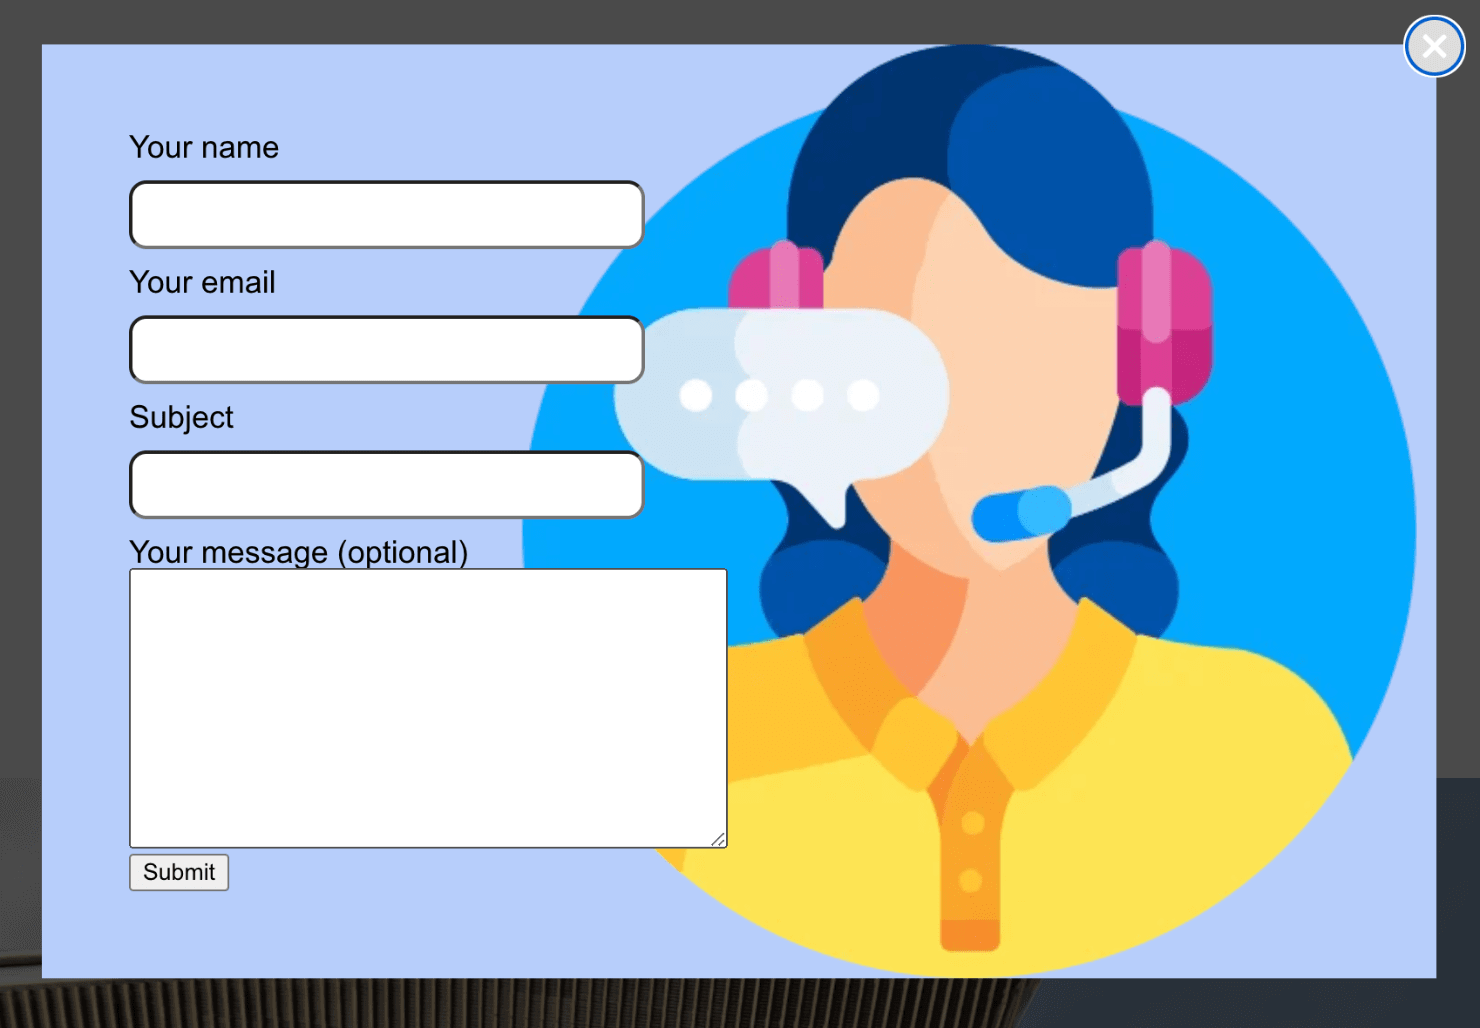
Here’s the Contact Form 7 popup I created in OptinMonster for this tutorial:
This popup took less than 10 minutes to create and will be a great addition to your WordPress site. Once it’s published on your website, you’ll get notifications about every form submission that visitors make on your site.
Ready to get started? Let’s dive in.
How to Create a Popup With Contact Form 7
After you sign up for OptinMonster, you’ll want to download and install the OptinMonster WordPress plugin. This way, you can seamlessly connect your OptinMonster account with your website.
If you need help setting this up, check out our tutorial: How to Connect OptinMonster With WordPress.
Step 1: Choose Your Campaign Type and Template
Once you log into OptinMonster, head over to your account dashboard. In the upper right-hand corner, click Create New Campaign:
Then you’ll need to select your campaign type. While we have many options to choose from, I’ll use the Popup campaign for today’s tutorial:
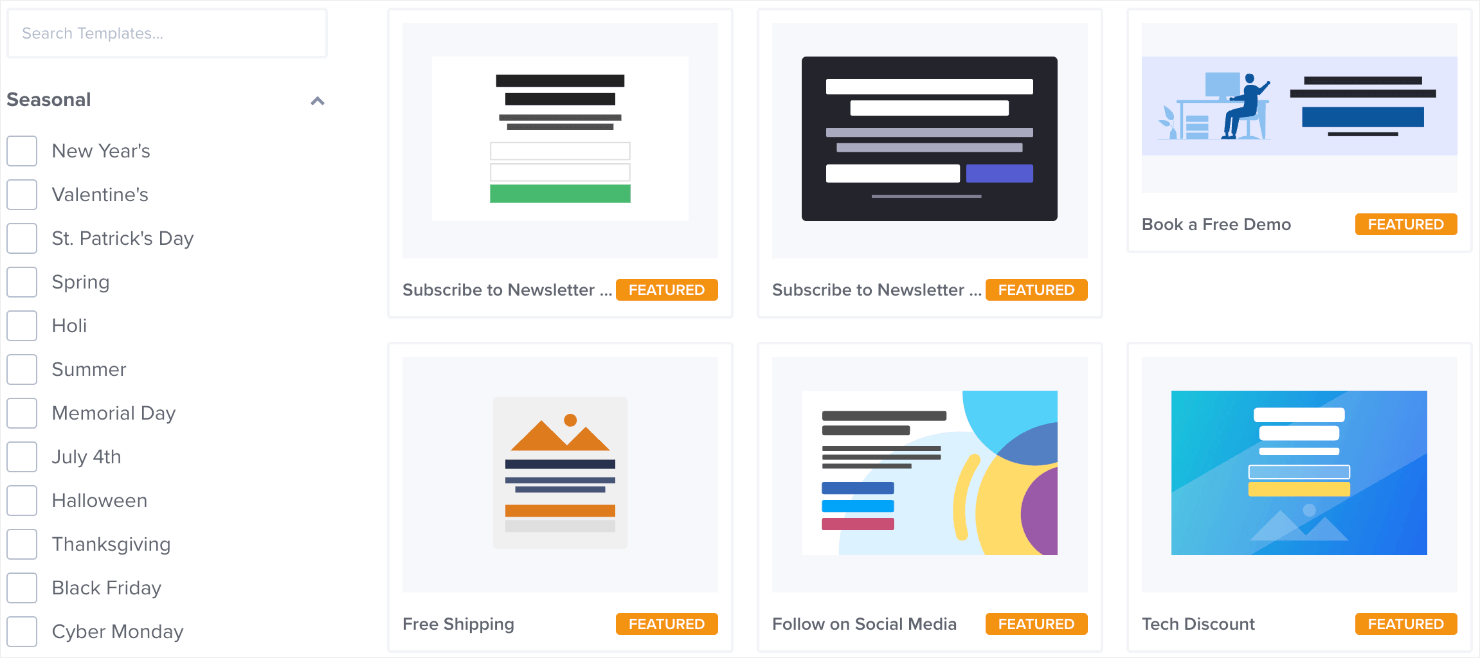
Next, choose your template.
OptinMonster has 100+ pre-built templates that you can choose from. These make it easy for you to create stunning campaigns in minutes.
And thanks to our drag-and-drop editor, there’s 0 coding or design skills required.
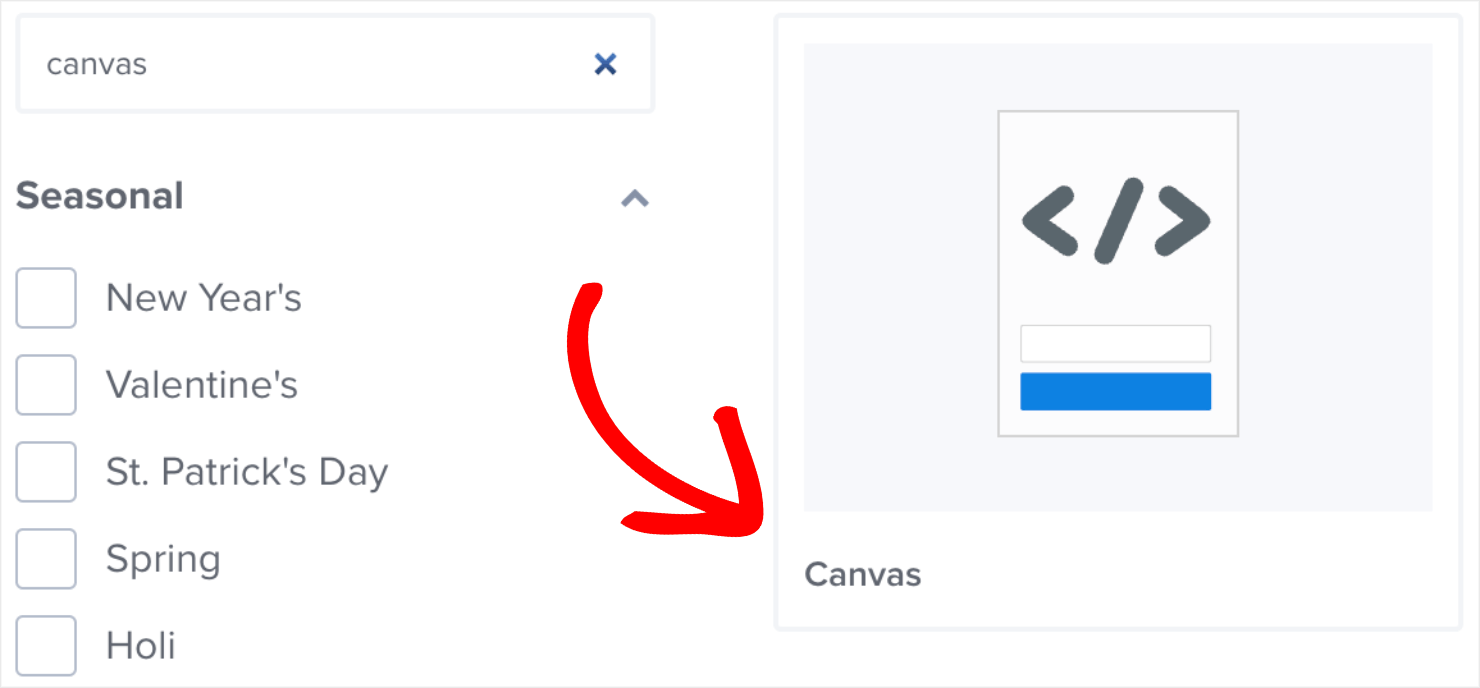
Since we’re going to create a simple Contact Form 7 popup, our best option is to choose the Canvas template:
Canvas is a blank template that also uses the drag-and-drop editor. The advantage of using this template is that it lets you design a campaign from scratch and add as many customizations as you want.
Using this template is easier here since we’ll need to embed Contact Form 7’s shortcode in your popup design. We’ll get to that part in the next step.
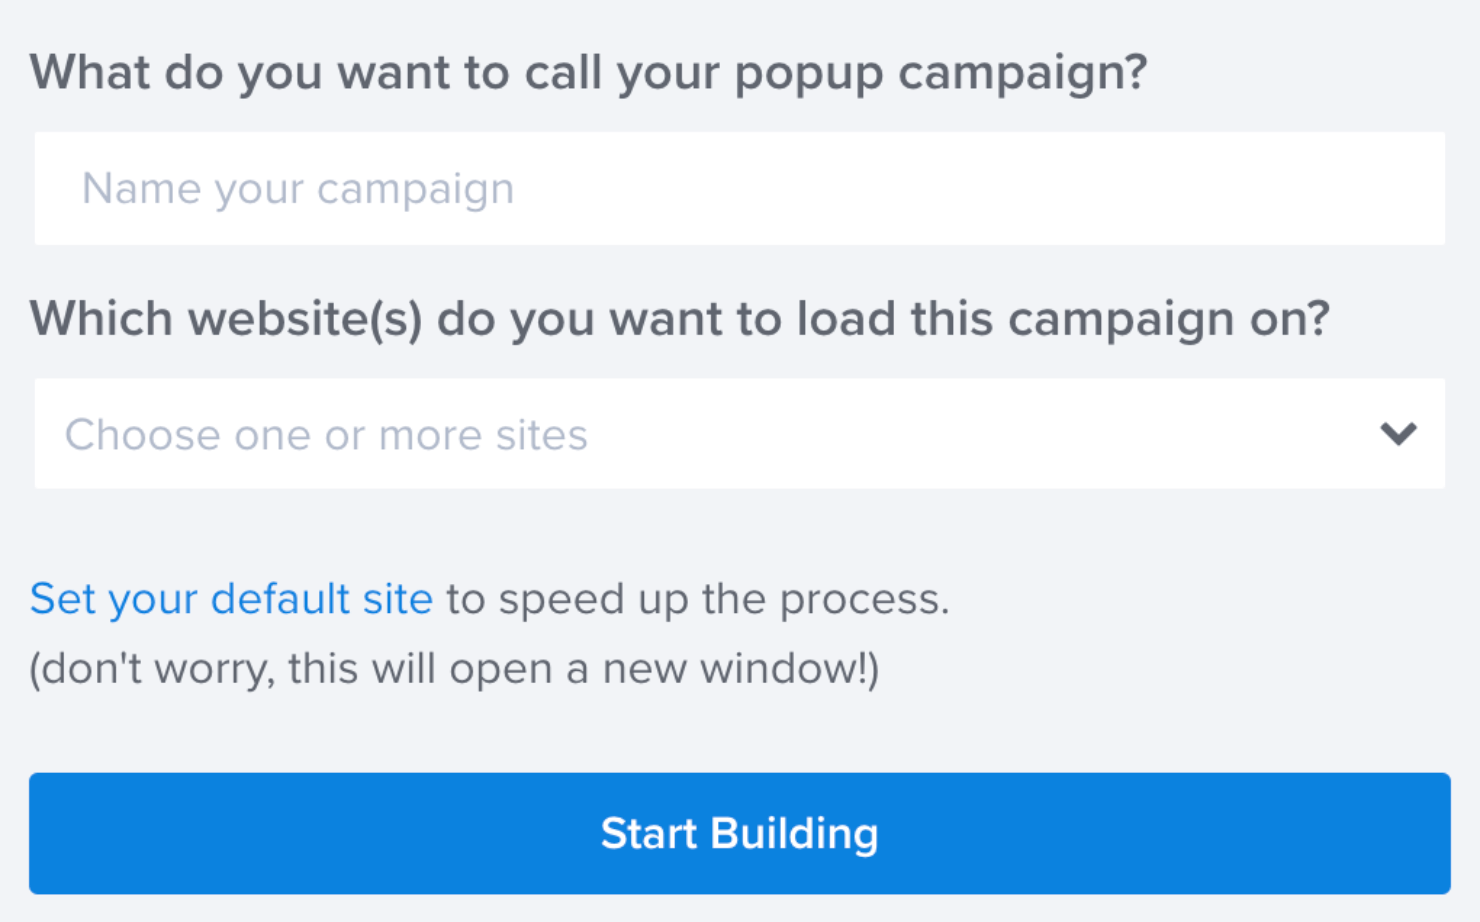
For now, name your campaign, assign it to your website, and click the Start Building button:
Step 2: Embed Contact Form 7 Shortcode into Your Popup
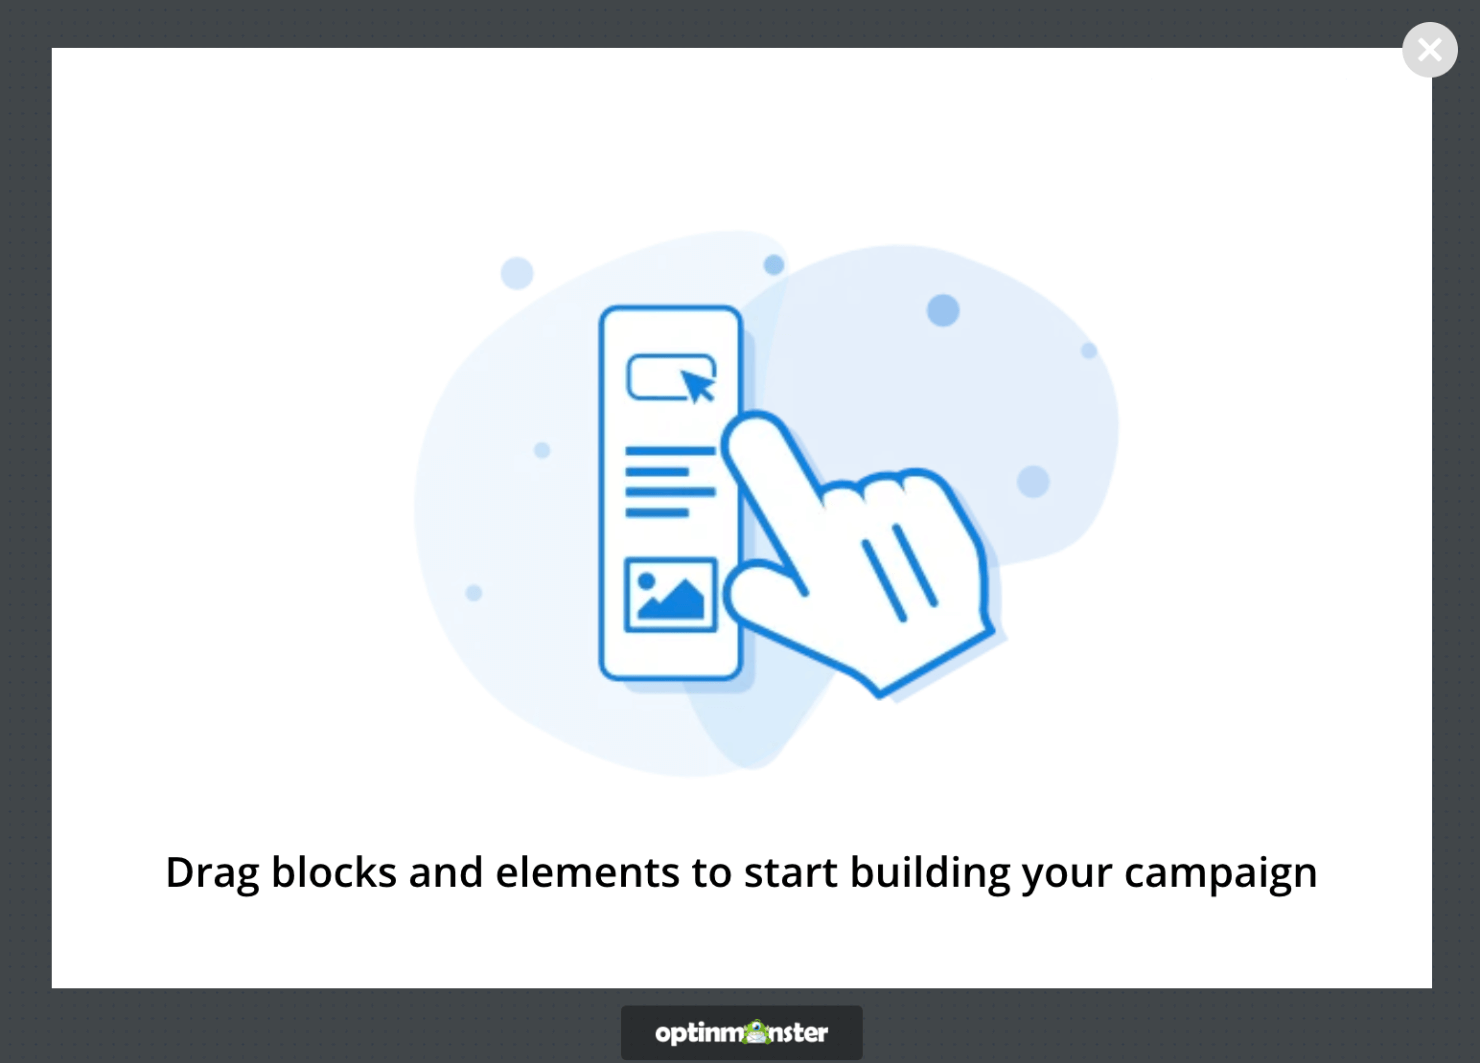
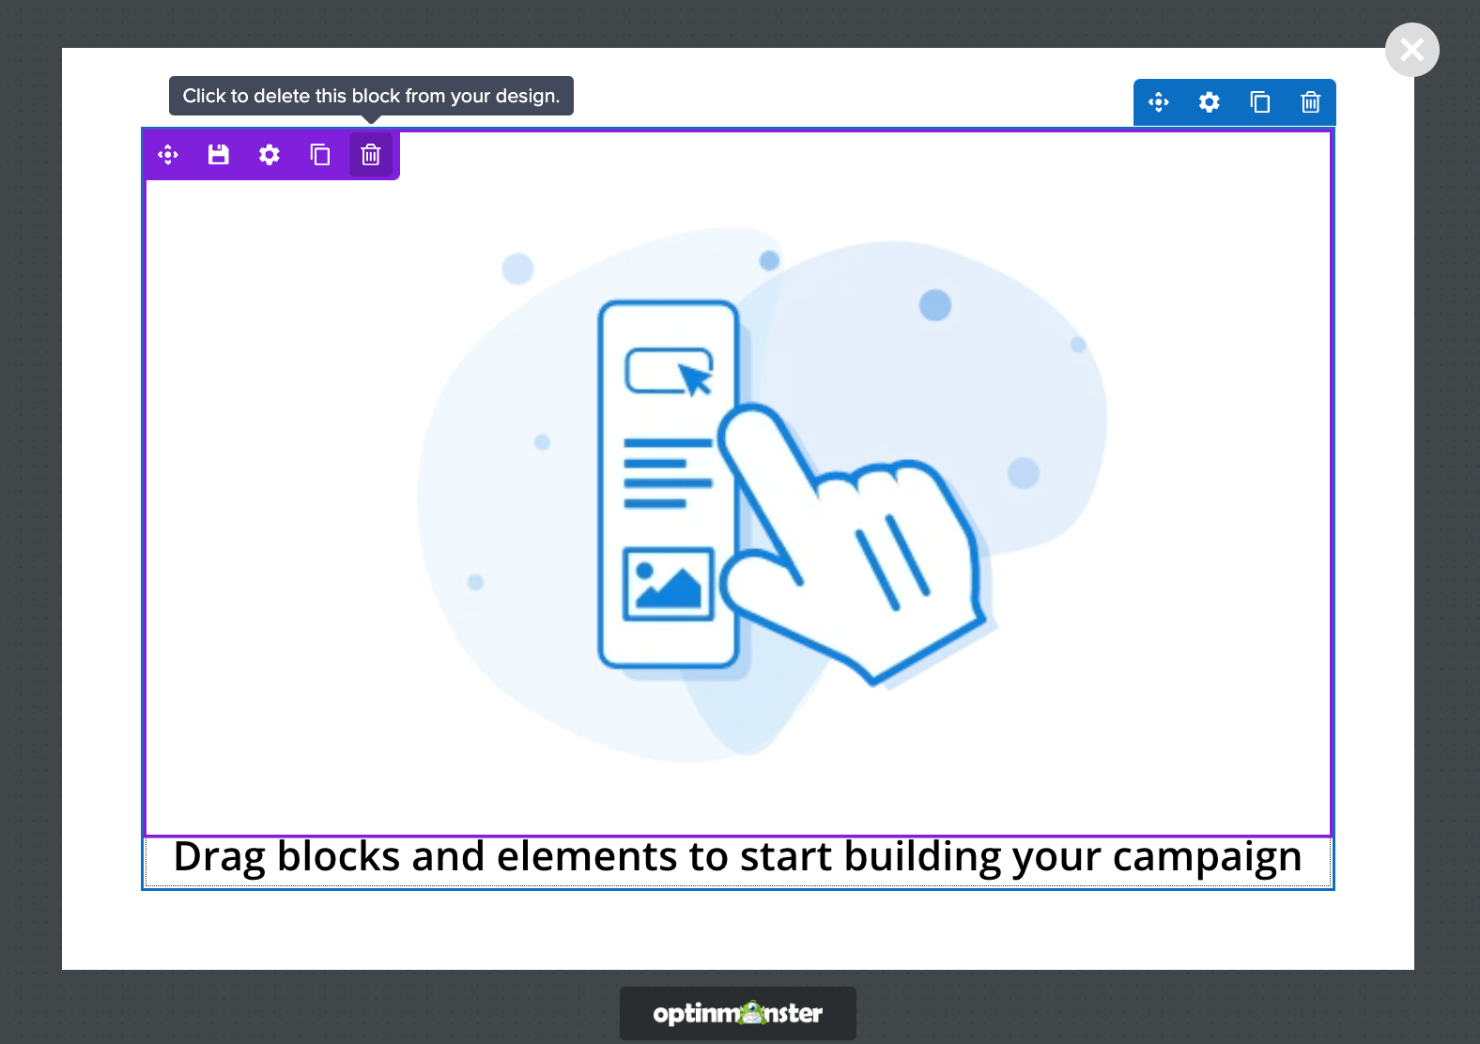
Here’s how your popup designer looks at this point:
You can delete the default image and text blocks from the editor since you don’t need them. Just hover over each block to see a small toolbar, which includes a trash can icon to delete the block.
The design editor will then look like this:
Next, we’ll need to add Contact Form 7’s shortcode to the popup. It’s really easy to do that. You just have to copy and paste the code to OptinMonster.
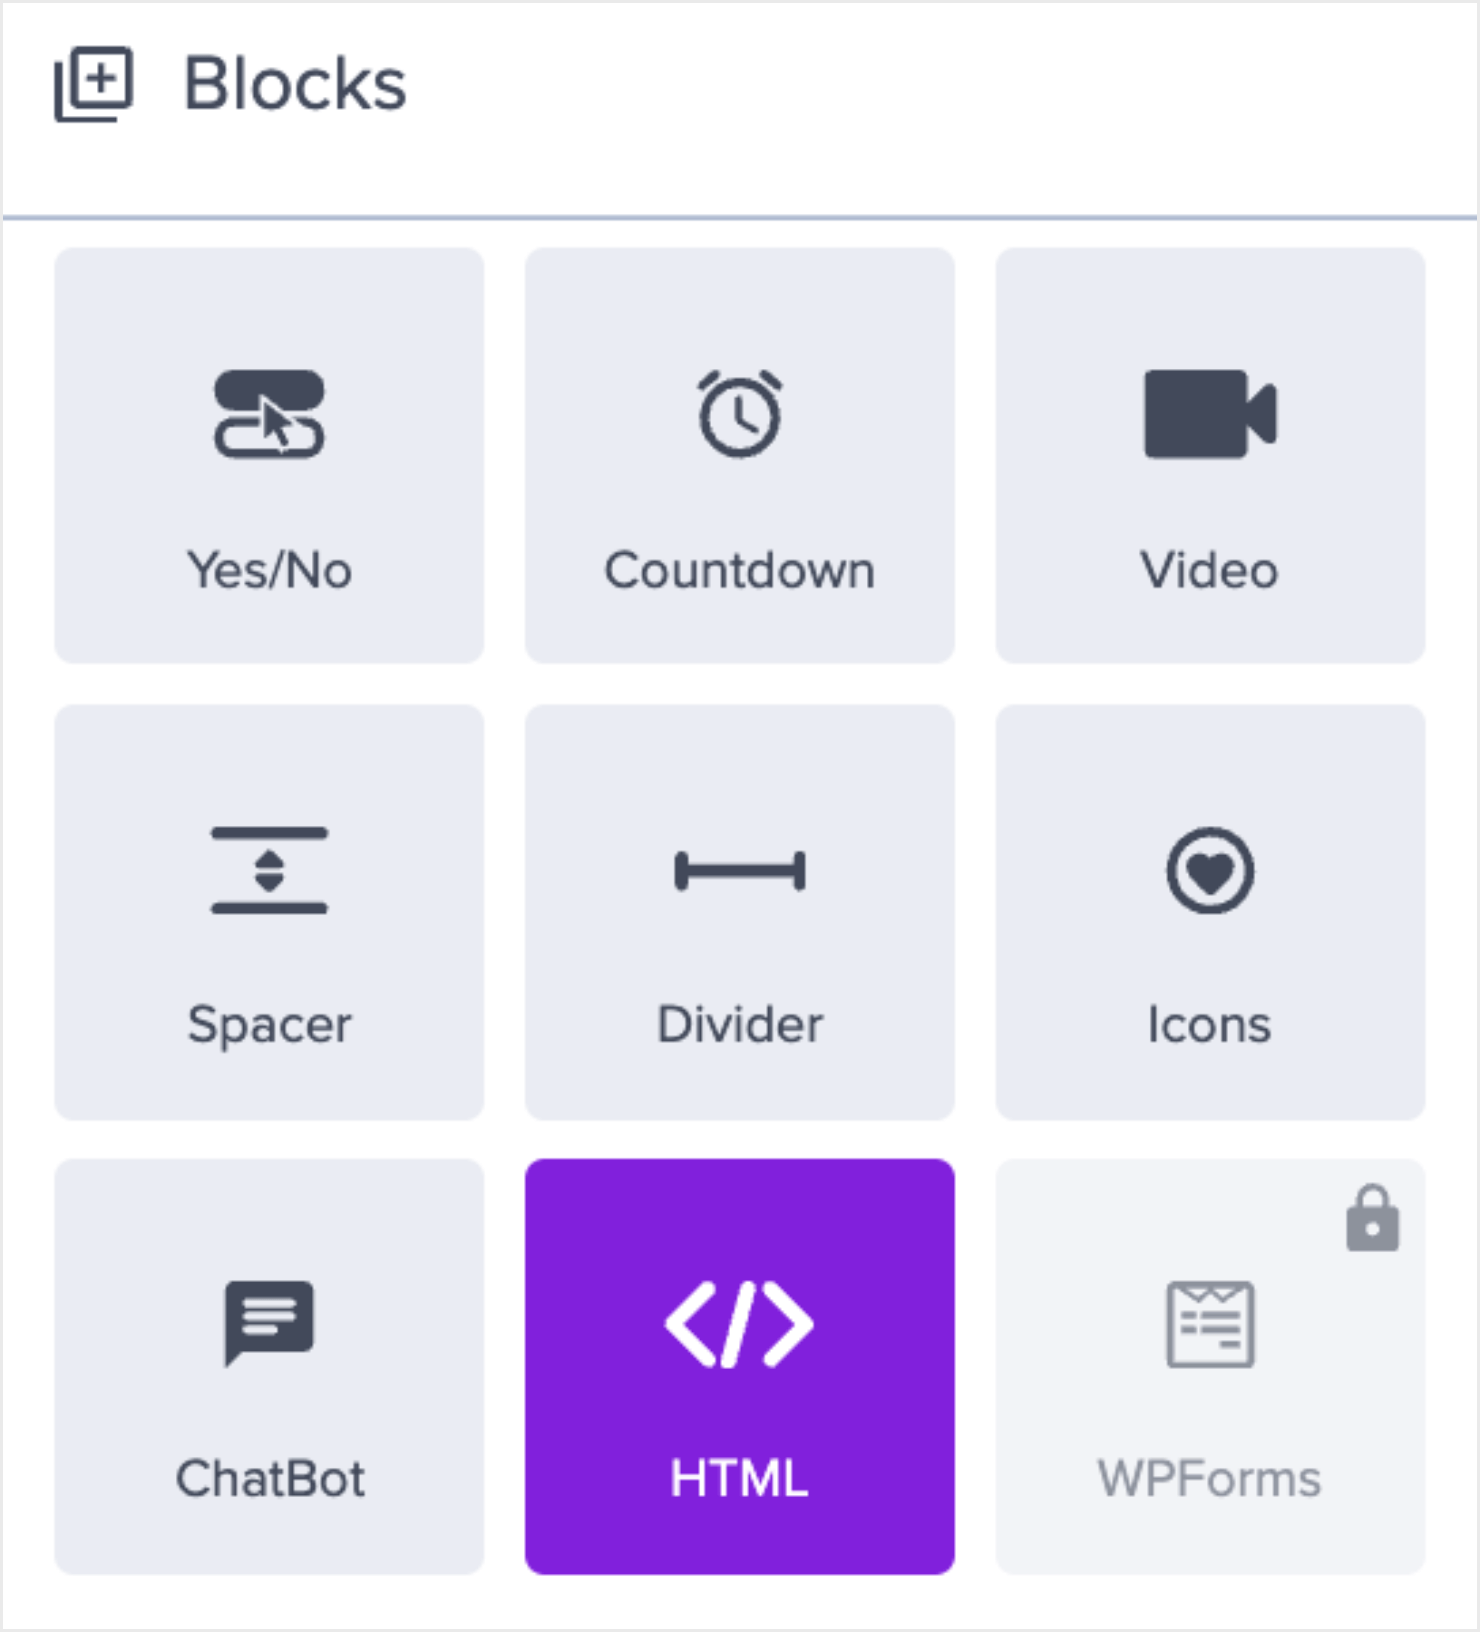
Start by scrolling down the Blocks menu in the left panel and finding the HTML block from the options:
Drag it to the campaign editor.
Then head over to your WordPress dashboard to grab your Contact Form 7’s embeddable shortcode.
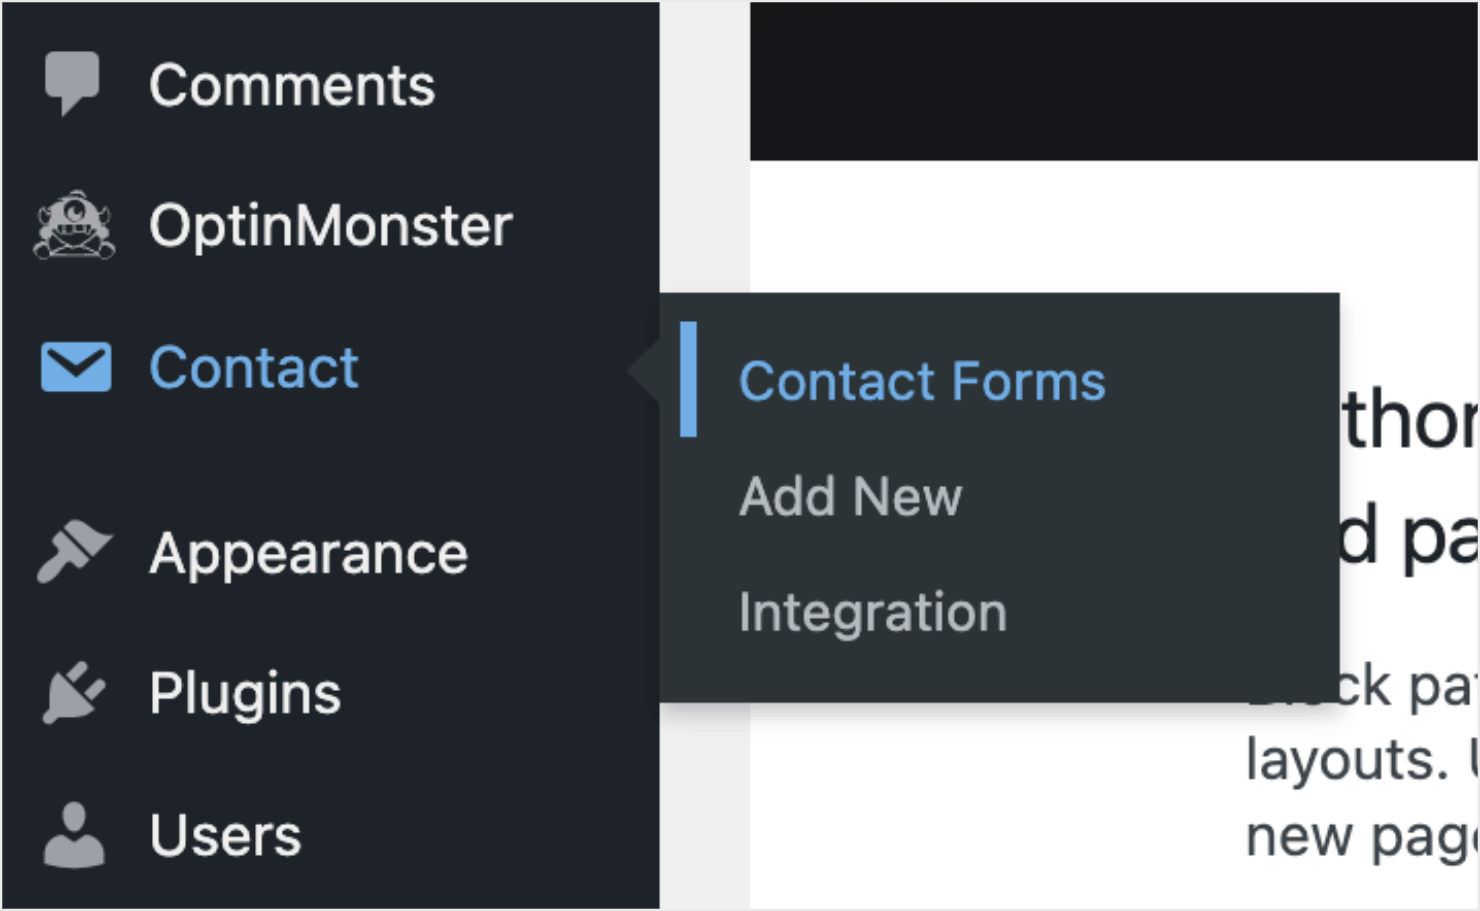
To do this, click on the Contact > Contact Forms option in the WordPress menu to pull up your list of forms.
You’ll see the following in your dashboard:
Click on the shortcode next to the contact form to copy it.
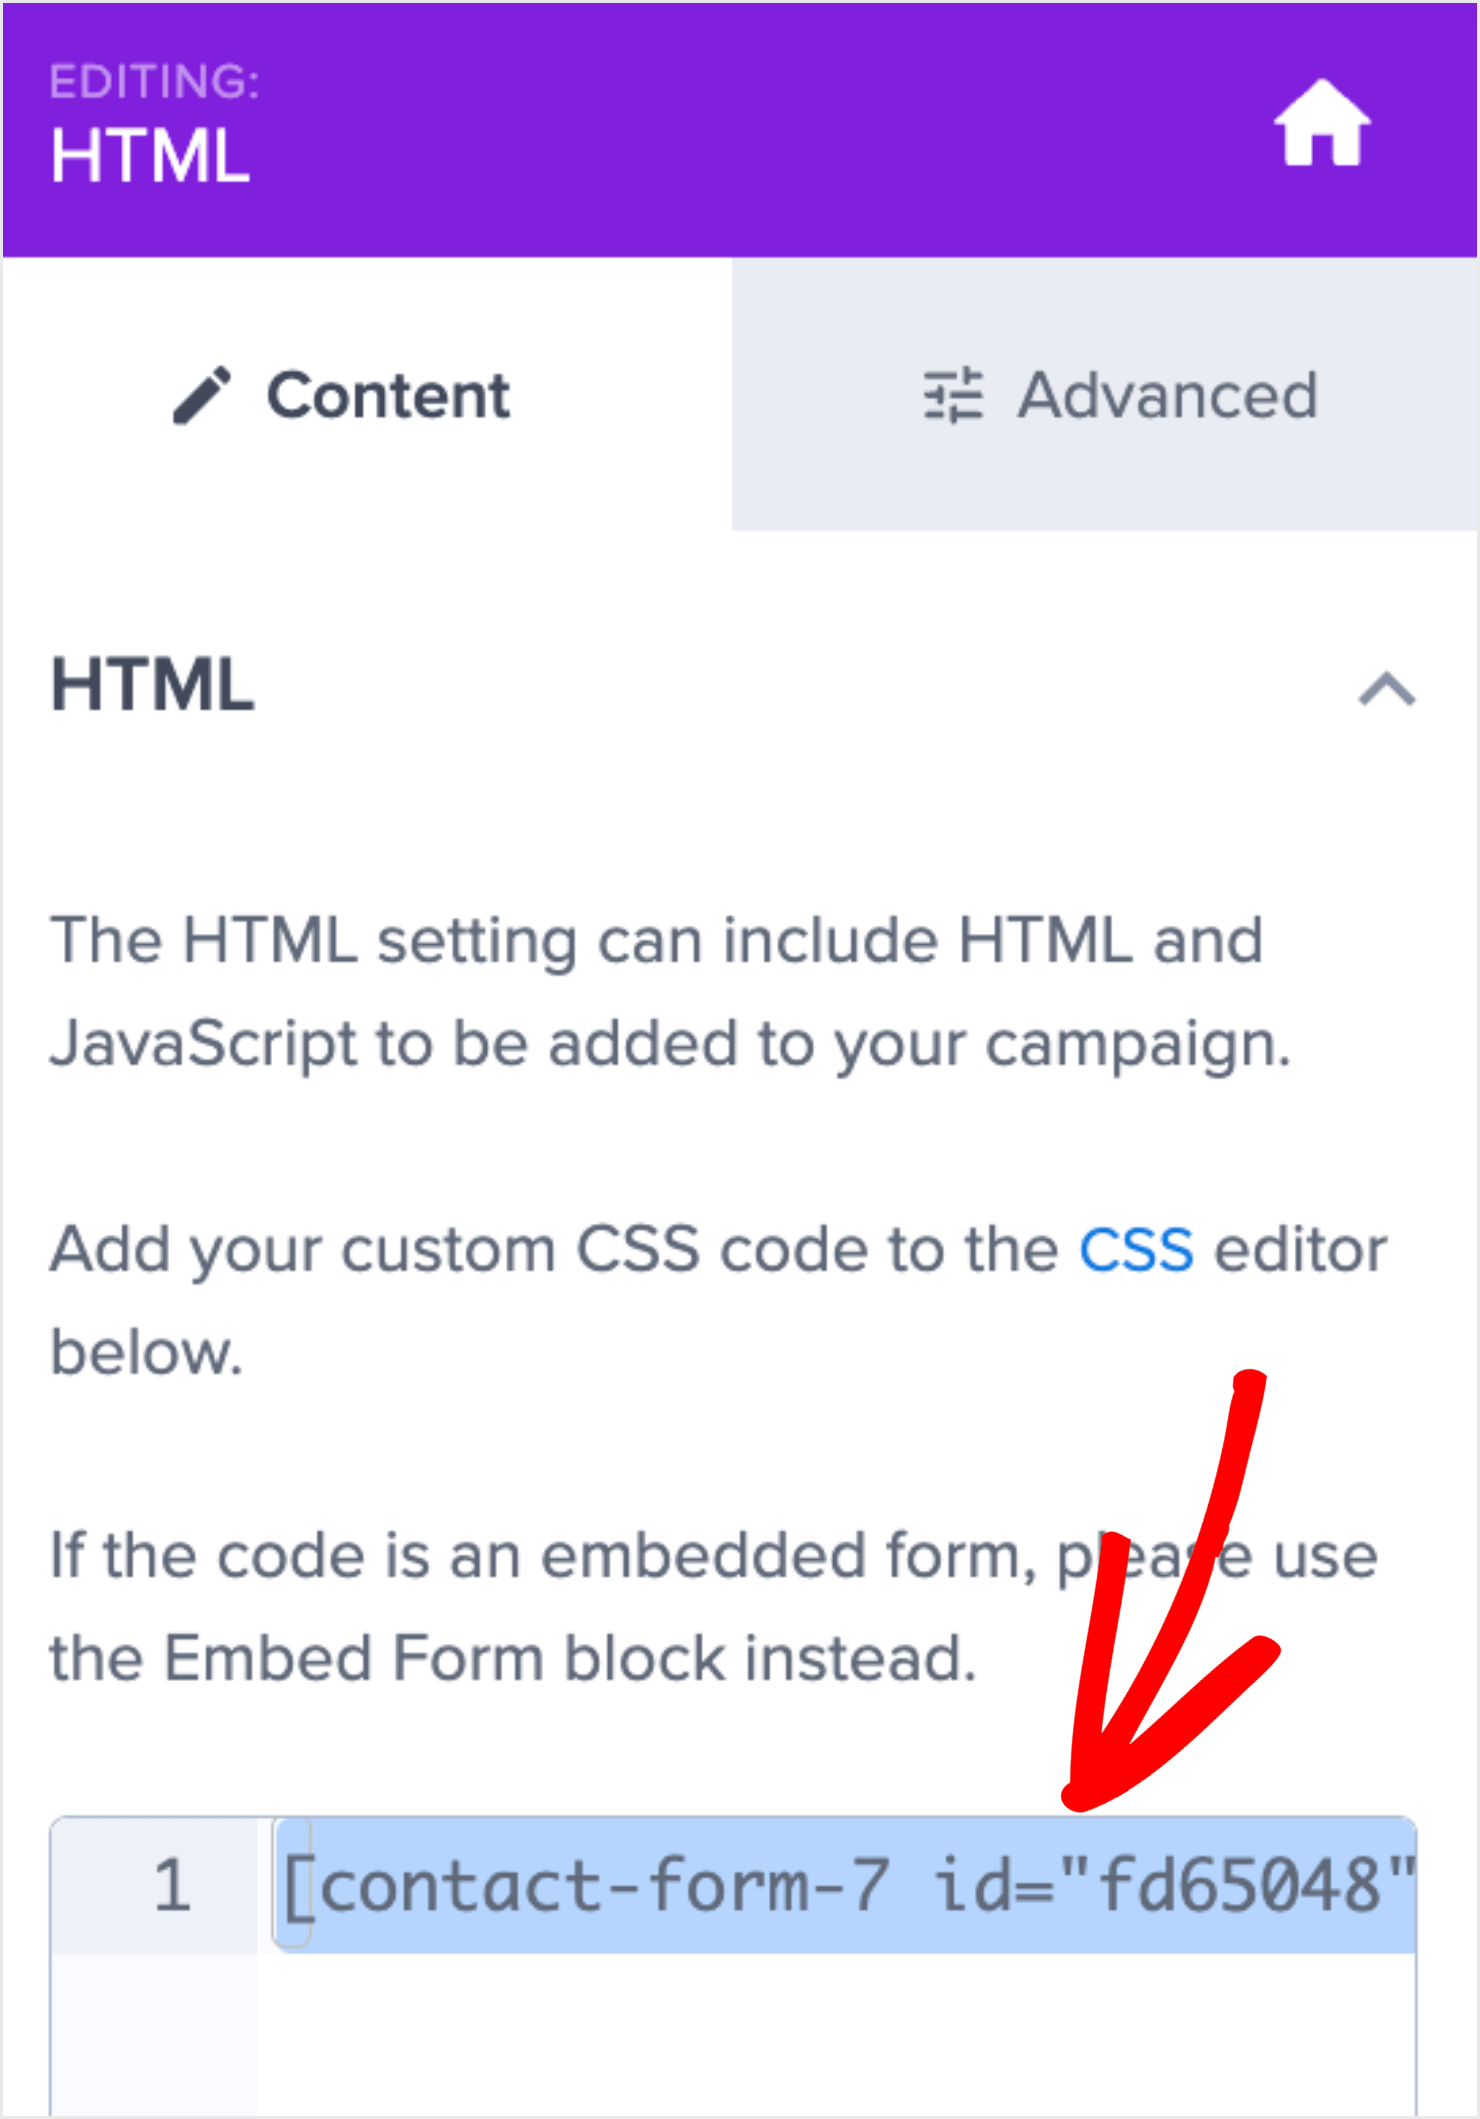
Head back to your OptinMonster editor and click on the HTML block you just added to your template.
This will bring up the HTML editor on the left-hand side. Delete the default code and paste the Contact Form 7 shortcode in the HTML editor:
Note that the editor doesn’t display the contact form yet. Instead, it’ll look something like this:
This is normal, and the contact form will appear properly once the campaign is live on your site.
You can make other changes to your campaign, such as adding text and images or changing the background colors.
I’ll add background color and image to make sure the popup message stands out:
If you need help designing a perfect popup, check out our guide on how to create your first campaign with OptinMonster.
To make the popup more visually appealing, you can add some CSS to your contact form in the popup.
If you don’t know CSS, no worries.
You can insert this with OptinMonster’s Custom CSS feature. You can find the option under the Settings menu on the left:
Copy the following code and paste it in the CSS editor:
This is simple CSS that will make a basic contact form look more visually appealing. You can add new customizations to the popup if you know your way around CSS or JavaScript.
Once you’re satisfied with the design, you can proceed with editing your display rules.
Step 3: Set Your Display Rules
By default, OptinMonster has 2 display rules for each campaign:
- Time on page is 5 seconds
- The popup will appear on any page of your site
I recommend customizing these rules for your audience, especially because this is a contact form popup. That means you want to target people who are considering your product or likely have questions about your services.
While you can choose from multiple targets and triggers in OptinMonster, I’ll cover 2 different trigger rules that fit this scenario well.
- Exit-Intent®
- MonsterLinksTM
Exit-Intent®
The Exit-Intent® rule is perfect for triggering a popup when a visitor is about to exit your site. You can configure this display rule when, for example, visitors try to leave your ‘Contact Us’ page without taking any action.
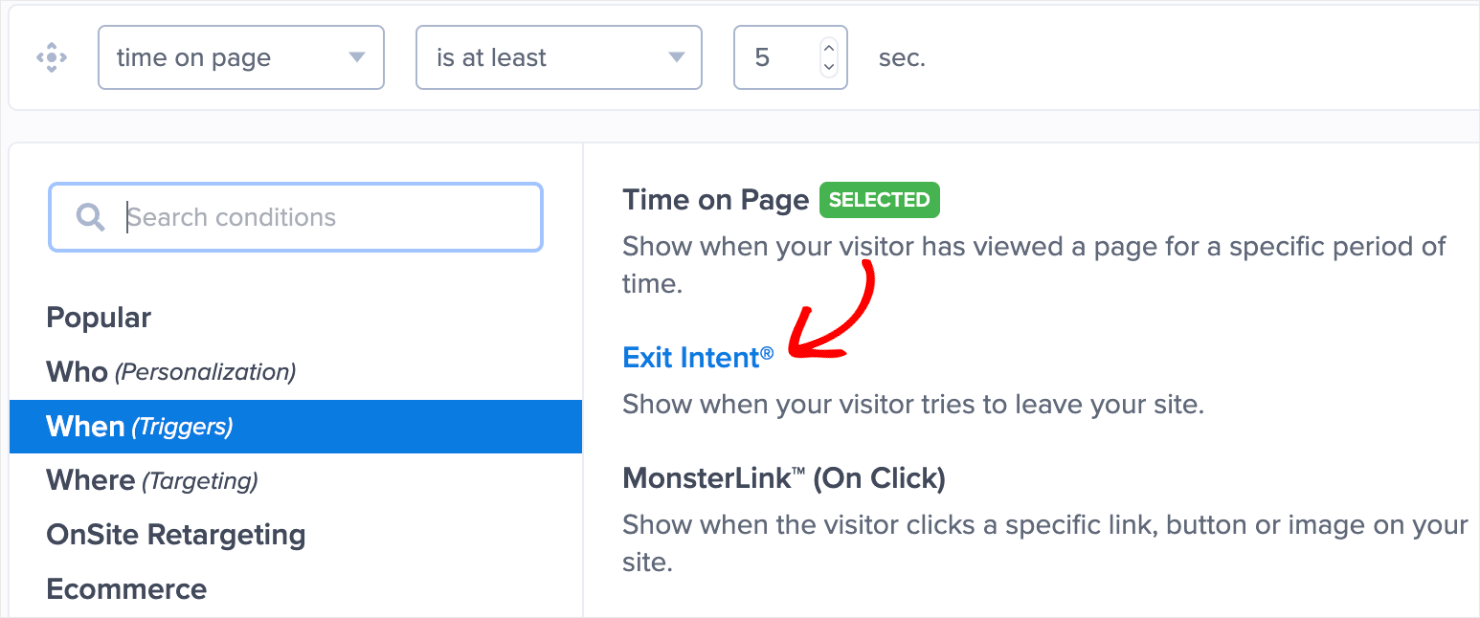
Here’s how to set up the Exit-Intent® rule. Go to Display Rules at the top of your OptinMonster editor:
Click on the ‘time on page’ condition. From the dropdown menu, click on When and select Exit-Intent® on the right.
Choose if you want to enable this rule only on desktop, mobile, or both. I chose ‘on all devices.’ You can also choose the Exit-Intent® sensitivity as low, medium, or high.
Next, let’s cover the second display setting.
MonsterLinksTM
Using MonsterLinks™ is a good option for triggering contact form popup when visitors click on an image or a link.
MonsterLinks™ makes your contact form popup appear when users click a button or a link on your page. That means if they have a question or problem, your visitors can see the contact form appear on the screen with a single button click.
This is great for offering a better UX because you aren’t redirecting people to another page. Instead, you’re nudging visitors to get in touch with you and build a deeper engagement.
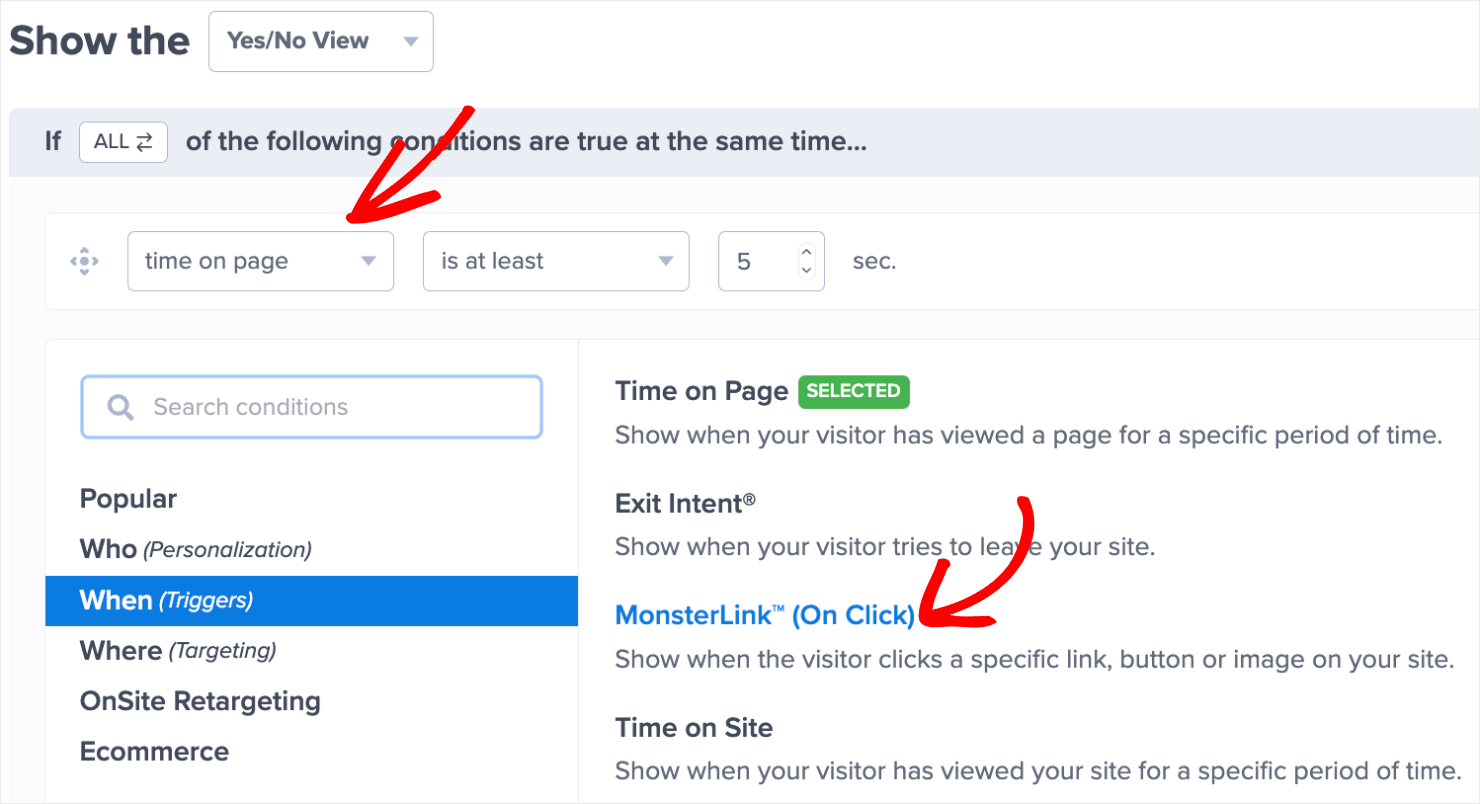
Here’s how to set up MonsterLinks™. First, go to Display Rules at the top of your OptinMonster editor:
Click on the first default rule that says ‘time on page.’ Click on When (Triggers) in the dropdown to find the MonsterLinkTM (On Click) option on the right. You can also search for it in the ‘search conditions’ box.
Click on the MonsterLinksTM option to confirm your choice:
Next, click on Copy MonsterLink™ Code:
You now have an embeddable link to your contact form popup. It comes in the HTML format:
<a href=”https://app.monstercampaigns.com/c/djkl04lsyjs35jyks7x9/” target=”_blank” rel=”noopener noreferrer”>Subscribe Now!</a>
You can embed this link on any button or text on your site just like you would with any other URL.
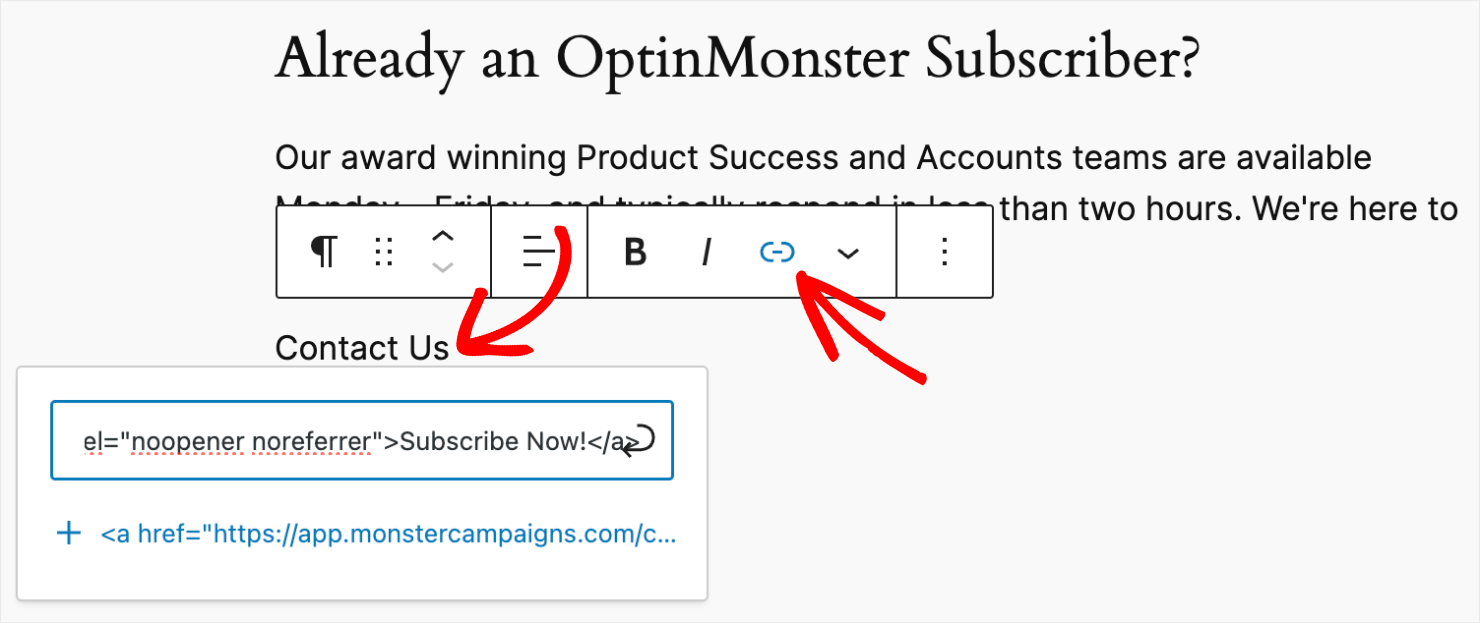
To do this, go to your WordPress editor. Highlight the copy or CTA button text you want to embed the MonsterLinksTM with.
Click on the Insert/edit link icon and paste the MonsterLinksTM code.
With this, you’ve configured your WordPress Contact Form 7 popup to show whenever a site visitor clicks the link on your page.
By the way, you can delete the 2nd condition in the display rules page since you won’t need it.
Now all that’s left is to publish your campaign.
Step 4: Publish Your Contact Form Popup
The last step is to publish your campaign. To do so, click on the Publish tab at the top of your editor menu:
In the Websites section of the page, you’ll see the website you had selected when you named the campaign (Step #1).
Here, you can also preview the popup design before you publish the campaign:
Next, switch the campaign’s status from Draft to Publish:
Here’s how the popup message looks after I published it:
Your Contact Form 7 Popup is Now Live!
Congratulations! If you followed the steps I outlined in this tutorial, you now have your WordPress Contact Form 7 popup live on your website.
If you like this post, check out these WordPress tutorials on how to create similar popups:
- How to Create a WordPress Survey Popup
- How to Create a Lead Capture Form That Converts
- How to Create a WordPress Contact Form With WPForms
If you want to create a Contact Form 7 popup for another site, follow the steps in this tutorial to get started!
Contact Form 7 FAQs
1) Is Contact Form 7 compatible with Elementor Pro?
Yes, you can create Contact Form 7 popups on any landing page built with Elementor Pro plans.
2) Can you create a Contact Form 7 popup on WooCommerce sites?
Yes, you can use 3rd-party addons like WooCommerce Quote or Enquiry Contact Form 7 to set up a product inquiry popup on your WooCommerce site.
3) Will building a contact form with Contact Form 7 affect my website’s search engine rankings?
According to Josh Blackburn, many websites have raised concerns about losing page loading speed after embedding Contact Form 7 popups. Page loading speed is a critical factor for search engine optimization (SEO) as well as user experience. A few WordPress users have also reported about Contact Form 7’s incompatibility with Yoast SEO.
To avoid such risks, check out WP Forms. It’s been tested rigorously to ensure forms don’t affect your site speed and SEO.
4) Does Contact Form 7 support AJAX submissions?
AJAX (Asynchronous JavaScript and XML) is an application development technology that makes web apps more responsive. As such, Contact Form 7 supports AJAX submissions. If your AJAX contact form isn’t working correctly, you can write to the Contact Form 7 team or post a query in their support forum.
5) Do I need a different WordPress addon to show a success message after a user submits a form?
Contact Form 7 shows a default success message once users click the submit button. However, you can also choose from multiple other addons to display and customize your success message with Contact Form 7.














Add a Comment