Does your site sell adult products or publish content that requires age verification? Wondering how to add an age verification popup to your website?
There are plenty of plugins and websites that can help you add an age verification popup to your site. But most of them are expensive and take too long to set up.
In this post, I’m going to show you how you can use OptinMonster to create your own age checker popup.
You won’t need to hire a developer or pay for an expensive app for it. It just takes 10 minutes, and even beginners can do it on their own.
Once you add the age verification popup to your site, you’ll be able to verify your customers’ age every time they land on your site.
But first, let’s talk about what I mean by an ‘age verification popup’ and why you should add age verification to your website.
What Is an Age Verification Popup?
An age verification popup is a design overlay that appears on your website for visitors to interact with. The popup makes it mandatory for them to choose their age from the menu or confirm their date of birth. This is to make sure they are old enough to consume the content on your site.
Businesses that sell tobacco, alcohol, cannabis, or other adult products use this verification method to ensure their site’s visitors are old enough to view their content. The goal is to ensure that online stores that deal in adult products aren’t advertising them to minors, as per the law.
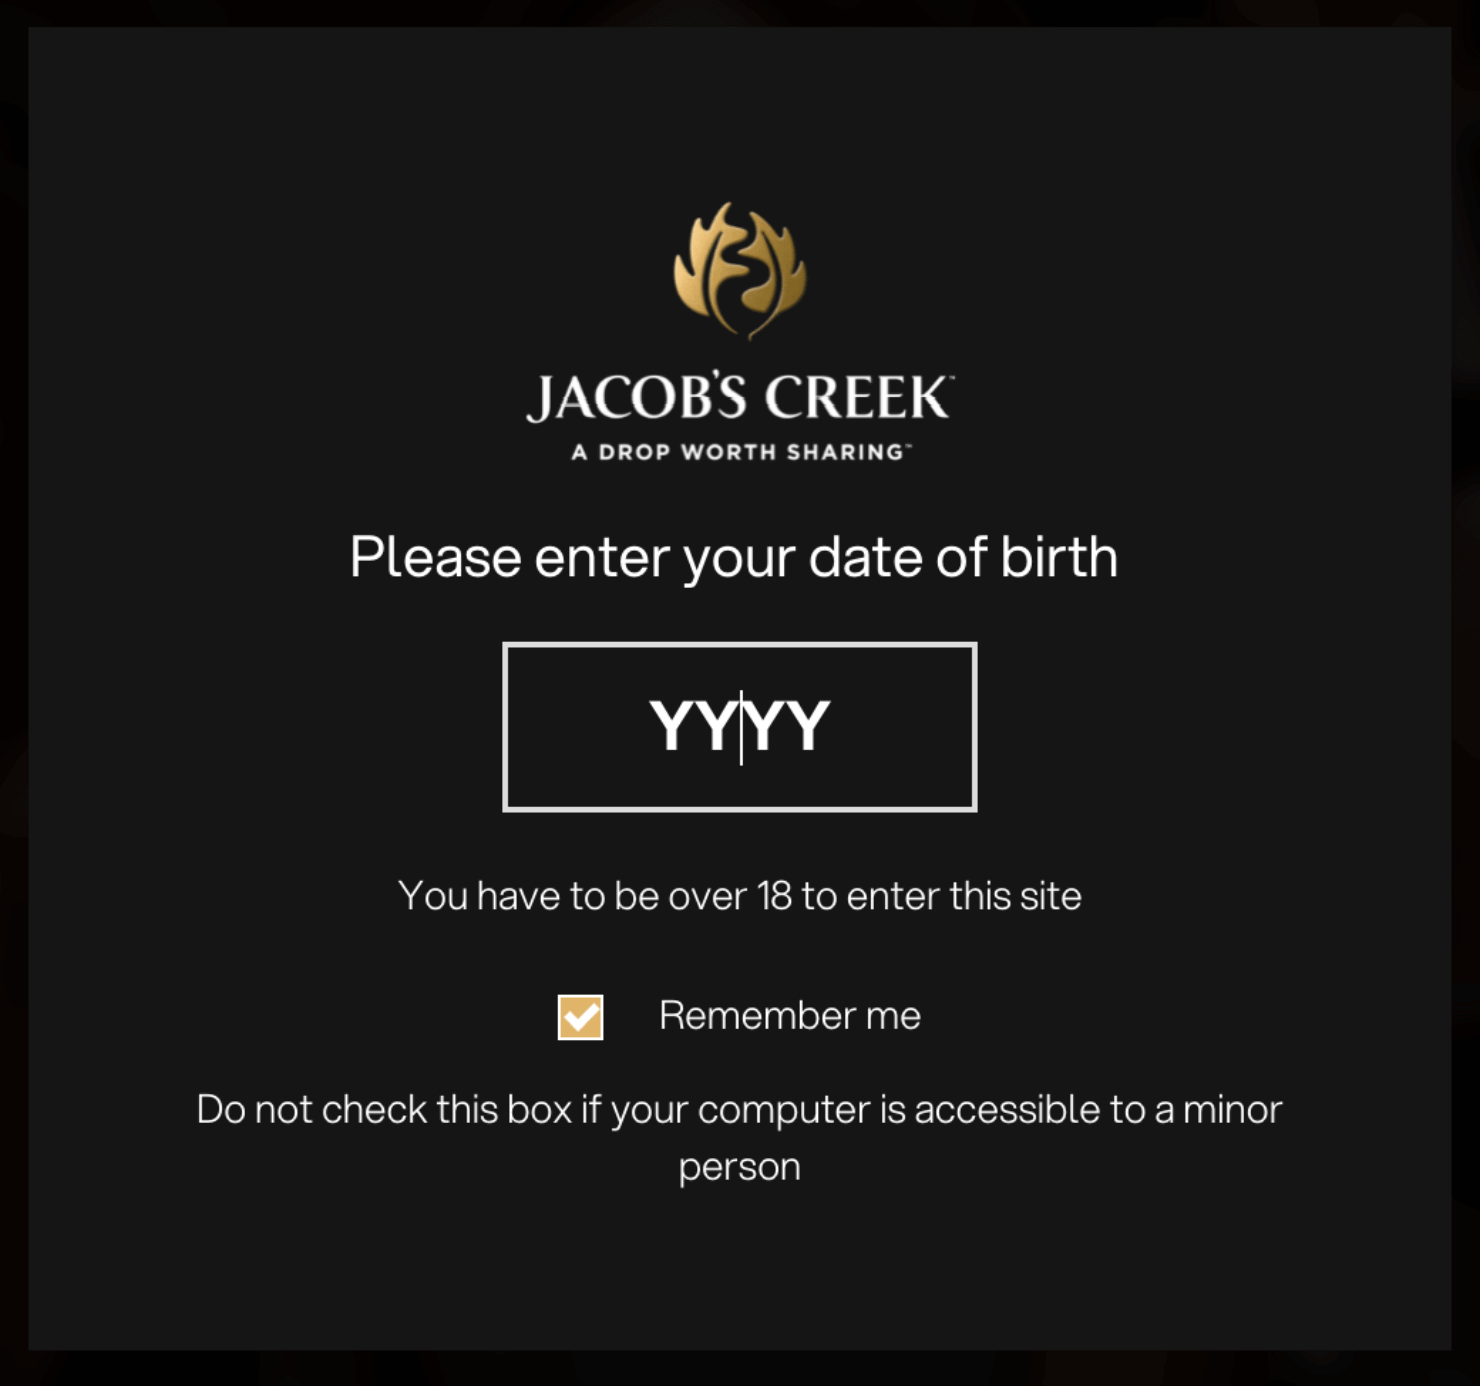
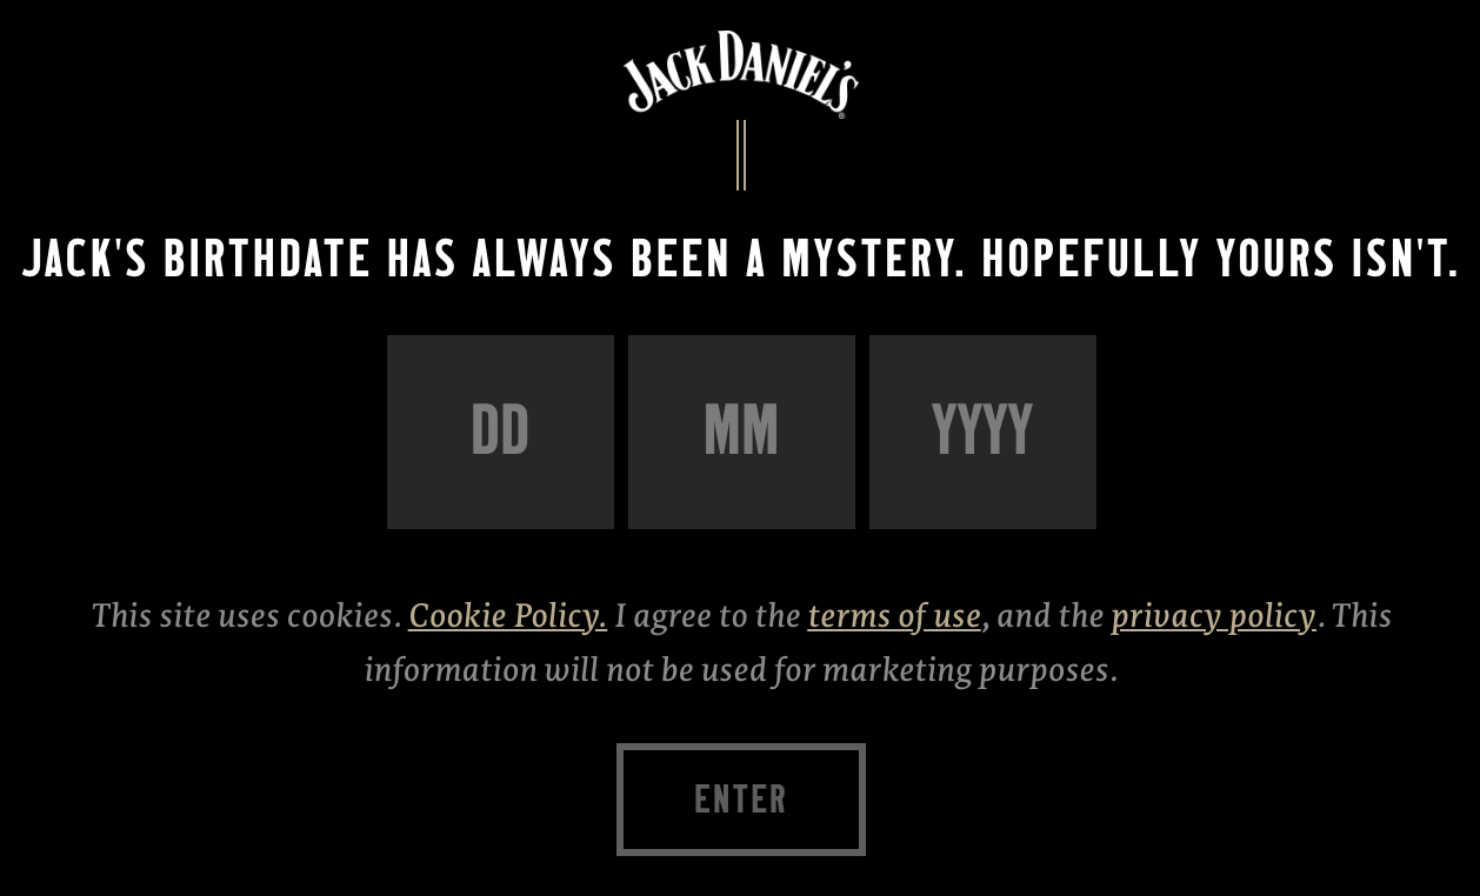
You’ve probably seen an age-gate widget before. It looks like this:
Showing an age verification popup on your site can help you avoid fines or penalties if minors are caught buying from your site.
It doesn’t matter if your business operates in a region that doesn’t have strict laws for checking your user’s age. Adding an age verification popup is morally the right thing to do even in such circumstances.
Many eCommerce sites and social media sites have age restrictions to keep minors from creating an account on their own.
How to Add Age Verification Popup to Websites
In this step-by-step tutorial, I’ll show you 2 different ways to create an age verification popup.
Let’s get started.
Method 1: Yes/No Age Verification Popup
I’ll use OptinMonster to create a website age verification popup.
OptinMonster is the best lead generation software that lets you create online campaigns, such as a registration form, website notification bar, countdown timer, and age verification popup.
OptinMonster also integrates with all major website and eCommerce platforms such as WordPress, WooCommerce, and Shopify to offer wide-ranging solutions for all kinds of online stores.
It comes with powerful targeting options so you can show your campaigns to the right people at the right time and on the right pages.
You can also use the targeting rules to display different popups in different locations that have separate laws for underage customers.
For instance, the legal drinking age varies by country. The US requires customers to be at least 21 years old to smoke or drink. In Canada, the legal age is 19. And in Germany, the age limit is just 16.
If you have a beer brand that sells to these countries, you can use OptinMonster to trigger region-specific age verification popups to oblige by the local law.
Let’s go over the steps to creating a simple yes/no age verification popup.
Step 1: Create a Yes/No Campaign
Log into your OptinMonster account.
Don't Have an Account Yet? Sign up for OptinMonster to get started today or check out this extensive review to see if OptinMonster is right for you!
In your dashboard, go to the upper right-hand corner and click Create New Campaign:
Choose your campaign type. There are 2 types of campaigns that work for age verification:
- Popups
- Fullscreen
I recommend going with a popup campaign since popups don’t take up the entire screen space.
You can also create a fullscreen campaign, which gets people’s full attention without any distractions.
For this tutorial, I’ll choose a popup campaign:
Now it’s time to choose a popup template. OptinMonster comes with 100+ ready-to-use templates that work perfectly across desktop, tablet, and mobile devices.
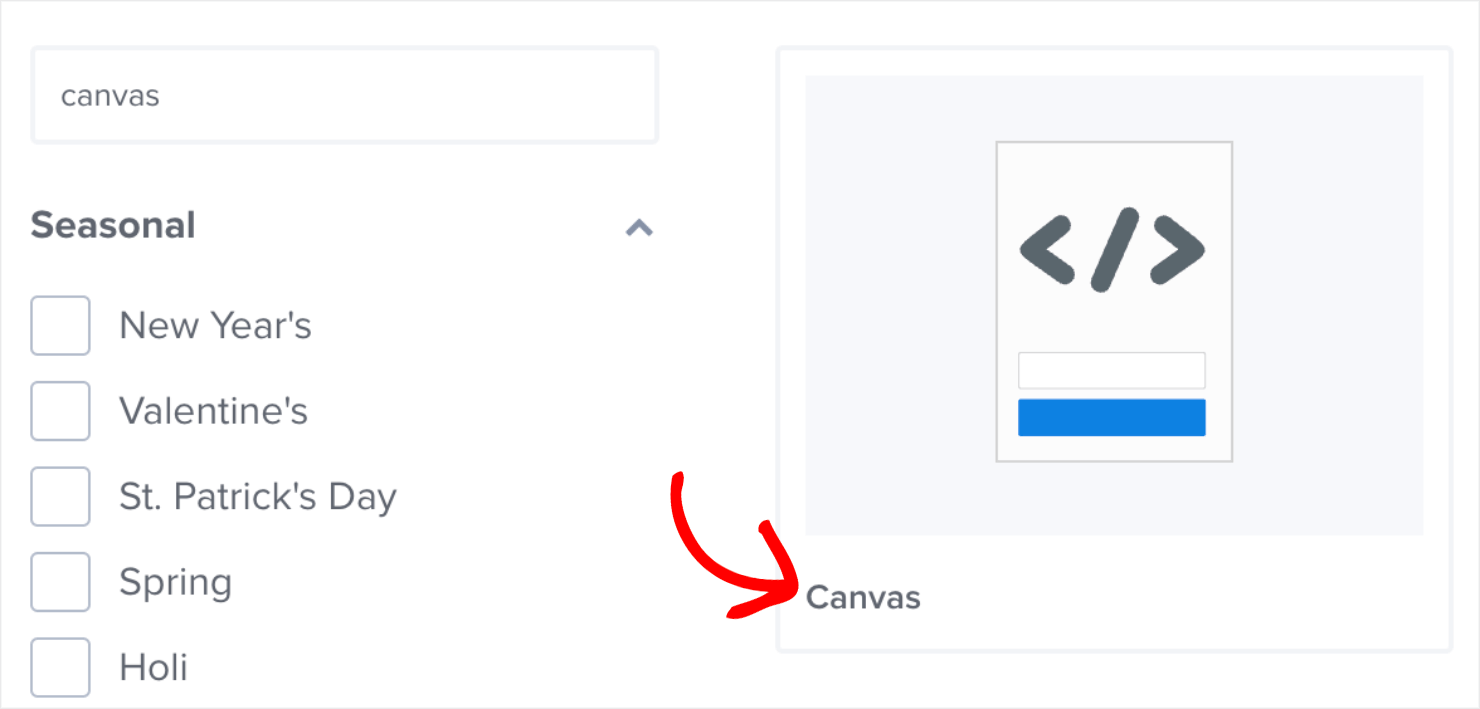
Or, you can also select the Canvas template to create your own campaign from scratch. I’ll show you how to do that a bit later.
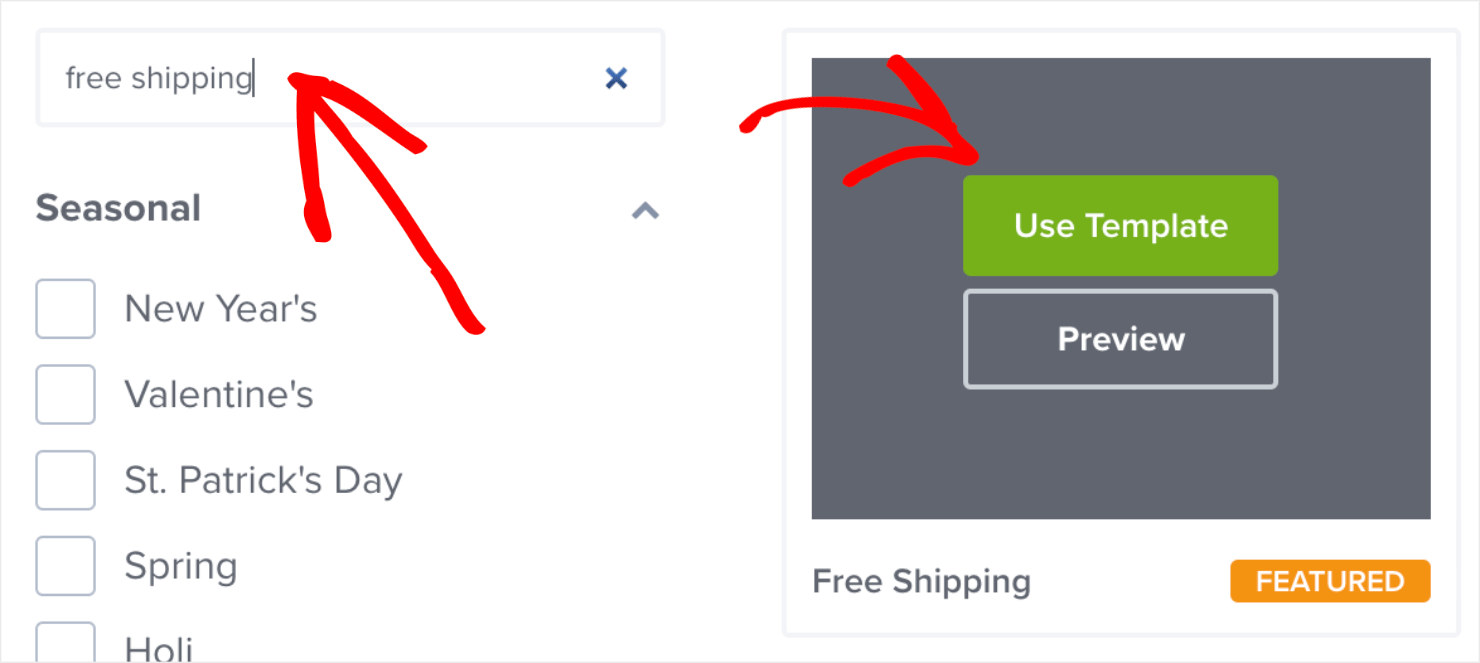
For now, I’ll use the Free Shipping template.
To find it, just type ‘free shipping’ in the search box and click on Use Template.
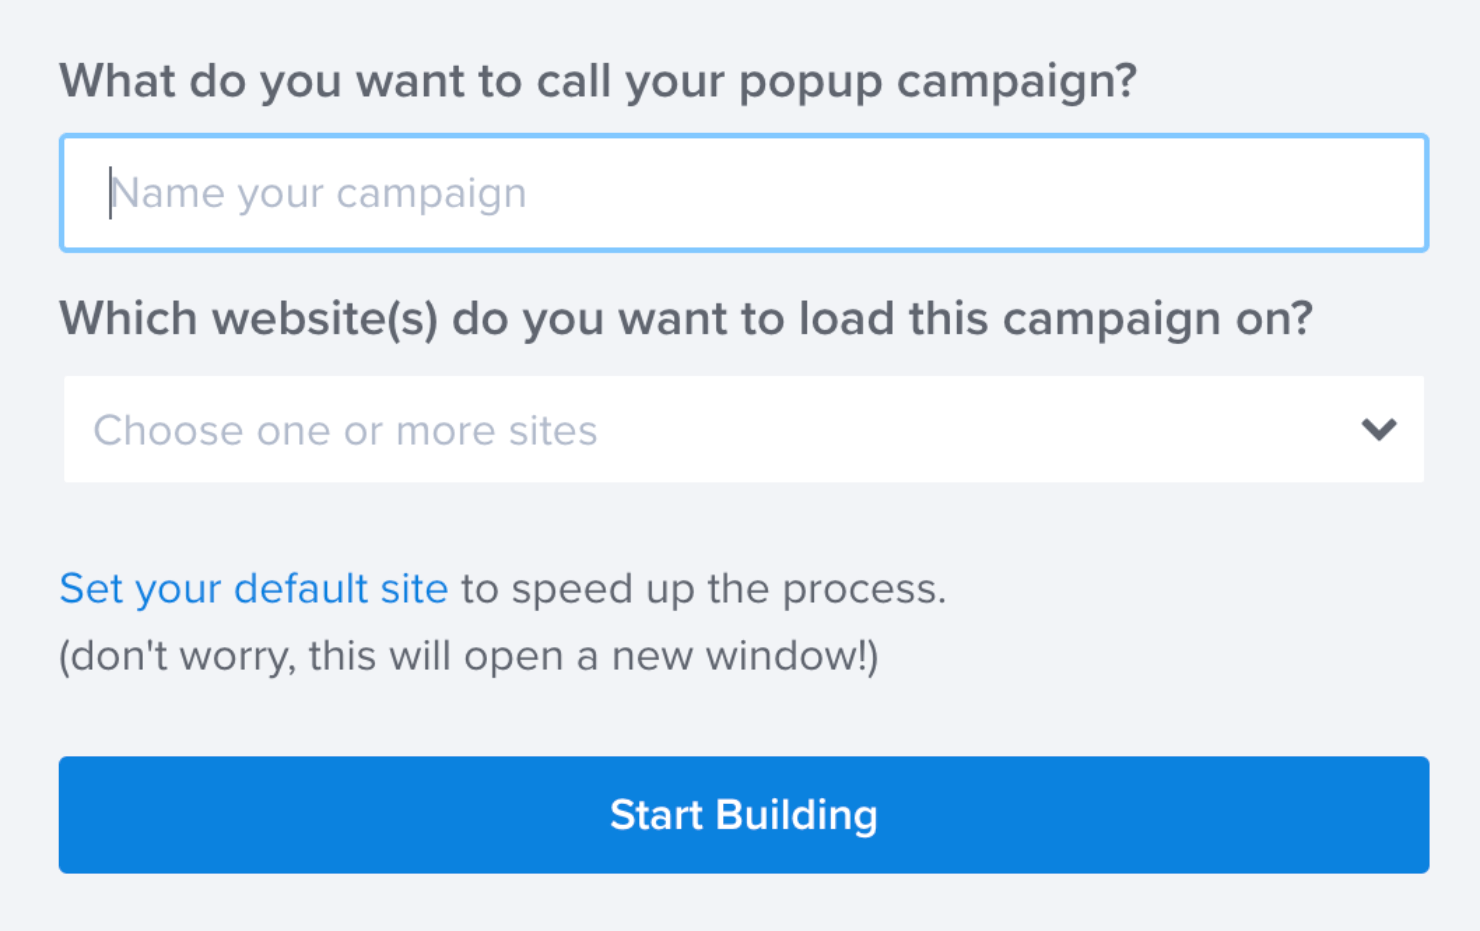
Next, give your campaign a name and select which site you want to use it for. Click on Start Building once you’re ready.
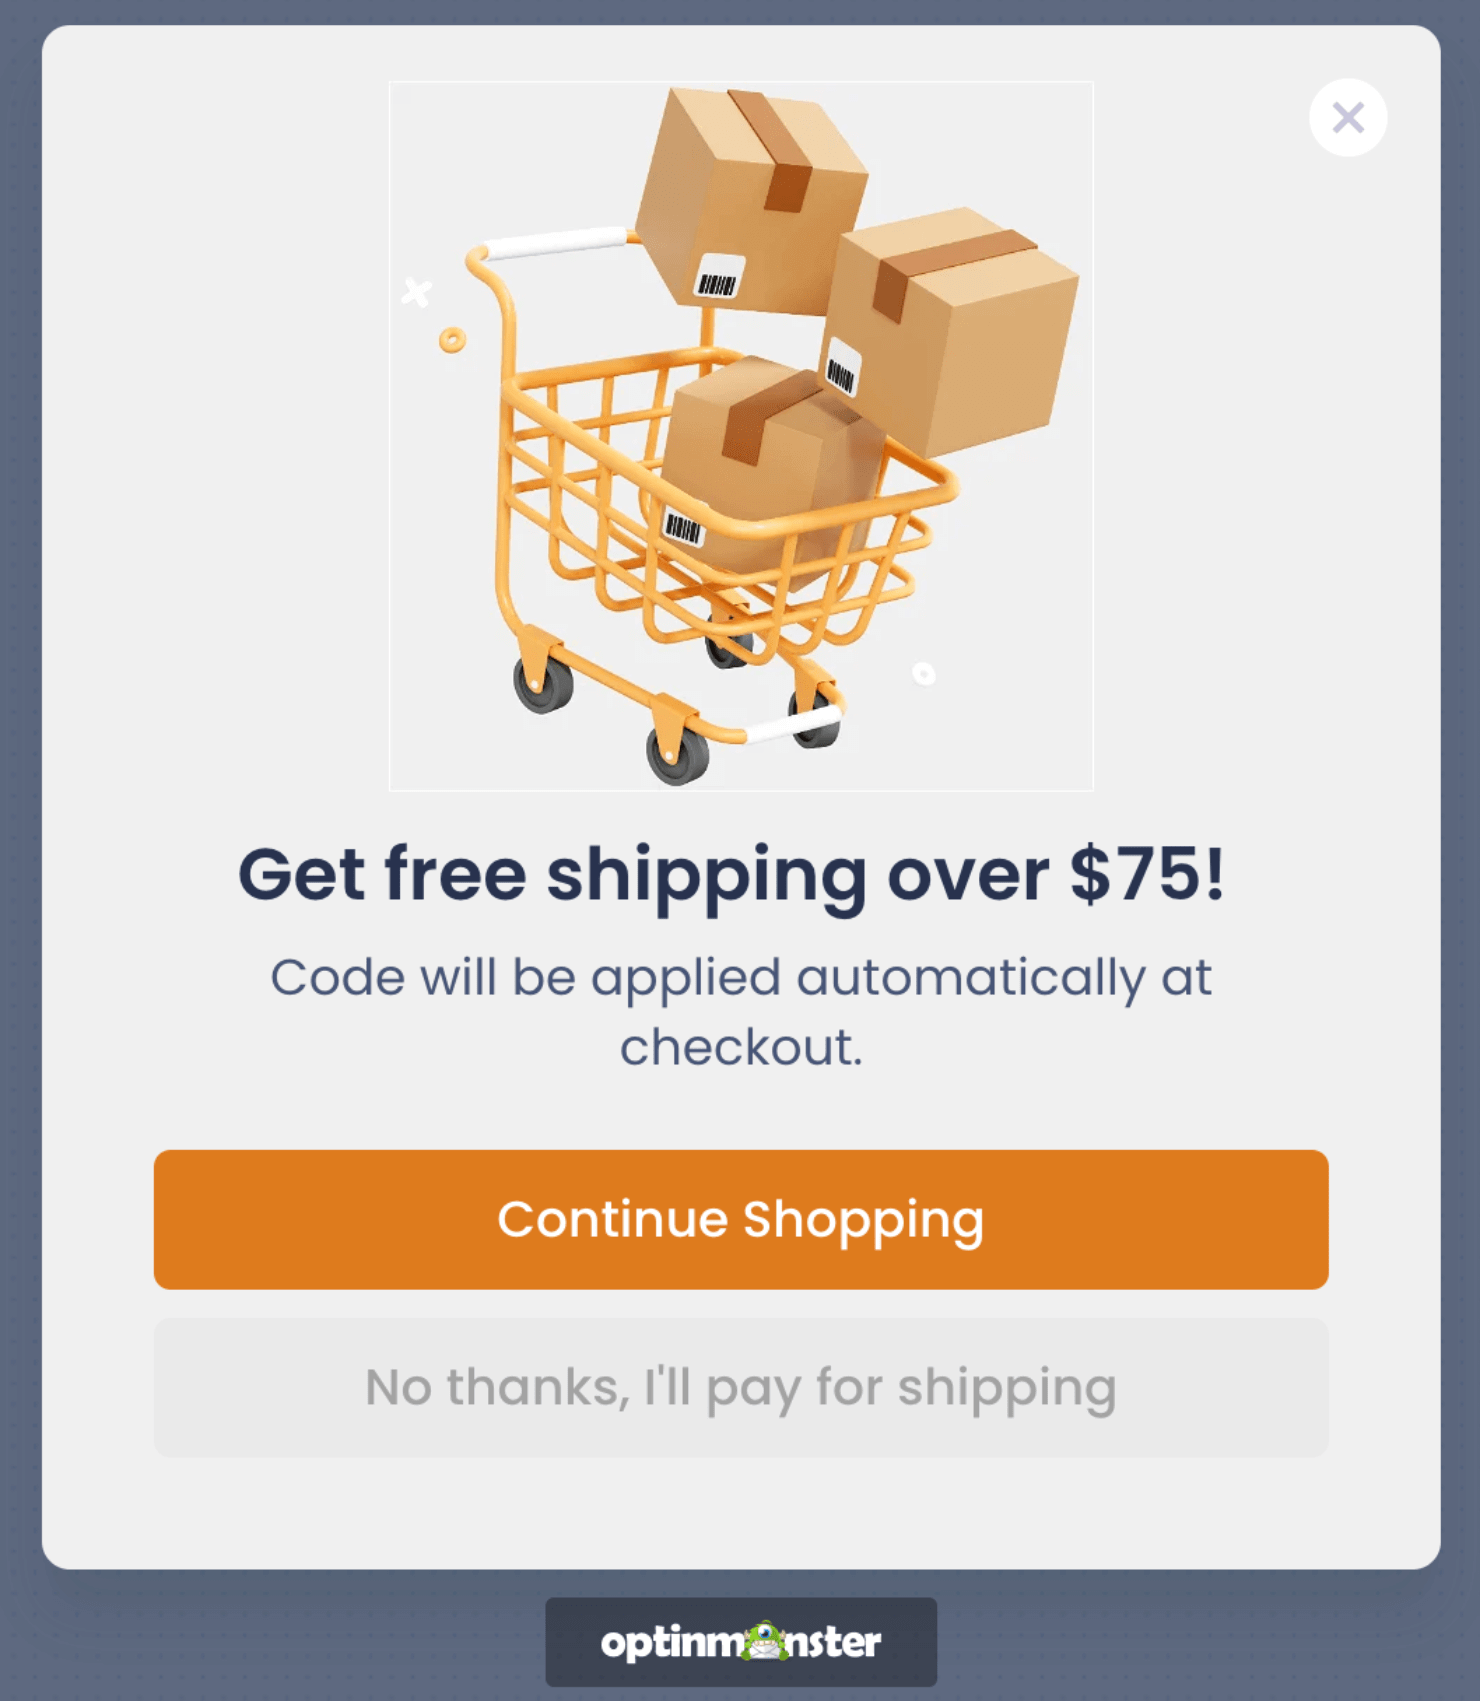
Now you’ll see your template in the editor. As the template name suggests, the copy and design are tailored to a free shipping offer rather than an age verification popup.
But with just a few minor adjustments, you’ll have your age verification popup ready in no time.
Simply click on specific areas in the designer to pull up the editing tools in the left-hand side menu. For this tutorial, I’m going to make the following changes to the design:
1. Delete the background image.
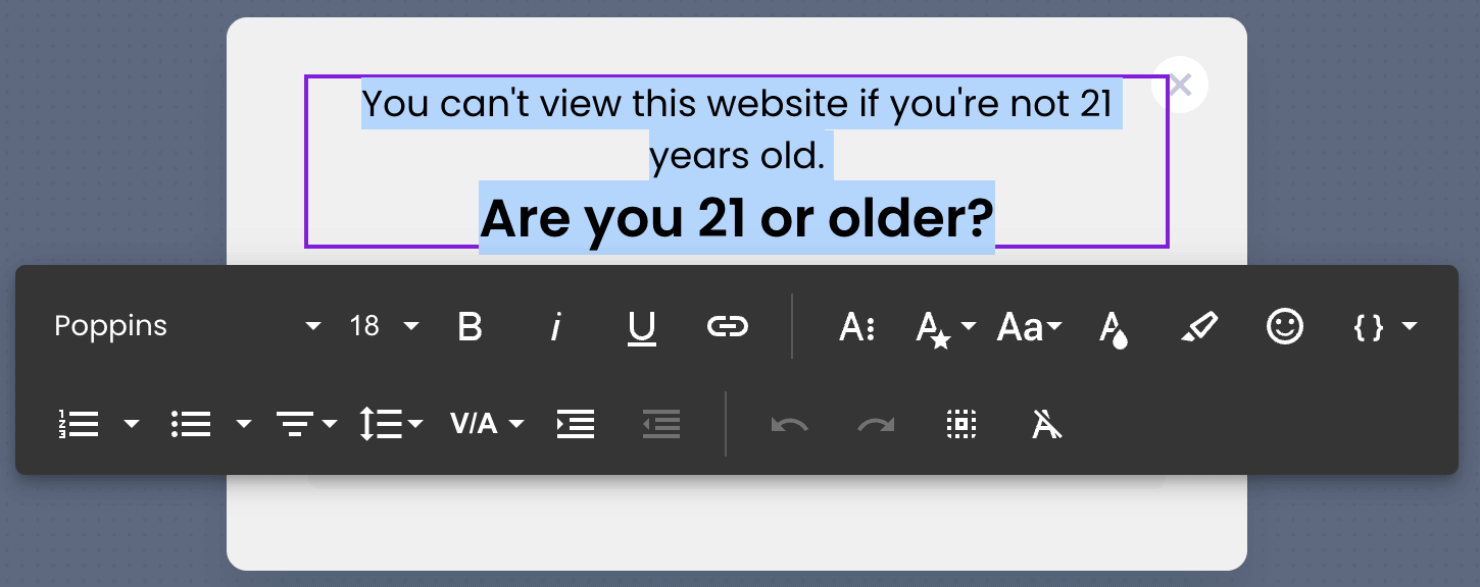
2. Change the text to ask the visitor if they are 21 or over.
3. Change the background color to black.
4. Change the button texts to yes and no. Click on the button on the designer to get the customization options in the left-hand menu.
5. Change the button colors.
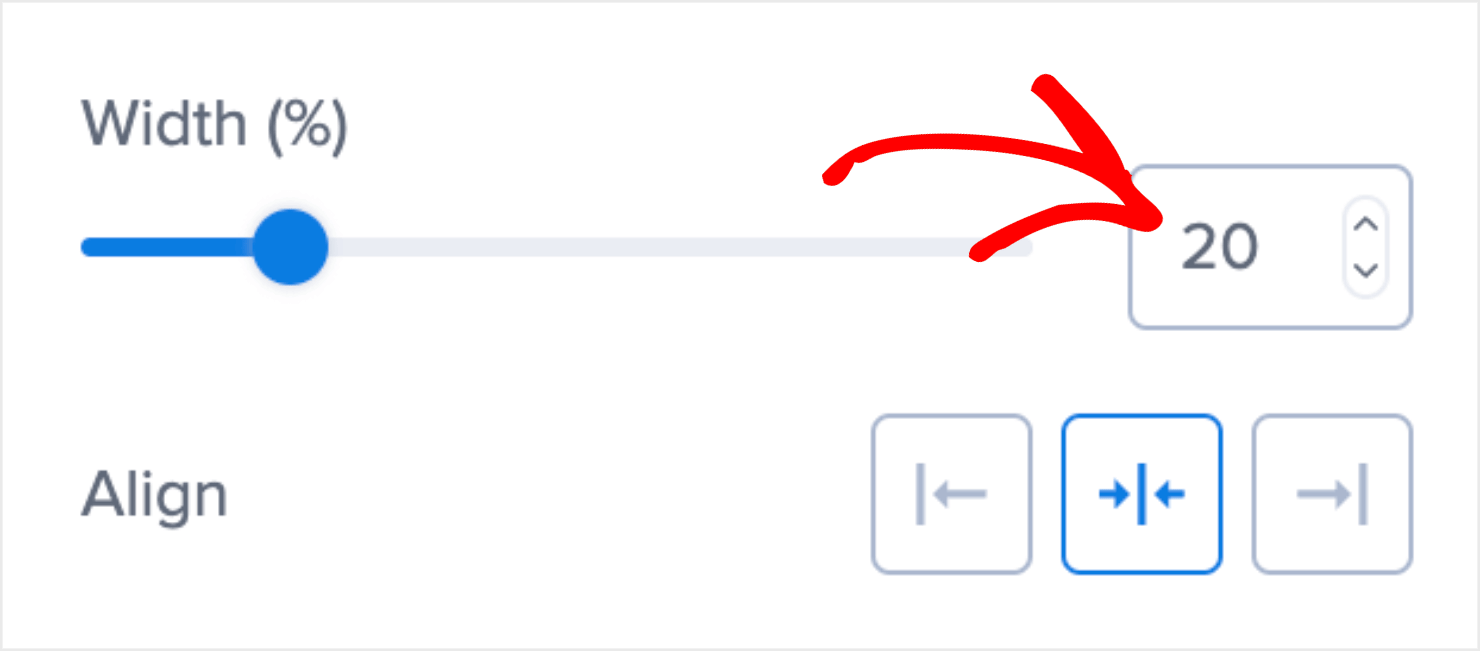
6. And finally, adjust the button width.
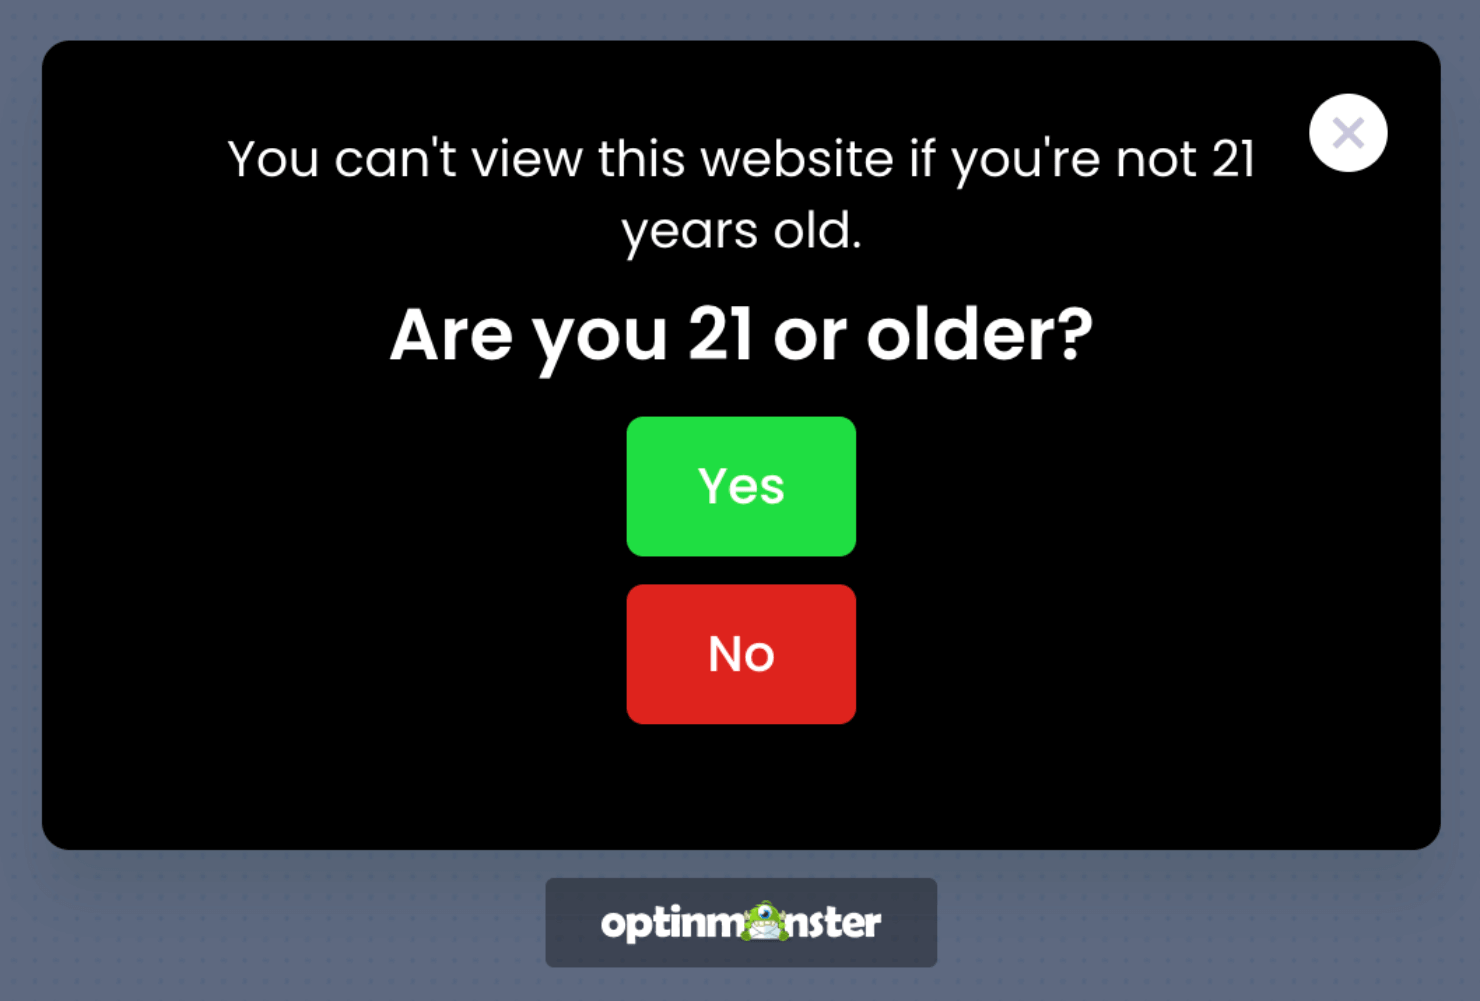
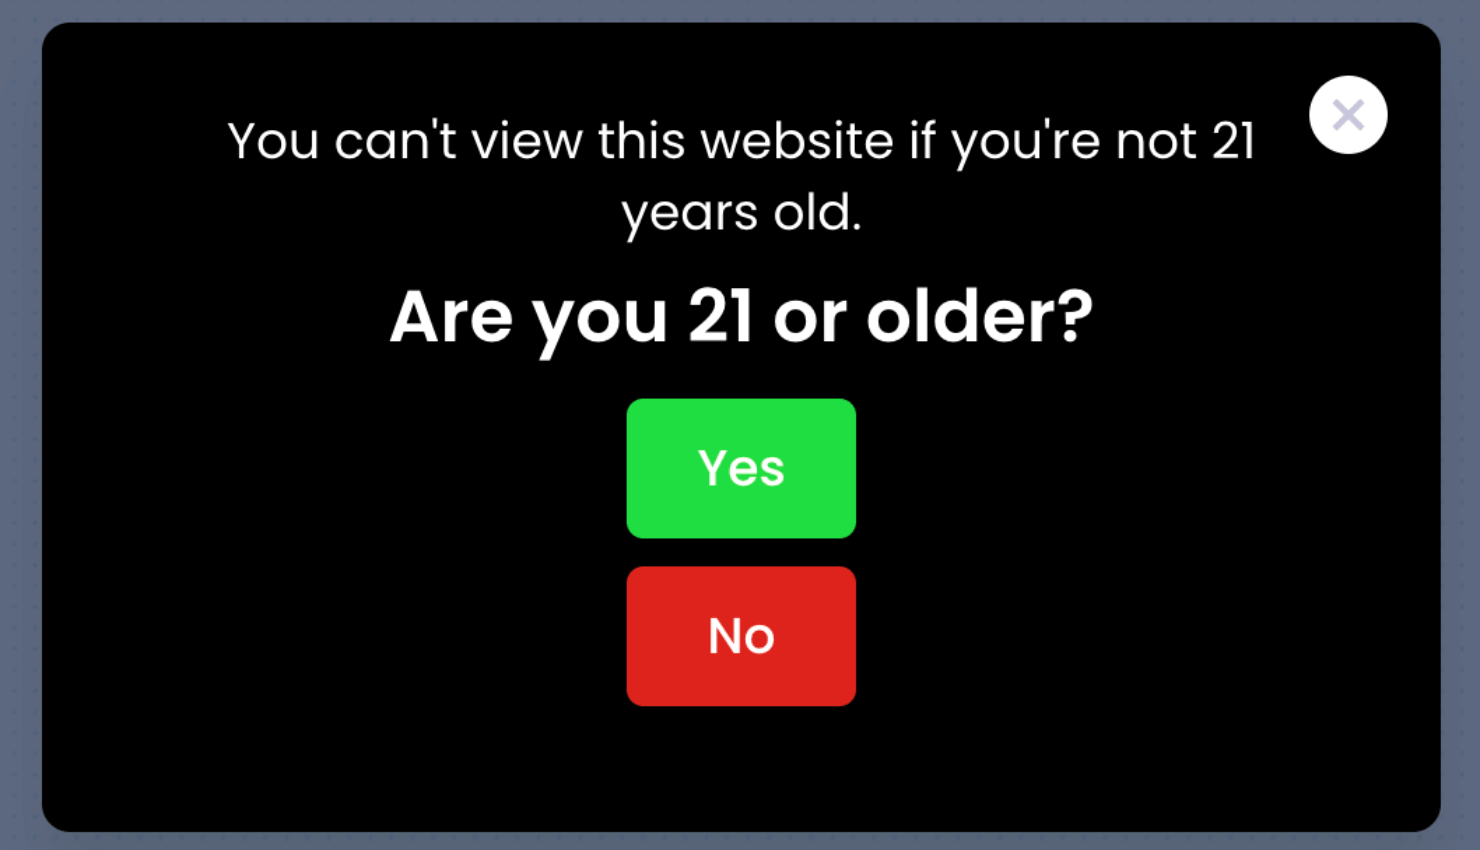
After I make the changes, the popup will look like this:
Next, I’ll show you how to make the popup mandatory for all visitors on your site.
Step 2: Make Age Verification Mandatory
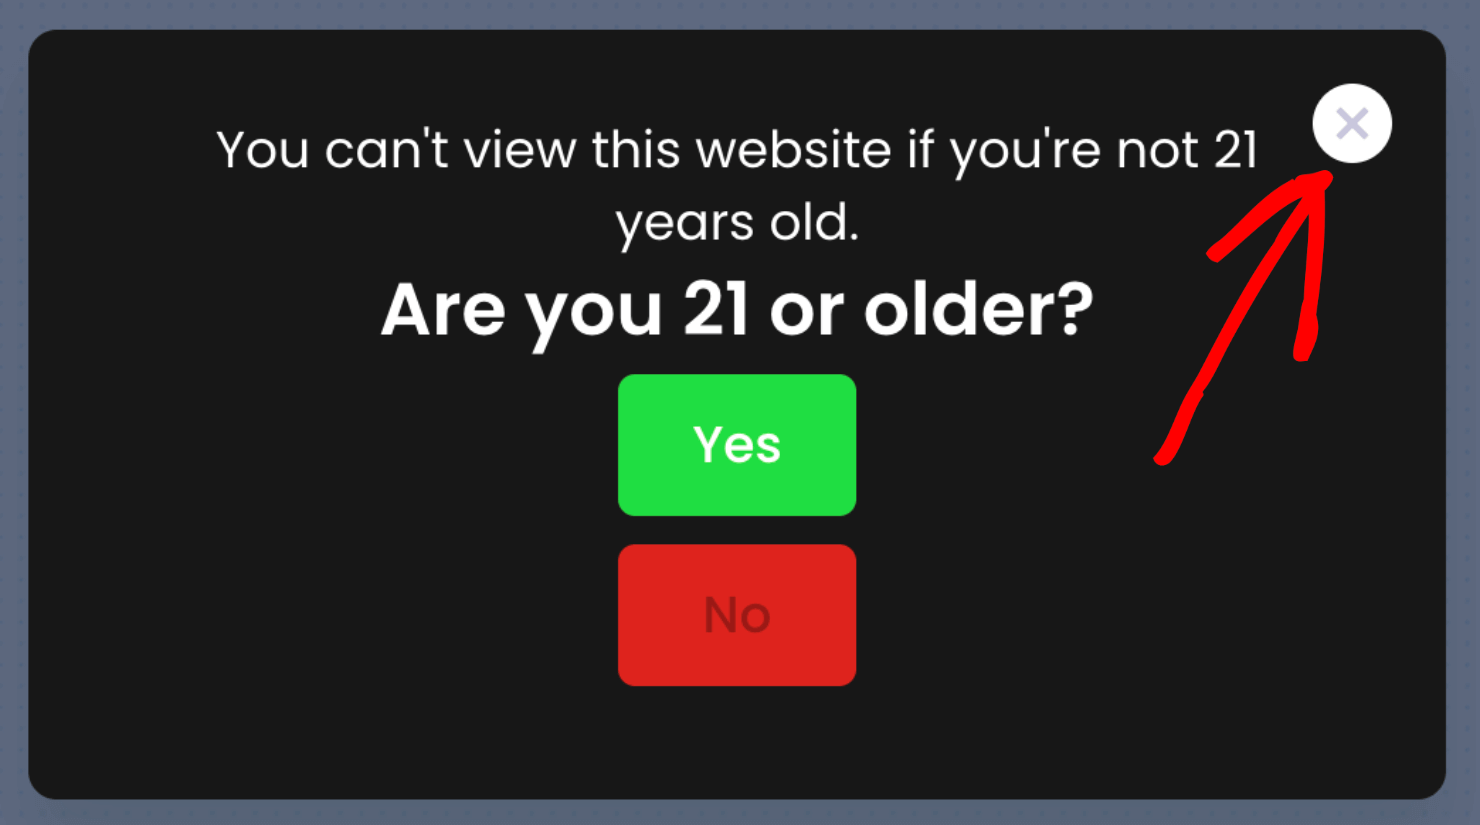
Notice there’s still an X close button in the top right-hand corner of the campaign:
To make it mandatory for each website visitor to interact with the age verification popup, you’ll need to get rid of the close button. The only way this campaign should close is if the user clicks yes because they are old enough to enter your site.
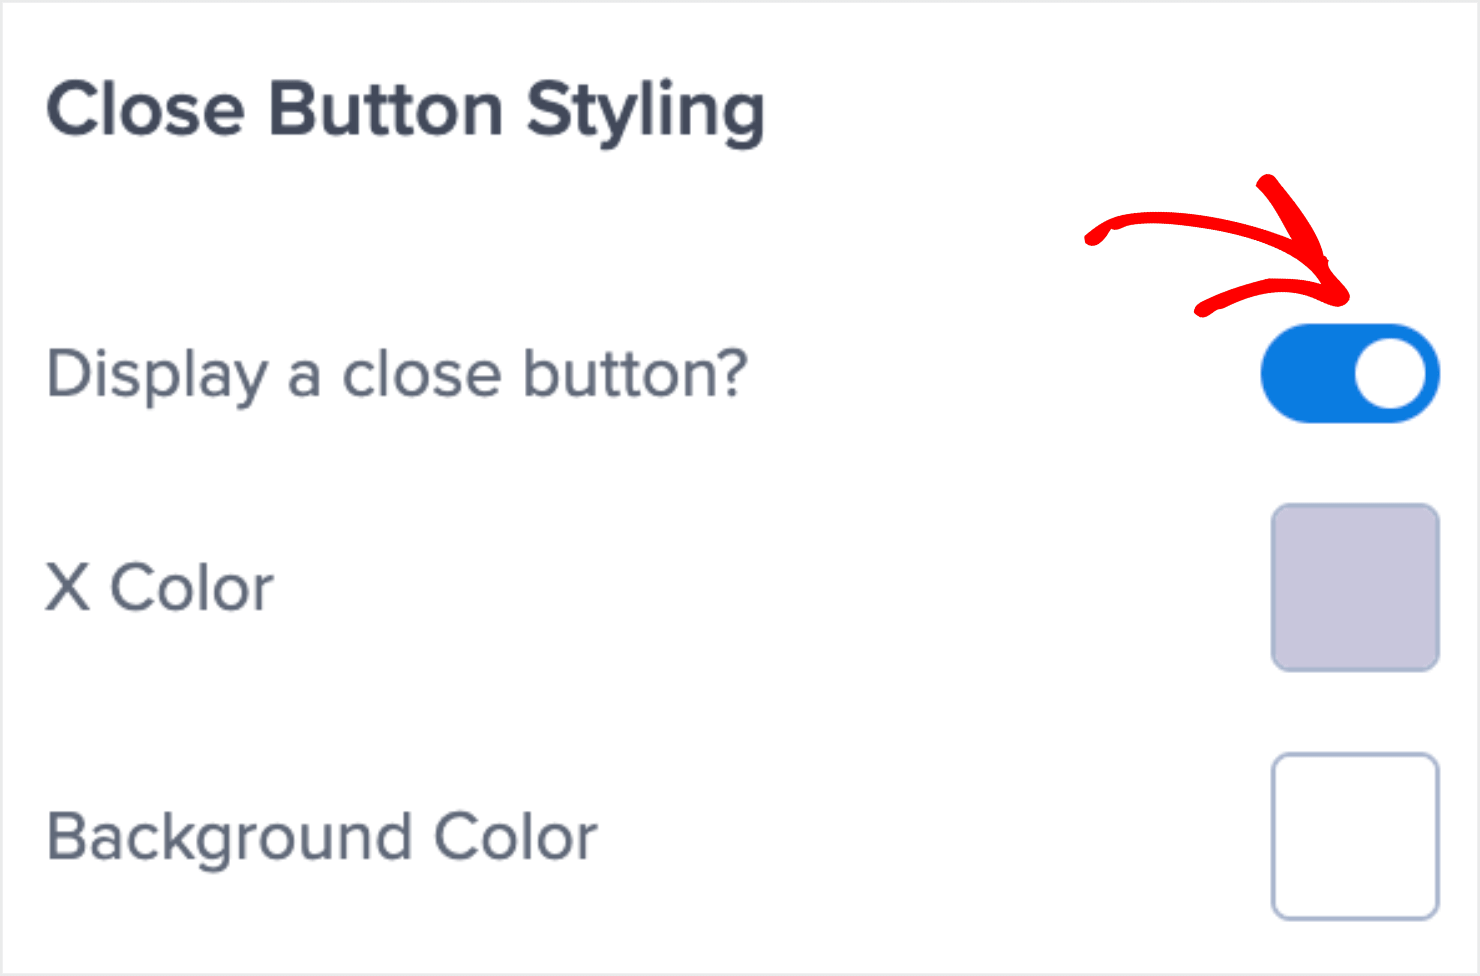
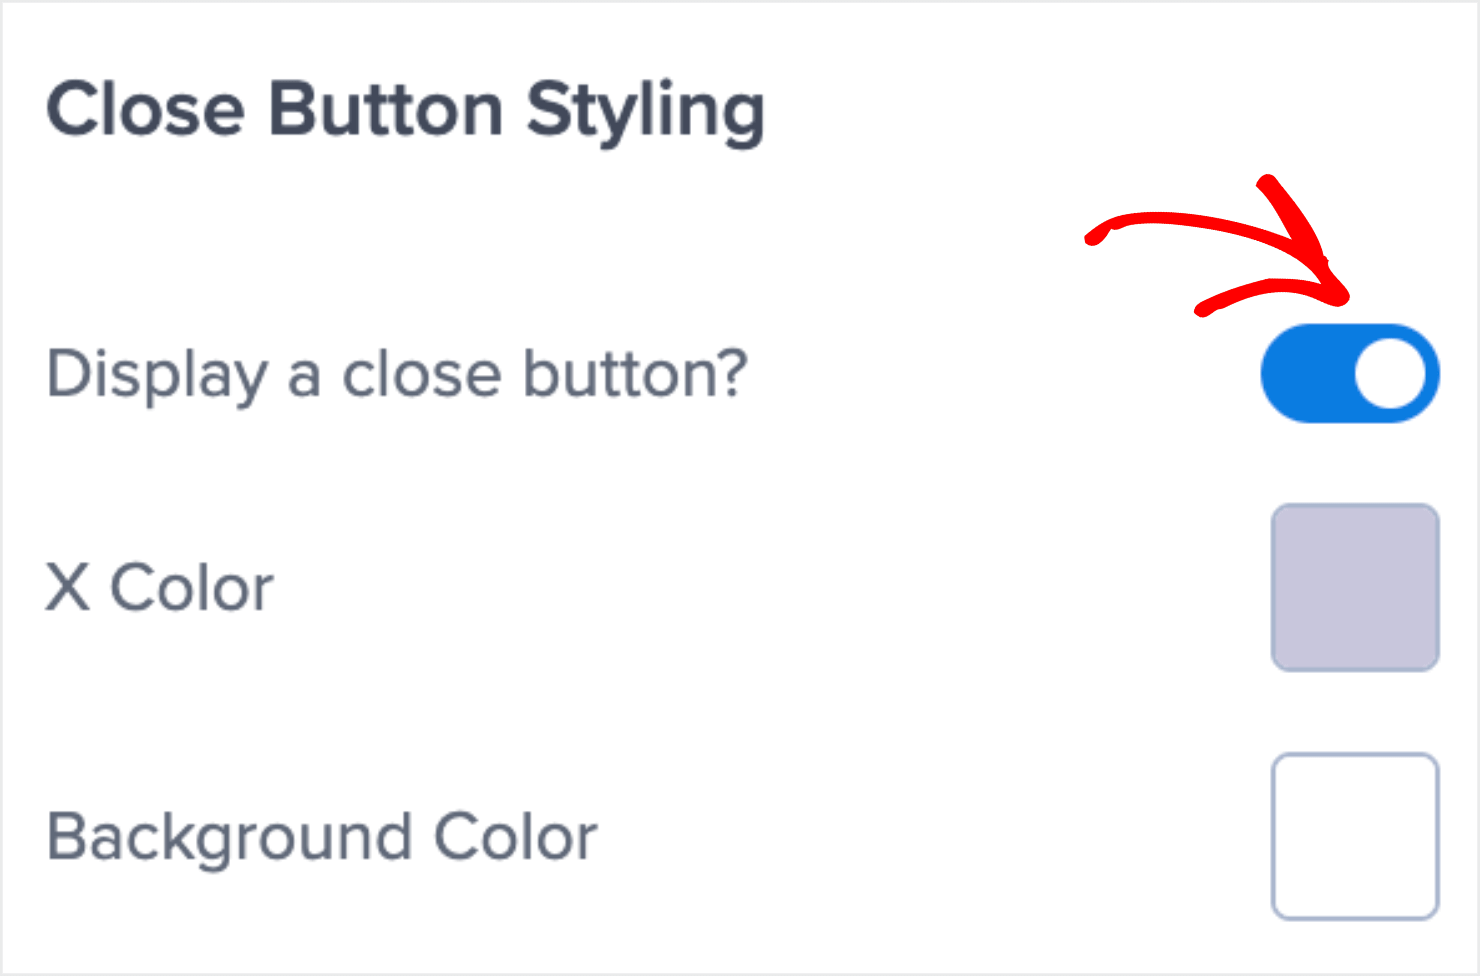
Click on the X icon in the top right-hand corner and look for Display a close button? option in the left-hand editing menu. Toggle the option to disable the close button:
Now it’s time to change your yes and no buttons’ actions. Let’s start with the yes button.
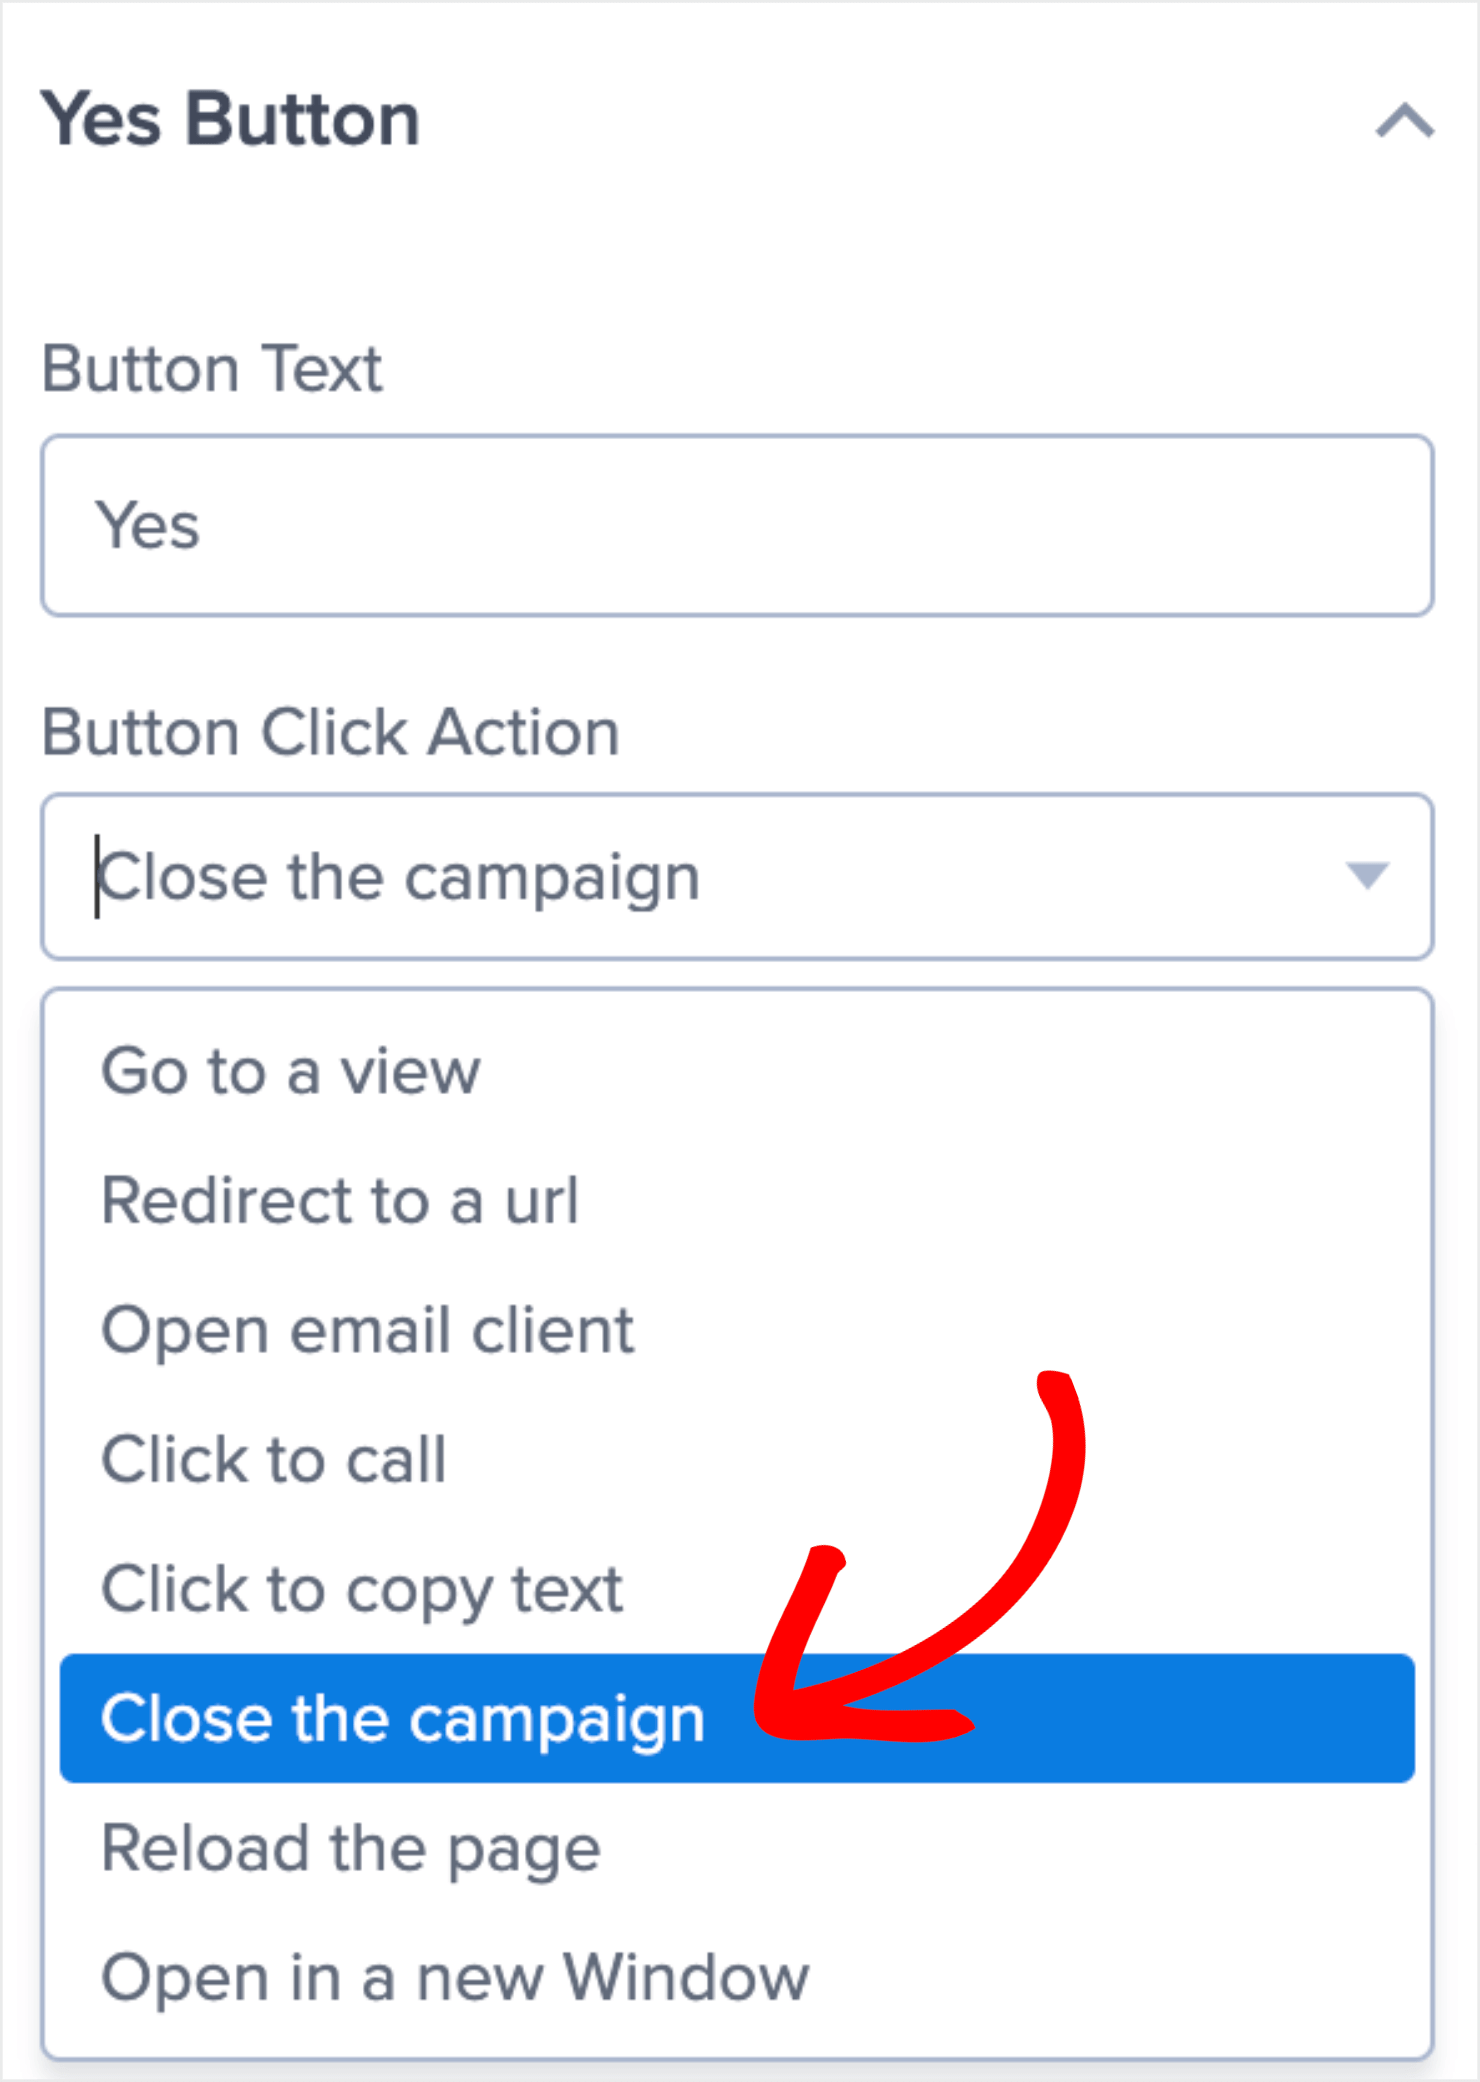
Click on the Yes button to pull up the editing options on the left-hand side menu. Scroll down to Button Click Action. Change the settings from Go to a view to Close the campaign:
This way, when your site’s visitors answer ‘yes’ to whether or not they meet your age requirements, the popup will close and let the visitors access your site.
Next, let’s modify the No button’s action. Click the button to pull up the editing tools. Scroll down to Button Click Action.
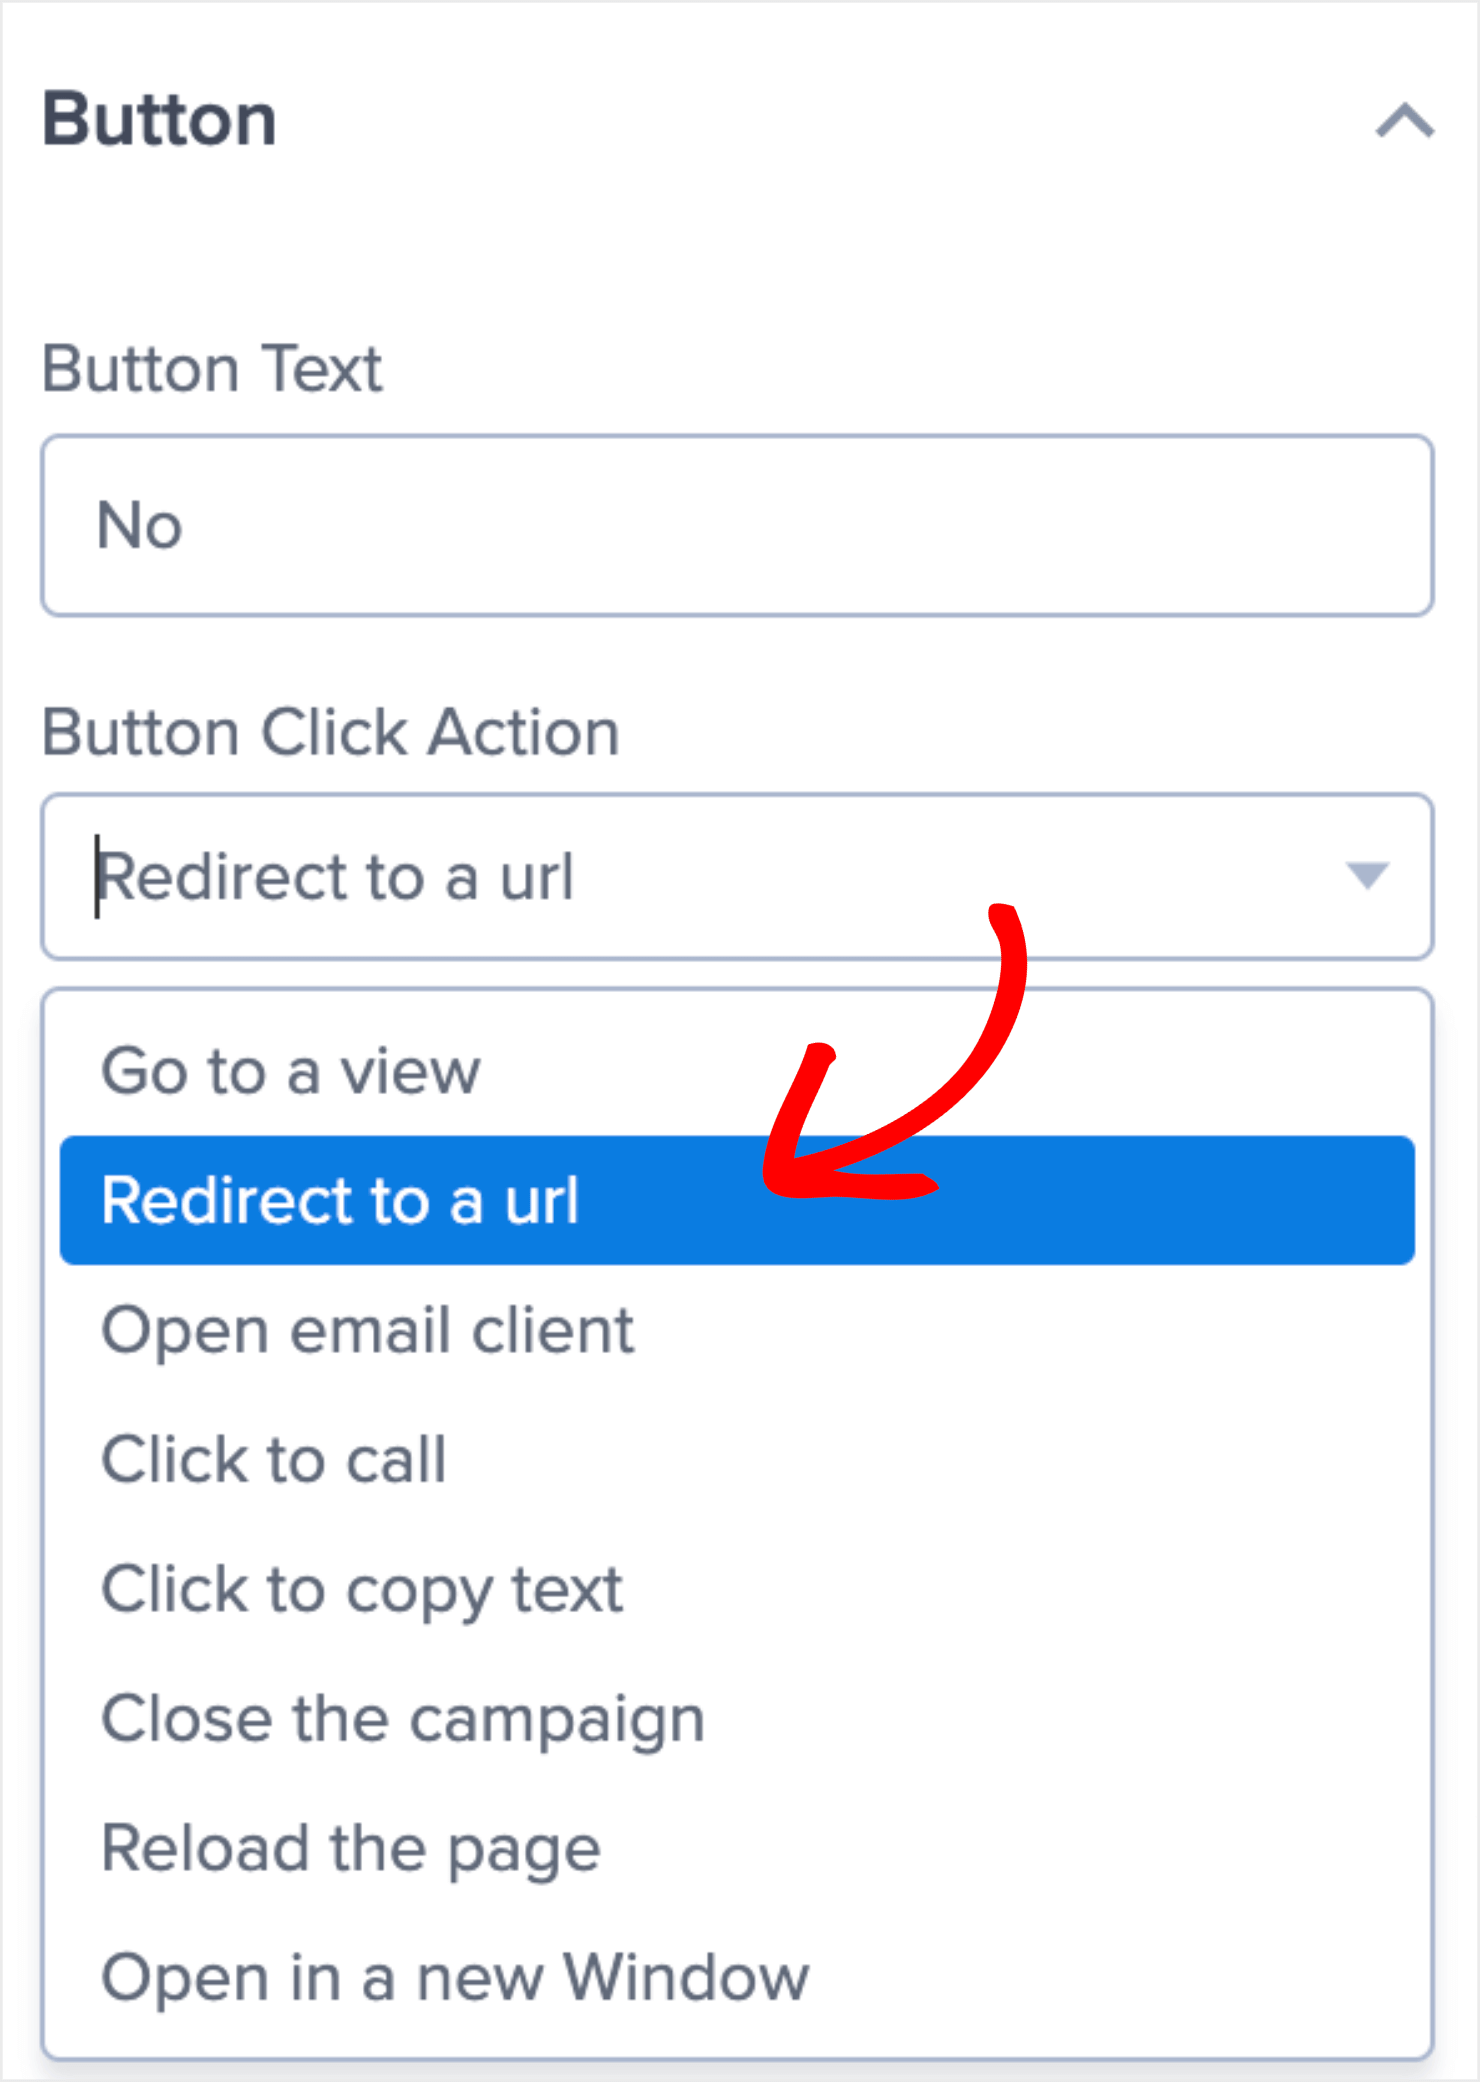
In the dropdown menu for Button Click Action, change the settings from Close the campaign to Redirect to a URL:
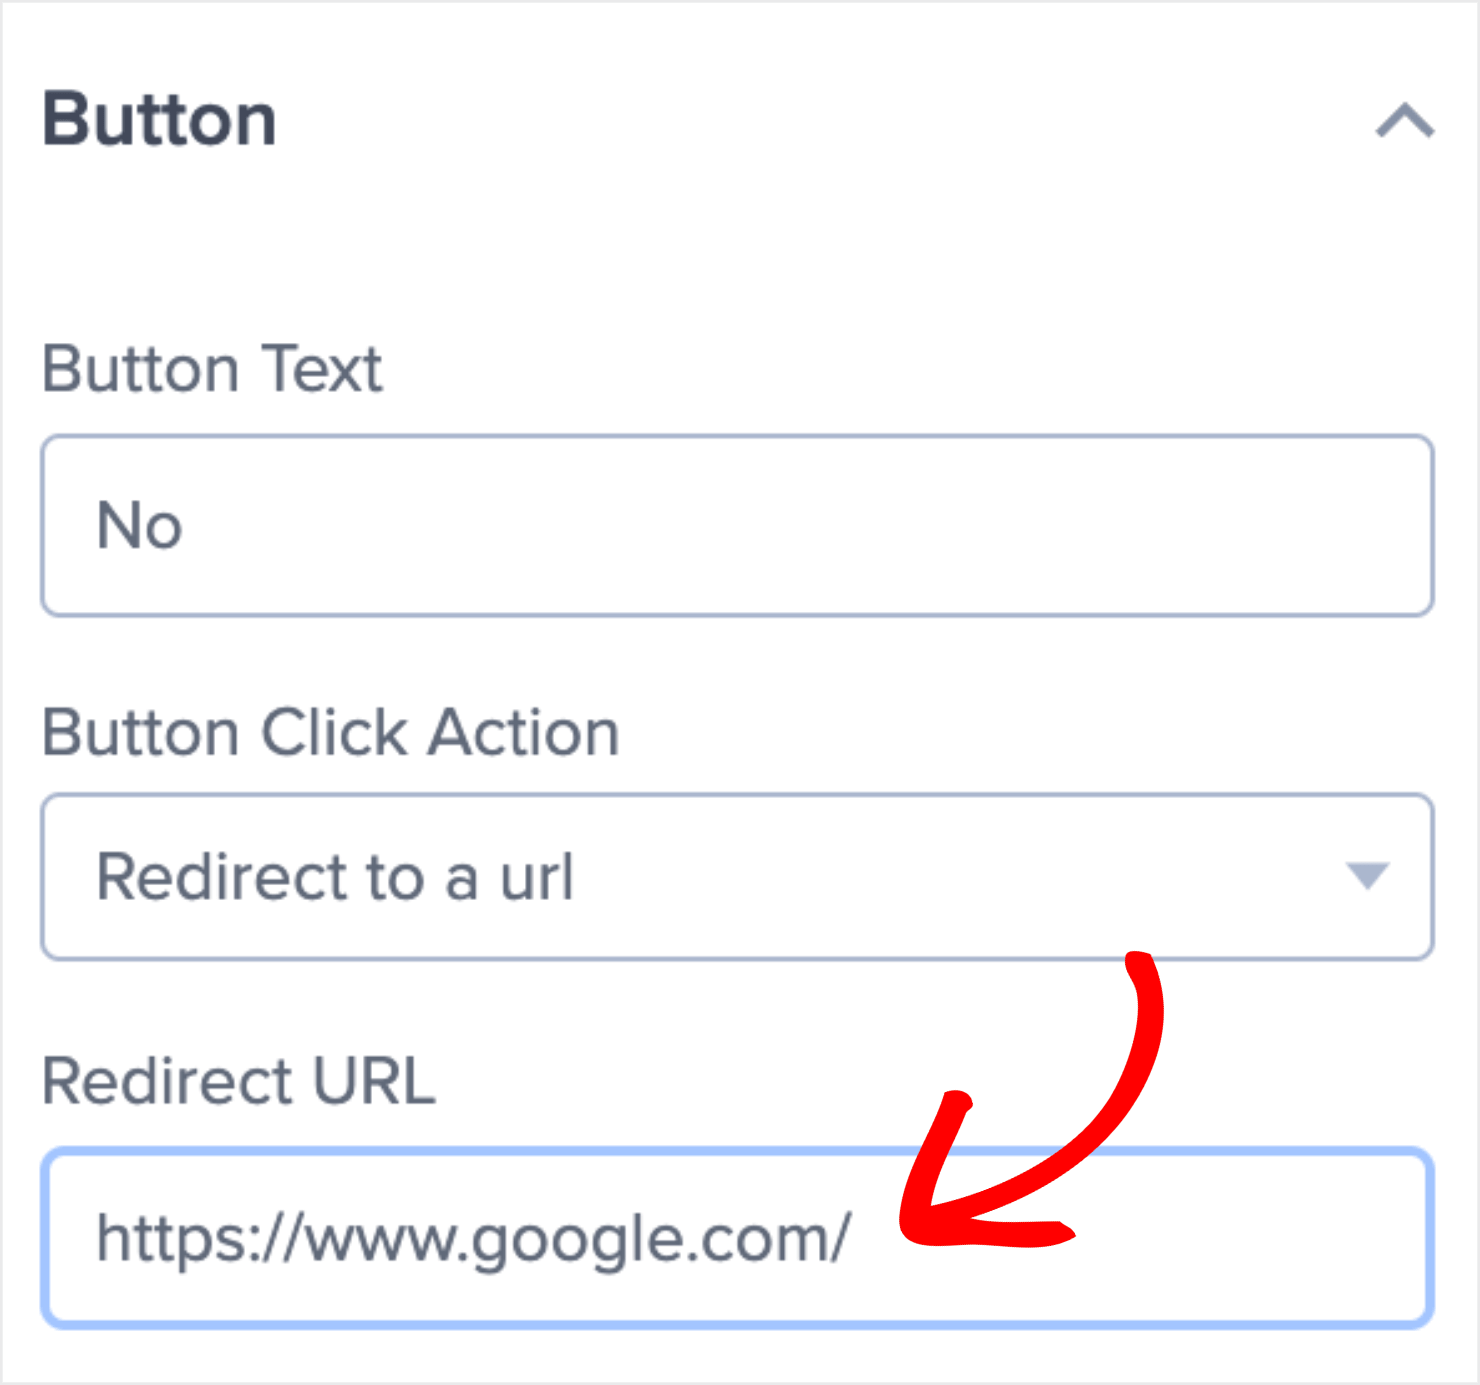
Enter the URL that you want your visitor to be redirected to in the field below:
You can choose any URL that you’d like. If you have other content or another site that isn’t age-restricted, you can send visitors there.
It’s also a common practice to send your visitors back to Google or other search engines, if that’s where they found your website.
Sula Vineyards redirects underage visitors to Google search, while the Vape Shop Boston redirects visitors under 21 to DuckDuckGo.
Pro-tip: If you don’t want the traffic to drop out of your site, you can also create your own landing page.
I recommend creating a landing page stating the law about why underage visitors can’t proceed further with the website. You can use your landing page to educate them about the relevant laws.
This will help you improve your search engine optimization (SEO) while still following the legal norms.
Back to the age verification popup, as we’re almost done setting it up.
Next, we need to configure our display settings to make sure your campaign is shown to the right people and on the right pages.
Step 3: Show Age Verification Popup to Every User
You want your popup to display every time someone visits your website. However, you don’t want it to pop up for every new page they visit during their session.
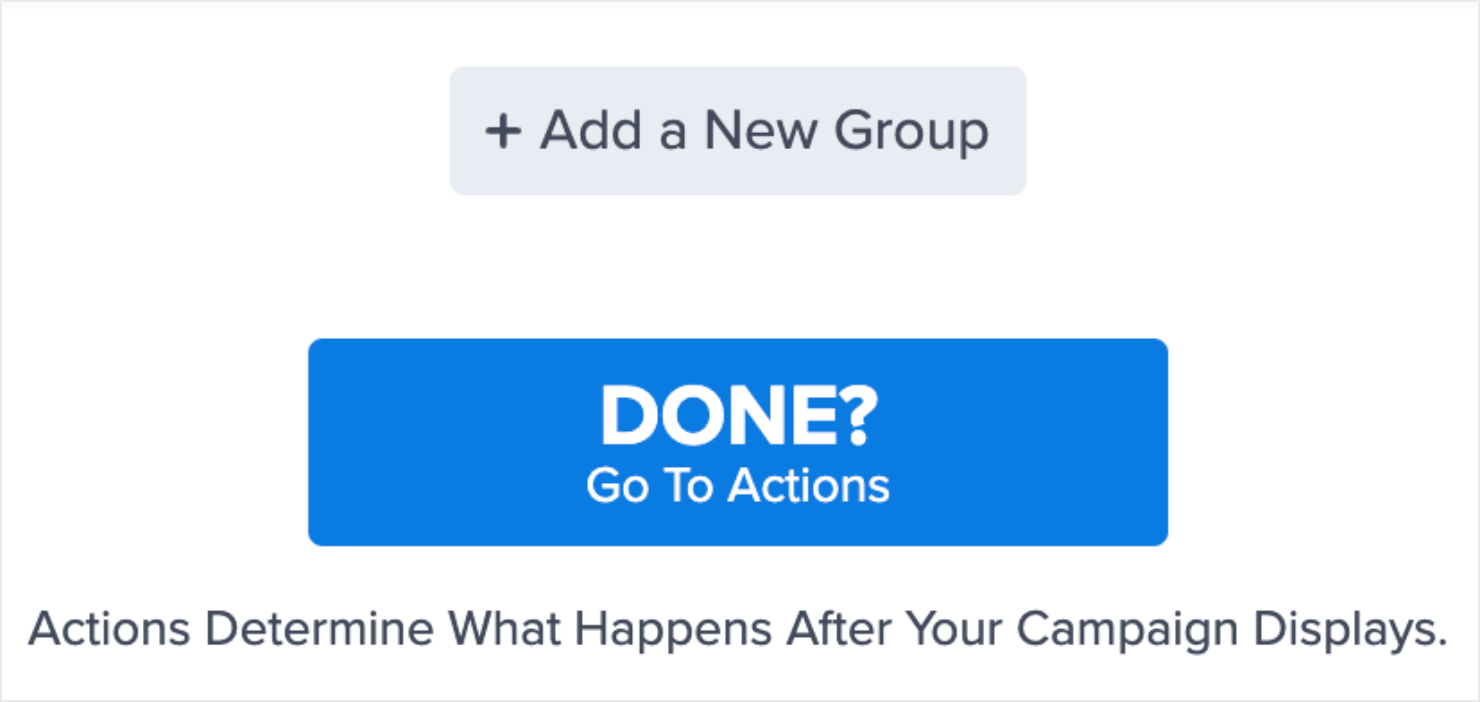
Go to the Display Rules tab from the top menu and click on Done? Go To Actions.
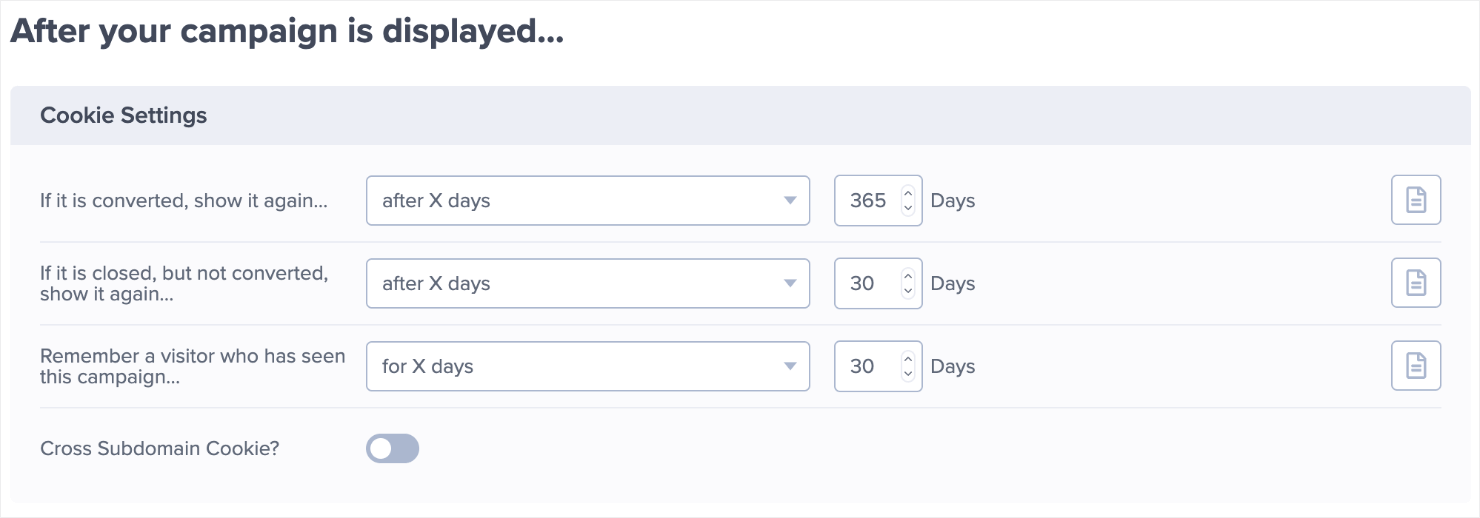
You’ll see the following options under the After your campaign is displayed… section:
For our use case, the last option in the menu is the best: Remember a visitor who has seen this campaign…
Change the default setting for X days to only during the current session. This will enable the age verification message to show to each visitor every time they visit your website:
Now, there’s just one more important step left.
Step 4: Display the Popup Immediately
At the top of your editor menu, click Display Rules and click on Edit:
Showing a popup immediately after visitors land on your website is usually not a great user experience (UX) best practice. That’s why, in OptinMonster, the default settings will show the campaign to your visitors after the first 5 seconds of being on your page.
But for age verification, it’s recommended you do the opposite.
Leave the first condition as time on page untouched, but change the field next to it from is at least to is immediate:
This means that your popup will appear as soon as a visitor enters your site.
The next step is optional, depending on your preference.
Right now, the default configurations show your popup campaign on any page. You can change this if only certain pages of your site are age-restricted.
To do so, leave the current URL path optin as is but change the field is any page to exactly matches.
Then enter the URL of the age-restricted page on your site:
Note: Some businesses may think they should only show an age verification popup on their site’s homepage as they welcome new visitors. However, I warn against this.
Remember, your visitors may find your content in other ways and may not land on your homepage first.
To add more pages, click the Add a New Rule link and set up the display rule you just created with another URL:
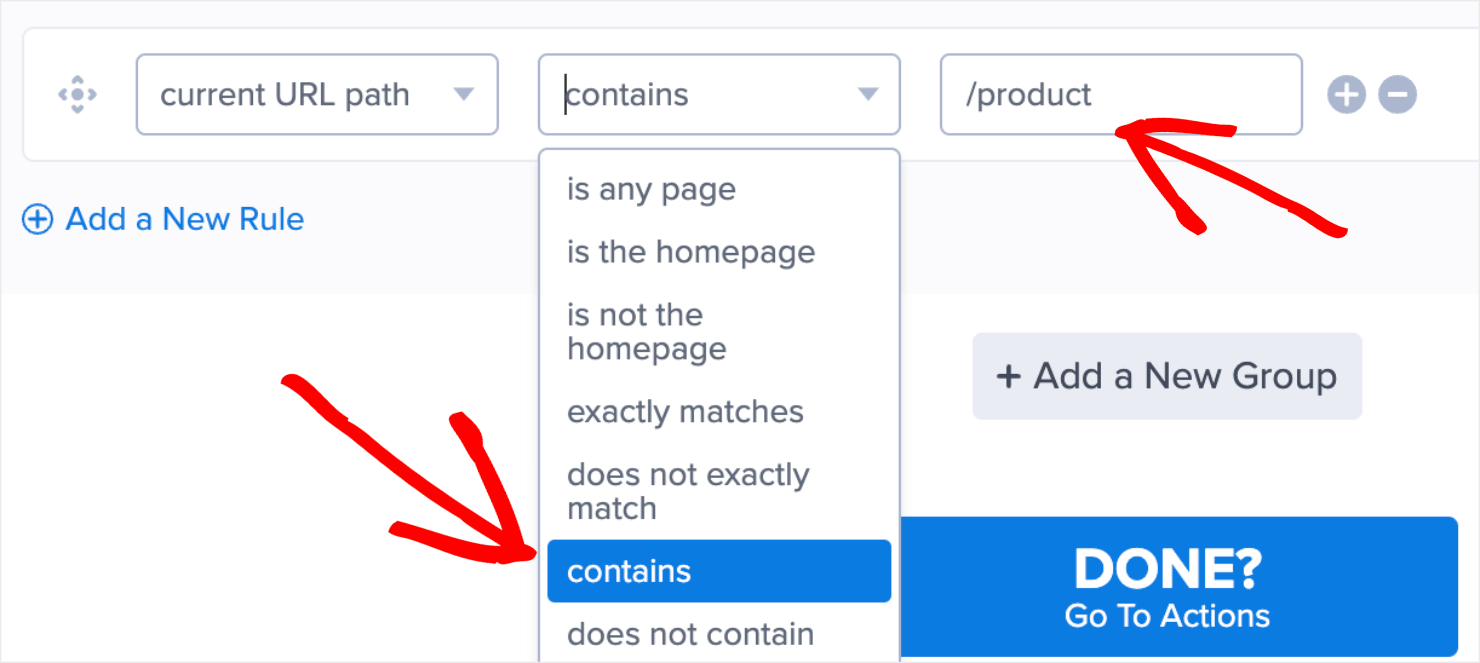
If you have entire sections of your website that need to be restricted, you can change the condition is any page to contains.
Then enter part of the URL slug that you want to include age verification.
If you have an online store that sells brand merchandise, you might have a website structure where each of your product pages includes the URL path www.mysite.com/product. To apply the condition to all your product pages, add the term ‘/product’ in the field next to contains:
Then any URL that contains the term ‘product’ will display your age verification popup.
And now you’re done! Well, almost. Don’t forget to click Save and Publish.
Next time a visitor comes to your website, they’ll see this age verification message on your site as soon as the page loads:
Method 2: Create an Age Verification Checker by Birthdate
You may have noticed that on some websites, the age verification popup asks users to enter their full date of birth:
Some states or regions may require that you do this. If you are wondering how to add this age verification popup to your website, I have just the right technique for you.
Creating this age verification popup in OptinMonster requires you to embed a bit of custom code.
If you’re not familiar with HTML, CSS, or JavaScript, don’t worry. All you need to know is how to copy and paste.
Just like last time, log into your OptinMonster account and create a popup campaign. But this time, choose the Canvas template to start from a blank slate:
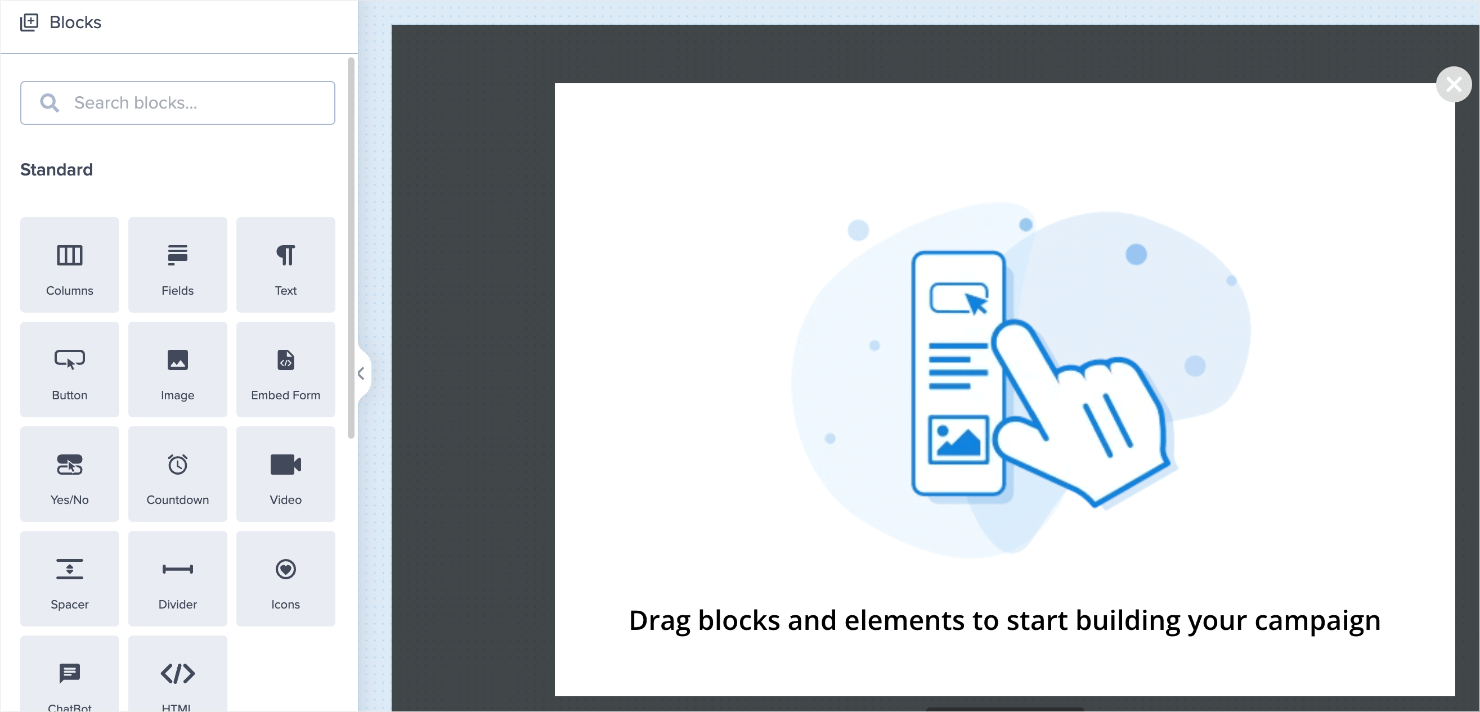
Then name your campaign and assign it to a website. Your editor should look like this when you arrive:
Delete the close button like we did it in the previous tutorial. Click the close icon and toggle the option off to disable it:
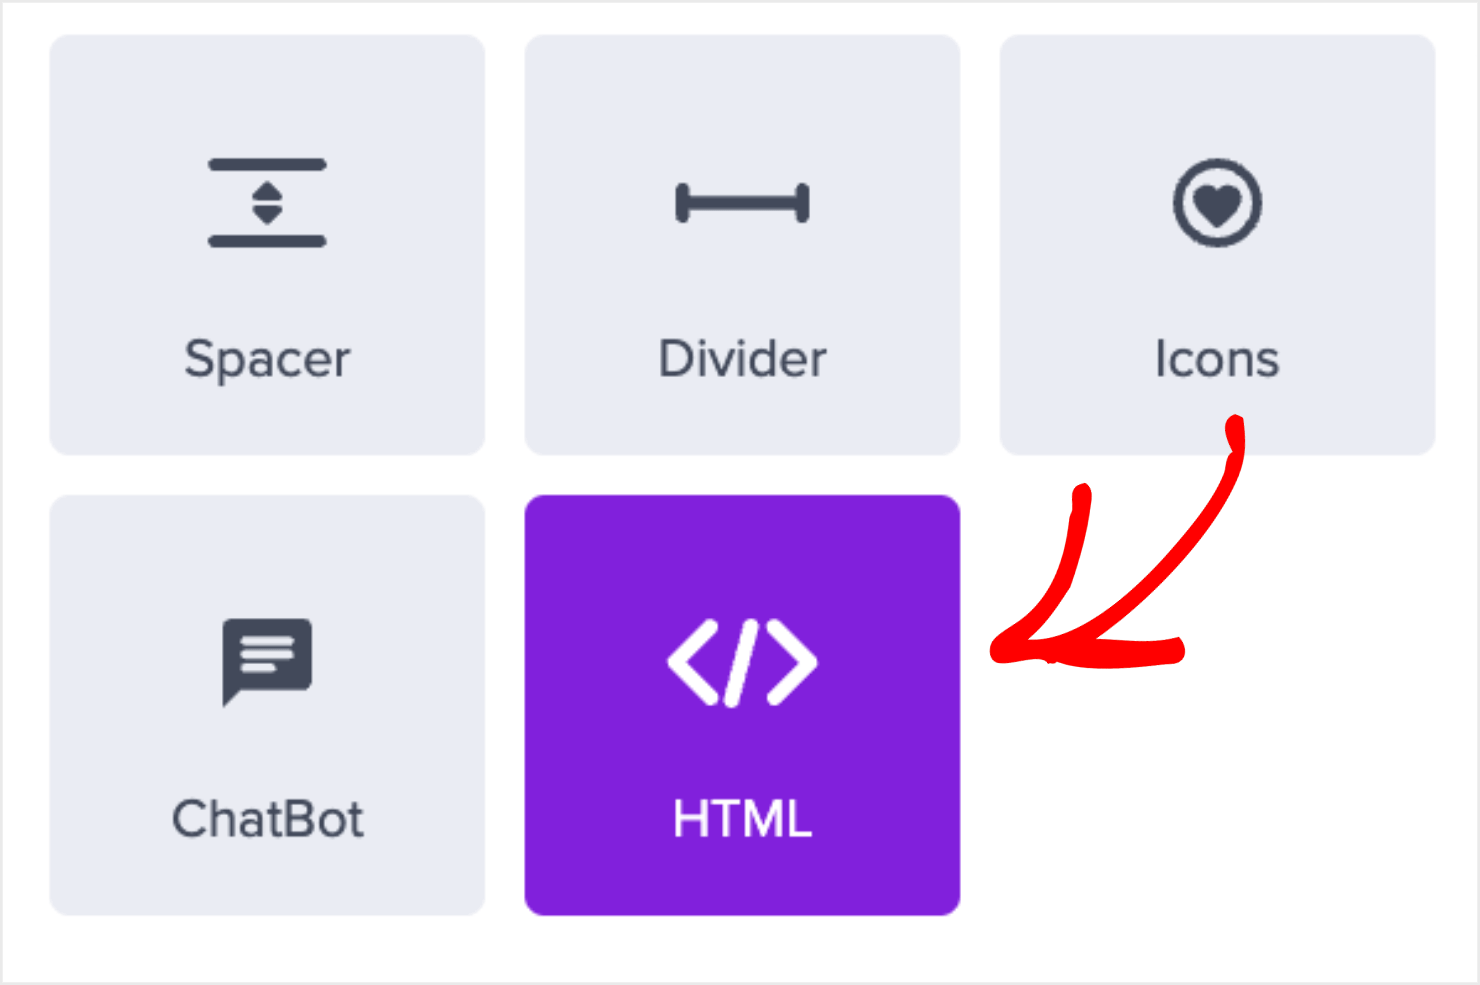
Next, go to the left-hand side menu and click and type ‘HTML’ or scroll down the options to find the HTML block:
Drag and drop this block to your design editor. You’ll see the new block appear on the designer.
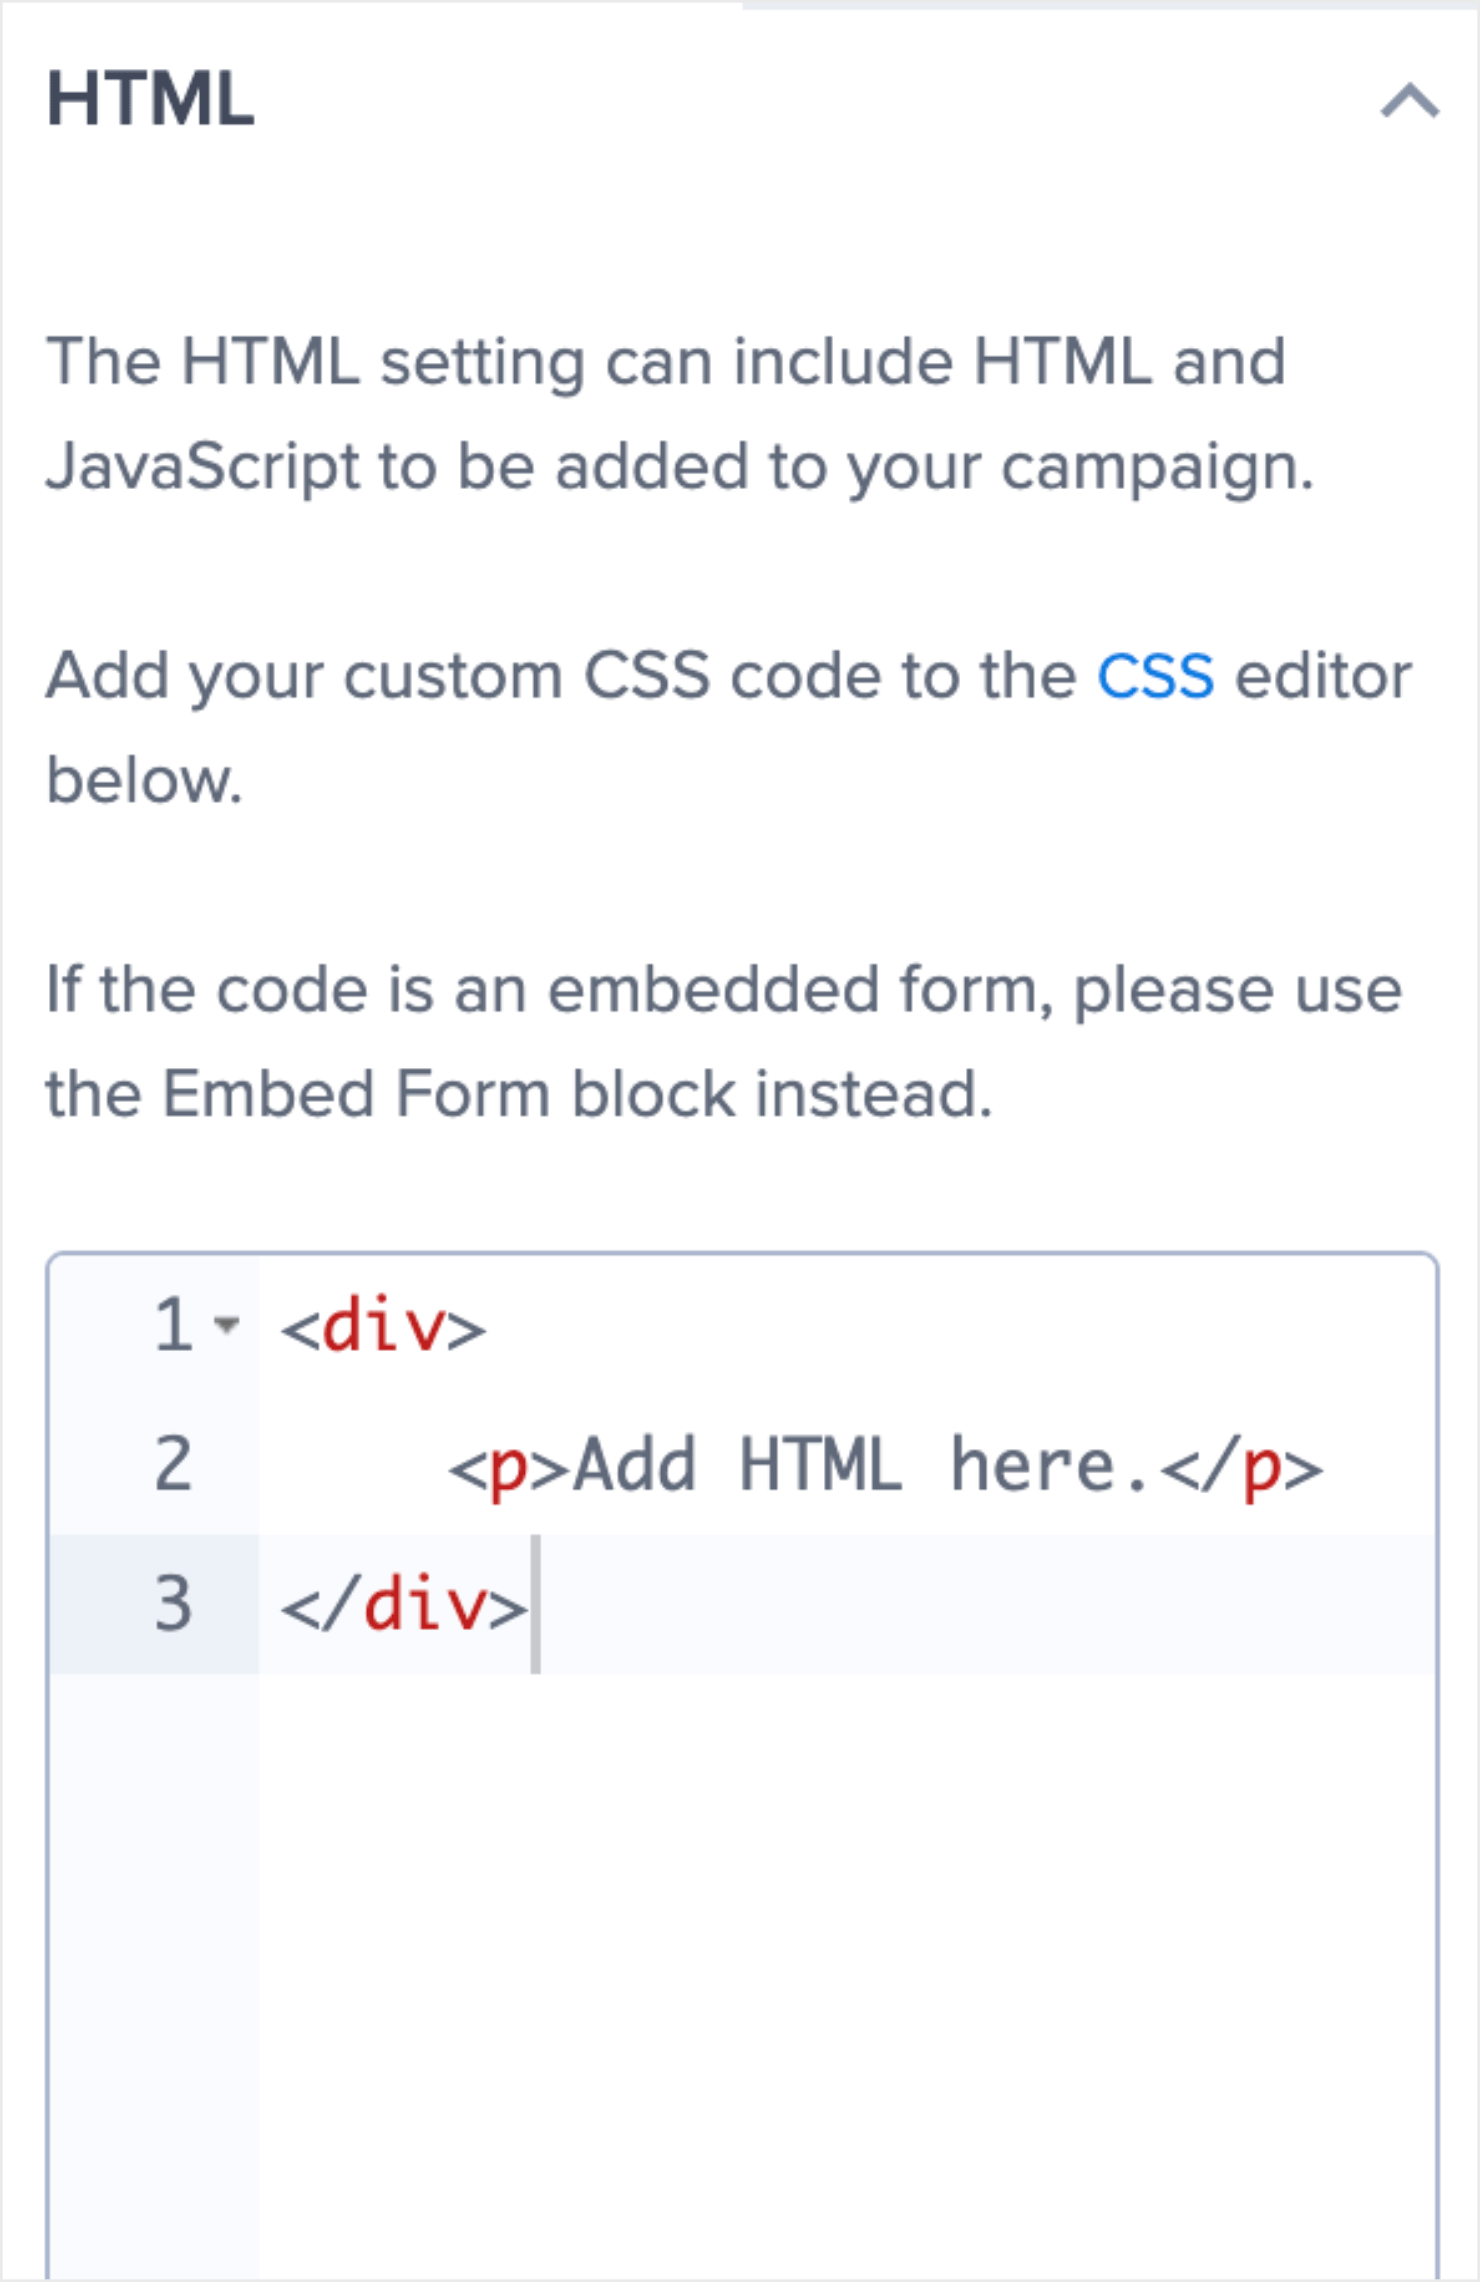
Click on the HTML block in the editor. This will make a code editor appear in the left-hand menu for you to insert a custom HTML script:
Delete the code that’s there by default and paste the following HTML code:
HTML
At this point, your campaign will look a little unfinished. No worries, that’s normal.
CSS
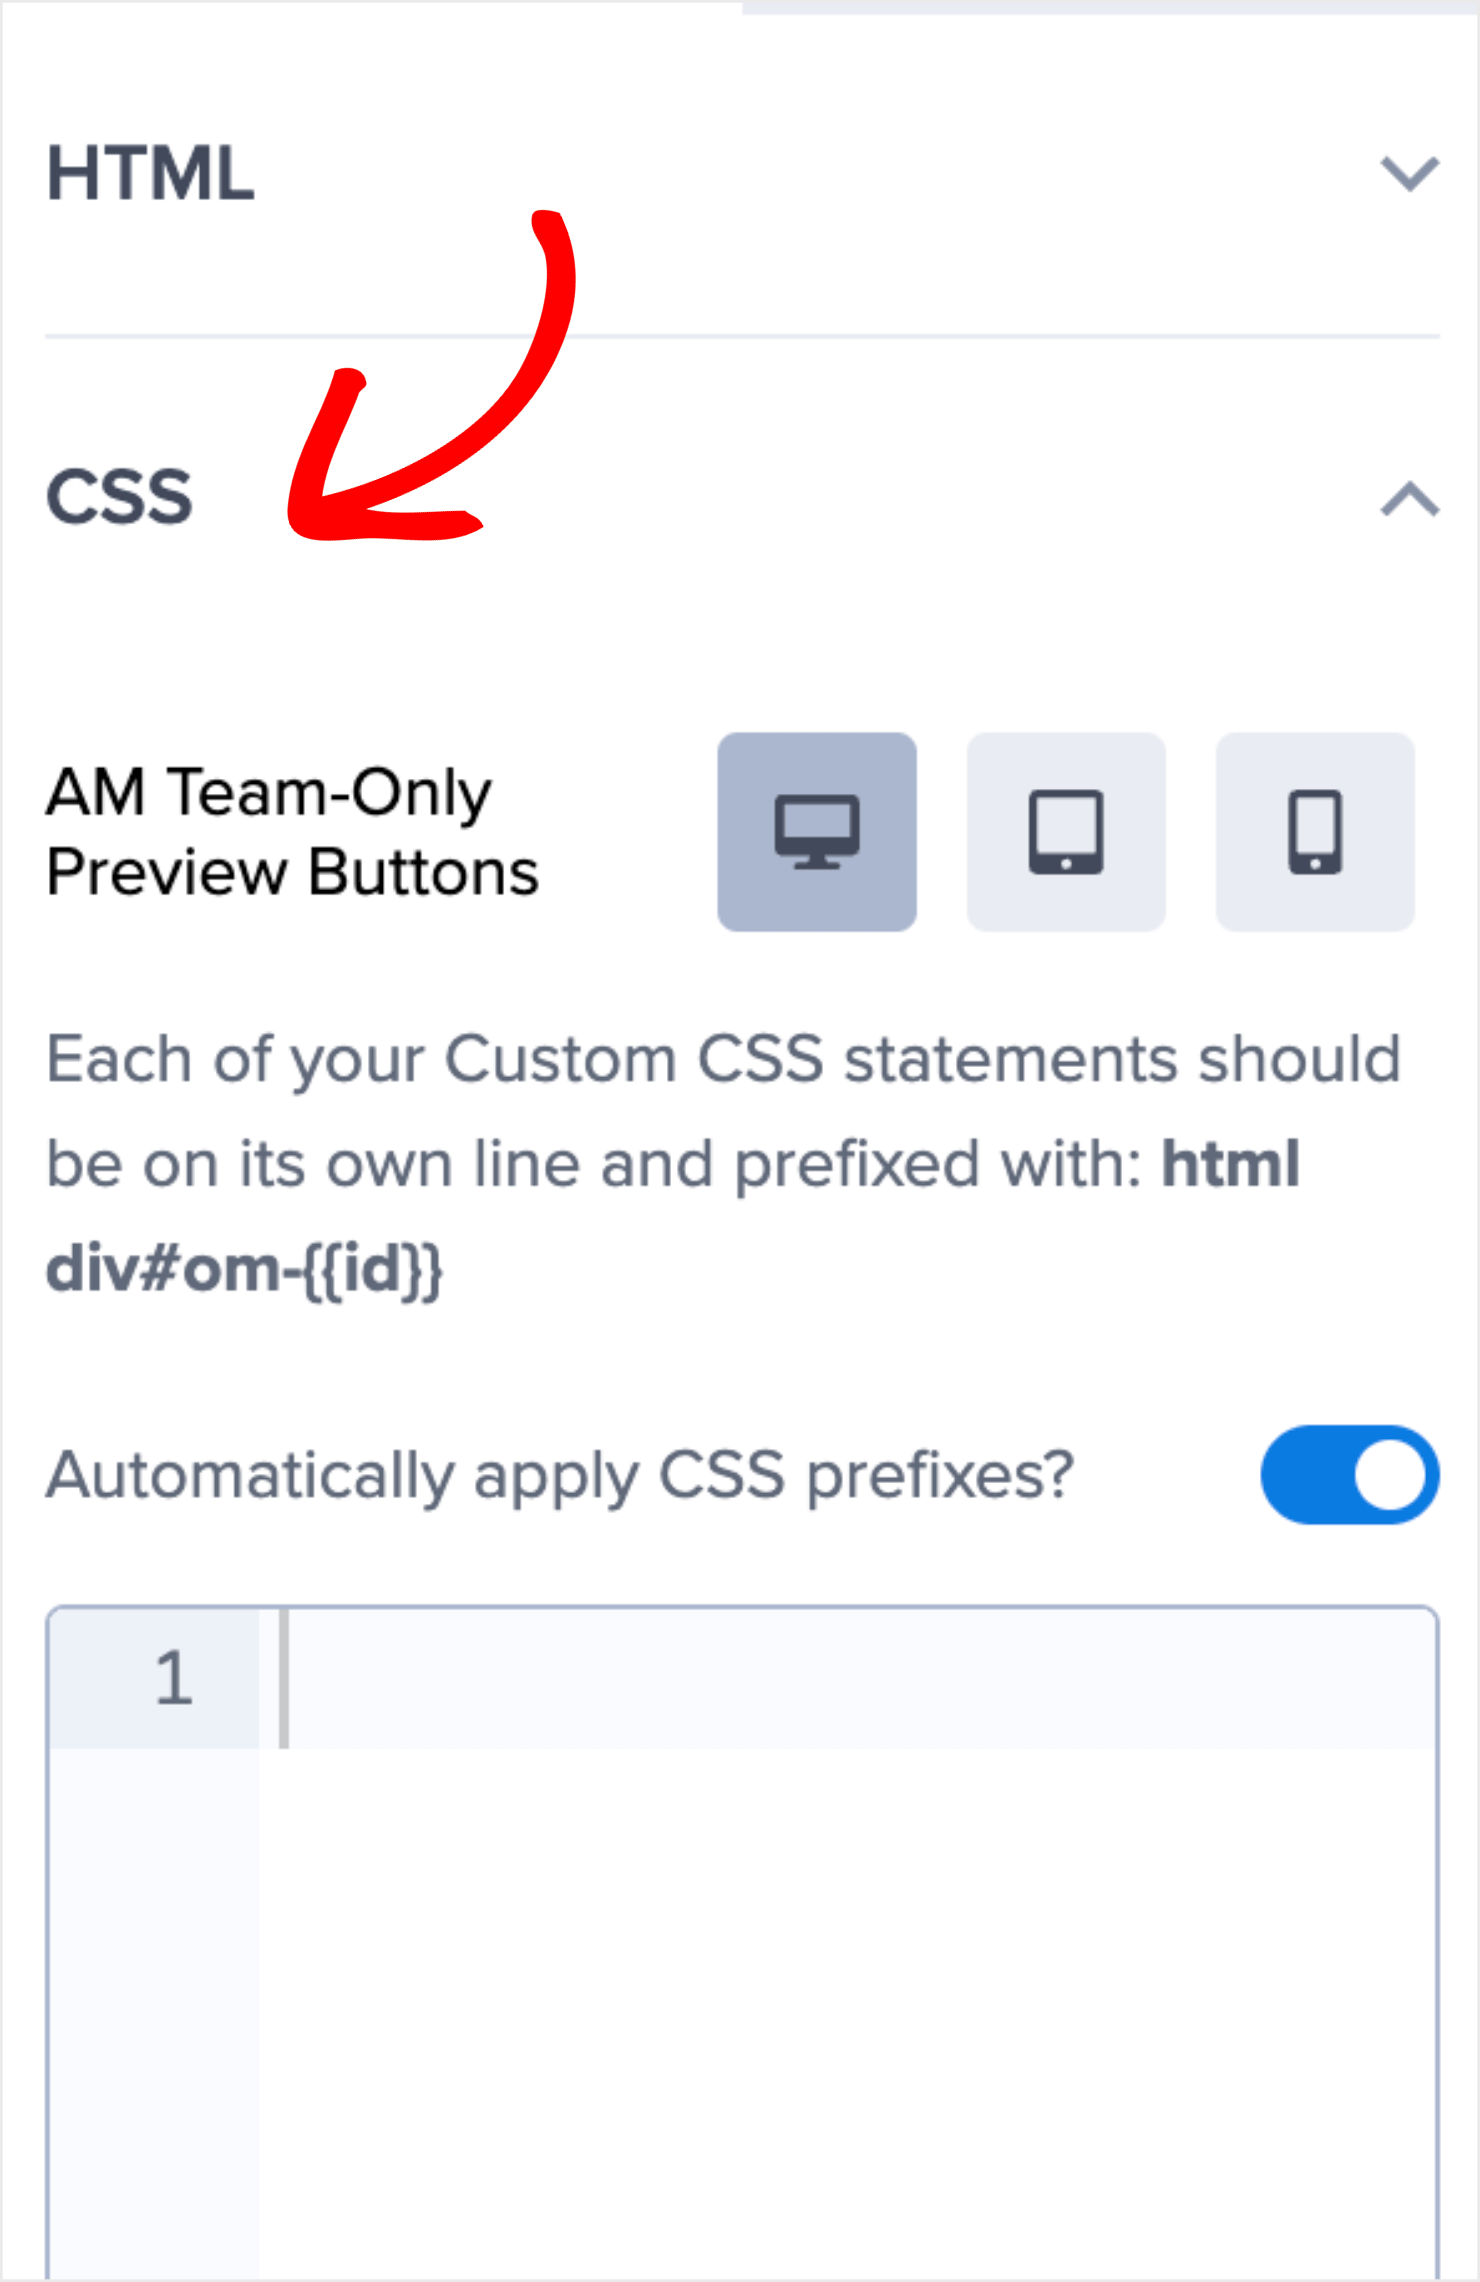
We’ll add the Cascading Style Sheets (CSS) to fix this. CSS codes control how HTML elements will be displayed.
You can find the CSS option right below the HTML option in the left-hand menu:
Copy and paste the code below into that box:
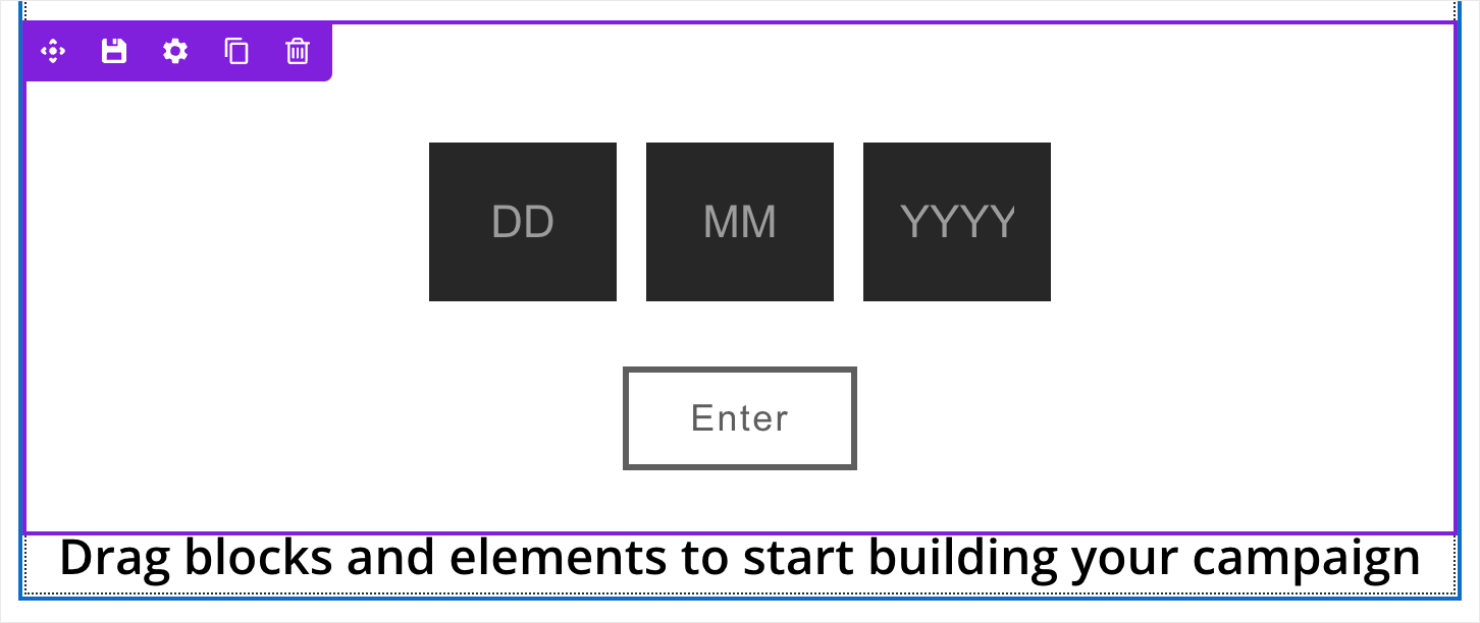
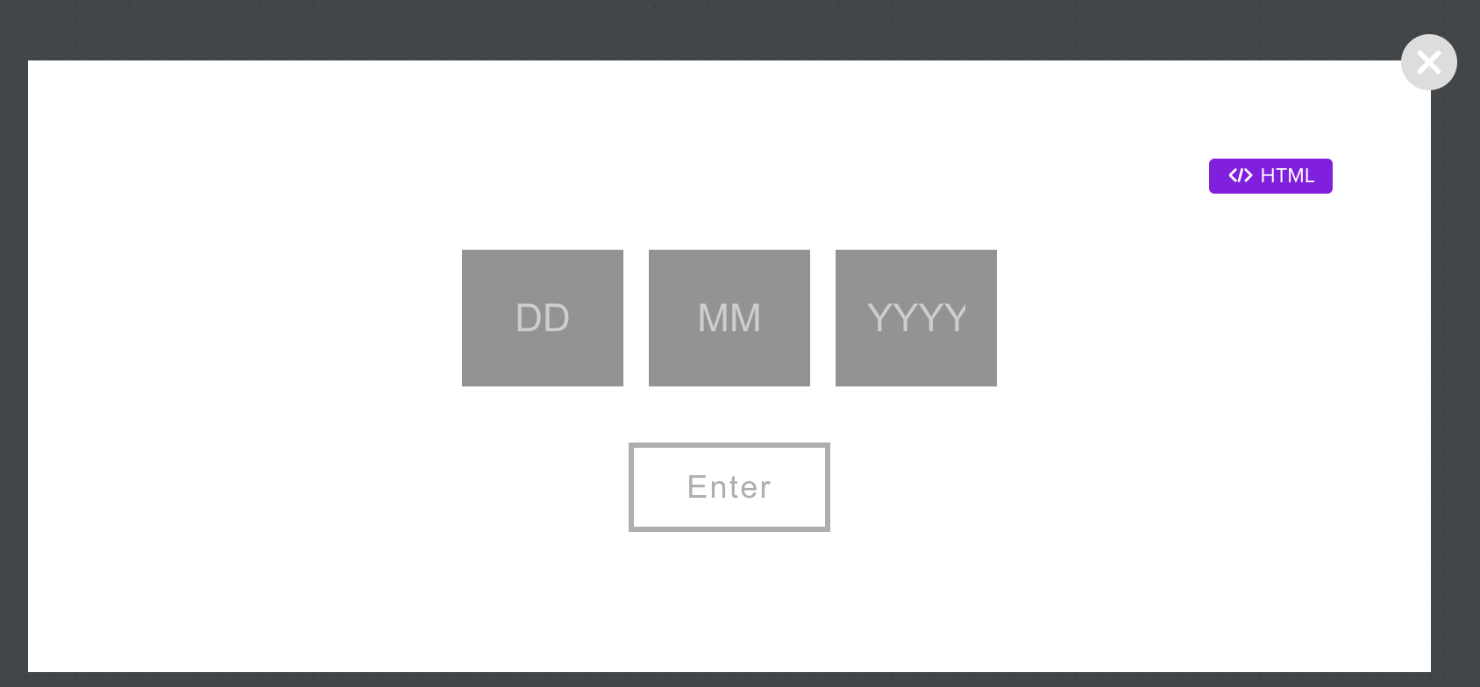
You’ll see that your birthday input fields look way better after you add the CSS script:
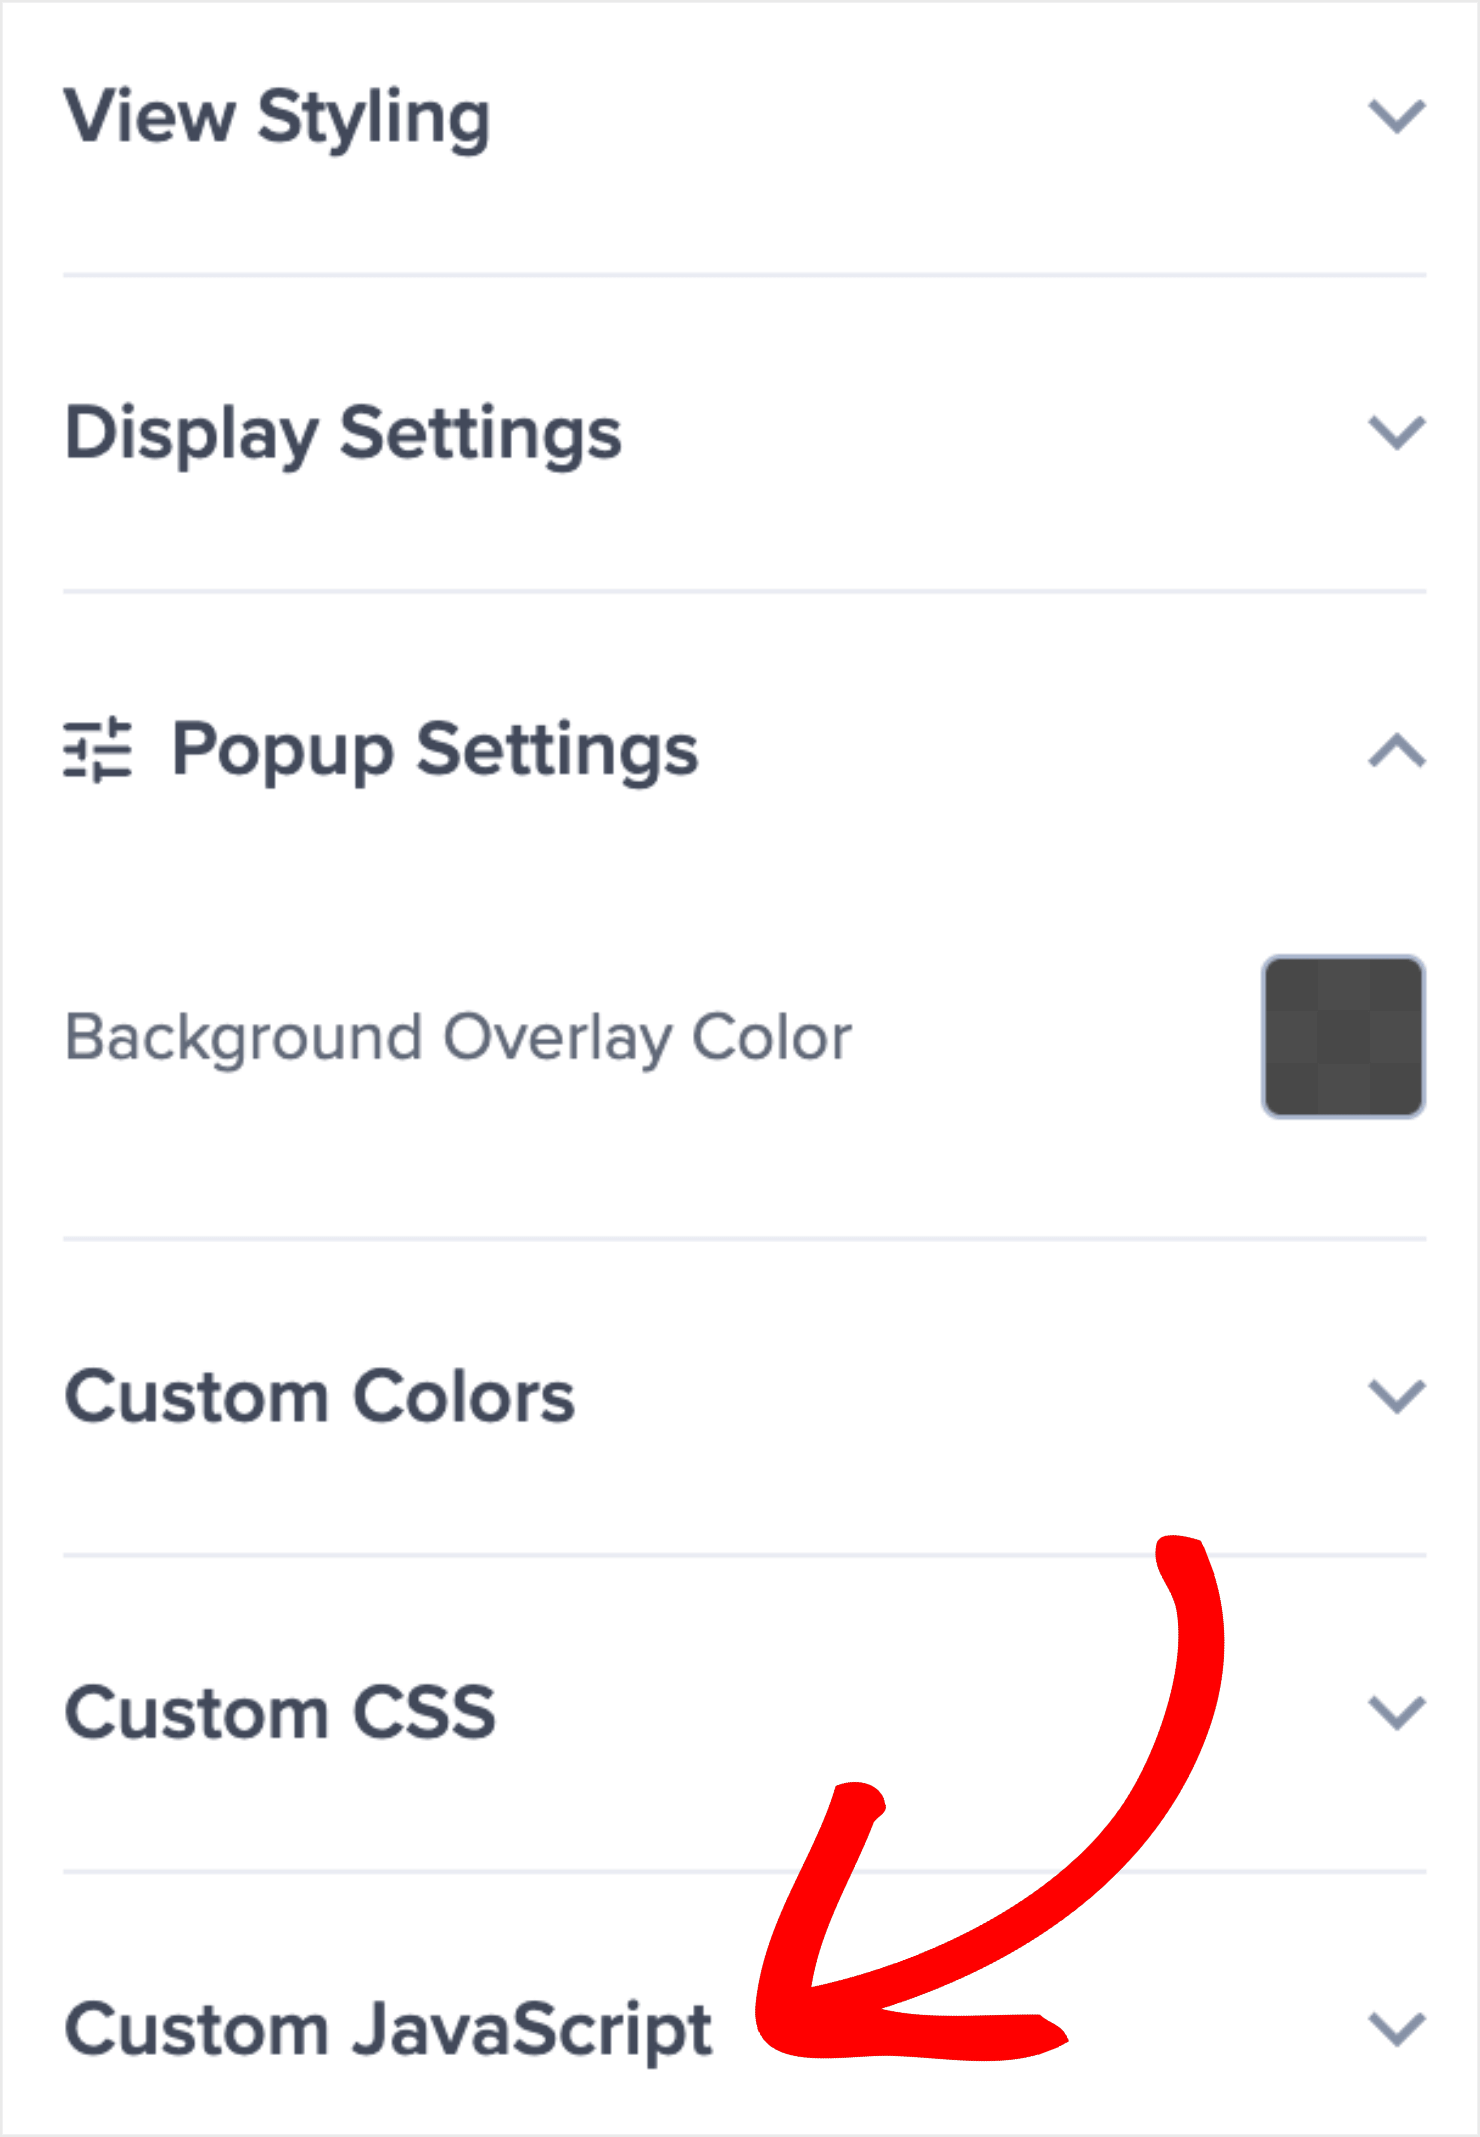
Next, click the dark area outside the design editor to prompt the Settings menu on the left panel. Click on Custom JavaScript at the bottom of the menu to expand the code editor:
Copy and paste the following JavaScript code:
You can change the “21” there to “18” (or any other age) depending on your site’s product, content, and local laws. Doing so will change the popup to allow people who are 18 and older to enter, rather than 21 and older, as it is now.
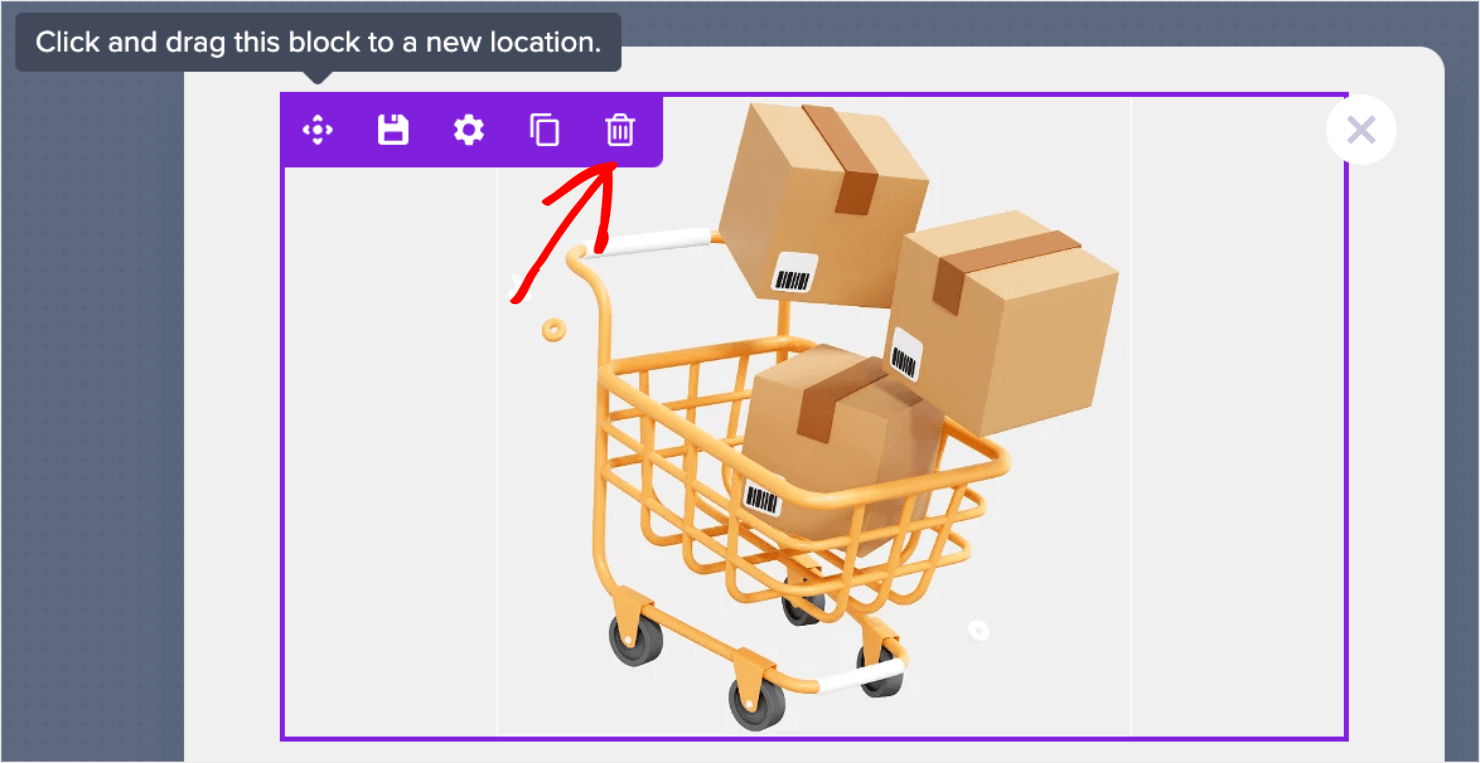
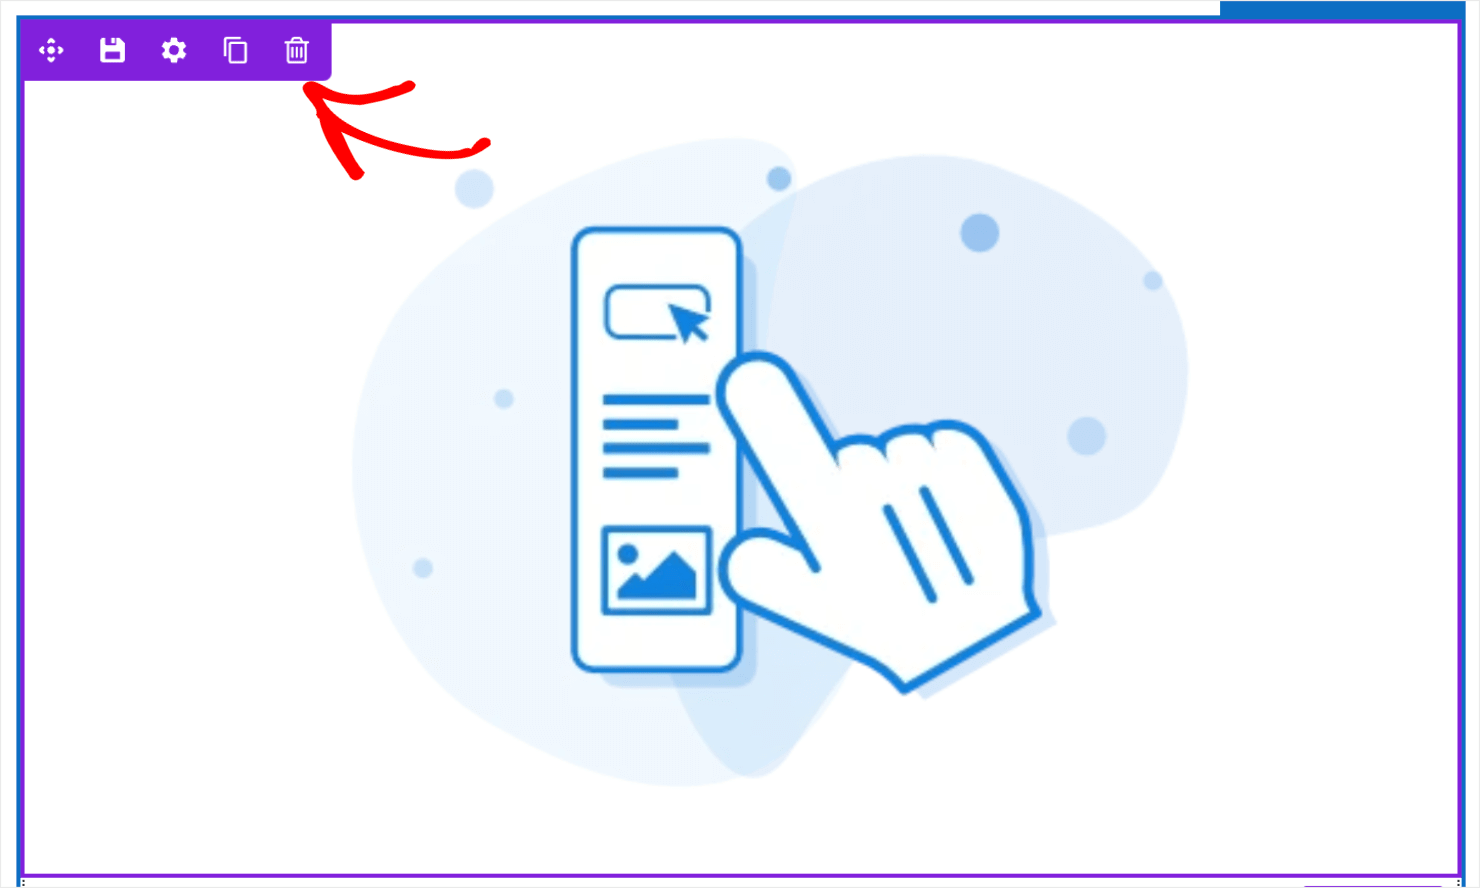
Now you just need to clean up the design to fit your brand. Delete any excess element blocks from your campaign by using the trashcan icon directly in your editor:
Once you’ve cleaned the design, your campaign will still look plain:
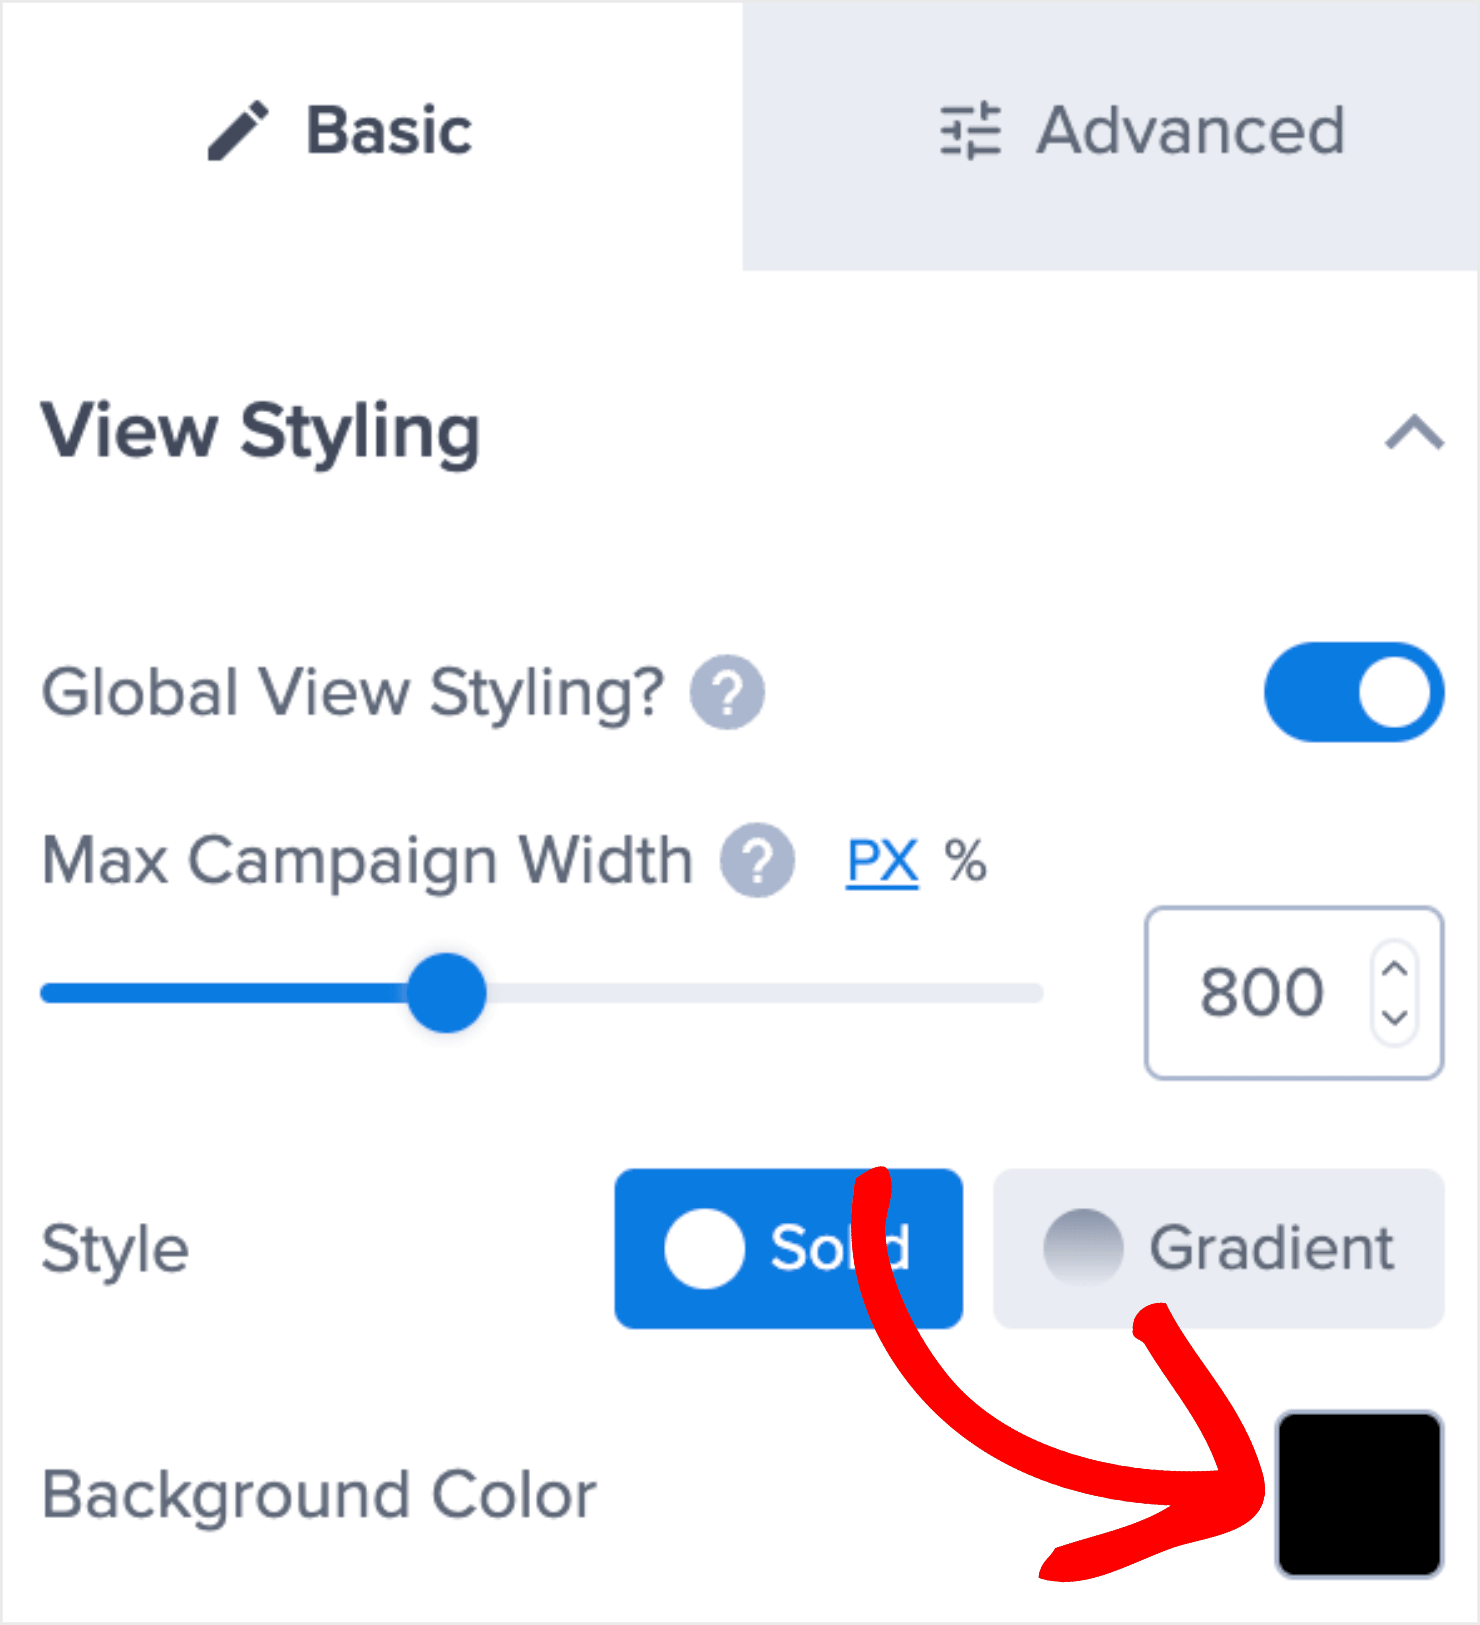
To fix that, change the background color. Click on the background of your campaign to pull up the options to change the background color.
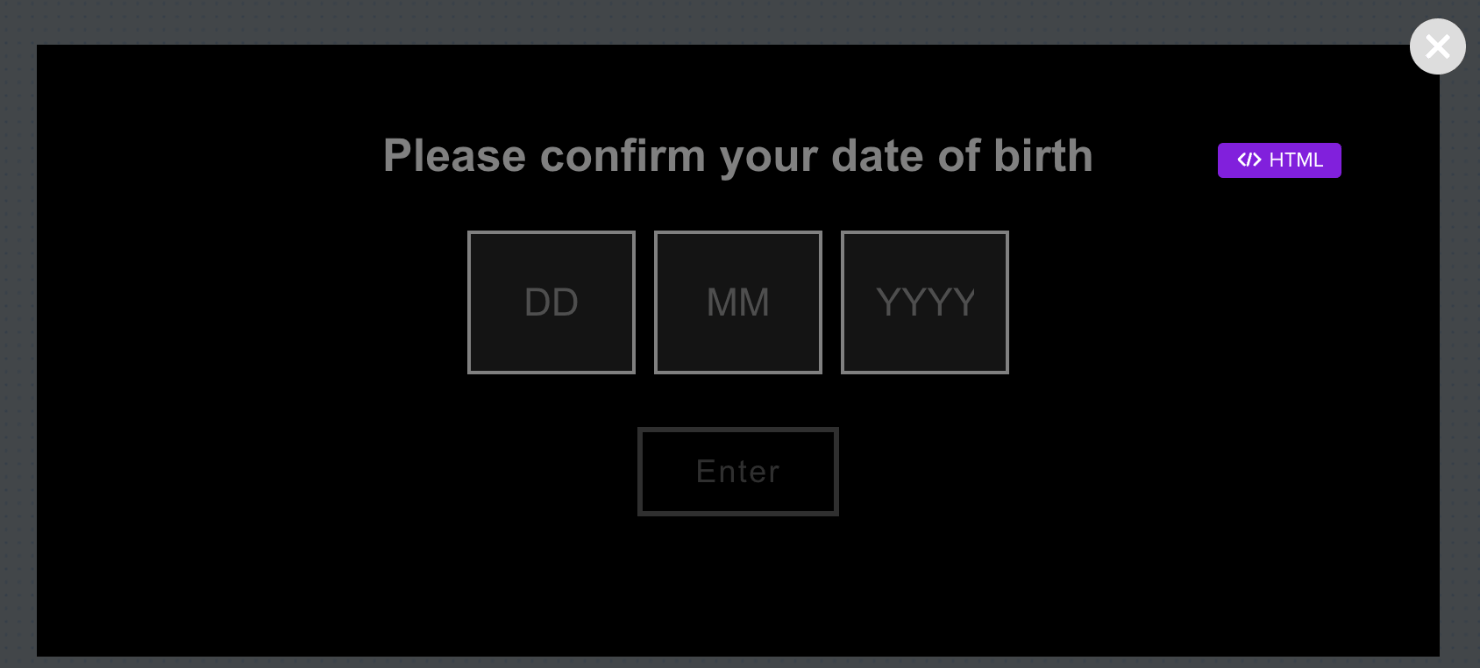
For our tutorial, I’ll enter “000000” to create a black background. That will make the design look like this:
This will also bring out the text Please confirm your date of birth that was not visible earlier because it’s in white.
And voila, you now have an advanced age verification system that allows you to insert your visitor’s date of birth.
Once you publish the popup on your site, visitors who enter an age as 21 or younger will see this message: Sorry! You are not allowed to enter.
Oh, and again, don’t forget to hit Save and Publish.
To make sure the popup appears right away after someone lands on your site, customize your display rules and triggers in the same way we did during the first half of this tutorial.
Other than that, you’re all set.
You can now rest assured that your site’s visitors are all of the appropriate age to view your content.
Ready to Put These Methods Into Practice?
That’s it! You now know exactly how to add age verification to a website without complex coding.
If you have similar other use cases, such as gating a premium piece of content behind a subscription wall, you’ll love the following resources:
- Gated Content: Skyrocket Your Email List & Conversions
- Content Upgrades: How to Use Popular Posts for More Conversions
- How Photowebo Increased Conversions 3806% Using Gated Content
Want to add an age verification popup to your website? Sign up for OptinMonster today, risk-free with our 14-day money-back guarantee, and start growing your business today.












Add a Comment