Do you want to set up an ActiveCampaign WordPress form to collect addresses for your email marketing list??
There are several plugins that make it easy. We’ll show you the 2 best options with their pros and cons.
You’ll also learn how to set up our top pick for the best ActiveCampaign WordPress plugin.
Here’s a table of contents to help you find what you need quickly:
Table of Contents
- Does ActiveCampaign Integrate with WordPress?
- Getting Started With ActiveCampaign
- ActiveCampaign WordPress Form Integrations
- How Do I Add an ActiveCampaign WordPress Form?
Does ActiveCampaign Integrate with WordPress?

Yes, you can use ActiveCampaign on WordPress. There are several ways to do this and we’ll show you how.
ActiveCampaign is a popular email marketing tool. There are also advanced sales and support features that can deliver a complete customer experience solution.
People like ActiveCampaign for the powerful automation and personalization tools. To see if ActiveCampaign is right for you, read our full ActiveCampaign review.
Getting Started With ActiveCampaign
First, you’ll need to sign up for an ActiveCampaign account. They offer a 14-day trial that you can sign up for without a credit card.
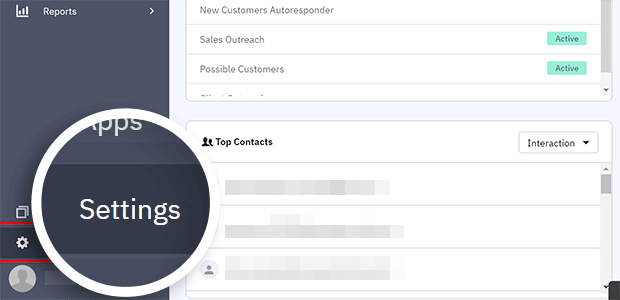
Once you log in to your ActiveCampaign account, click on Settings in the left-hand menu.
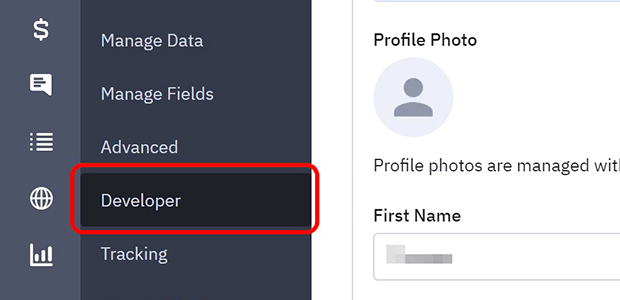
Next, click on Developer in the expanded menu.
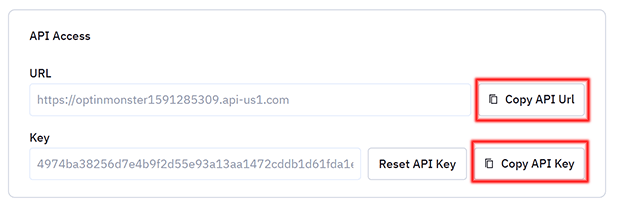
We need the API Url and API Key from ActiveCampaign. Let’s grab those now so we don’t have to log into ActiveCampaign again later.
Open a new text file to use as your digital notepad.
Click on Copy API Url and paste this into your text file.
Next, click on Copy API Key. Paste this into the same text file.
Save your text file where you can find it later. You’ll need it to connect ActiveCampaign to WordPress.
ActiveCampaign WordPress Form Integrations
Once you have your ActiveCampaign acount set up, you’re ready to add an ActiveCampaign WordPress form. You want to add an optin form, which is where a visitor can subscribe to your email list.
There are many different kinds of optin forms. One of the most common is an inline form. Inline forms appear directly in your blog posts or web pages.
Unlike popup or slider optin forms, inline forms cannot be closed. With a tool like OptinMonster, however, you can still target specific users with the form.
The easiest way to add an ActiveCampaign WordPress form is to use a plugin. Here are some options for setting up an ActiveCampaign WordPress form:
1. OptinMonster

OptinMonster is the best plugin for adding an ActiveCampaign WordPress form and growing your email list quickly.
With its unique automatic embedding feature, you can easily insert an inline form on all your posts and pages.
You can also use an OptinMonster widget to put an ActiveCampaign form in your sidebar, footer, or other widgetized area with just one click.
Furthermore, OptinMonster makes it easy to target specific WordPress categories, tags, post types, or product pages.
With features that make it easy to place targeted forms on every part of your site, OptinMonster is our top pick for easily adding an ActiveCampaign WordPress form. If you’re ready, skip to our full tutorial to learn how.
2. ActiveCampaign WordPress Plugin
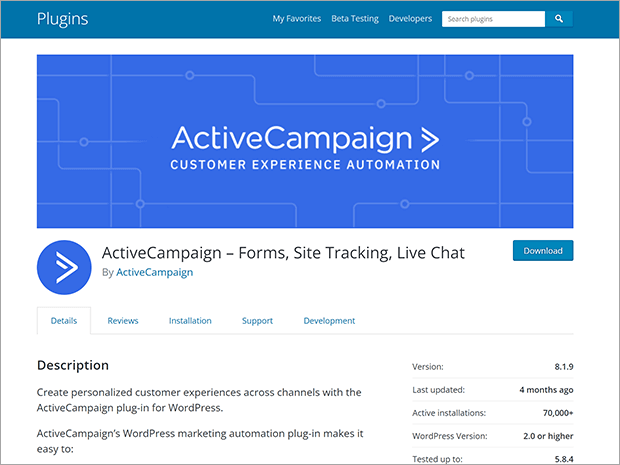
ActiveCampaign does have its own WordPress plugin that you can download for free. However, you are limited to embedding forms created in ActiveCampaign. You will not be able to do any additional custom styling.
The ActiveCampaign plugin also lacks automatic embedding. You can’t target the form based on WordPress tags or categories like you can with OptinMonster.
Furthermore, you will need to upgrade your entire ActiveCampaign plan in order to create other types of optin forms like popups or floating bars.
If you want to supercharge your email list with a variety of optin forms, we recommend a more complete list-building solution like OptinMonster
How Do I Add an ActiveCampaign WordPress Form?
Now that we’ve shown you a few options, we’re going to teach you how to add an ActiveCampaign WordPress form using OptinMonster.
We believe OptinMonster is the best list-building plugin to use with ActiveCampaign. You can also use OptinMonster’s many other features to grow your email list fast.
Setting up an ActiveCampaign WordPress form with OptinMonster takes just 5 easy steps.
Step 1: Install the OptinMonster WordPress Plugin
First, you need to subscribe to an OptinMonster plan and connect your WordPress website. For more details, check out our step by step guide on how to install the OptinMonster WordPress plugin.
You can also use this 2-minute video to guide you:
Step 2: Create an Inline Campaign
Next, you’re going to create an inline campaign in OptinMonster.
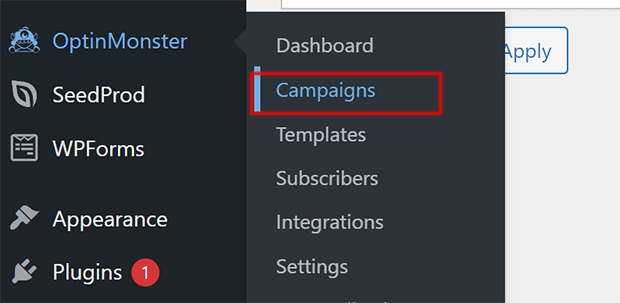
From your WordPress dashboard, click on OptinMonster » Campaigns
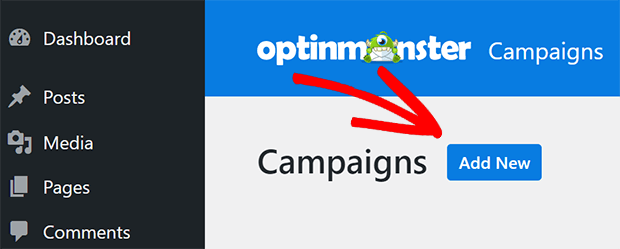
Click on Add New.
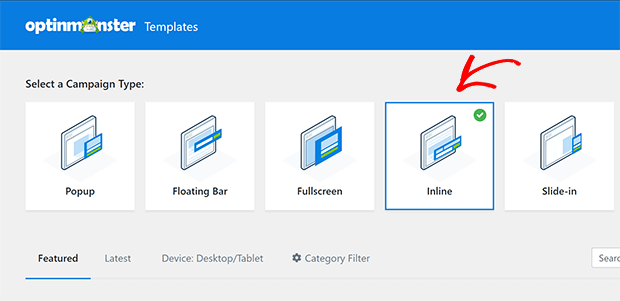
Click on Inline.
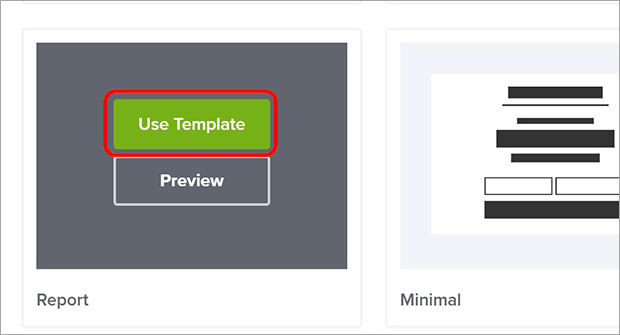
Find a template that you like. We are using the Report template today. Click on Use Template.
Give your form a name. This will not be visible to website visitors, but you will need it to add the inline form to WordPress.
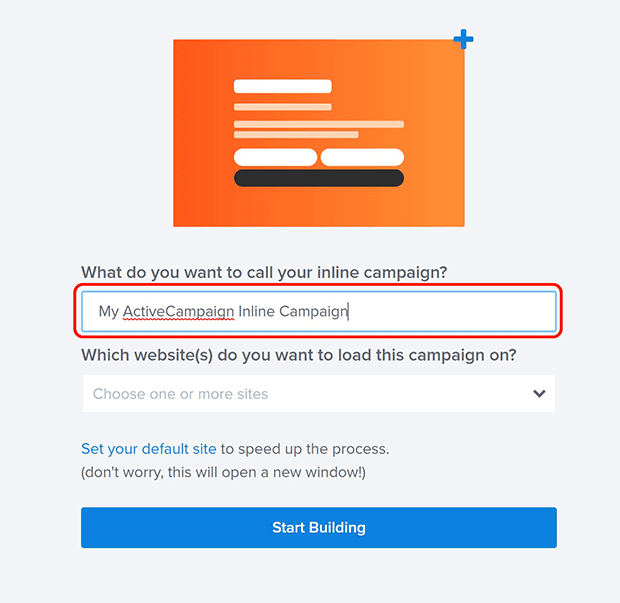
Click on the dropdown menu to choose a website to load your inline campaign on.
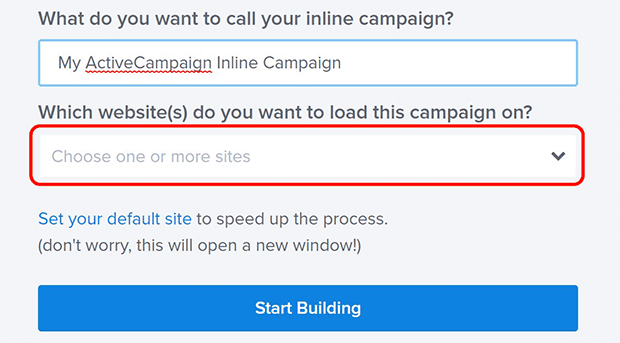
Click on Start Building.
Step 3: Customize Your Inline Form.
Edit the headline, text, and design of your form as needed. You can learn more about how to edit your form template by reading the Builder Overview.
You can also watch this video on how to create a custom design with OptinMonster. All the customization options mentioned in this video are available on any OptinMonster template.
We wanted to mention 3 features unique to OptinMonster’s inline forms: Smart Success, Content Lock, and Attention Activation.
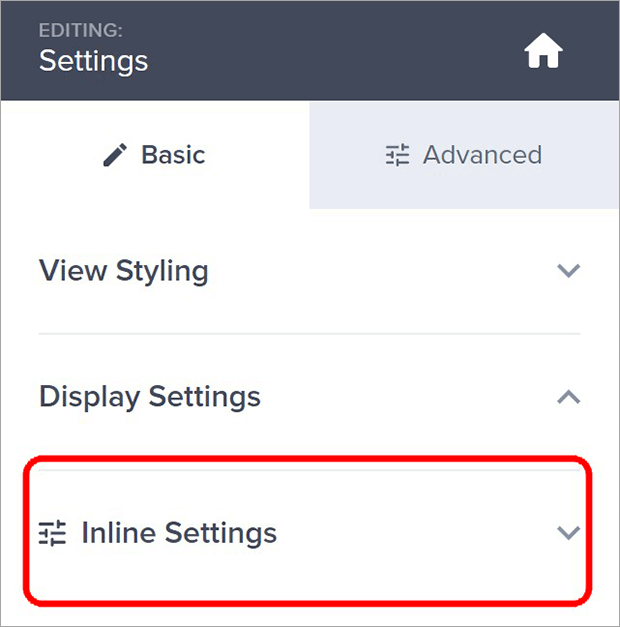
To access these features, click on the Settings icon in the footer bar.

Click on Inline Settings.
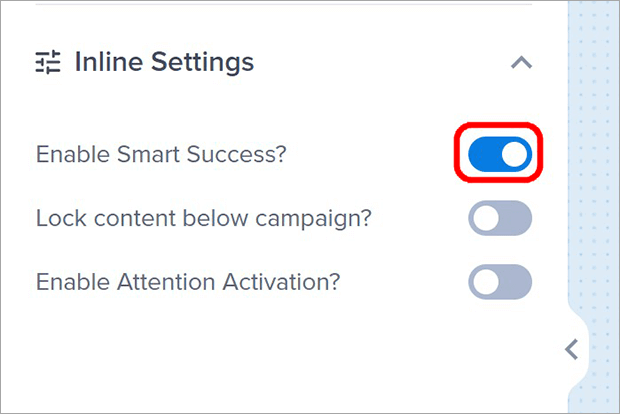
Smart Success
The Smart Success feature replaces your inline form with a message or special content for visitors who have already opted in. That way, they won’t see an invitation to sign up for a list they’re already on. It’s a simple but effective way to acknowledge return visitors.
Click on the toggle switch to Enable Smart Success.
Click on Success in the Footer Bar to access the Success View.
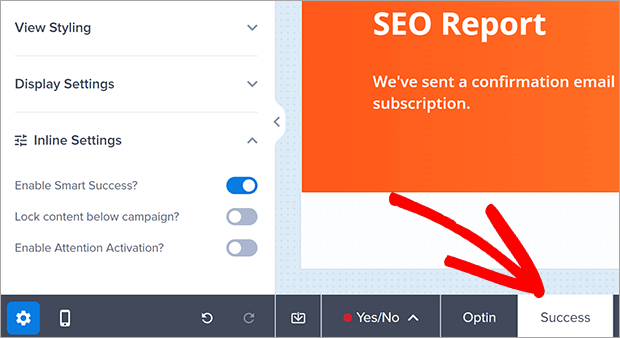
Edit the message you want to show to converted users.
Click on Save in the header bar.
Content Lock
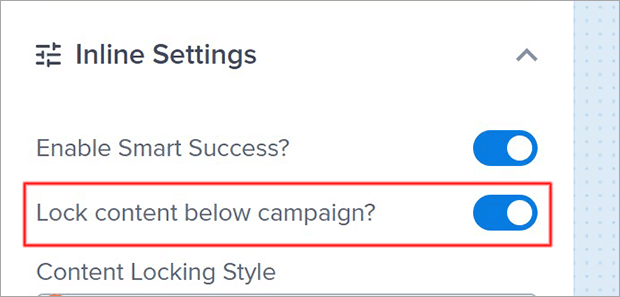
The Content Lock feature hides content below the inline form until a user opts in with their email address. This is a great way to turn any blog post into a lead magnet.
Click on the toggle switch to Lock content below campaign.
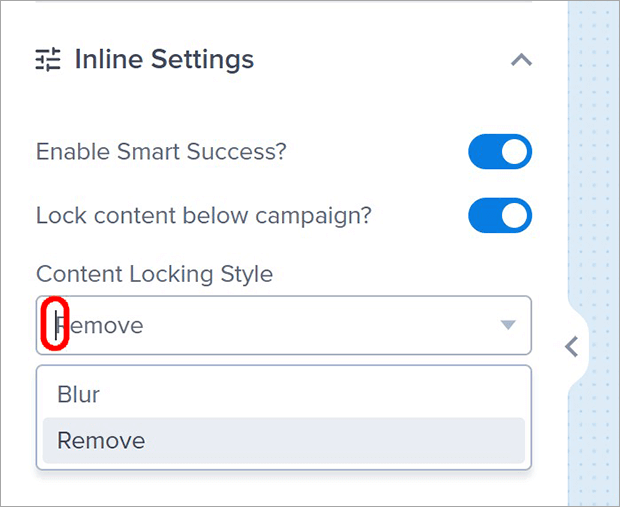
Choose whether you want to Blur or Remove the locked content.
Click on Save in the header bar.
Attention Activation
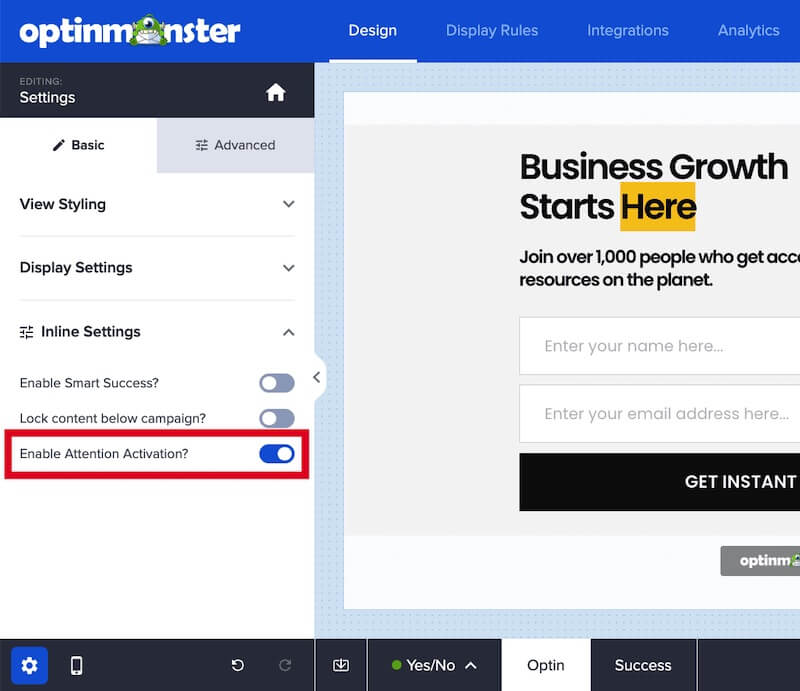
The Attention Activation feature is unique to OptinMonster’s inline campaigns. When a visitor scrolls to an inline campaign with Attention Activation enabled, the rest of the page will fade to gray.
This grabs the reader’s attention without disrupting the reading experience. As the reader continues scrolling, the page returns to normal.
Click on the toggle switch to Enable Attention Activation.
Click on Save in the header bar.
Step 4: Integrate With ActiveCampaign
We are almost done! Next, we are going to integrate ActiveCampaign with OptinMonster.
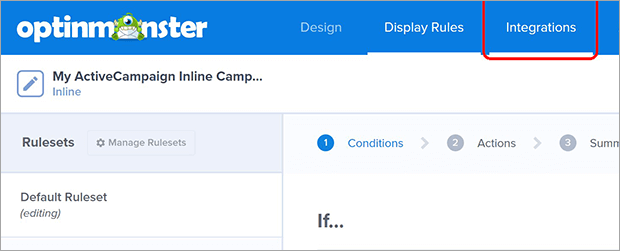
Click on Integrations in the header bar.
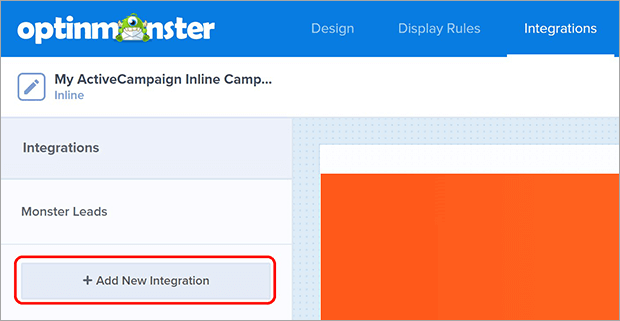
Click on Add New Integration.
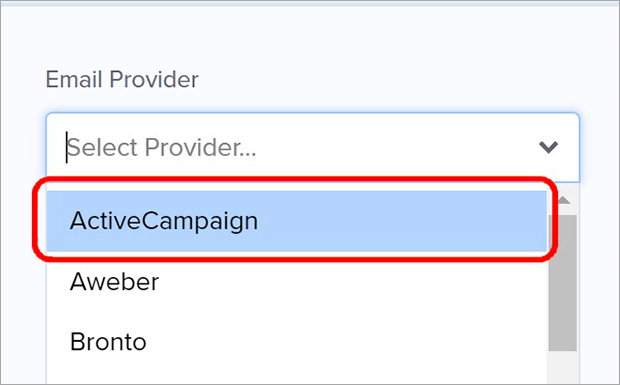
Click on Email Provider…
Type to search or scroll until you see ActiveCampaign.
Click on ActiveCampaign.
Click on ActiveCampaign Account Label.
Type in a name for your ActiveCampaign account. This will not be visible to your website visitors.
Open your text file you created earlier that has your ActiveCampaign API URL and API Key.
Copy the API URL from the text file and paste it into the API URL field in OptinMonster.

Copy the API Key from the text file and paste it into the API Key field in OptinMonster.
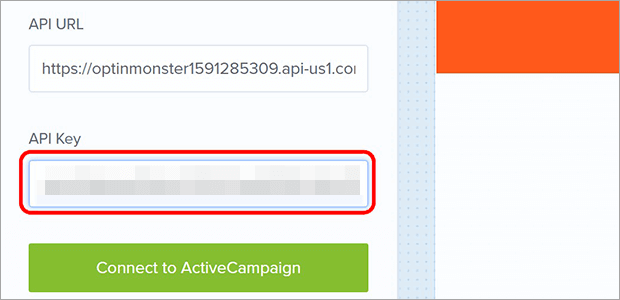
Click on Connect to ActiveCampaign.
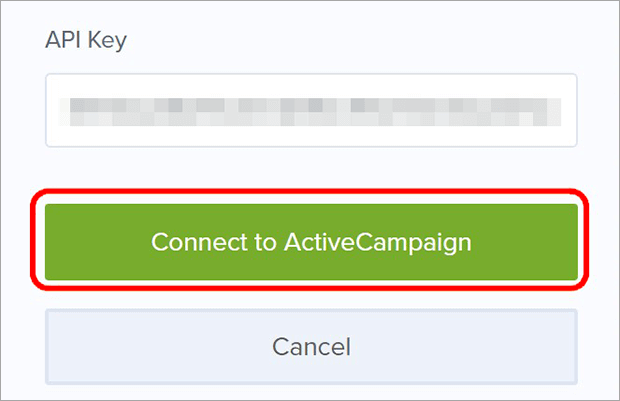
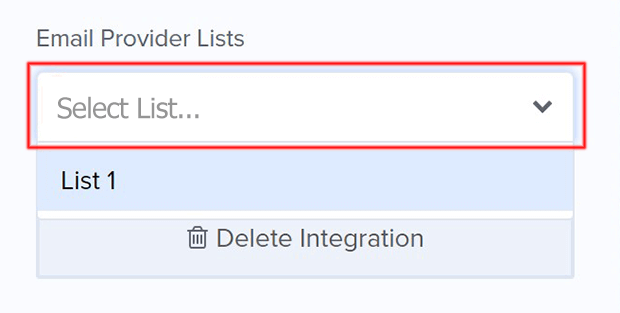
Click on Email Provider Lists… and select the list you want subscribers from this form to be added to.
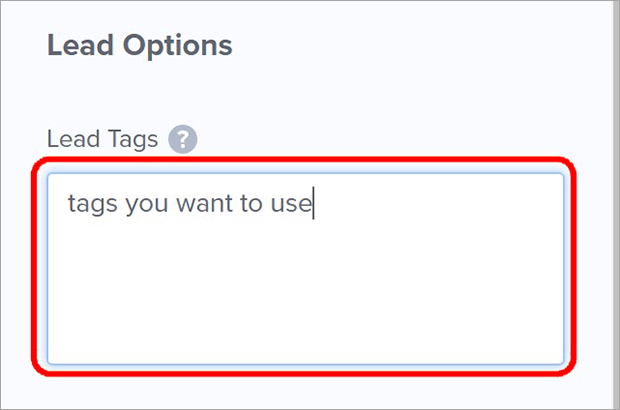
Optionally, you can add tags to subscribers from this form. Type any tags you want to add into the Lead Tags field.
Click on Assigned Form… and select a form your want subscribers from this form to be assigned to. This will enable any automations and double opt-ins you’ve set up in ActiveCampaign.
Click on Use Event Tracking if you want to use ActiveCampaign’s Event Tracking APIs.
You will not need to click on Add Spin-a-Wheel Support for inline forms. This is only relevant for OptinMonster’s spin-to-win campaigns.
Click Save.
Step 5: Publish Your ActiveCampaign WordPress Form
Click on Publish in the header bar.

Set the Publish Status to Publish.

Make sure the website you want your form on is added under Websites. If not, click Select or add a website and follow the instructions.

Go back to your WordPress dashboard and click on Posts » All Posts.
Find the post you want to add your inline form to.
Click Edit.
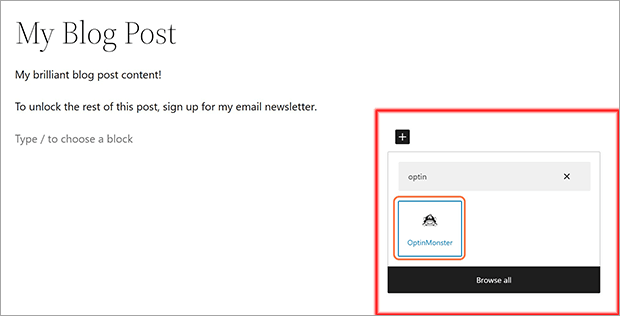
Find the part of the content where you want to add the inline form.
Click on Add block.
Search for OptinMonster and click on the OptinMonster icon.
Select the campaign you just created from the dropdown menu.
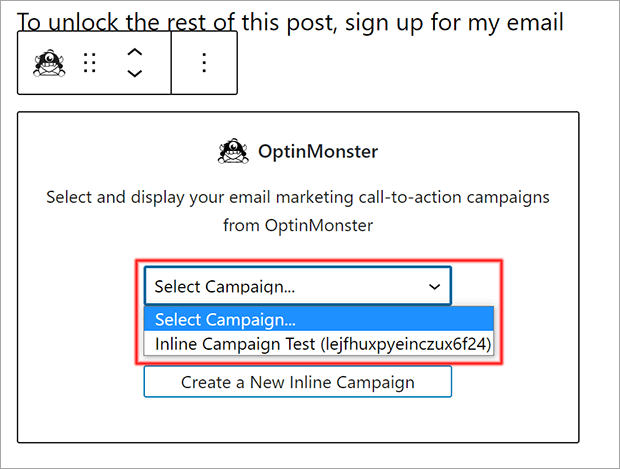
You can also create a new popup or inline campaign directly from inside your post.
Your inline campaign will appear as a block in your post.

Congratulations! Now you know how to add an ActiveCampaign WordPress form to your website in a few simple steps.
If you’re interested in growing your mailing list even more, check out these resources:
- How to Add an ActiveCampaign Popup
- 40 Exit-Intent Popup Strategies
- Email Popups That Convert: 23 Examples & Best Practices
What are you waiting for? Get started with OptinMonster today!





Add a Comment