Do you want to enable “Buy Now Pay Later” feature on your site?
Buy Now Pay Later is a type of short-term financing that allows customers to buy products and pay for them in the future.
In this article, you’ll learn how to add a “buy now pay later” payment to your WordPress website.
Adding “Buy Now Pay Later” in WordPress
The easiest way to add a buy now pay later payment method is using the WP Simple Pay plugin.
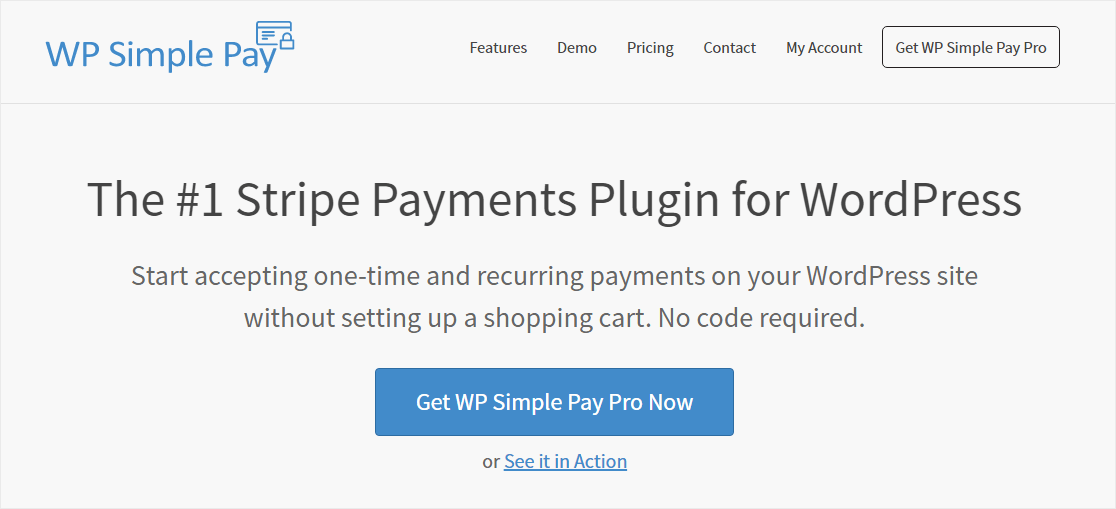
WP Simple Pay is the best Stripe payment plugin for WordPress users. It helps you create simple payment forms without having to deal with complicated payment APIs.
With WP Simple pay, you can accept one-time and recurring payments from credit and debit cards, digital wallets, and ACH payments on your website. It integrates with apps like Klarna and AfterPay, allowing you to accept buy now pay later payments.
Both Klarna and Afterpay/Clearpay work in limited number of countries, so choose the right one based on where you wish to sell your products.
With that being said, let’s start creating a buy now pay later payment form with WP Simple Pay.
Step 1: Install the WP Simple Pay Plugin
The first step is to install the WP Simple Pay plugin on your website.
Visit the WP Simple Pay plugin website and click on the Get WP Simple Pay button. This will open up the pricing page.
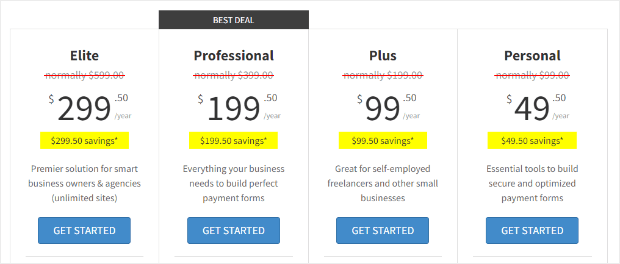
The Buy Now, Pay Later payment mode is available in either Professional and Elite pricing plans.
Next, complete the payment process and login into your account. Look for the Downloads section and click on the Download WP Simple Pay Pro link.
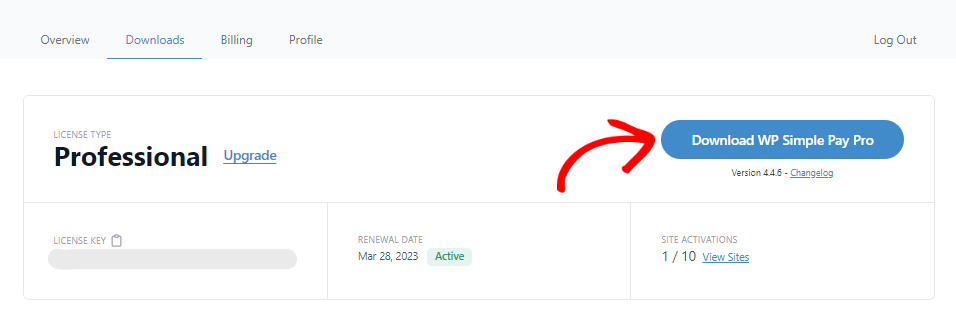
Now you’re ready to install and activate the plugin on your website. If you’re installing a plugin for the first time, you can refer to our detailed guide on installing a WordPress plugin.
Once the plugin is activated, you’ll see a setup wizard.
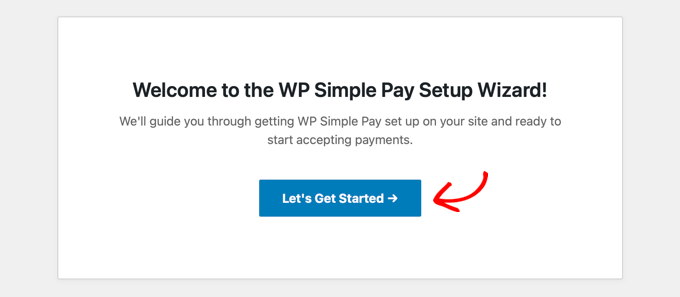
Click on the Let’s Get Started button.
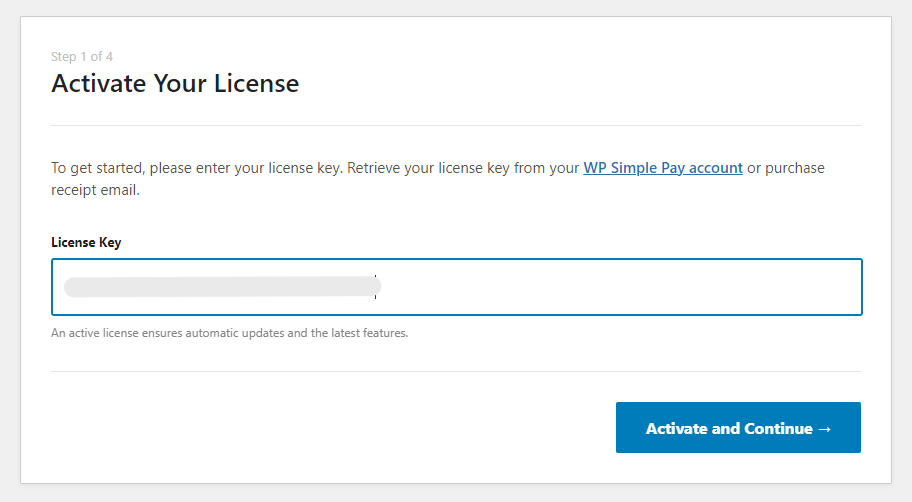
The first step is to activate your plugin license. Enter the license key and click on Activate and Continue.
Next, click the Connect with Stripe button to continue.
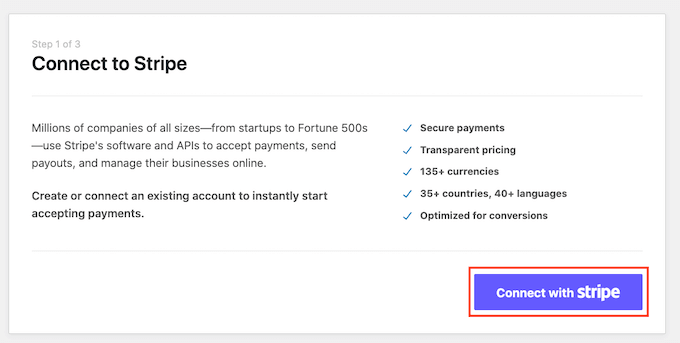
Here you need to login into your Stripe account and follow the instructions to connect WP Simple Pay to the Stripe payment gateway.
Once you complete the connection, you can enter your email address and enable the options for receiving email notifications for payment receipts, customer invoices, and other account-related notifications.
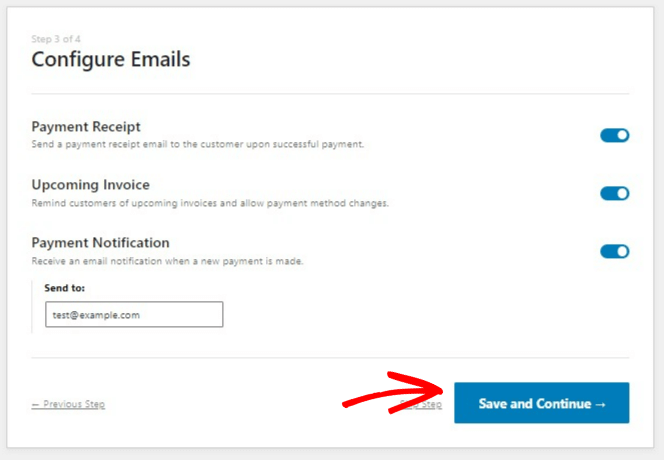
Click on Save and Continue.
This brings us to the last step of the WP Simple Pay setup wizard.
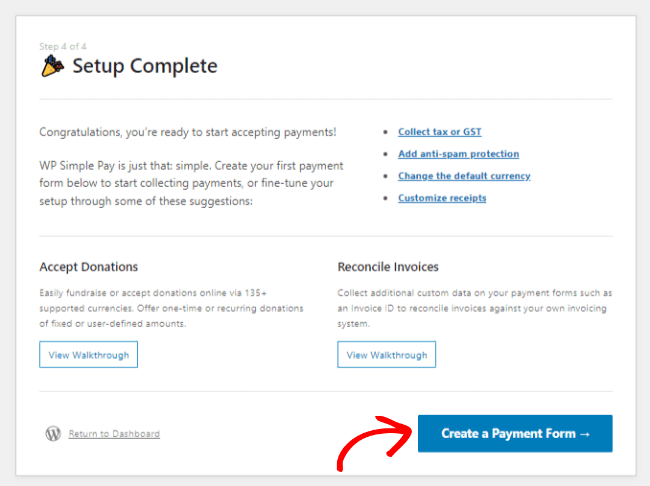
Go ahead and click on Create a Payment Form button.
Now you’re ready to create your payment form.
Step 2: Create a Buy Now Pay Later Payment Form
To create your first buy now pay later payment form, navigate to WP Simple Pay » Add New.
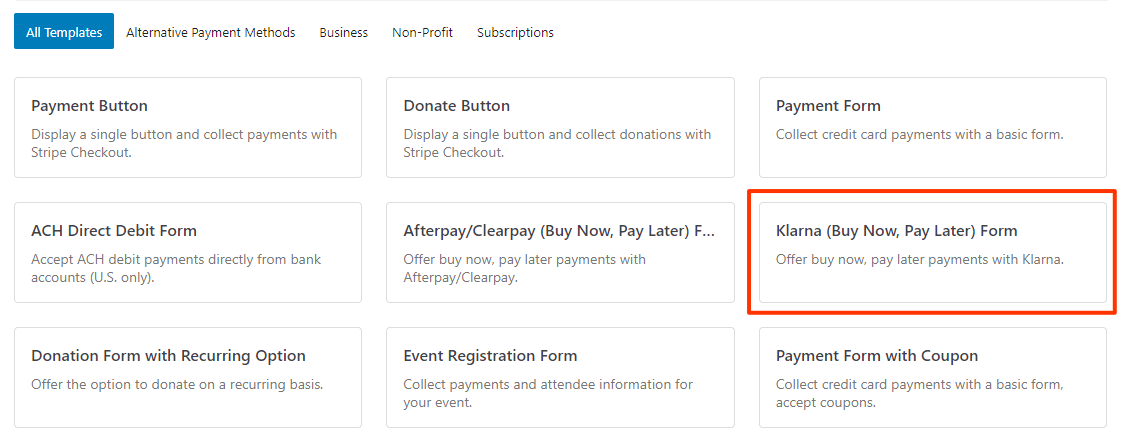
Select the Klarna (Buy Now, Pay Later) Form template.
Go ahead and open the Payment tab.
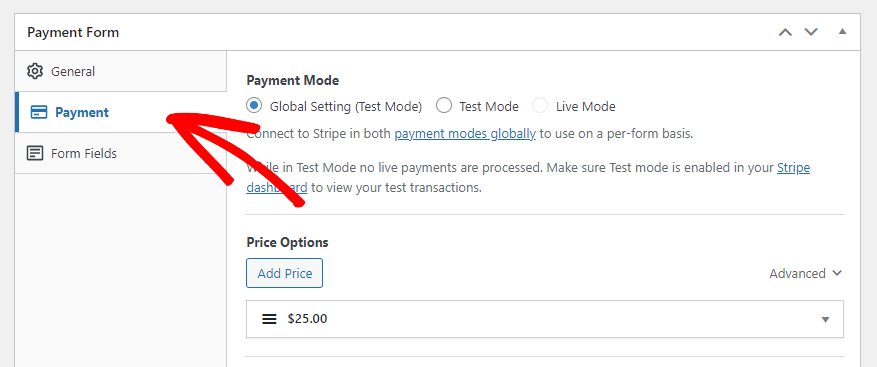
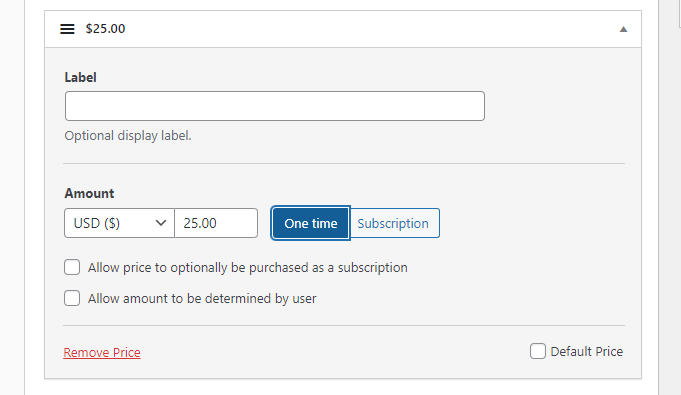
The Payment tab allows you to set the predefined amount, set the label, and select between one-time or subscription payment options.
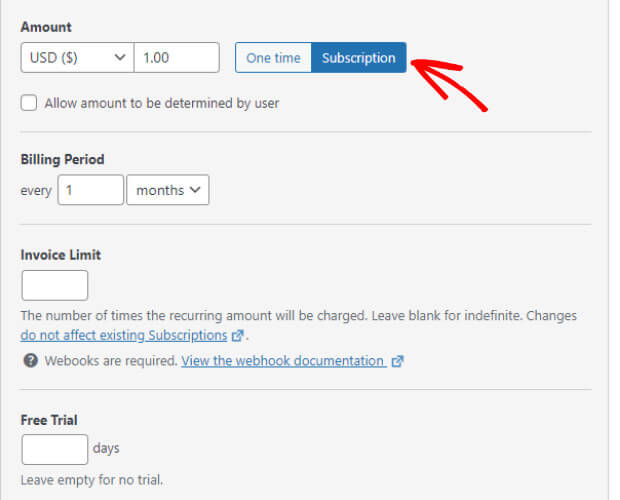
The recurring payment mode will open up other essential fields like frequency of payment installments, invoice limit, and set the free trial period.
Next, you can go ahead and customize the form fields.
For example, you can add new fields from the dropdown by clicking on the Add Field button.
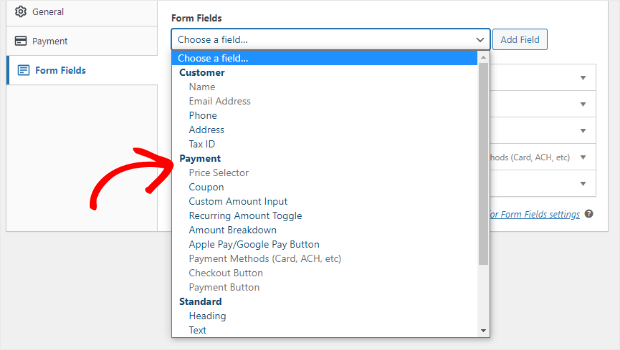
Just below the Form Fields option, you can find Payment Methods.
Here you can select the Klarna payment option since you’ve selected the Klarna form template in the first step.
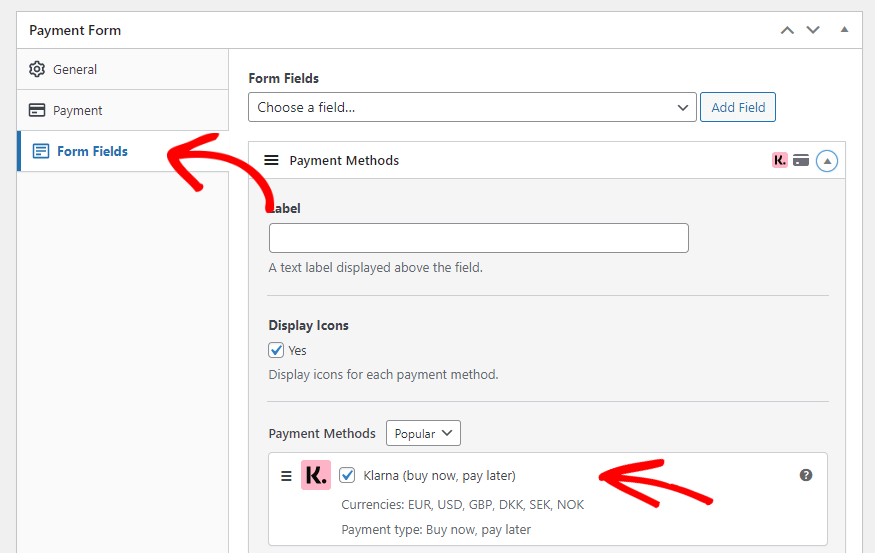
Save the form as a draft, and preview the payment form. If no further changes are required in the form, you can publish the payment form.
Now, we can move on to our next step.
Step 3: Adding Buy Now Pay Later Form to Your Website
Our last step is to add the payment form.
Go ahead to the page or the post where you want to add the form. Open the content editor and click the + button to add a WP Simple Pay block.
Select the form from the dropdown.
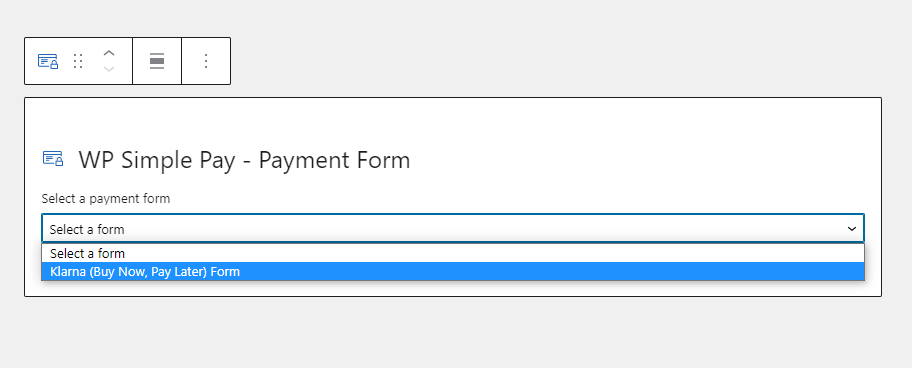
Now, you can preview the form and publish it.
That’s it! You’ve successfully added a buy now pay later payment form in three simple steps.
Now you can visit the page in the new tab to check the newly published payment form.
Here’s a preview.
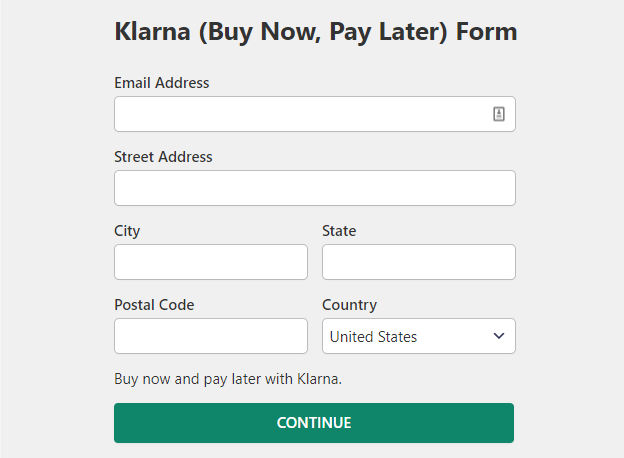
That’s all for this tutorial.
You just learned how to add a buy now pay later payments on your website using the WP Simple Pay plugin. You can follow the same steps for adding a buy now pay later payment form using the Afterpay payment method
We hope this article helped you set up a new payment method for your customers. If you want to learn more about WP Simple Pay features and payment methods, do not forget to check out these articles:
- WP Simple Pay Review: Is It the Right Stripe Payment Plugin?
- How to Integrate Stripe Into WordPress (Step by Step)
- How To Accept ACH Payments on Your WordPress Website
Ready to accept buy now pay later payments on your WordPress website? Check out the WP Simple Pay plugin today!
If you like this article, you might want to follow us on Facebook and Twitter for more articles like this.




Add a Comment