Are you looking for the easiest way to add a custom Brevo (formerly Sendinblue) popup to your site?
Growing an email list can be challenging. But it doesn’t need to be complicated or crazy expensive.
Today, you’ll learn exactly how to easily create a custom Brevo popup that will add more subscribers to your list.
What is a Brevo Popup
A Brevo (formerly Sendinblue) popup is a lead capture form that’s designed to attract your site visitor’s attention and collect their email addresses. This popup form is displayed on top of your website content, and it’s connected to your Brevo account.
From Brevo, you can:
- Design emails with an easy to use drag and drop builder
- Segment emails by criteria, like geography or purchase history
- Personalize campaigns
Once you’ve built an engaged email list, you have a direct line to your customers. That means you’re able to share updates about new content and products with your subscribers. This is the way many business owners drive repeat traffic and increase sales.
And one of the easiest ways to grow your Brevo list is by using OptinMonster.
OptinMonster is the best tool to create a Brevo popup. With its drag and drop builder and templates, OptinMonster makes it easy for you to build a stunning popup optimized for conversions.
OptinMonster is the best tool for turning your site visitors into subscribers, and that’s because it gets your site visitors to take the action you want them to take.
And it does this with:
- Beautiful popup templates that are incredibly easy to customize
- Campaign triggers that display your popup at the best time
- Targeting options that show your campaigns to the right audience
- Analytics that help you identify which pages convert better
With our targeting features, you can make your popup appear to readers when they’re looking at a specific page. So, imagine someone is reading a blog post about marathon training. While they’re scrolling, a popup appears offering them a marathon-training checklist.
Or, consider displaying a discount to an online shopper for the exact product they’re looking at.
That’s the kind of page-level targeting you can put into action on your site with OptinMonster.
And you don’t need to spend hours designing and publishing your popup.
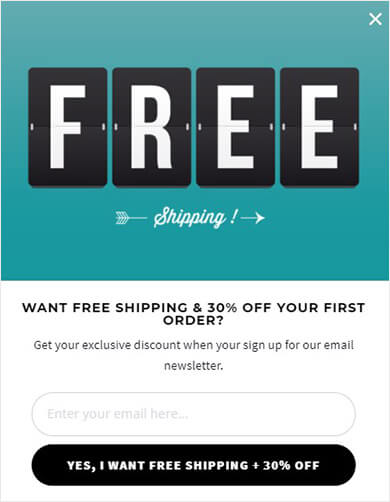
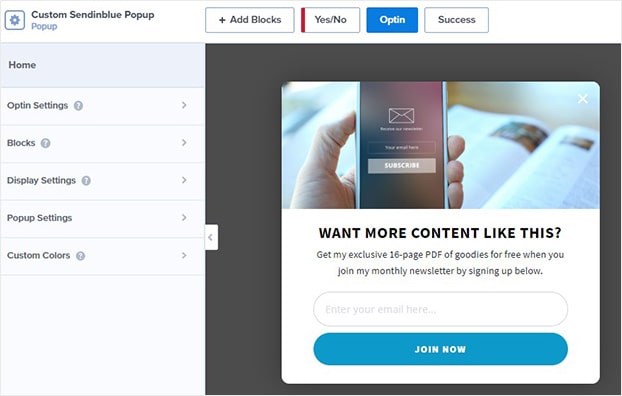
For this tutorial, we created this popup in just a few minutes:
Don’t have an account yet? Get OptinMonster here to increase your email subscribers. Signing up is 100% risk-free with our 14-day money back guarantee.
How to Create a Custom Brevo Popup
Setting up your Brevo popup in OptinMonster is so simple.
You don’t need any design or coding skills to create stunning, targeted popups that are optimized for conversion.
Step 1: Create Your OptinMonster Campaign for Brevo
You’ll need to log into your OptinMonster account.
From your dashboard, pick Create New Campaign.
You can choose from different OptinMonster campaign types, like floating bar or fullscreen.
Today, we’ll go with Popup.
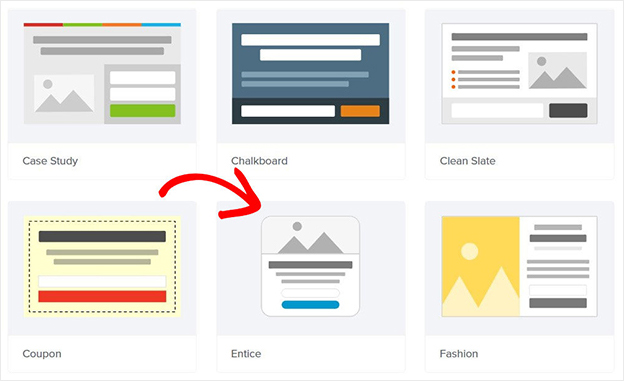
Next, choose a template.
If you need help finding the right template, you can filter by your goal:
- Grow email list
- Target abandoning visitors
- Redirect traffic
- Time sensitive offer
Every OptinMonster template works across all devices.
Today, we’ll go with Entice.
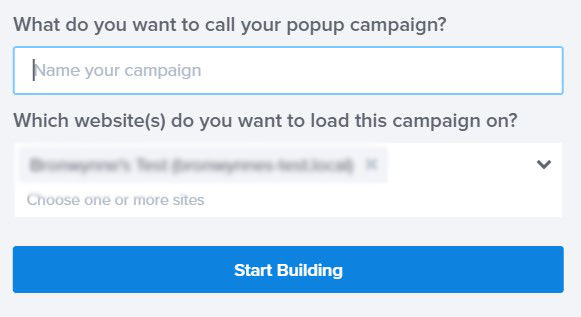
Next, name your campaign and click Start Building.
Step 2: Design Brevo popup
You’ll now see the OptinMonster editor.
From here, you can edit the text, image, and style of your popup.
Again, it’s incredibly easy to change anything about your design.
There are two main ways you can customize your popup:
- Click on any block you want to edit, and you’ll pull up the editing tools on the left
- Drag and drop any element onto your popup
That’s it!
Now, let’s edit our template.
We’ll start by changing our text.
Your popup needs to offer your reader something valuable in exchange for their email address.
And here’s where the right incentive comes in.
You might offer:
- Discount coupon
- Free shipping
- Downloadable content
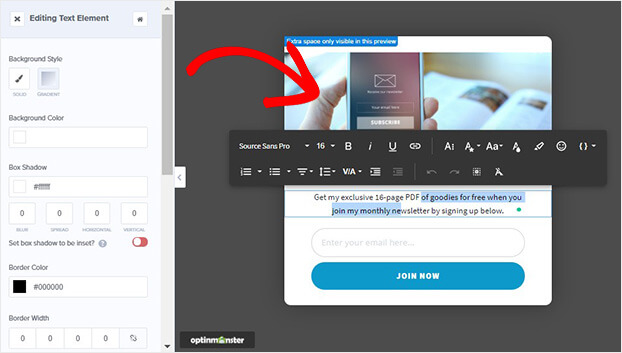
In this tutorial, we’re going to offer a discount and free shipping. So, we want to feature our offer prominently in our headline.
Simply click on the text and start editing right away.
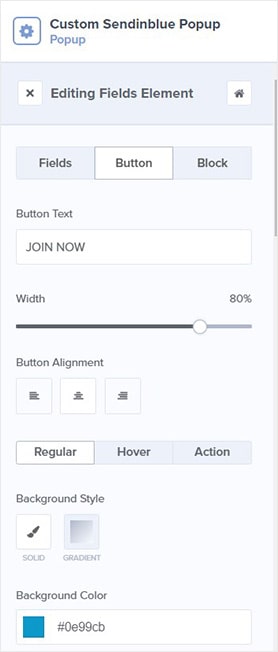
Now, we’ll edit the submit button text. For that, you click on the button, and you’ll be able to edit on the left.
From here, you’ll able to change the text, font, and color of the button.
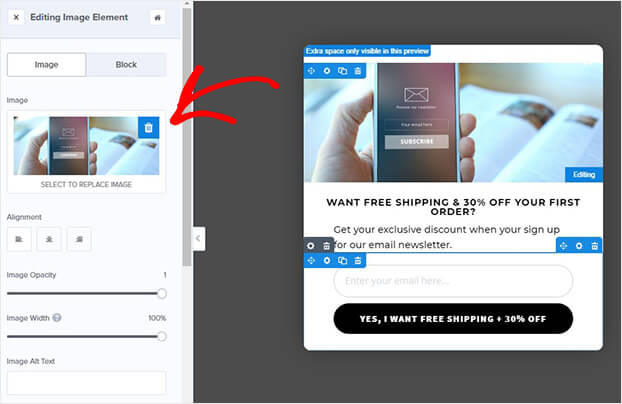
Finally, we’ll add our own image. Once you click on your image, you’ll be able to upload an image from your computer.
Now, it’s time to decide when and where you want your popup to appear.
Step 3: Display Your Brevo Popup
OptinMonster offers powerful display options with campaign triggers and targeting.
Triggers let you control when your popup appears. For example, you can make your popup appear after a visitor has spent 30 seconds or more on your site to make sure you’re only showing your optin form to people who are already interested in your content.
Targeting determines who sees your popup. Maybe you only want new visitors or returning visitors to see your popup? Or, perhaps, you only want to show your Brevo popup to people from a certain physical location?
It’s all possible with OptinMonster.
And, even better, you can set up detailed targeting with only a few clicks.
Today, we’ll focus on one of the most powerful triggers, Exit-Intent®.
Exit-intent popups are triggered when someone is actively leaving your site. It tracks your site visitor’s mouse behavior and shows up at the exact moment they’re heading towards the browser bar.
By using an exit popup, you have one last chance to recover your site visitor right before they leave for good.
But do exit popups work?
Our customers convert an additional 2 – 4% of their visitors using exit-intent technology.
Ryan Robinson used an exit-intent popup to increase his subscribers overnight by 500%!
To set up exit-intent, head over to Display Rules.
Find and select Exit-Intent®.
Next, you want to use Page Level targeting to show your popup on all pages.
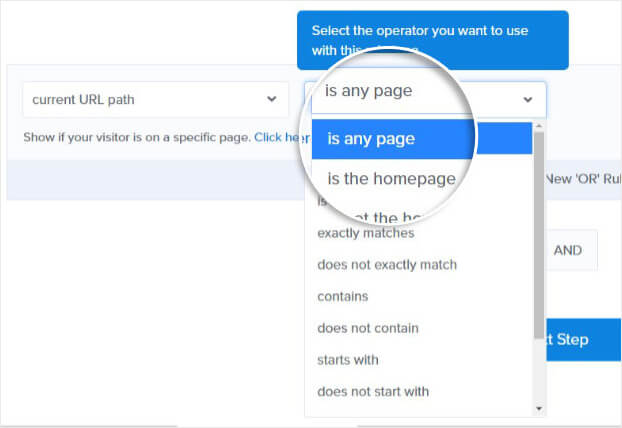
From Display Rules, select Page Level Targeting.
Next, select is any page under current URL path.
Looking for more inspiration? Check out our high-converting exit-intent popup examples from our customers.
Step 4: Connect Brevo Popup to OptinMonster
Now, we’ll connect OptinMonster to Brevo.
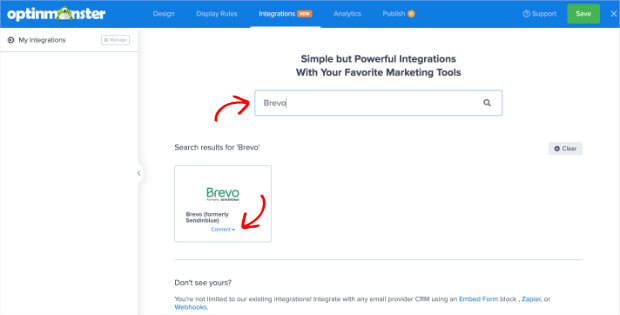
First, head over to Integrations in your editor.
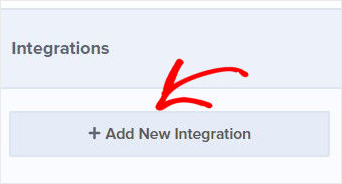
Click Add New Integration.
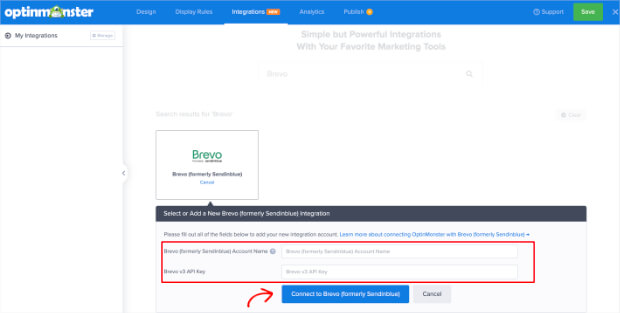
Type Brevo in the Search box and click Connect.
Now, you’ll need to add your:
- Brevo account label
- API key
An account label is anything that makes it easier for you to organize your integrations.
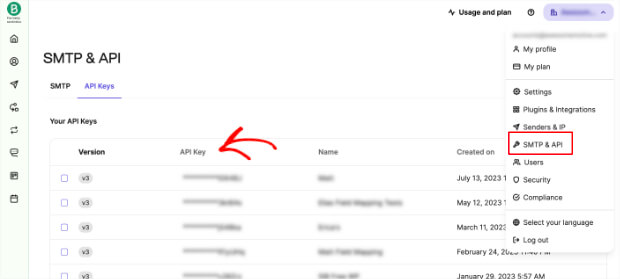
For the API key, we’ll need to log into Brevo.
From your Brevo account, go to the dropdown from the top-right corner and choose SMTP & API.
On the next screen, go ahead and copy the API key.
Now, go back to OptinMonster.
Here, you’ll paste your API key into the API Key field.
Finally, select Connect to Brevo (formerly Sendinblue).
Easy wasn’t it? Now when people complete your optin form, their details will go straight to your Brevo account.
All that you need to do now is Publish your campaign.
Step 5: Publish Your Brevo Popup
Head over to Publish.
Now, if this is your first campaign, your site might not be connected.
Connecting OptinMonster to any website is easy.
In this tutorial, we’ll look at how to connect Brevo to WordPress.
All you need to do is install and activate the OptinMonster plugin.
If you’ve never installed a plugin before, check out this quick guide for installing and activating a plugin.
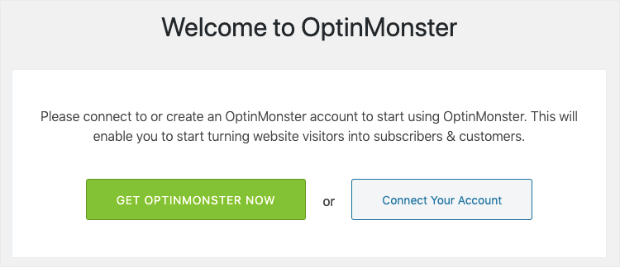
Once you’ve activated the plugin, you’ll need to connect your OptinMonster account.
Select Connect Your Account.
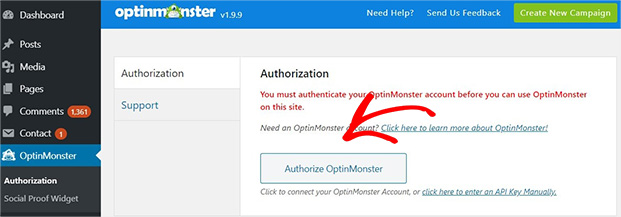
Next, select Authorize OptinMonster.
Now, you’ll be taken to the OptinMonster login page. Enter your details and click Login.
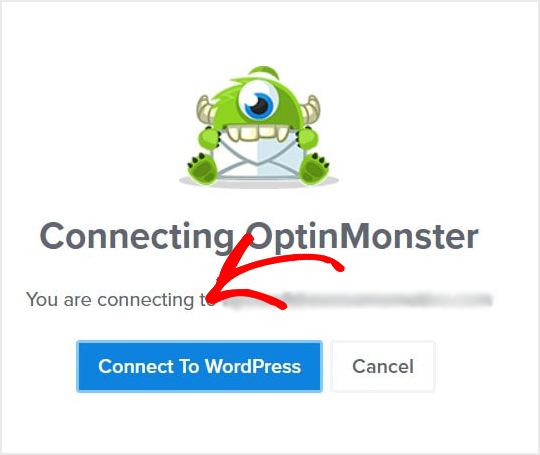
Finally, select Connect to WordPress.
You’re now ready to start growing your email list with your Brevo popup.
We hoped you enjoyed this article.
- 40 Exit Popup Hacks That Will Grow Your Subscribers and Revenue
- How to Grow Your Email List: 80+ Proven and Simple Ways
Want to learn more about how OptinMonster can increase your leads? Check out this article about how OptinMonster works, plus 8 benefits and 12 case studies.
Ready to get started? Sign up for OptinMonster today to start growing your email list and increasing your leads right away.










Add a Comment