Looking for an easy way to create an event calendar in WordPress?
Creating an event from your WordPress website is one of the best ways to build a community and keep the calendar updated.
In this article, we’ll help you learn how to create an event calendar with the Sugar Calendar plugin.
What is Sugar Calendar?
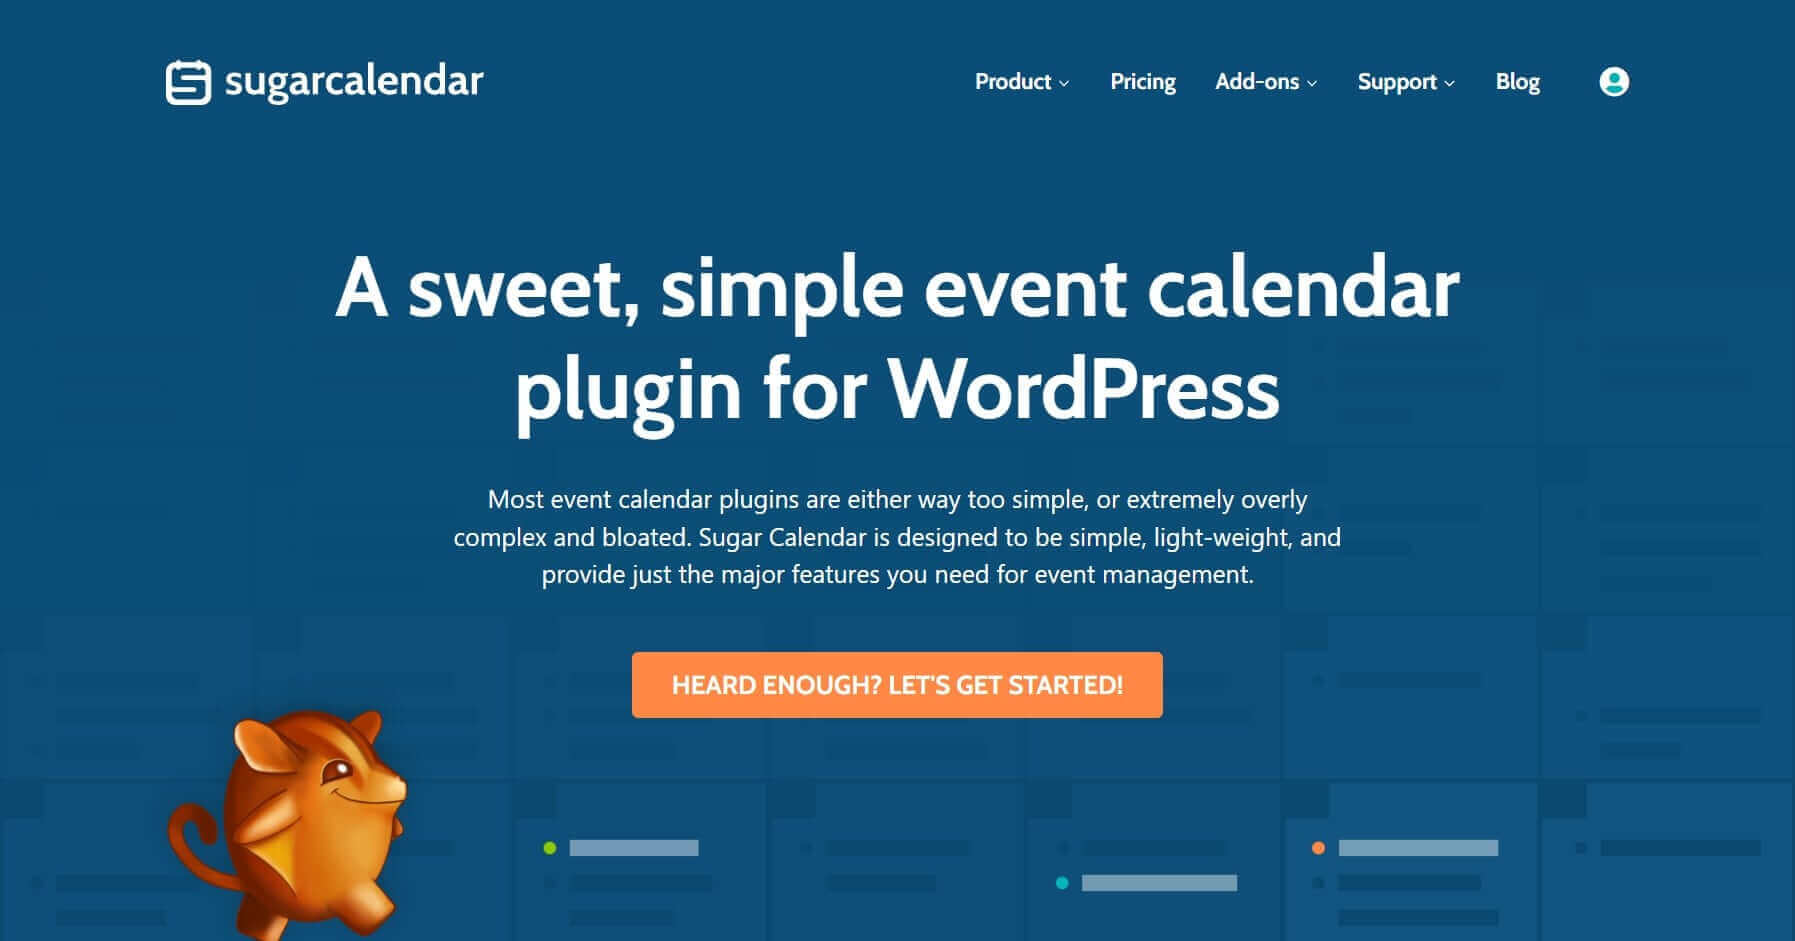
Sugar Calendar is a simple, easy-to-use, lightweight plugin for adding an event calendar to your WordPress website.
The plugin provides all the essential event management features like event ticketing, the ability to create single-day or recurring events, and more.
Some of the other key highlights for using the Sugar Calendar plugin are:
- Clean interface with minimal settings.
- Sync the events with your Google calendar with just a click.
- It’s a lightweight plugin and does not affect your website speed.
You can check other notable features on the official Sugar Calendar website.
Let us see the complete step-by-step guide on how to create an event calendar right from your WordPress dashboard.
Creating an Event Calendar With Sugar Calendar
We already mentioned the reason for choosing Sugar Calendar over other plugins.
And the reason is the plugin’s simplicity.
Just in 4 steps, you’ll have your first event calendar ready.
Step 1: Installing the Sugar Calendar Plugin
The first step is to install the Sugar Calendar plugin.
Once you sign up for the plugin, download the plugin and install it on your WordPress website. If you are new to WordPress, kindly follow this guide on installing a WordPress plugin.
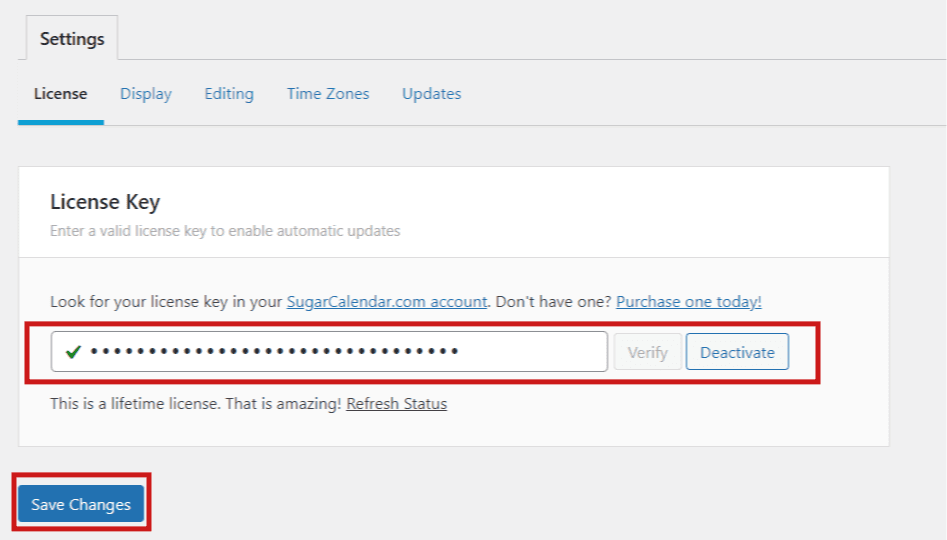
After the plugin is installed, you should see the calendar menu in your dashboard. Navigate to Calendar » Settings and copy the license key.
Click on the verify and save changes button. That’s it! The plugin is now activated.
You’re all set to create your first event calendar.
Step 2: Create an Event Calendar
Navigate to the Calendars tab from the Calendar menu.
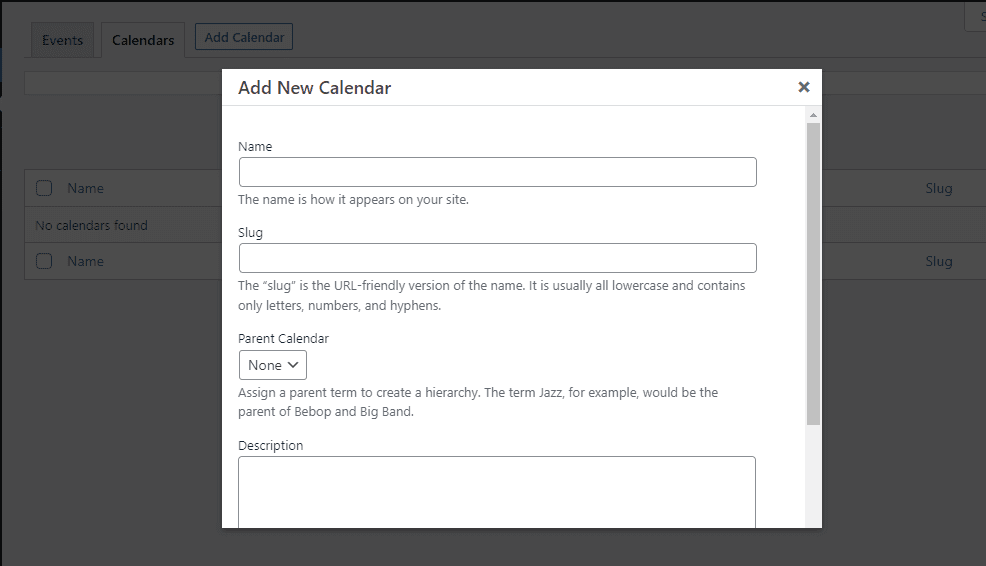
Once you click on the Add Calendar button, you should see a popup for adding a new calendar.
Enter the name, and slug to create a new calendar. You can add a description if you want, but it’s optional.
You’ll find a color box below the report that will help you distinguish calendars when you have so many calendars.
Click on Add New Calendar to save your changes.
Step 3: Add Events in the Sugar Calendar
The next step is to add events to your calendar. Simply click on the Add Event button to add a new event.
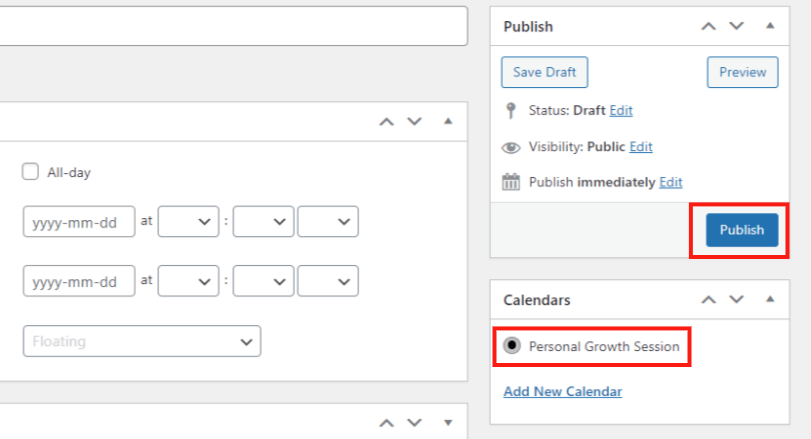
You’ll see a new event window. Fill in details like name of your event, details of the event, and time of the event.
There are basically 3 options for the event duration.
- All-day for a whole day event.
- You can set a particular start date and end date in case of multi-day events.
- Recurrence in case of repeatable events like daily, weekly, monthly, and so on.
Besides, there is an optional field to add the location of the event.
You’ll find a box for adding a description of the event. Put in your creativity to make it interesting for your users. Feel free to experiment with images and other types of media.
Select the calendar from the sidebar and hit the Publish button.
That’s it!
You have successfully created an event. Similarly, you can create multiple events for a calendar as well.
It’s time to display the event calendar on your website.
Step 4: Display Calendars on Your WordPress Website
To show the events calendar in the sidebar, you can use the widget option.
Besides, we can use the Sugar Calendar shortcode to show events on any page or a post.
Select the shortcode block on any posts/page.
Paste this shortcode: [sc_events_calendar]
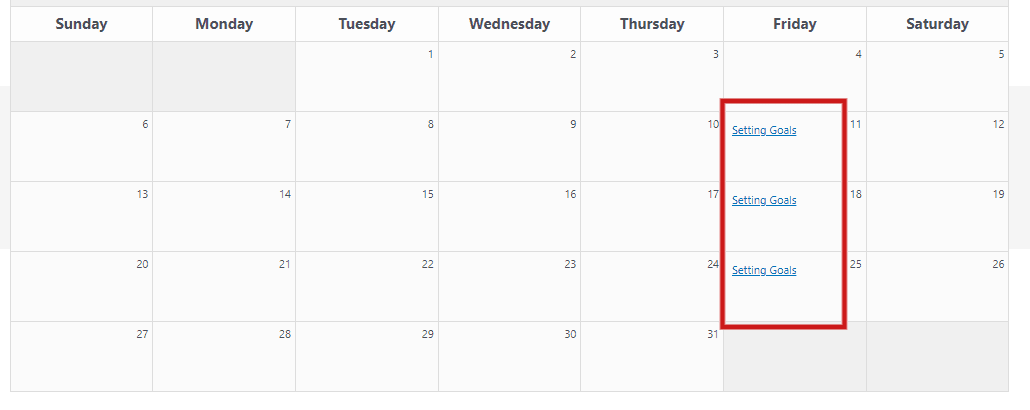
Simply publish the page and you’ll see the events calendar on your website. Visitors can click on the events to check the event details.
That’s it! You have created your first event calendar with Sugar Calendar plugin.
Your event calendar should now be live on your website. You can repeat the same process for creating multiple events and calendars.
Revisit the settings if you need to change the timezone and general display settings.
Finally, it’s time to promote your events so more people can benefit from them.
And guess what?
We have already created detailed resources to get more leads on your website, so you can make the site more engaging.
- Best Lead Generation Tools
- What is a Lead Magnet? 69 Effective Ideas & Examples to Use
- The Ultimate Guide to Growth Hacking for Exponential Success
We recommend trying the OptinMonster plugin to gather leads for your upcoming events.






Add a Comment