OptinMonster makes it easy to add, edit or delete websites from your OptinMonster account.
In this article, you’ll learn how to manage the sites in your OptinMonster account.
View Sites
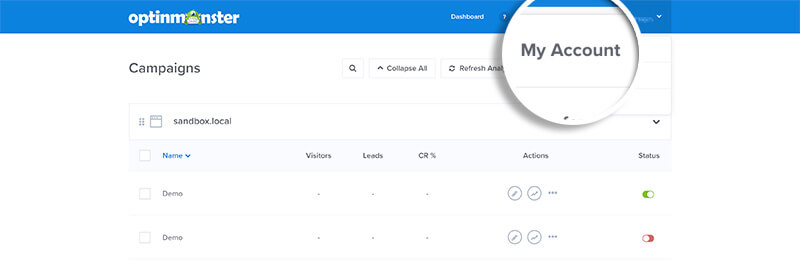
- From the Campaigns screen navigate to the Account > Sites page.
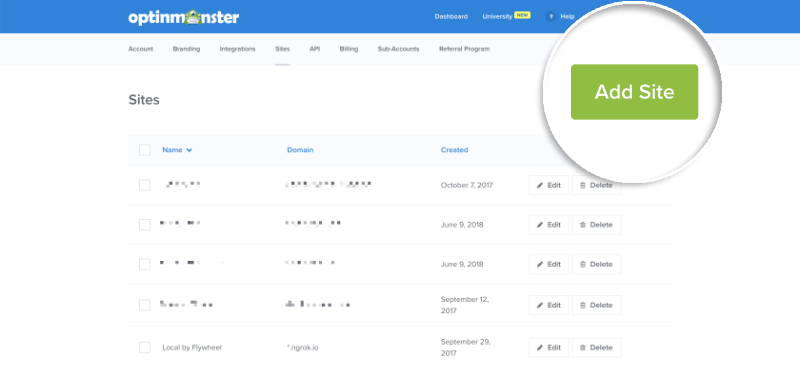
- On the next screen, you’ll see all of the sites that are connected to your account.
Add a Site
There are two ways you can add a new site to your account:
- Using the Site Management Page
- Add a Domain to a Campaign
If you want to test your campaign on your local or staging site, you don’t need to add it as a site. Domains that contains following substrings are whitelisted by default.
.test
.local
local.
staging.
localhost
127.0.0.1
Simply add the embed code to your page to begin testing. This lets you test your campaigns without using up any of your site slots.
How to Add a Site via Site Management
- First, navigate to the Sites page as shown in the previous section of this article.
- Next, select the Add Site button.
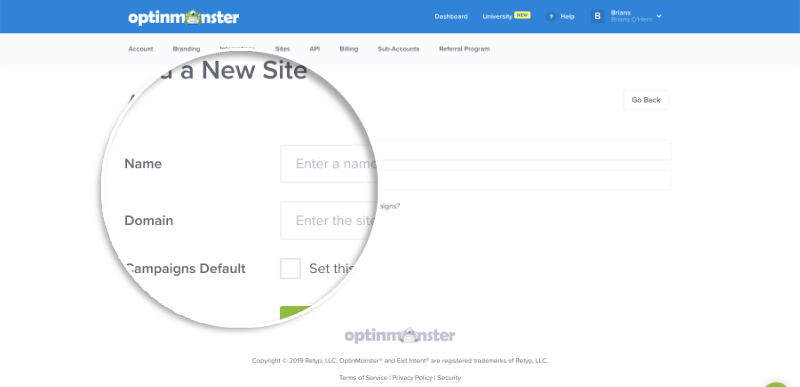
- On the next screen, enter the details of the site you want to add to your OptinMonster account.
- Name — Enter the name of the domain you’re registering. This is for internal use only.
- Domain — Enter the domain you’re registering
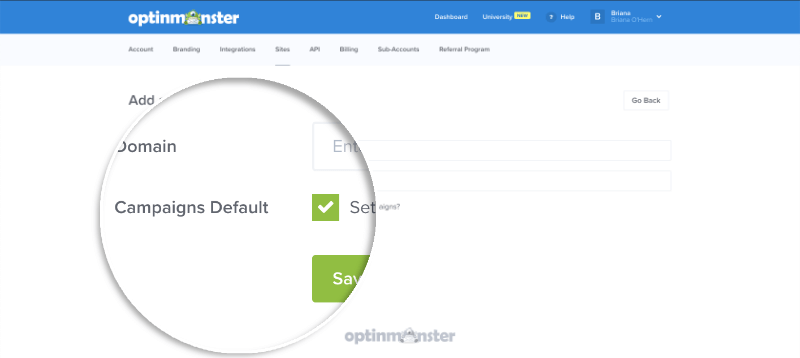
- (Optional) You can set the site to be the default domain when you create any new campaigns.
- When you’re finished, click Save.
Add Domain to a Campaign
- First, select a campaign from the Dashboard to edit. If you need assistance in creating or editing a campaign, then you can see our guide here.
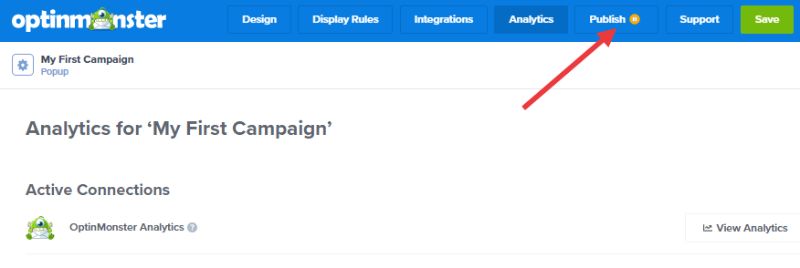
- In the campaign builder, navigate to the Publish tab.
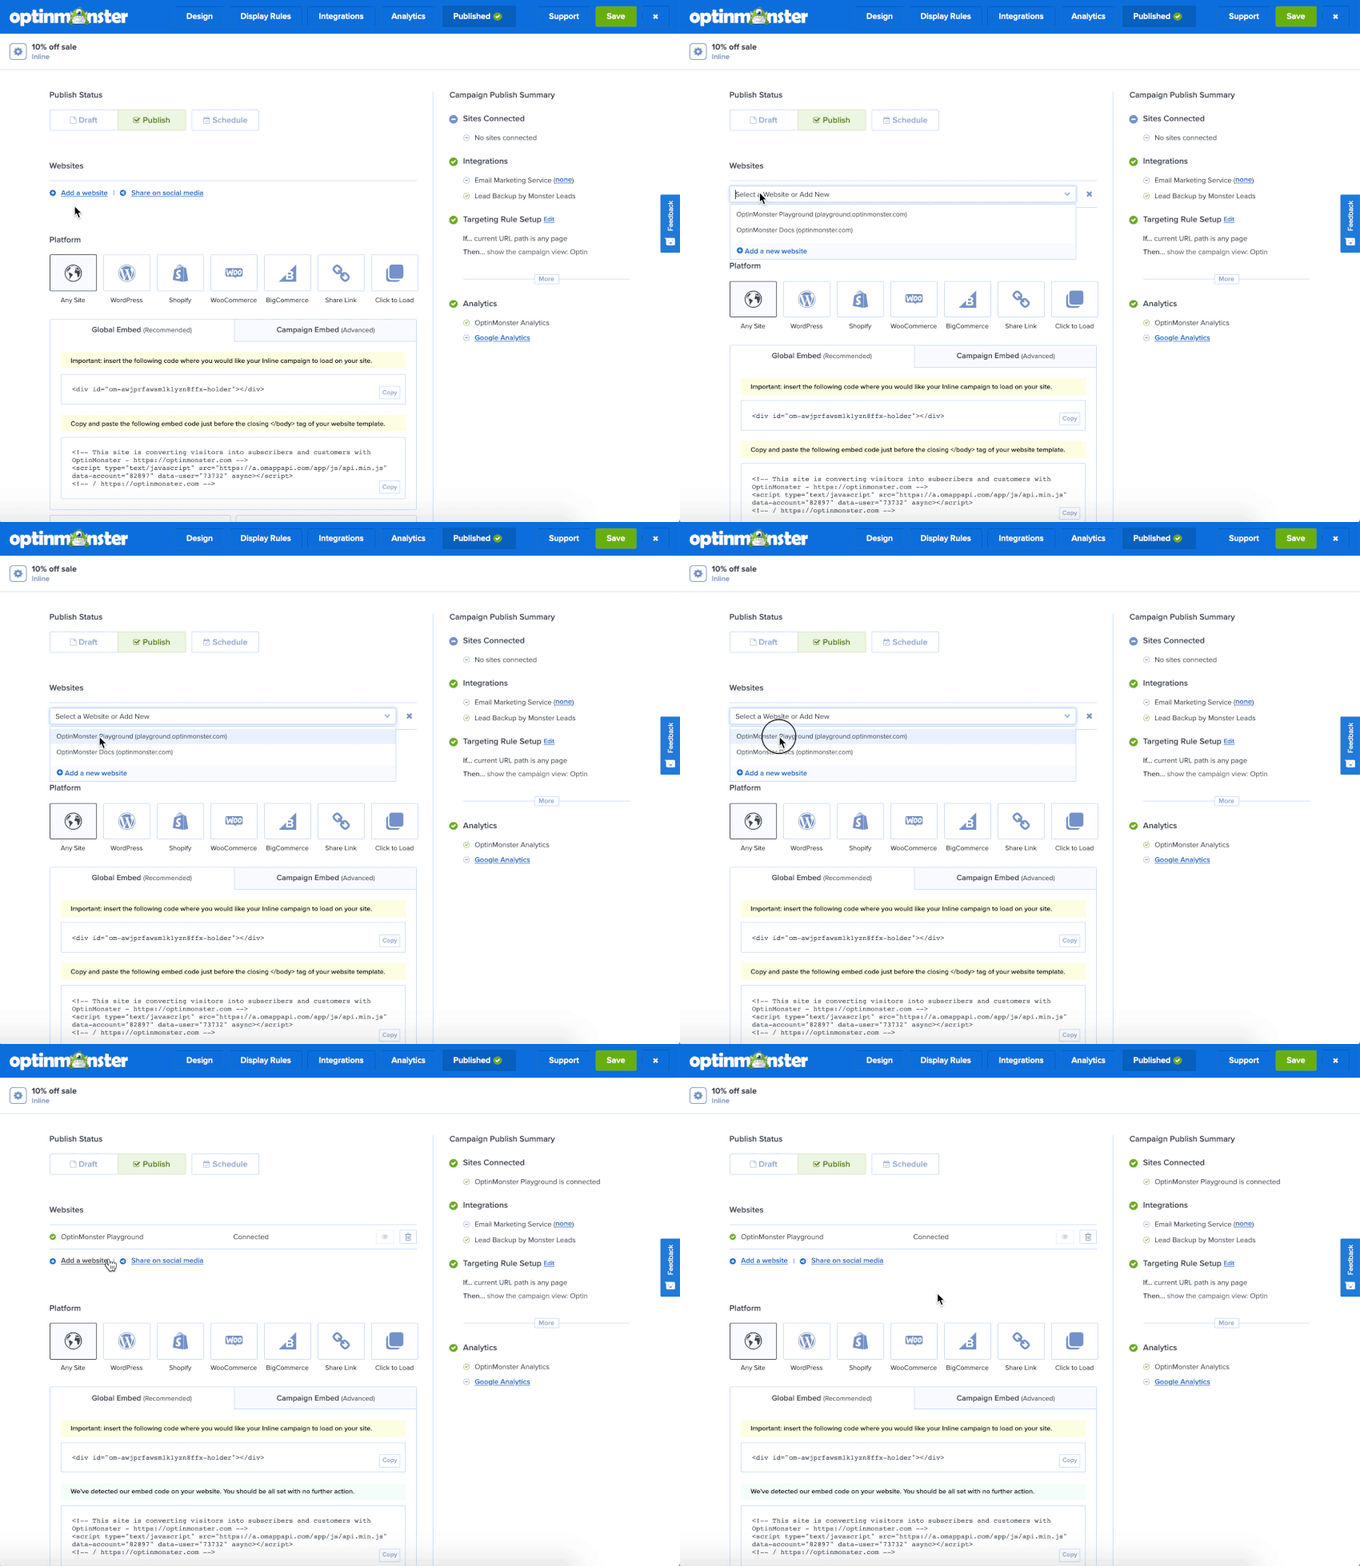
- In the Websites section, select the Add a new website link. You can select a previously registered domain from the dropdown list or register a new domain to your account by selecting the Add a new website option.
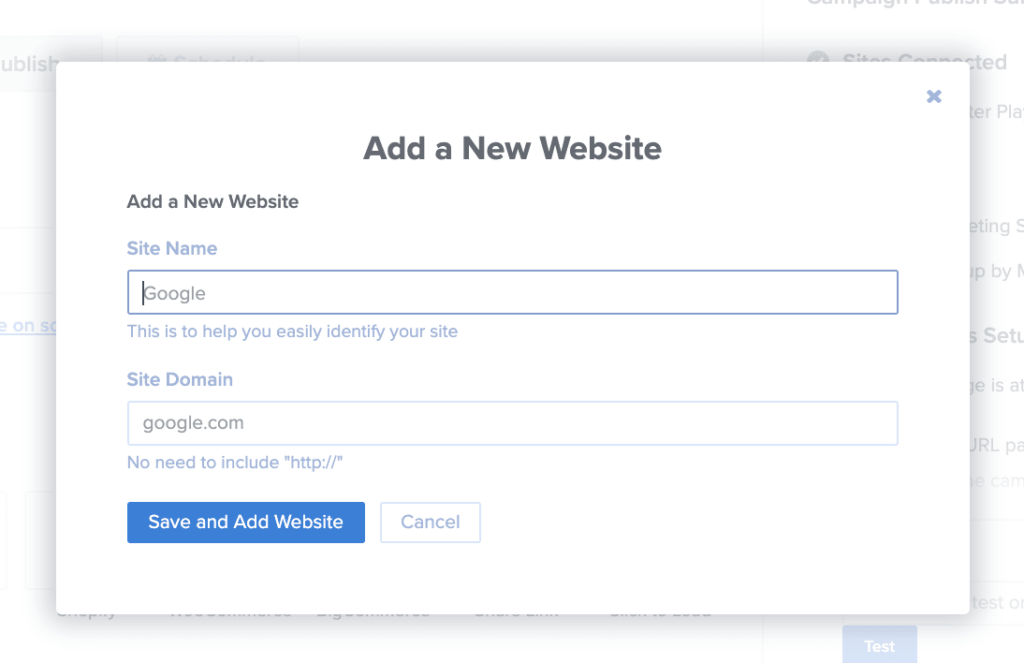
- In the popup modal, enter the details of the site you want to add to your OptinMonster account.
- Site Name — Enter a name for the domain you’re registering. This is for internal use only.
- Site Domain — Enter the domain you’re registering.
- Click Save and Add Website.
- When you’re finished, click Save to save the changes to your campaign.
Verify Site
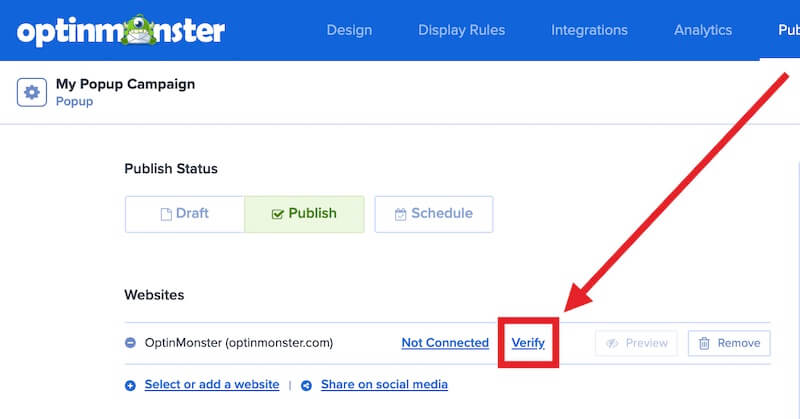
In the Publish screen of the campaign builder, you’ll notice a site status appears next to each site you assign to the campaign. Like this:

If your site shows a status of Not Connected you can verify the site by following these steps:
Under some specific conditions, a site will not be able to be verified and will always show as Not Connected in the campaign builder. This does not directly indicate that there is a problem with OptinMonster campaigns functioning on your site.
Please refer to the Troubleshooting section of this guide for more details on what conditions will prevent a site from being verified.
- Be sure to place the OptinMonster embed code on your site. We provide guides for all major platforms, and also this general guide for all other site platforms to get you started.
- (Optional) If you have any caching active on your site through a plugin or your server, please clear your website’s caching.
- Return to the OptinMonster campaign builder’s Publish screen and select the Verify link for the site.
- (Optional) If you’ve added the OptinMonster embed code to any page except the homepage of your site, you can manually verify the site by adding
?om-verify-site=trueto the end of the page URL where the embed code is added. For example, the URL may look like this:https://mysite.com/about-me?om-verify-site=true - The site will now show Connected as the status once it has been successfully verified.
Is your site still not connecting? See our Troubleshooting section for more details.
Edit a Site
You can easily edit a site you’ve already registered to your account through the Site Management page.
Before you start, when editing your site domain, we reset many domain-specific settings, which means you will need to manually reconnect the following services (where applicable and already configured):
Site Verification (refer to the Verify Site section above)
Google Analytics
Google reCAPTCHA
Shopify Sites
WordPress Sites
WP Forms Blocks
WooCommerce
Easy Digital Downloads
BigCommerce
Custom Domains
To edit a site, follow these steps:
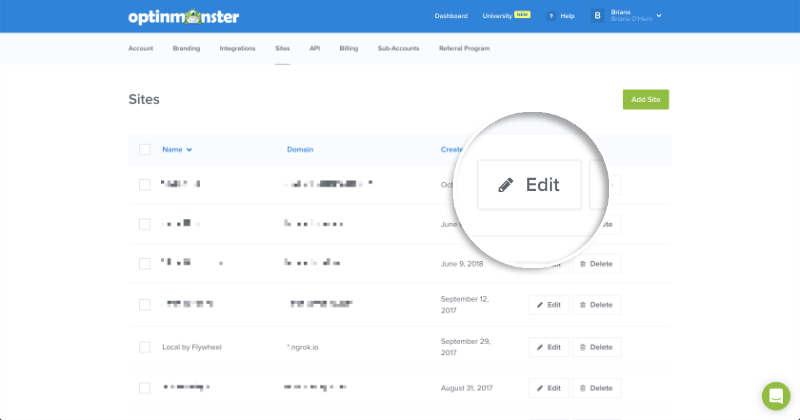
- Navigate to the Site Management page.
- Select the Edit button next to the site you want to edit.
- On the next page, you’ll see all options available for the site you’ve selected to edit.
- When you’re finished, click Save.
Delete a Site
Warning:
Deleting a site from your account will also remove it from any campaigns in your account that are set to load on that site. If a site is deleted by mistake you will need to register it again to your account and manually set that domain in the campaign website field for each individual campaign.
Proceed with caution.
You can delete a site from your account if you no longer need it.
When you delete a site from your OptinMonser account you can expect the following to take place:
- Campaigns assigned to that site will be moved to the Unassigned section of the Campaigns screen.
- Analytics will be permanently deleted from OptinMonster and no longer available in the Dashboard or Analytics screens.
- Leads will remain unaffected in the Leads screen of your account.
To delete a site, follow these steps:
- Navigate to the Sites page as shown in the first section of this article.
- Next, select the Delete button next to the site you would like to delete.
- An alert box will appear asking you to confirm the deletion of the domain, once you select the Yes, I’m sure button the domain will be deleted.
Sub-Domain Targeting
You can specifically target subdomain and main-level domains when registering a domain to your OptinMonster account.
The following options are available when registering your domains on OptinMonster:
- Top-Level Domain: e.g.
google.com - Sub-Domain: e.g.
sub.google.com - Wildcard Sub-Domain: e.g.
*.google.com
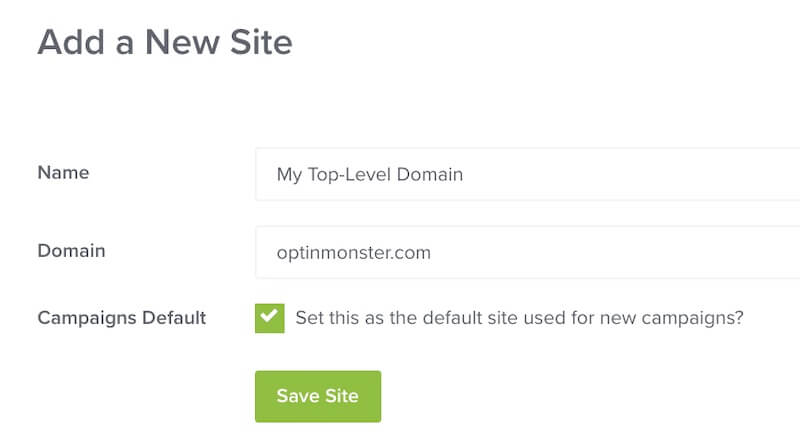
Top-Level Domain
Setting a top-level domain will allow your campaign to load only on the main domain of your site. Your campaign will not load on any sub-domain of your site.
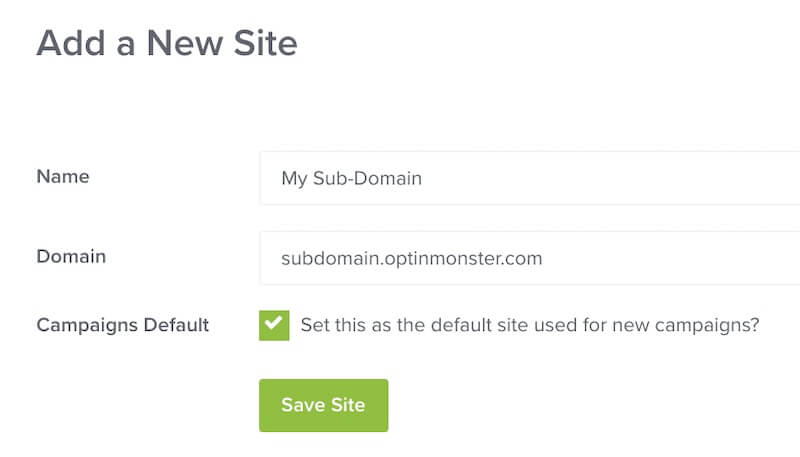
Sub-Domain
Setting a sub-domain will allow your campaign to load only on that sub-domain of your site. Your campaign will not load on the top-level domain or any other sub-domain of your site.
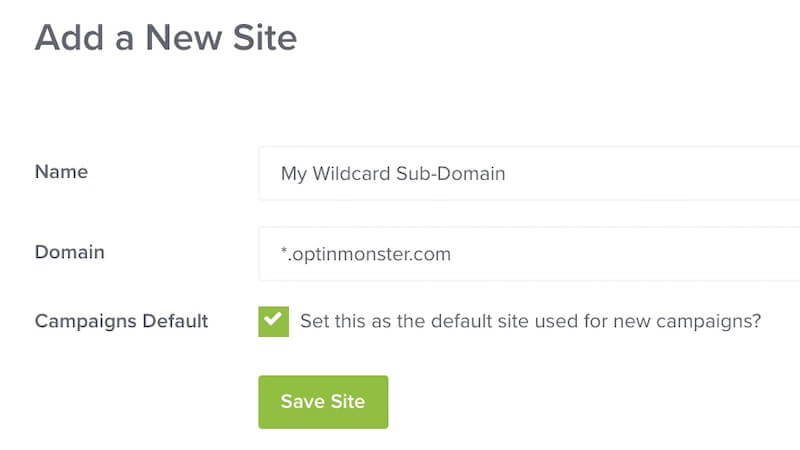
Wildcard Sub-Domain
Setting a wildcard sub-domain will allow your campaign to load on any sub-domain of your site. Your campaign will not load on the top-level domain of your site.
Warning:
Please note that in the Publish screen the wildcard sub-domain site will show a “not connected” notice. This is normal and can be safely disregarded as long as your campaign has been embedded on your site and is working normally.
FAQs
How can I allow my campaign to appear on every sub-domain and the top-level domain of my site?
You can configure your campaign to load everywhere on your site regardless of the sub-domain or the top-level domain by setting both a top-level domain and wildcard sub-domain in the Website field of the campaign builder.
I have added the Global Embed Code to my staging site but all of my published campaigns now appear on my staging site. How can I test only a couple of them?
By default, OptinMonster loads all published campaigns on staging or local environments if you add the Global Embed Code to your site. If you want to test only specific campaigns, you’ll need to add your staging server as a regular site in your account. Then, in the Publish tab for each campaign you want to test, assign it to that newly added staging site domain. This will ensure only the campaigns you’ve explicitly assigned will load on that staging domain.
Troubleshooting
My site won’t verify.
There are some specific conditions which will prevent a site from being verified. These do not immediately indicate that OptinMonster is not functioning on your site.
The site connection status should only be considered an informative tool and not a diagnostic.
The following conditions will prevent your site from being automatically verified by the campaign builder:
- Condition: The OptinMonster embed code is not present on the homepage of your site.
You may have placed the embed code on other specific pages of the site, but automatic verification checks only the homepage of the site.
Solution: You can manually verify the site by adding?om-verify-site=trueto the end of the page URL where the embed code is added. For example, the URL may look like this:https://mysite.com/about-me?om-verify-site=true - Condition: Visiting the homepage of the site redirects you to another page of the same site.
For example, visitinghttps://mysite.comredirects you to a page likehttps://mysite.com/home
Solution: You can manually verify the site by adding?om-verify-site=trueto the end of the page URL you are redirected to. For example, the URL may look like this:https://mysite.com/home?om-verify-site=true - Condition: Visiting the homepage of the site redirects you to a different domain.
For example, visitinghttps://mysite.comredirects you to a page likehttps://anothersite.com
Solution: The campaign will need to be assigned to the domain that appears in the browser window before it can visually appear to site visitors. In the above example, you should register and assign the domainanothersite.cominstead ofmysite.com.
Exception: If you have a Shopify or BigCommerce site that uses both an admin domain (e.g.mysite.myshopify.comormysite.bigcommerce.com) and a pretty domain (the domain visitors use to view your site) the admin domain will always show as Not Connected. This is not indicative of any problem and there is no solution required. You should continue to assign your campaigns to both the admin and pretty domain for them to function properly as outlined in our documentation.
If none of the conditions above apply to your site and you are unable to verify it, please reach out to our support team and we will be happy to assist!


