OptinMonster’s bulk editing feature makes it easy to organize your OptinMonster campaigns.
In this article, you’ll learn how to use OptinMonster’s bulk editing feature.
Bulk Select Campaigns
When you have several campaigns in your account, you may find it helpful to pause or resume campaigns, add campaigns to a folder or site, or clean up your dashboard by archiving or deleting campaigns in bulk.
To select multiple campaigns for bulk editing, follow these steps:
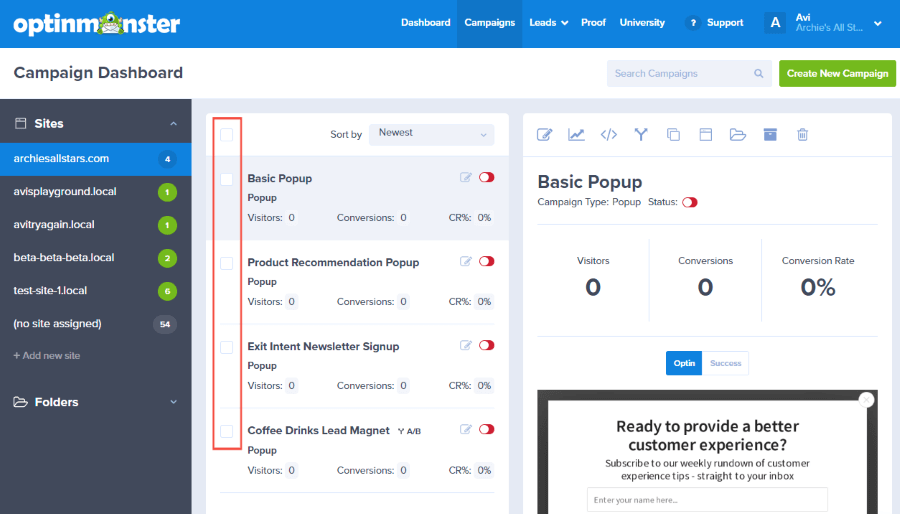
- From the OptinMonster Dashboard, click on the checkbox next to the title of each campaign you want to bulk select.
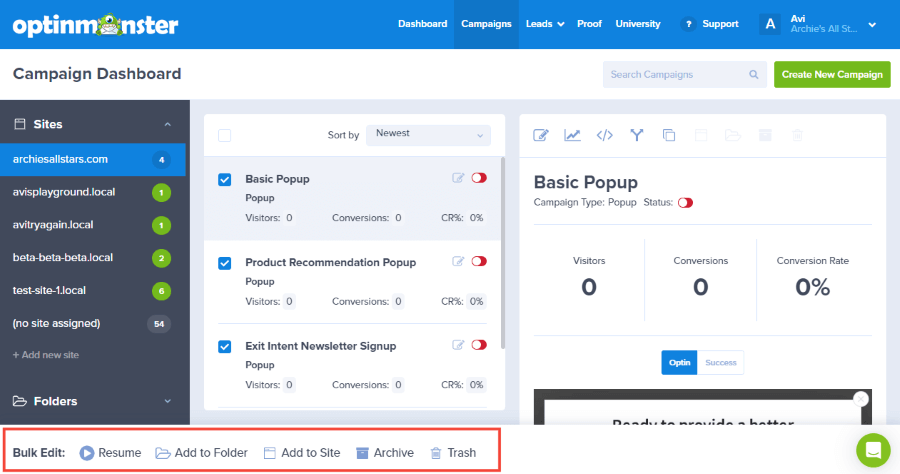
- The Bulk Edit menu will appear at the bottom of the screen. Select the action you want to take with the selected campaigns.
Bulk Editing Options
The available options in the Bulk Editing menu are:
- Resume
- Pause
- Add to Folder
- Add to Site
- Archive
- Trash
Some options may not appear depending on the current folder selected. For example, the options shown for “regular” campaigns is different than when you’re viewing the Archive or Trash folders.
FAQs
Help! I’ve moved campaigns to the Archive/Trash unintentionally. How can I restore them?
See our guide on how to delete or archive a campaign.
If you’re serious about jumpstarting your website business growth, then get started with OptinMonster today!
Get Started With OptinMonster Today!BONUS: Done-For-You Campaign Setup ($297 value)
Our conversion experts will design 1 free campaign for you to get maximum results – absolutely FREE!
Click here to get started →


