The OptinMonster for WordPress plugin makes it easy to manage your OptinMonster campaigns from within your WordPress dashboard. It provides even more powerful targeting options that let you assign campaigns to individual posts, pages, categories, tags, products, custom post types and more.
Using the plugin, you also unlock the option to use WordPress shortcodes in any campaign. That means you can use the shortcodes from your favorite form builder (WPForms, of course) to add complex, custom forms to your OptinMonster campaigns. It even lets you place inline campaigns using a widget, or a Gutenberg block.
And the best part? The plugin does all the work of adding OptinMonster to your site without needing to touch any code at all!
In this article, you’ll learn how to install the OptinMonster for WordPress plugin so you can get started creating new campaigns quickly and easily.
Before You Begin
Here are some things to know before you begin:
- The OptinMonster for WordPress plugin is available for download free from the WordPress plugin repository. It includes a free subscription. The free subscription is similar in features to the paid Basic plan with some restrictions. To access even more powerful options for growing your list, leads and sales, upgrade to OptinMonster Pro or Growth.
- Follow our WordPress Multisite guide if your WordPress site is part of a Multisite network.
- If you already have an OptinMonster account, go ahead and sign in before you install the plugin. If you have multiple OptinMonster accounts or are a sub-account user on multiple accounts, the account you are actively signed in to will be the one that gets connected to the plugin. To connect a different account, you will need to switch to that account in OptinMonster first.
Let’s get started…
Install The Plugin
When you are ready to install the OptinMonster for WordPress plugin on your site, follow these steps:
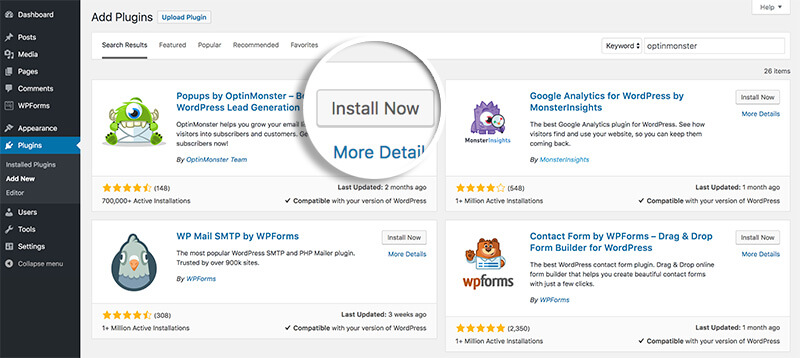
- Log into the admin of your WordPress site and navigate to the Plugins > Add New screen.
- Search for “OptinMonster” and select the Install Now button.
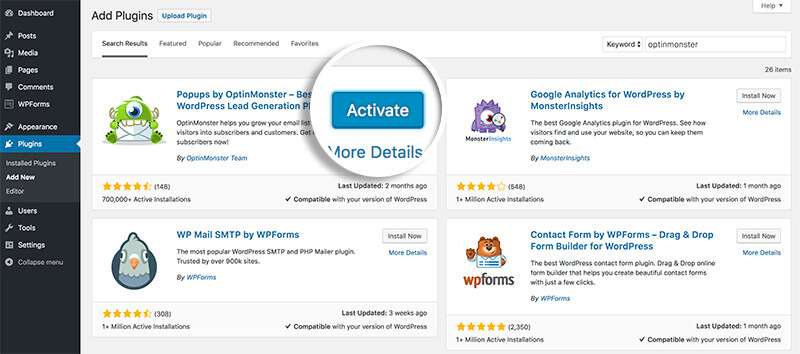
- Once installed, click Activate.
- You’re now ready to Create A New Account or Connect Your Existing Account!
Connect Your Existing Account
If you already have an OptinMonster account you can connect it to your WordPress site by following these steps:
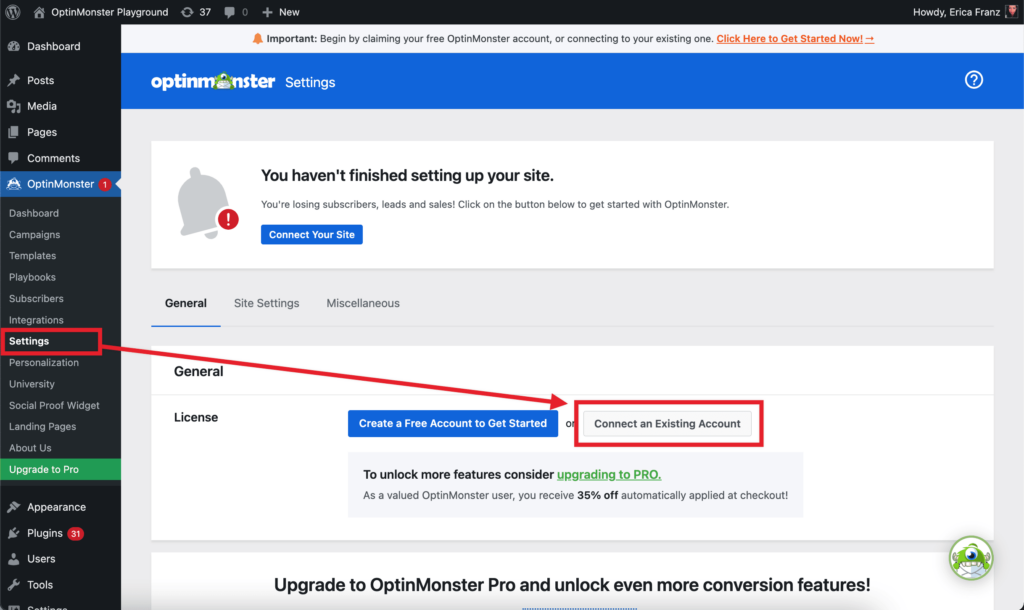
- Navigate to the WordPress admin > OptinMonster > Settings screen and select the Connect an Existing Account button.
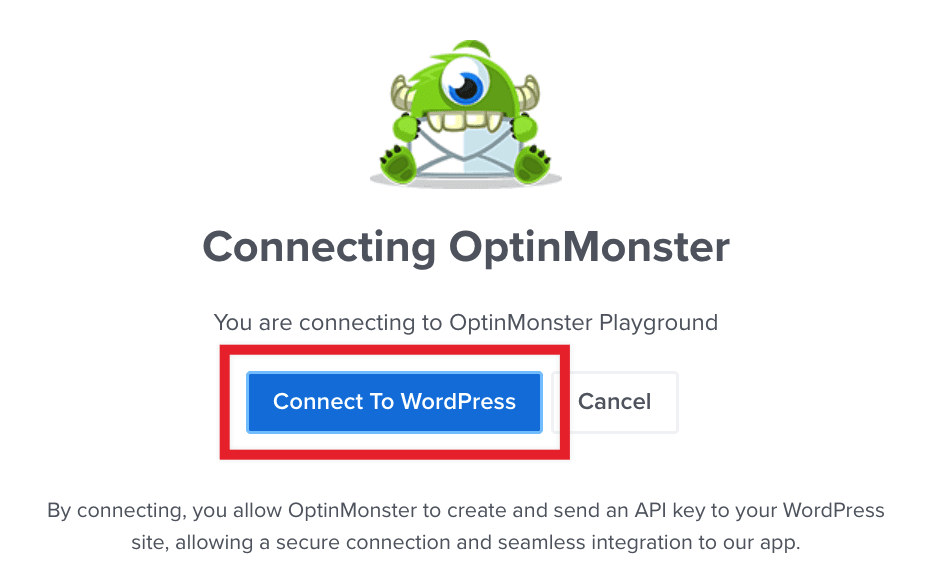
- A popup modal will appear prompting you to login to your account and confirm the connection. Select the Connect to WordPress button to continue.
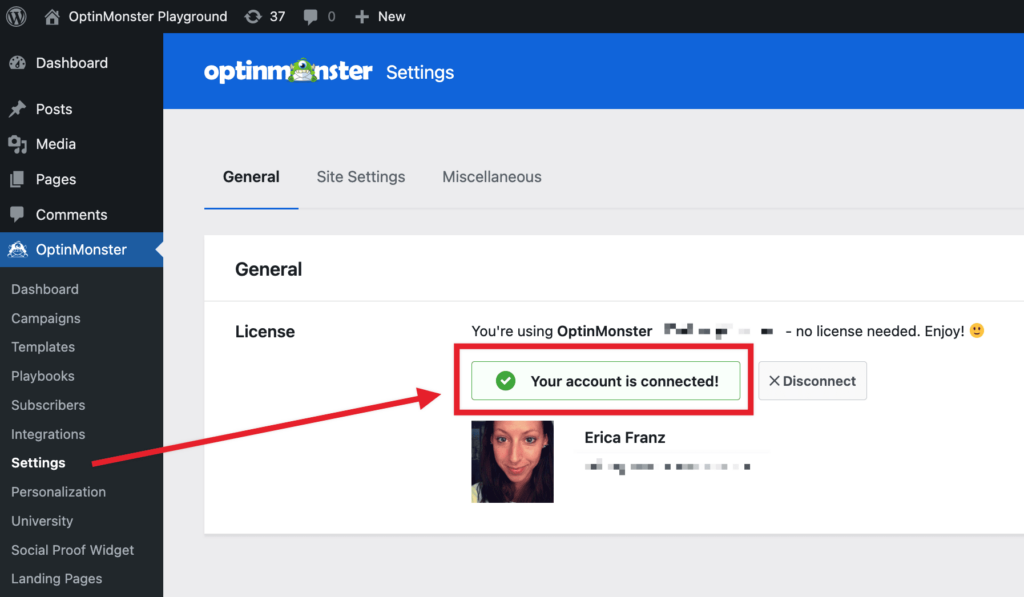
- Once successfully connected, the Settings page will confirm the account that is connected to your WordPress site:
- You are now ready to create campaigns, or publish existing campaigns to your WordPress site.
Create A New Account
If you do not already have an OptinMonster account, follow these steps:
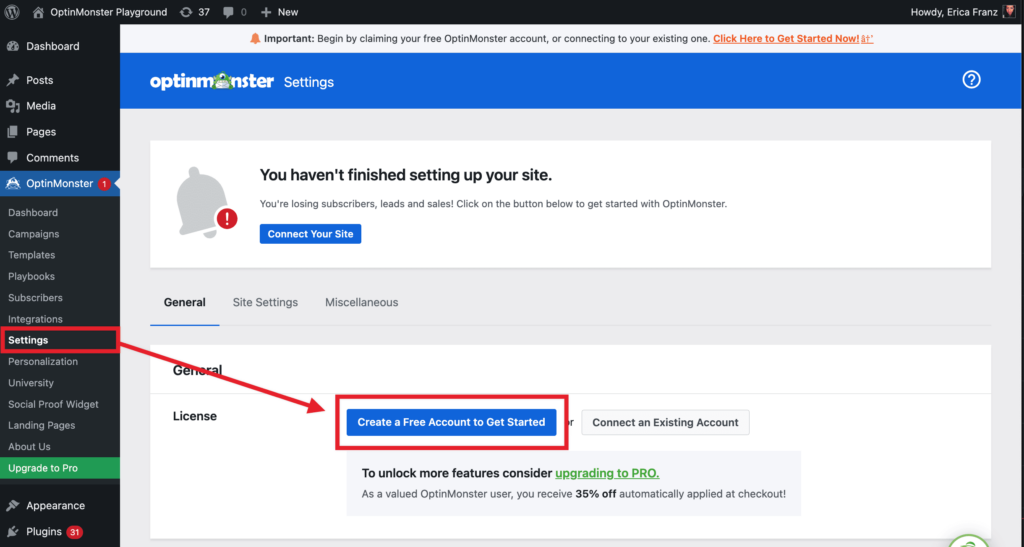
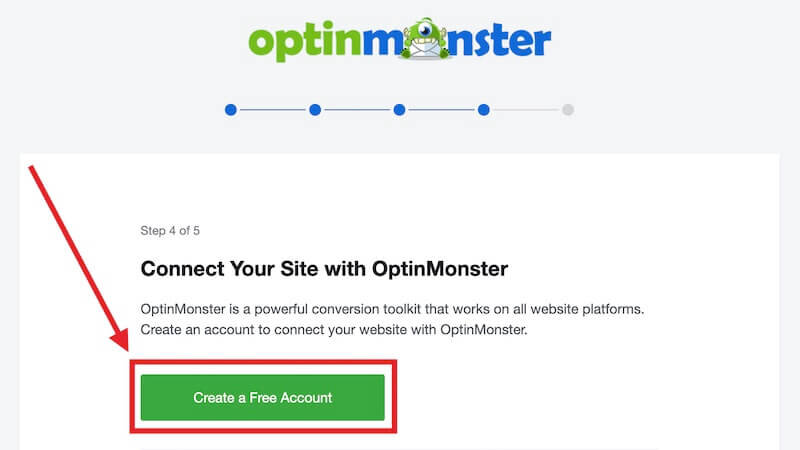
- From the WordPress admin > OptinMonster > Settings screen select the Create a Free Account to Get Started button.
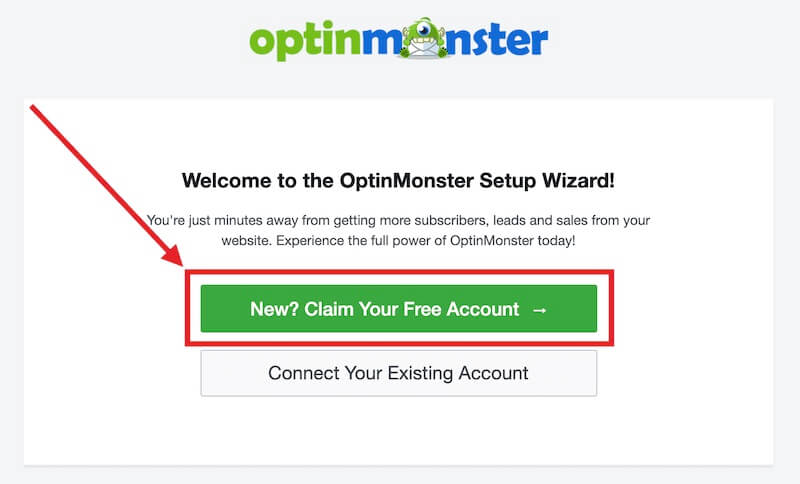
- On the next screen, select the New? Claim Your Free Account button.
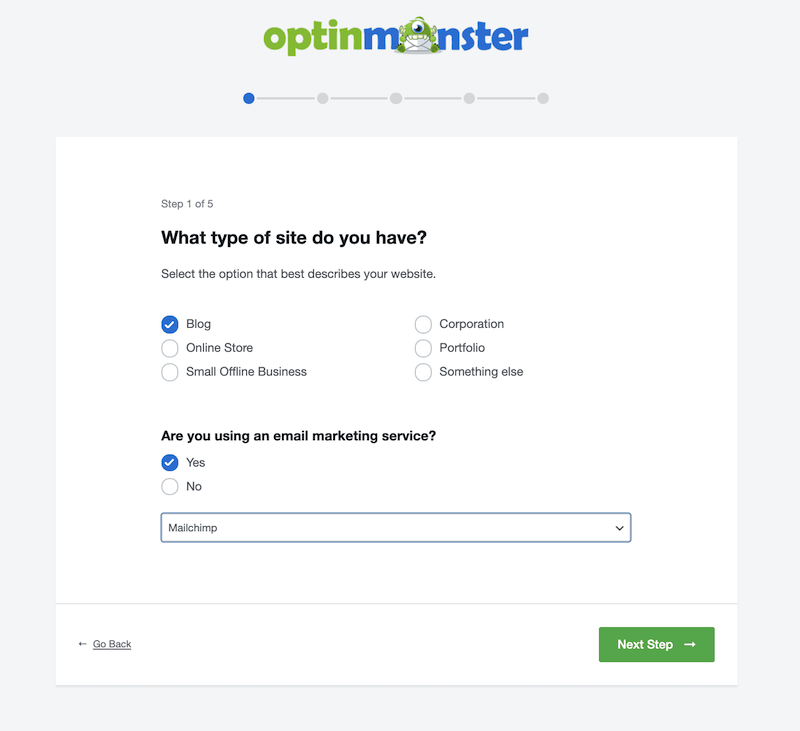
- You’ll be prompted to answer a few questions about your website that will help us suggest the best OptinMonster features to match your needs.
- After you’ve answered those questions, select the Create a Free Account button.
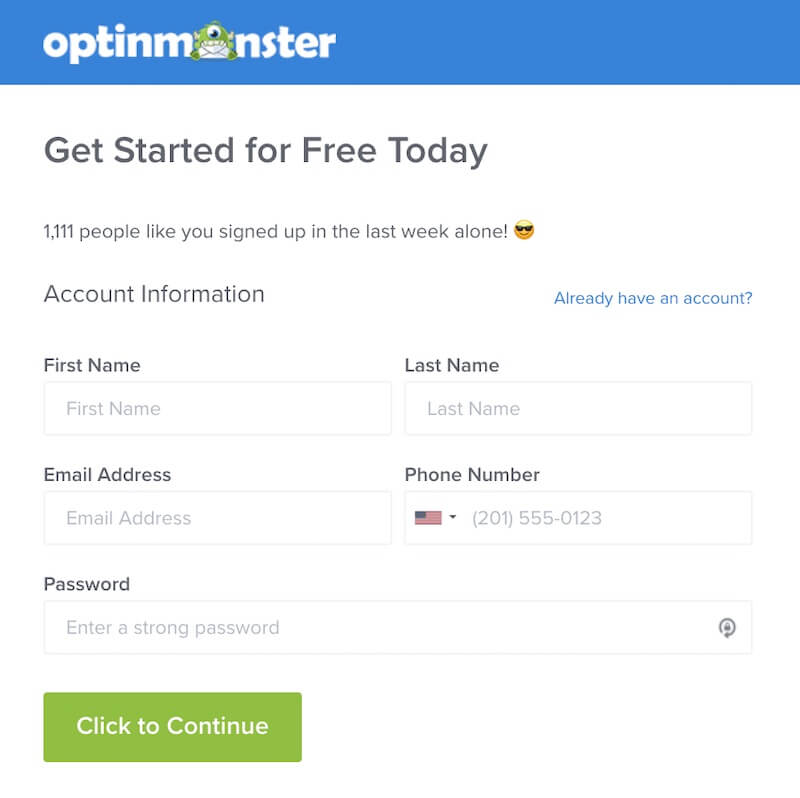
- Complete the registration form including your name, email address and credit card information.
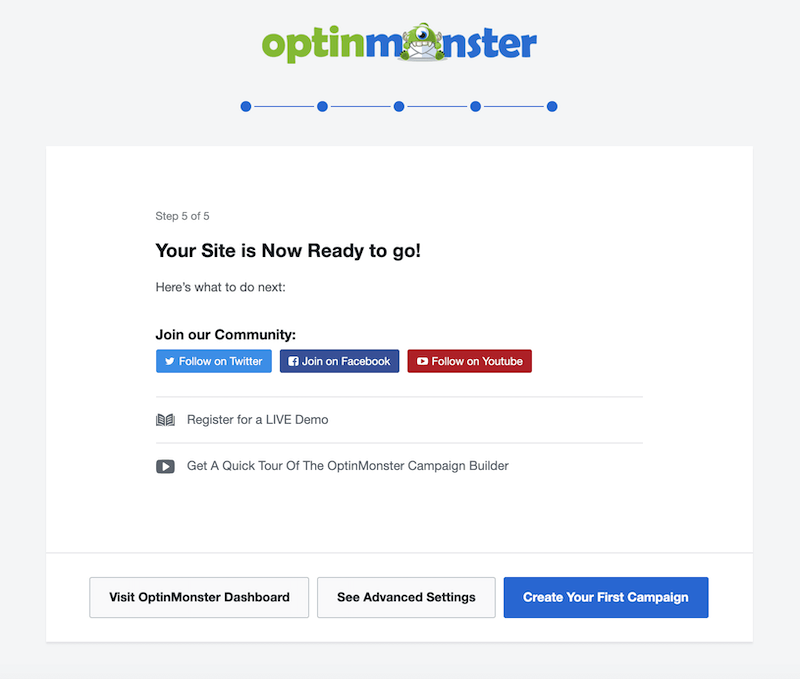
- Congratulations! You’ve connected the OptinMonster for WordPress plugin to your new OptinMonster account.
Register for one of the LIVE demos we offer each week, or jump right in by clicking Create Your First Campaign.
Important:
If for some reason the OptinMonster WordPress plugin is not showing your site connected to your new OptinMonster account, follow the steps to Connect an Existing Account to resolve the issue.
Disconnect Account
If you need to disconnect a previously connected account, follow these steps:
- Navigate to the OptinMonster plugin through the sidebar menu link in the WordPress admin.
- Select the Settings tab.
- Select the Disconnect button to disconnect your previously connected account from the plugin. This does not cancel your OptinMonster subscription or uninstall the plugin. It only disconnects the plugin from your OptinMonster account.
Important:
Disconnecting the account will remove all previous settings in the plugin for campaigns that were synced to the plugin. If you reconnect to the same account later, you’ll need to manually update the Output Settings for each campaign.
FAQs
I’m registering a new, free account. Why do you need my credit card information?
Great question! We require a credit card in case you’d like to upgrade, or in the event your account exceeds the campaign impressions available. You can always manage your preference for what happens if/when your free account exceeds the free plan limitations in the Pageview and Upgrade Preferences within your Account.
What if I don’t want to use the OptinMonster for the WordPress plugin?
If you prefer not to use the plugin, there are two great alternatives:
- Manually add your account-wide embed code to a template file, commonly the footer.php file, just before the closing body tag.
- Or, use Google Tag Manager.

