OptinMonster’s folders feature is a powerful tool to help you organize and target campaigns with Display Rules.
In this article, you’ll learn how to use OptinMonster’s folders feature.
Before you start, this feature requires a Growth subscription.
Create a Folder
When you have several campaigns in your account, you can use folders to help organize them. You may find it helpful to group campaigns that offer the same promotion, by season/holiday, or another common theme.
To create a folder, follow these steps:
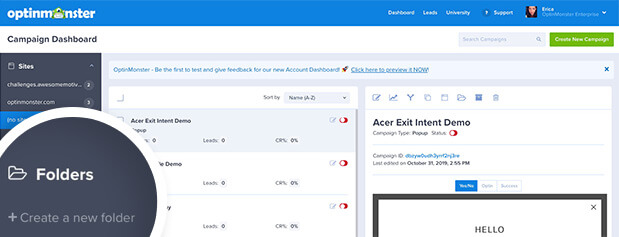
- From the OptinMonster Dashboard, under Folders in the left sidebar select + Create a new folder.
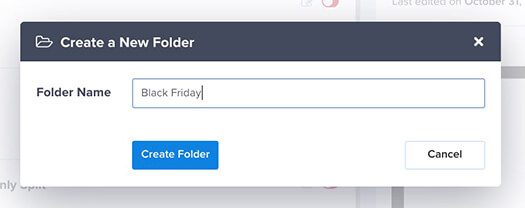
- A popup will appear, enter the name of your new folder and select the Create Folder button.
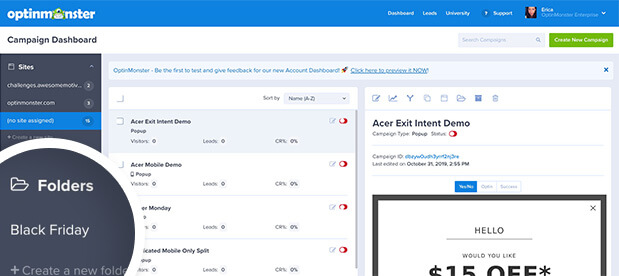
- Your new folder will now appear in the left sidebar of the Dashboard.
Add Campaign to Folder
To add a campaign to a folder, follow these steps:
- From the OptinMonster Dashboard, select the campaign you want to add to a folder and then click on the Add to Folder icon in the right preview pane for that campaign.
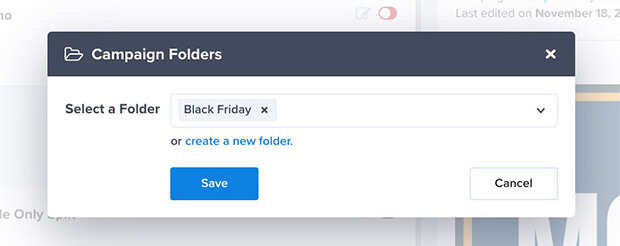
- A popup will appear, select the folder you want to add the campaign to from the dropdown. If the folder doesn’t exist yet you can also create a new folder during this process.
- Once you’ve selected the folder(s) you want to add the campaign to select the Save button.
Target Campaign by Folder
You can use folders to control how campaigns are shown or hidden from visitors on your website.
Similar to our MonsterChains feature, you can now show or hide a campaign if the visitor has seen, closed, or converted any campaign in a specific folder.
Note:
Targeting campaigns by folder requires a Growth subscription.
To target a campaign using folders, follow these steps:
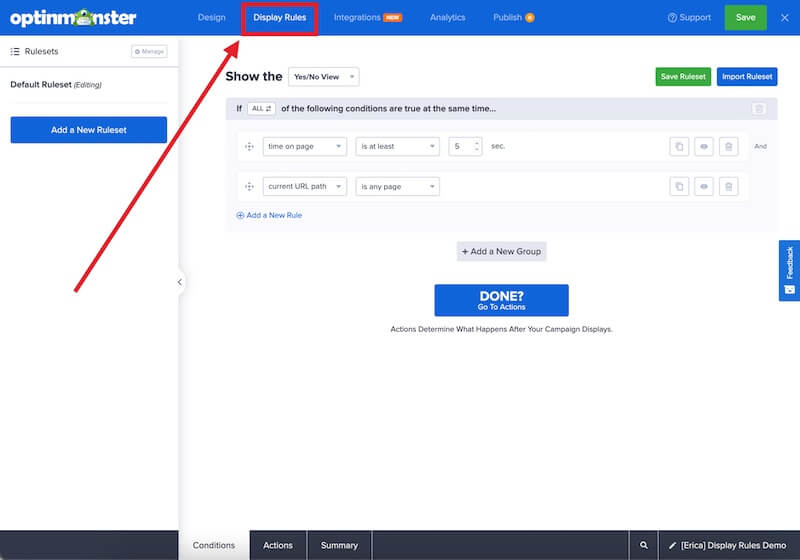
- Navigate to the Display Rules view in the campaign builder.
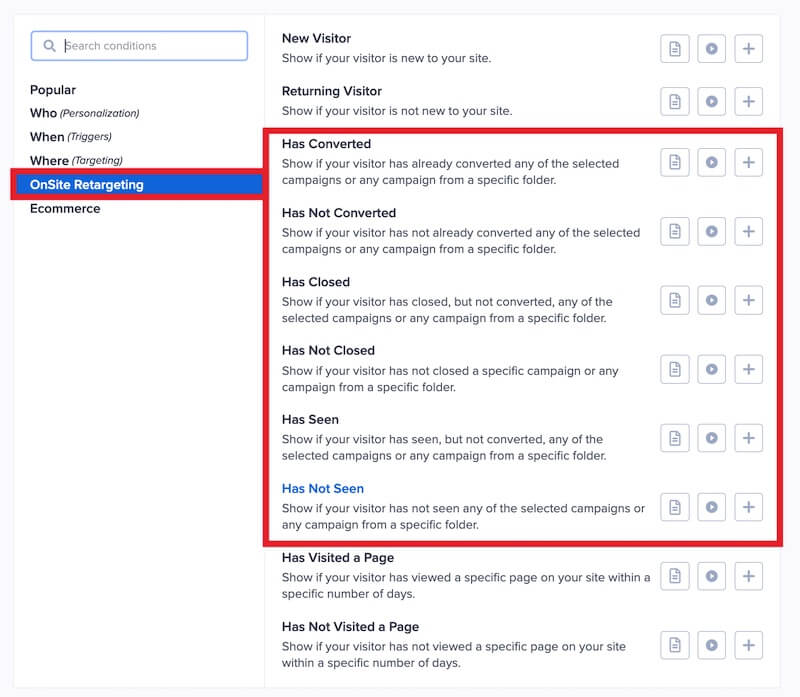
- Next, when adding or editing a rule select OnSite Retargeting from the left-hand list and select from one of the following conditions:
- has converted
- has not converted
- visitor has closed
- visitor has not closed
- visitor has seen
- visitor has not seen
- When configuring the rule you’ve selected, select campaign folder from the first dropdown then search for and select the specific folder you wish to target from the second field.
- When you’re finished, Save the campaign.
If you’re serious about jumpstarting your website business growth, then get started with OptinMonster today!
Get Started With OptinMonster Today!BONUS: Done-For-You Campaign Setup ($297 value)
Our conversion experts will design 1 free campaign for you to get maximum results – absolutely FREE!
Click here to get started →
Troubleshooting
I want to use a folder that’s not in the dropdown when configuring the Display Rules.
Because it’s not possible to create folders from the campaign builder’s Display Rules view, be sure you’ve created the folder you want to use from the Campaign Dashboard before configuring these rules.
How do I delete a folder?
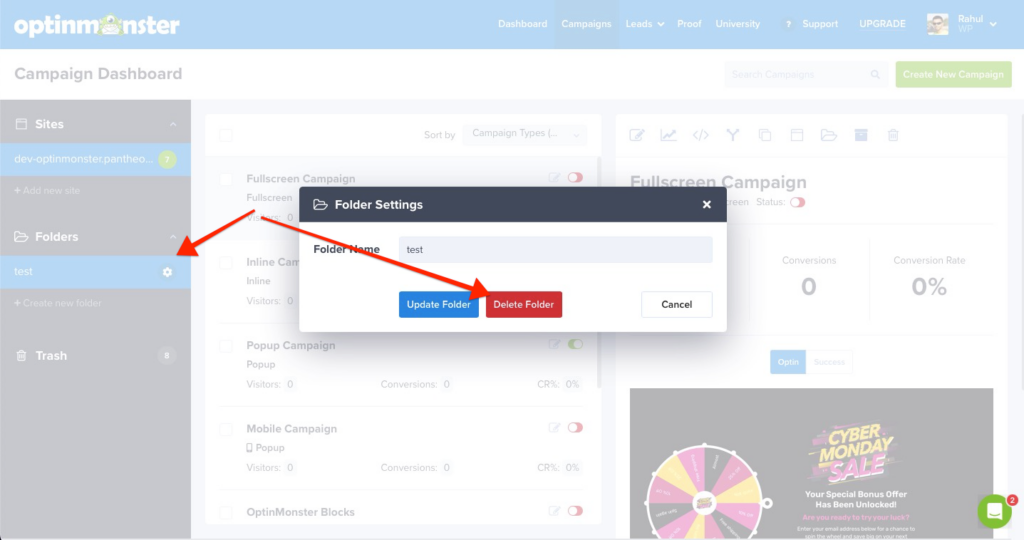
You can click on the gear icon next to the folder name and then click on ‘Delete folder’ to confirm.

