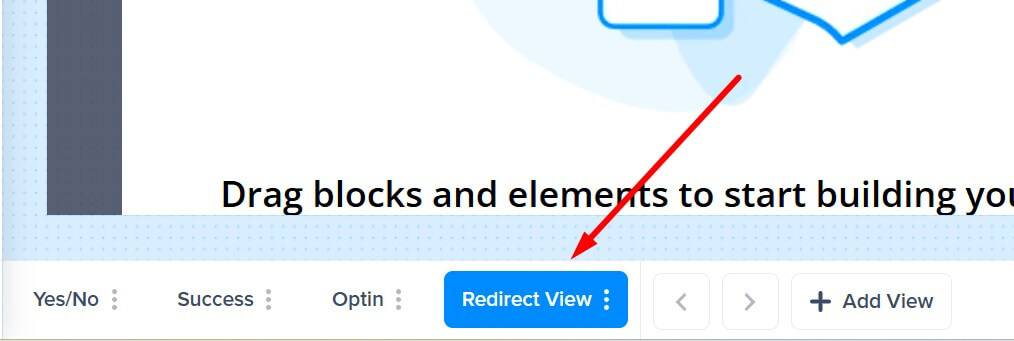
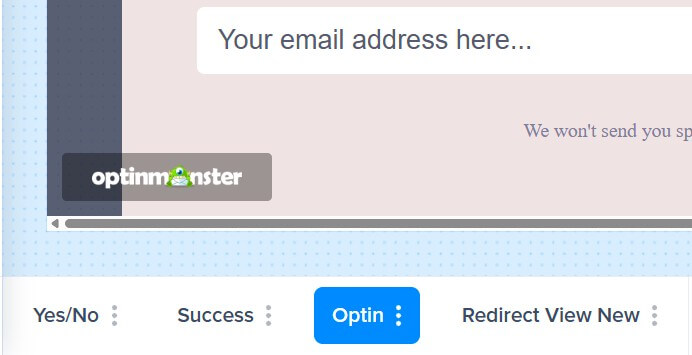
OptinMonster allows you to add multiple views to a single campaign, going beyond just the default Yes/No, Optin and Success views. Multiple Views allows you to tailor the campaign experience to your specific needs and goals, creating a more personalized and engaging experience for your visitors.
In this article, you’ll learn how to add and manage multiple views in your OptinMonster campaigns.
Before you start, this feature is available with a Plus and higher subscription.
Create New View
To add new view, follow these steps:
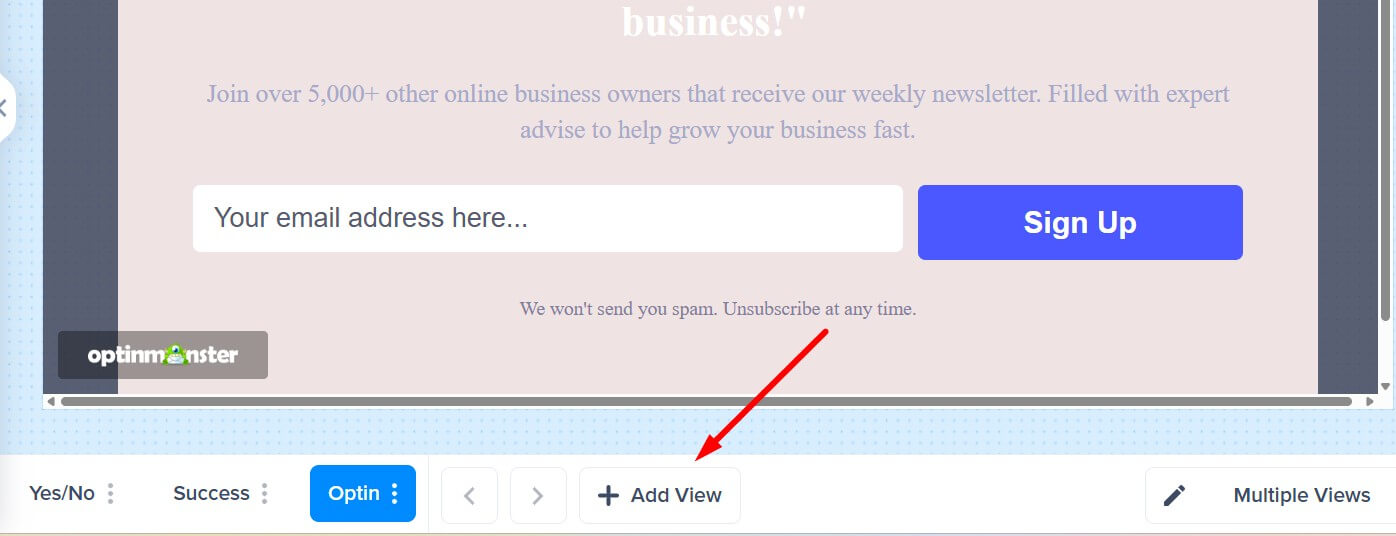
- From the Design view of the campaign builder, select the Add View button found in the bottom toolbar.
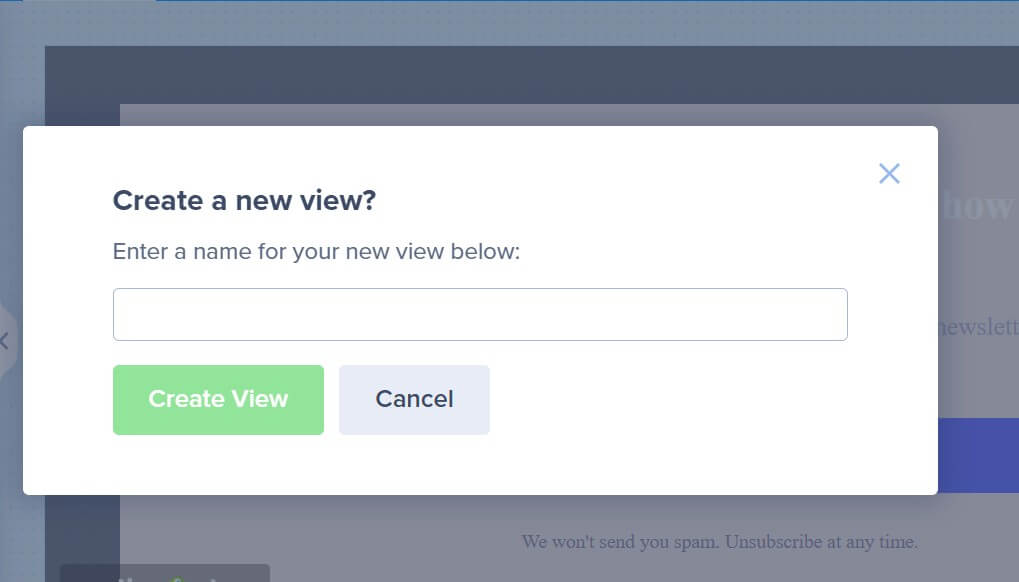
- A modal will appear, prompting you to enter a name for the new view. Therefore, you should give it a meaningful name, as this name will be visible in button Actions or Display Rules.
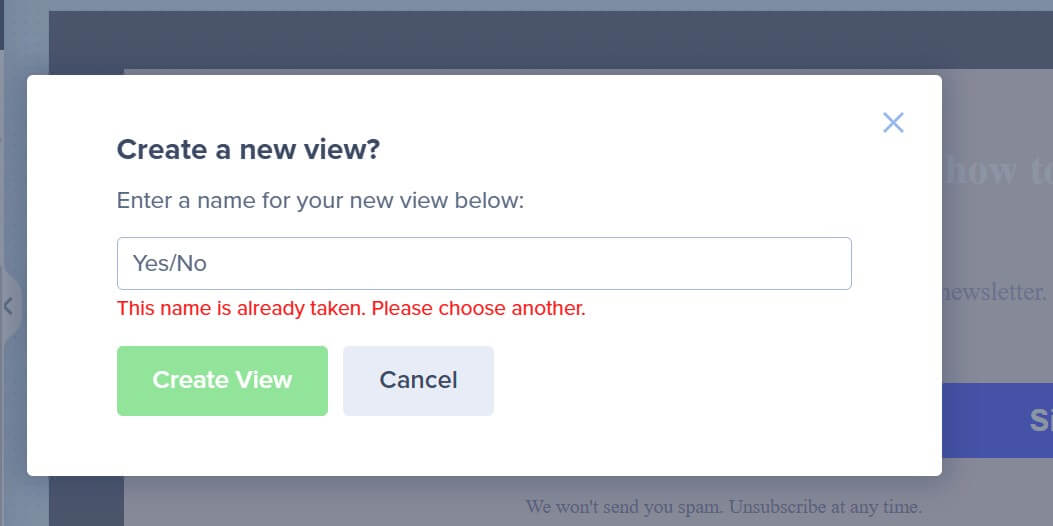
- Enter a unique name for the view. Please note that the name must be different from any existing multiple views.
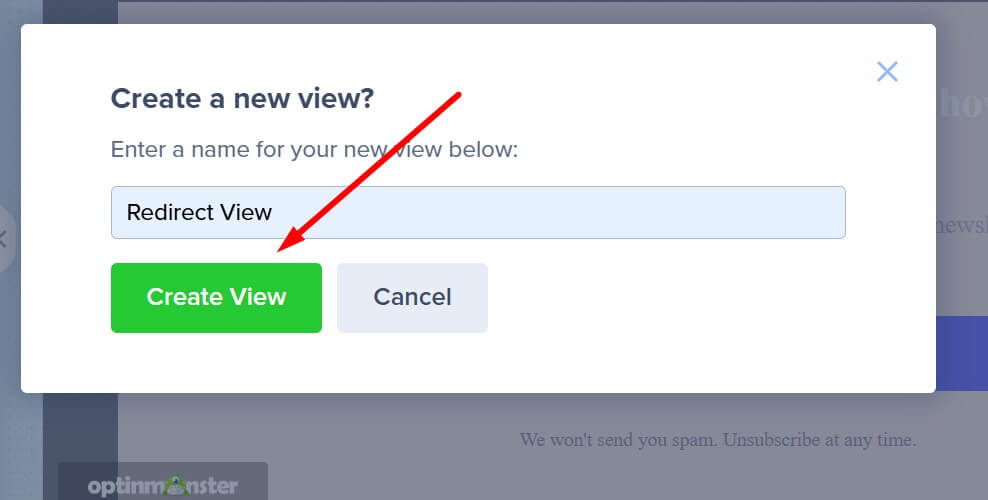
- After entering a unique name, click the Create View button.
- When you add a new view, it will appear at the end of the list. Additionally, the builder will automatically select the new view as the current view.
Rename View
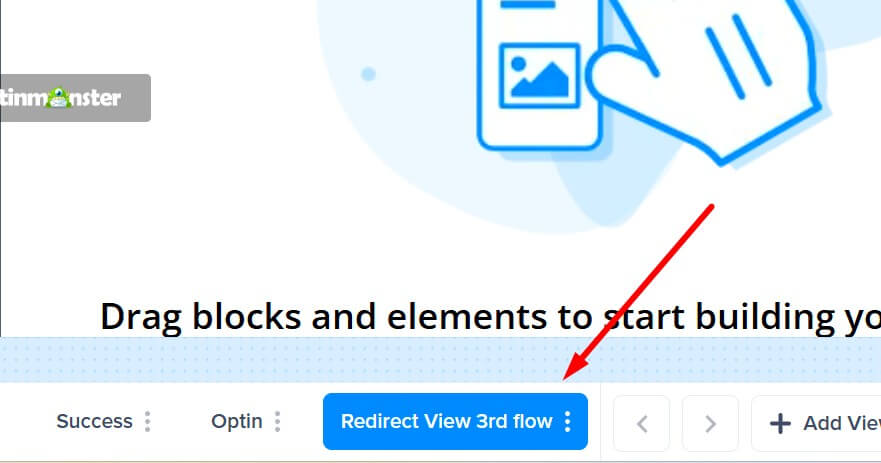
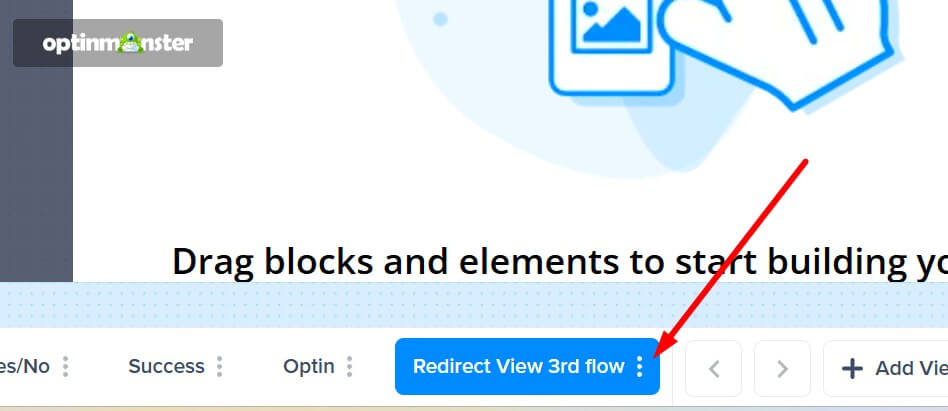
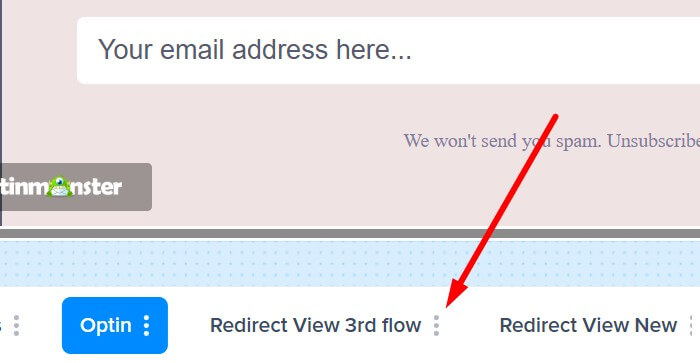
When you rename a view, its name will be updated everywhere it is used, including Display Rules and button Actions.
Follow these steps to rename an existing view:
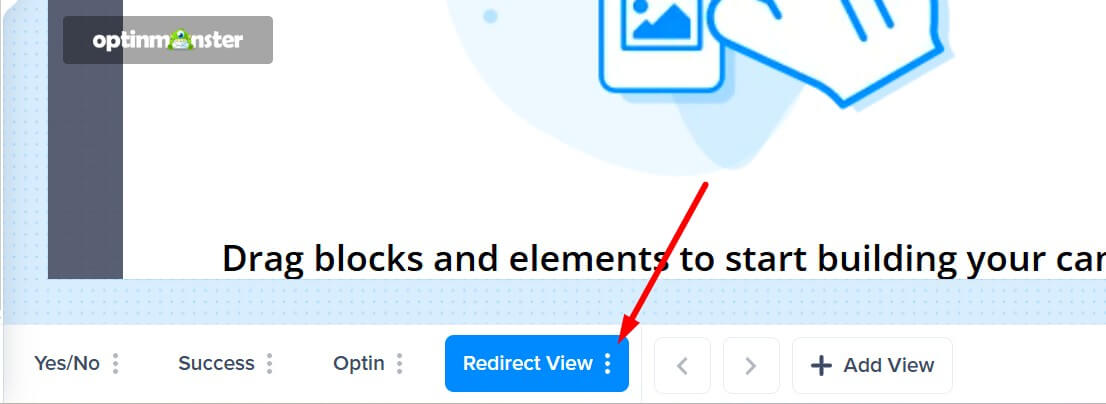
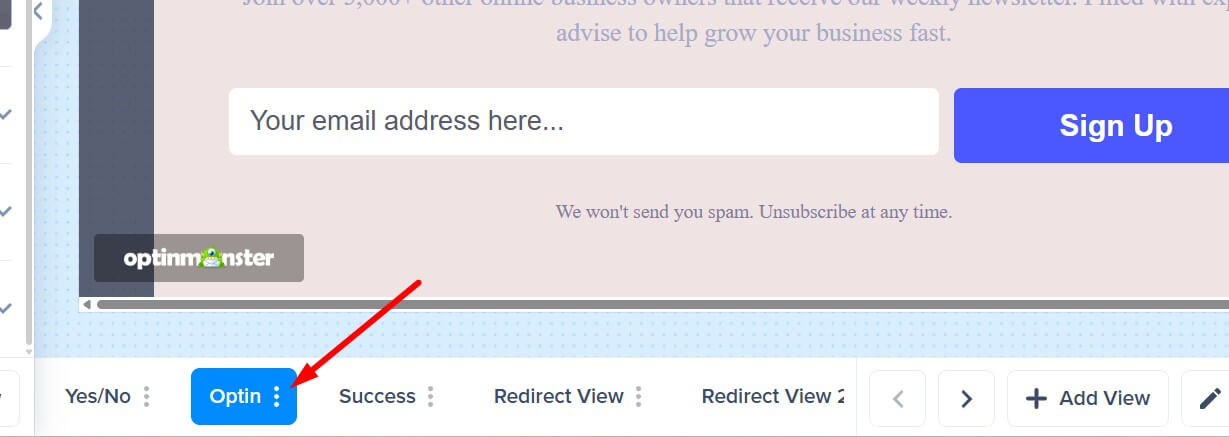
- Click the three dots next to the view name.
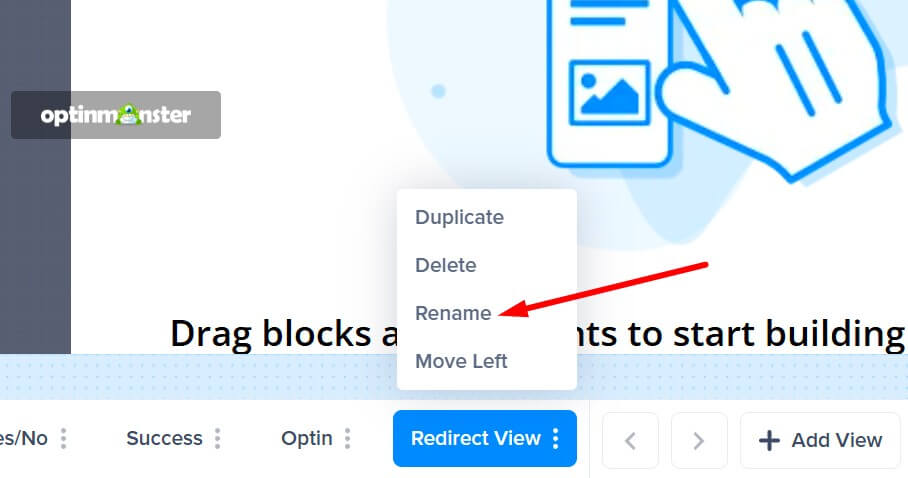
- Select Rename from the menu.
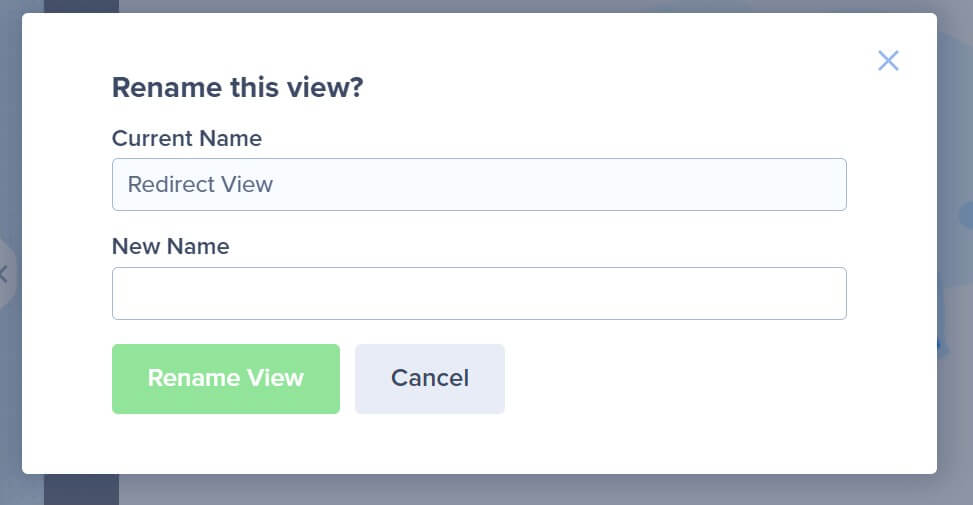
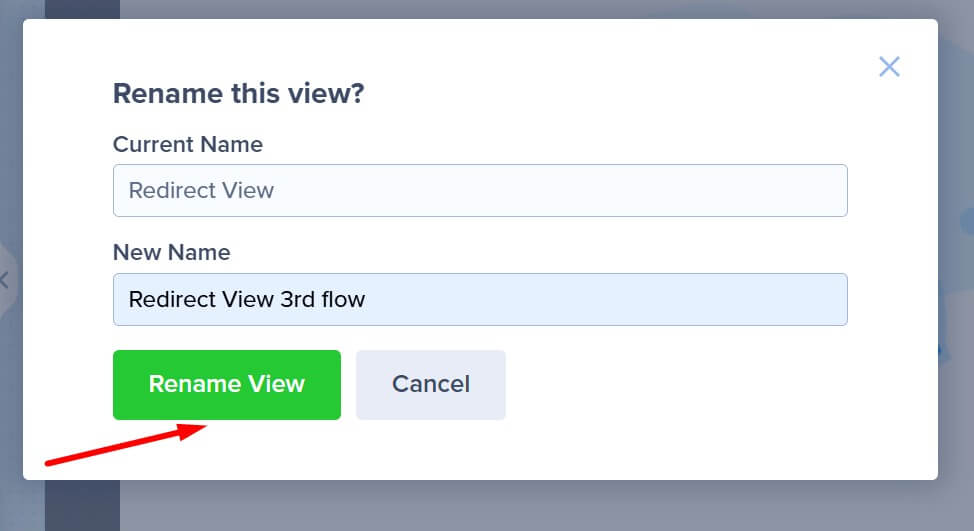
- A prompt will appear asking you to enter a new name for the view.
- Just like adding a new view, the name must be unique and not already in use. Otherwise, you won’t be able to save it.
- Click the Rename View button to apply the changes.
Duplicate Views
To duplicate an existing view, follow these steps:
- Click the three dots next to the view name.
- Select Duplicate from the popup menu.
- A modal will appear prompting you to enter a name for the duplicated view. By default, the name will be the original view’s name with a “-copy” suffix.
- Enter a new name and click the Duplicate View button.
- The builder places the duplicated view right after the original view it was copied from. Please note that when you duplicate a view, the new duplicated view will not be selected as the current active view. Therefore, to make any changes to the duplicated view, you must click on it first in the bottom toolbar.
Delete Views
You can delete a view from your campaign at any time. In particular, this can be helpful for removing multiple views you no longer use and keeping your campaign organized.
Important
This action will be available only if the campaign has more than one view, meaning you cannot delete all views. When you delete a view, it will be removed from all locations where it was included, such as Display Rules and button Actions.
To delete a view, follow these steps:
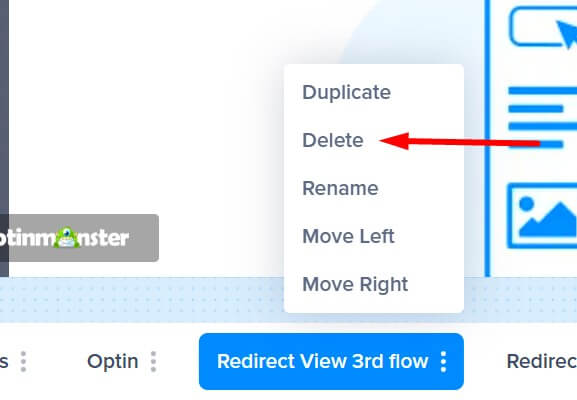
- Click the three dots next to the view.
- Select Delete from the menu.
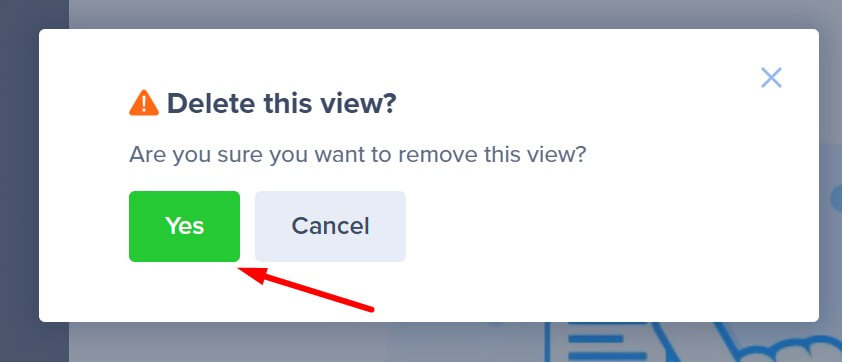
- A confirmation prompt will appear. Select Yes to confirm the permanent deletion of this view.
- If the deleted view was the active view, then the next available view will automatically become the active one.
Organize Views
If you add a new view, the builder will place it at the end of the list in the bottom toolbar, but you can rearrange the order of the views.
To change position of a view, follow these steps:
- Click the three dots next to the view you want to move.
- Select the move option:
You can only move the left-most view (the first view) to the right. Similarly, views in the middle are flexible, allowing you to move them both left and right. However, you can move the right-most view (the last view) only to the left.
You can also click and drag a view to a new position in the bottom toolbar and drop it where you want it to appear.
FAQs
Why would I use multiple views in a campaign?
For example, you could create a campaign where, after the user opts in, a custom “Thank You” view appears with a special offer. Then, a follow-up view could provide additional content or a survey to gather feedback, all within the same campaign.
On the other hand, you might have two Yes/No views triggered by different display rules. For instance, one Yes/No view appears when the popup triggers due to Exit-Intent, while another shows when the popup activates based on the Time Delay. As a result, you can create a more personalized campaign tailored to user actions, enhancing engagement and effectiveness.
What happens if I delete a view that is assigned to Display Rules?
The selected view will automatically switch to the first view of the campaign. Therefore, you should check the display rules to see which view will be set after deletion.
What happens if I delete a view that is set to change on button Actions?
Deleting a view set for button Actions will leave the button Action empty, with no view assigned to it. Therefore, it is important to check your button Actions after deleting a view to ensure that all button Actions are set.
Learn more about using button Actions in OptinMonster
Does the order in the footer reflect the order in which my views will be displayed?
The bottom toolbar displays the views in the same order as they appear in the editor, but this does not determine the sequence in which visitors see them. To set the order of views, however, you need to configure the Go to View action in the button Actions.
Learn more about configuring button Actions
If I have many views, can I scroll through the views bar to edit all of them?
As you add views, the arrows and the Add View button on the bottom toolbar will shift from left to right. Furthermore, if additional views overflow from the bottom toolbar, you can scroll to access them.
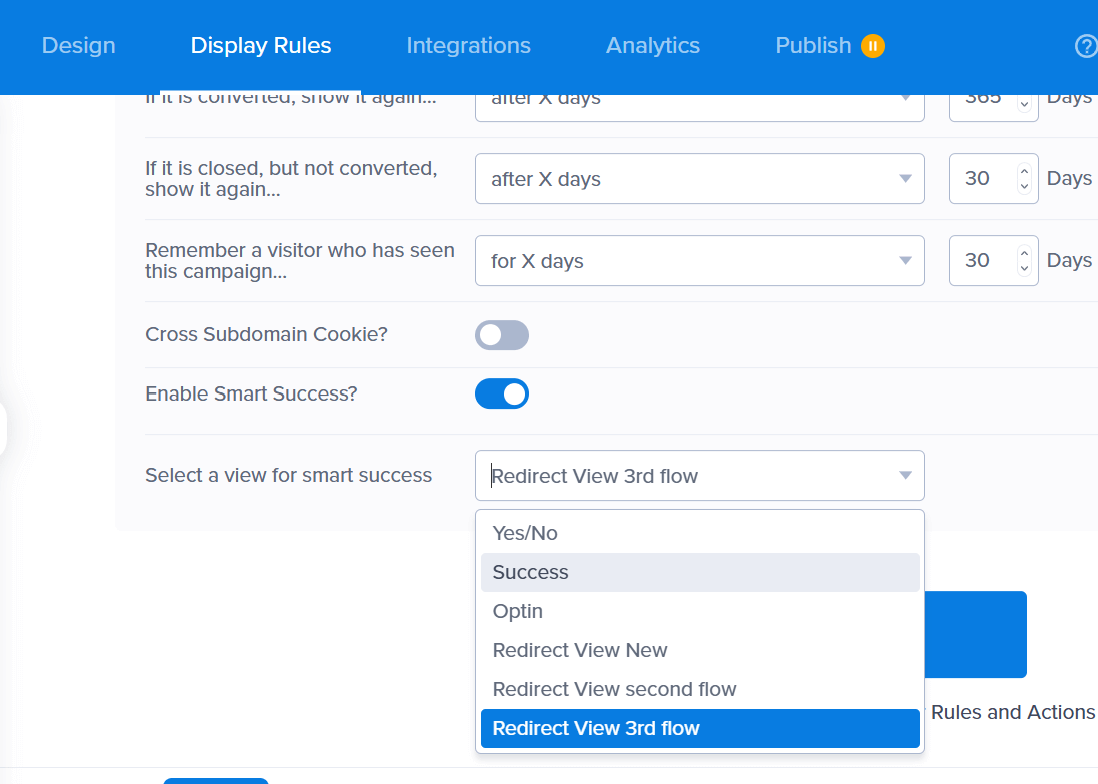
I have an inline campaign with Smart Success enabled. Now, I have added more views, and I want one of my new views to be displayed to visitors who have already converted. How can I do that?
A new dropdown will now appear once you enable the Smart Success, listing all the views you’ve created. You can use this dropdown to select a view that will be shown to visitors who have already converted the campaign.

