
Are you looking to create a well-organized and visually appealing layout for your campaigns? The Columns Block is the key! Think of it as the skeleton of your campaign. It creates the structure that holds all of your other content, like text, images, and buttons.
In this guide, we’ll walk you through how to use the Columns Block to build and structure your campaign layout whether you’re starting from scratch or customizing a template.
Build a Campaign Layout with Column Blocks
Every campaign is built using blocks, even those created from pre-designed templates. The best way to understand how blocks work is by starting with a blank canvas. This lets you see how column blocks form the foundational structure, or skeleton, of your campaign.
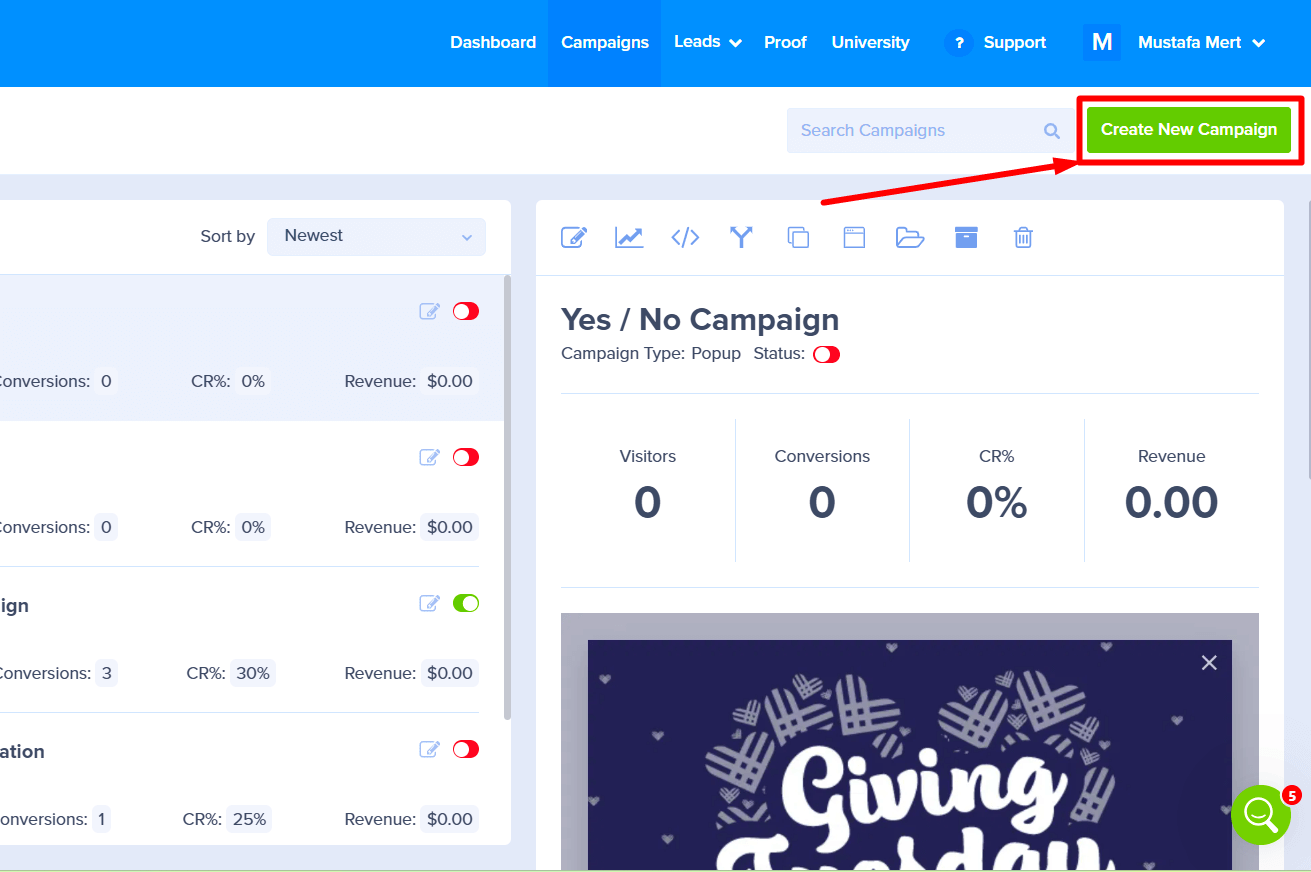
- From the Campaigns screen, select the Create New Campaign button.

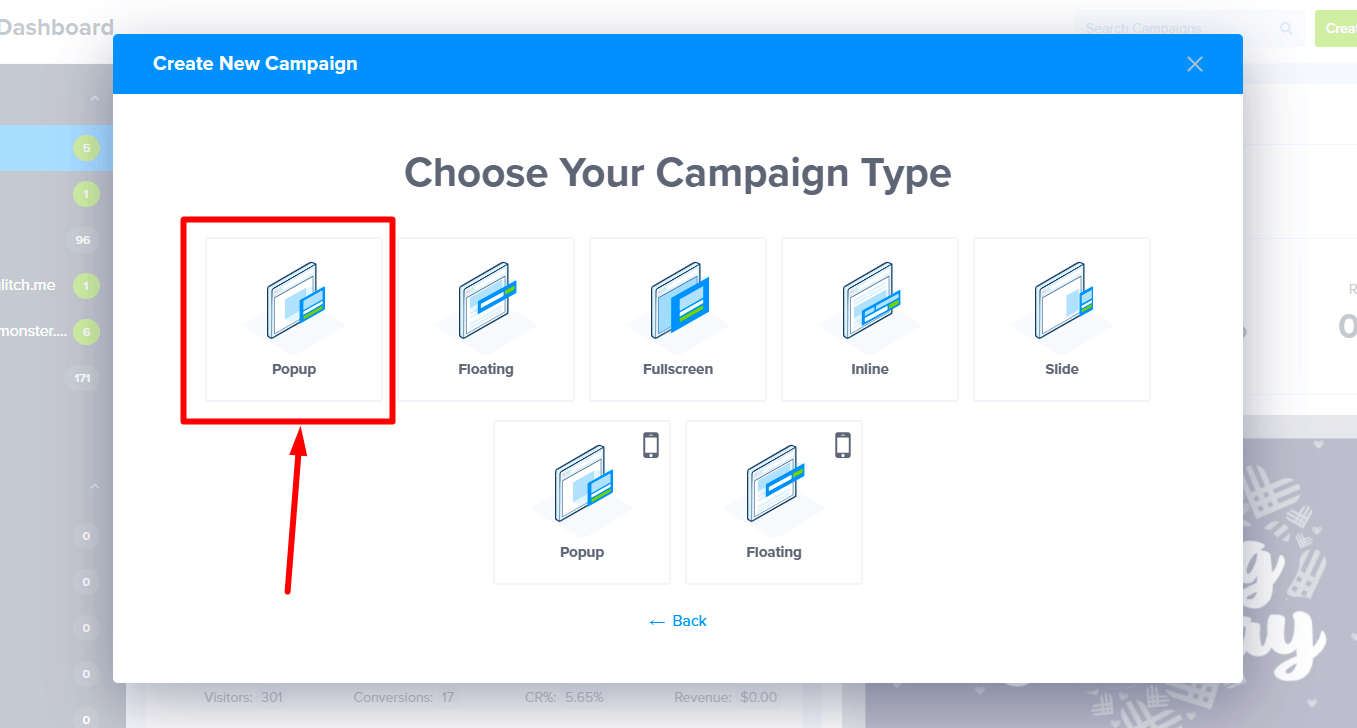
- Next, a window will pop up asking for your campaign type. Let’s select Popup.
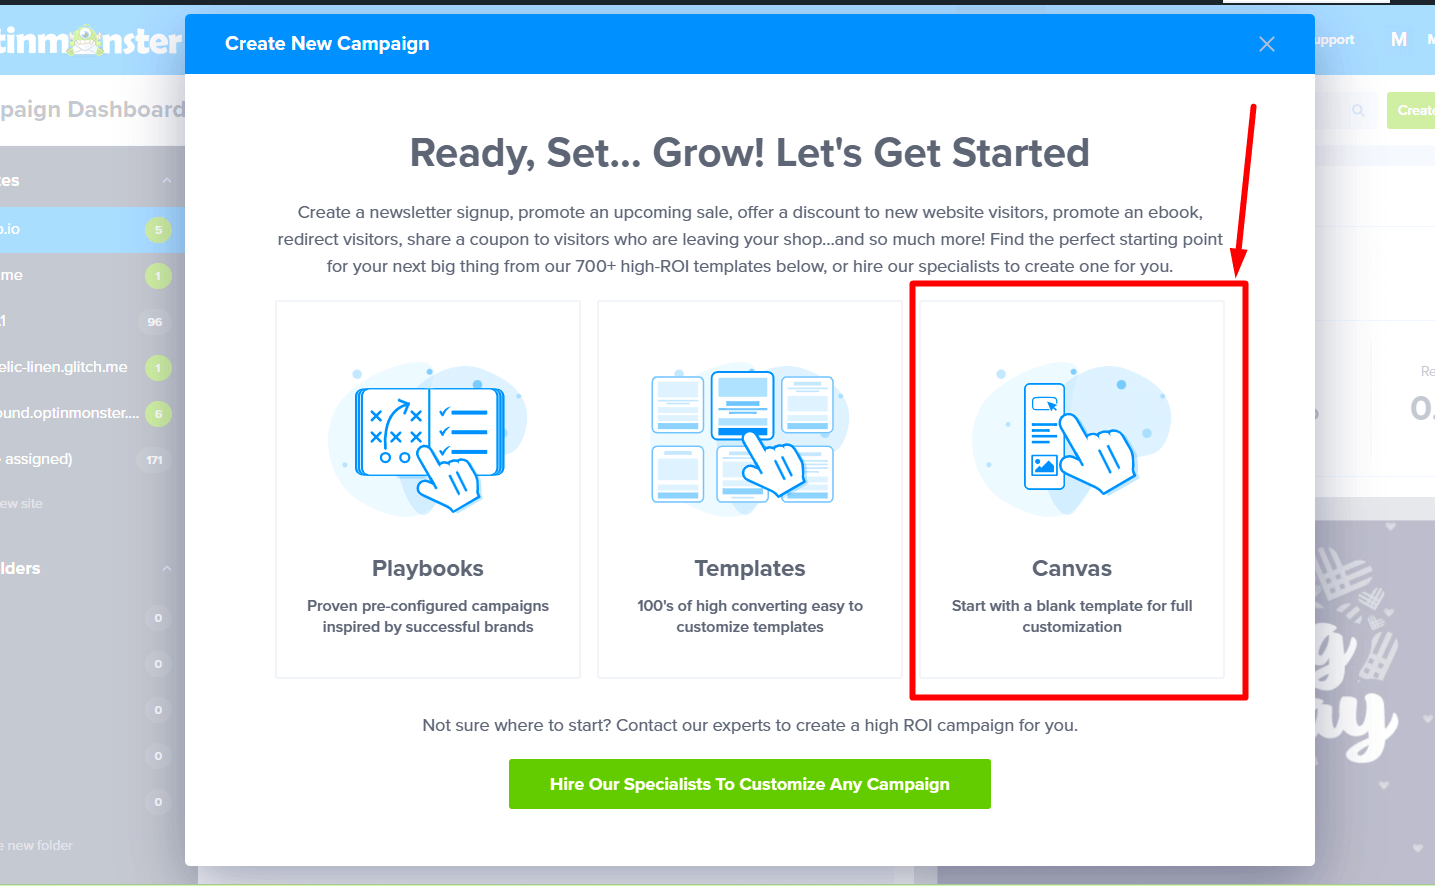
*We’ll use a Popup campaign for this example, but the steps are the same for any campaign type. - Now, you’ll see Create New Campaign modal. Since we’re starting from scratch, choose the Canvas template.
- Once you’ve selected a template you’ll be prompted to give it a name and assign it to a site in your account. Select the Start Building button to create the campaign and open it in the builder to customize.

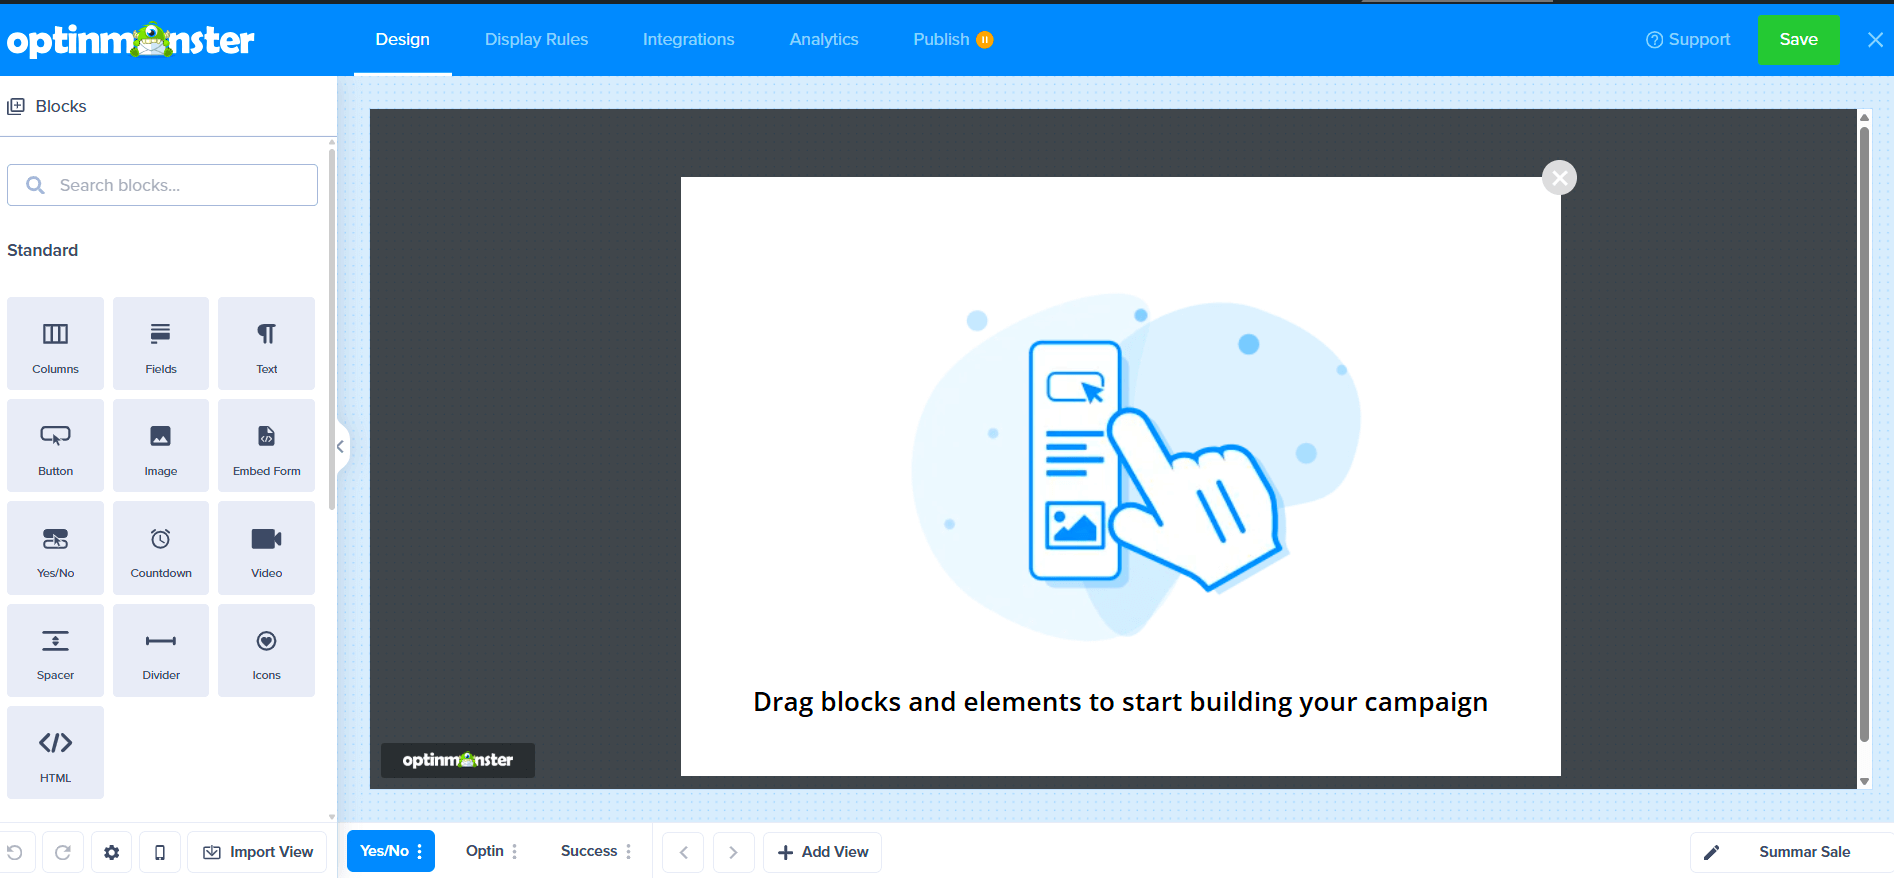
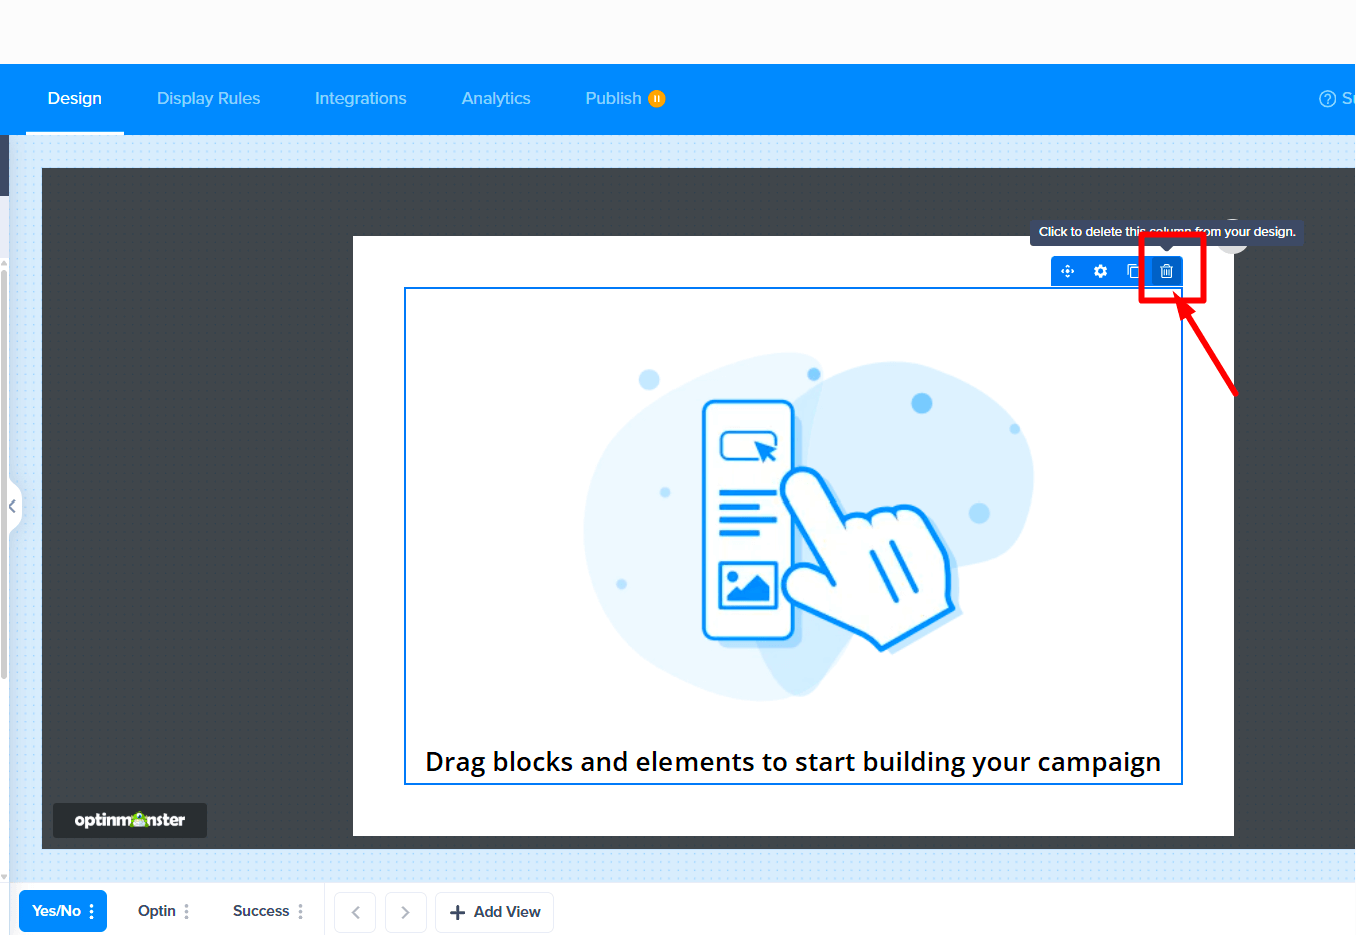
- Your Canvas campaign will open in the campaign builder with two default elements; an Image Block and a Text Block.
- Now, hover your mouse over the top right corner of the campaign, then click the trash can icon to delete it.
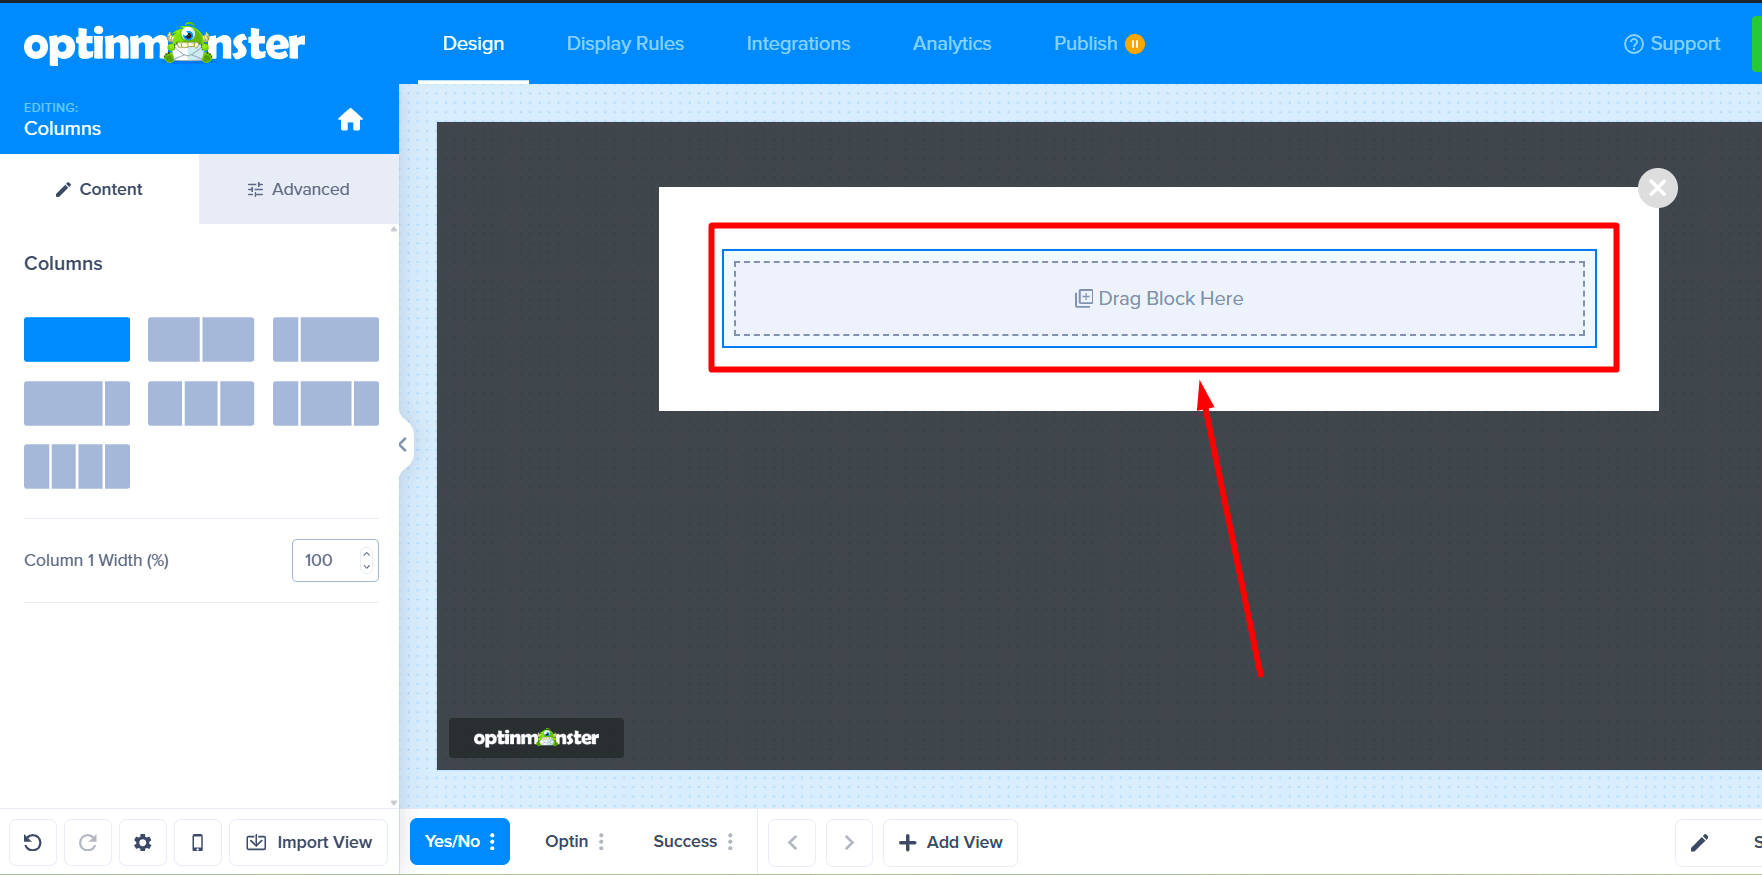
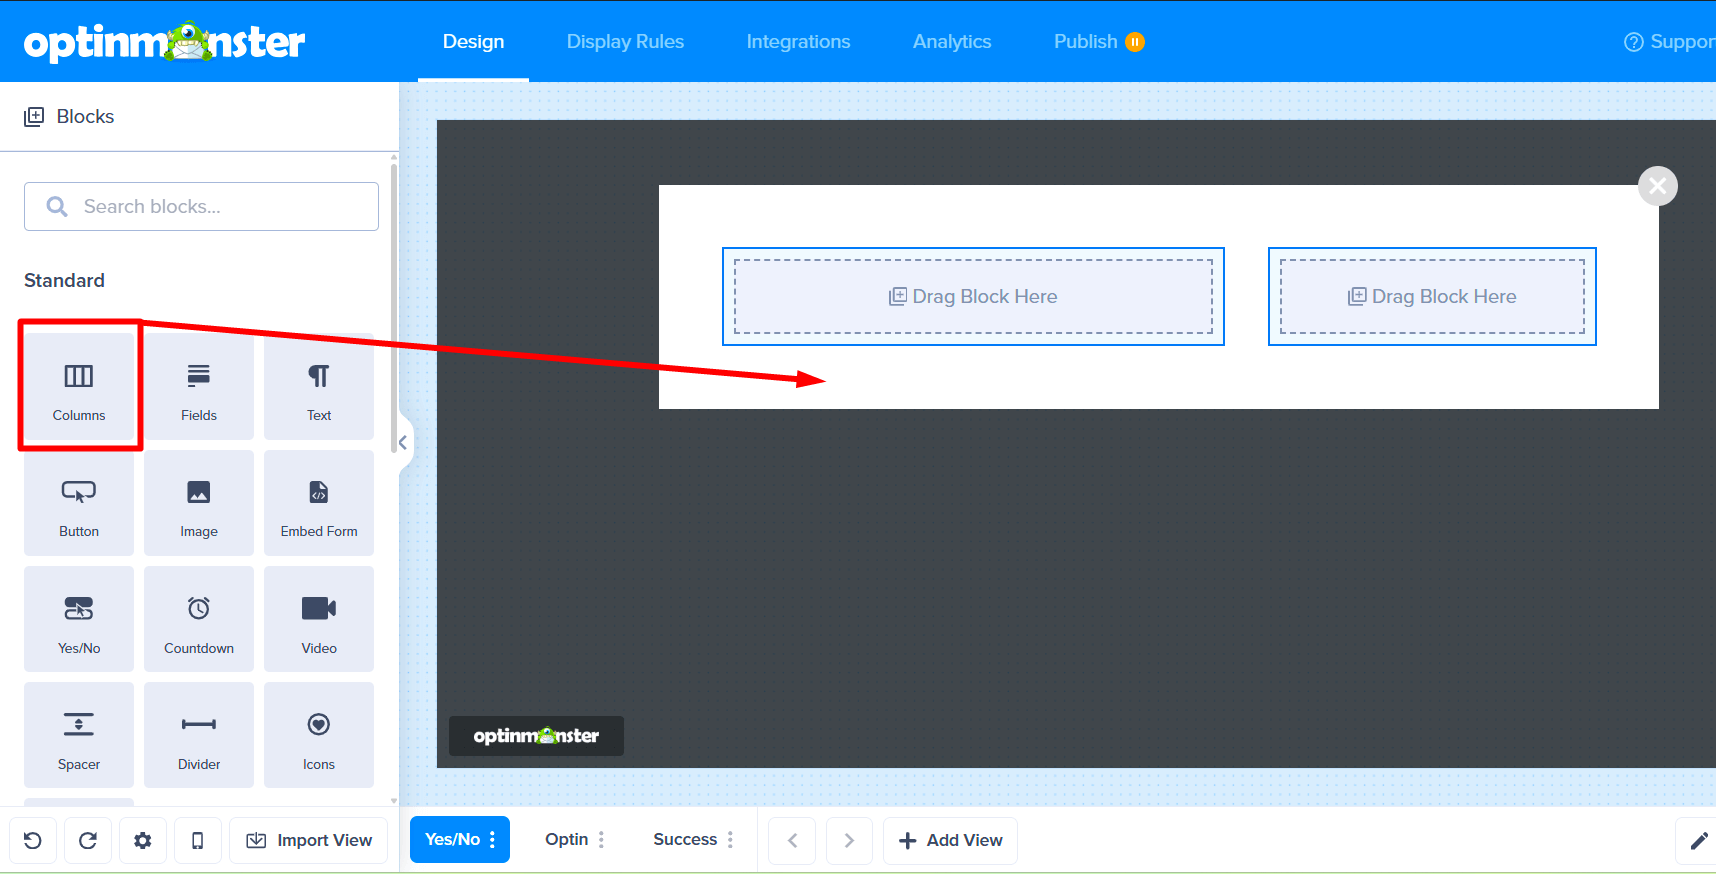
- Your campaign is now empty, showing a large + icon. Go ahead and click this to add your first block.

- Perfect! You’ve successfully added your first Columns Block.
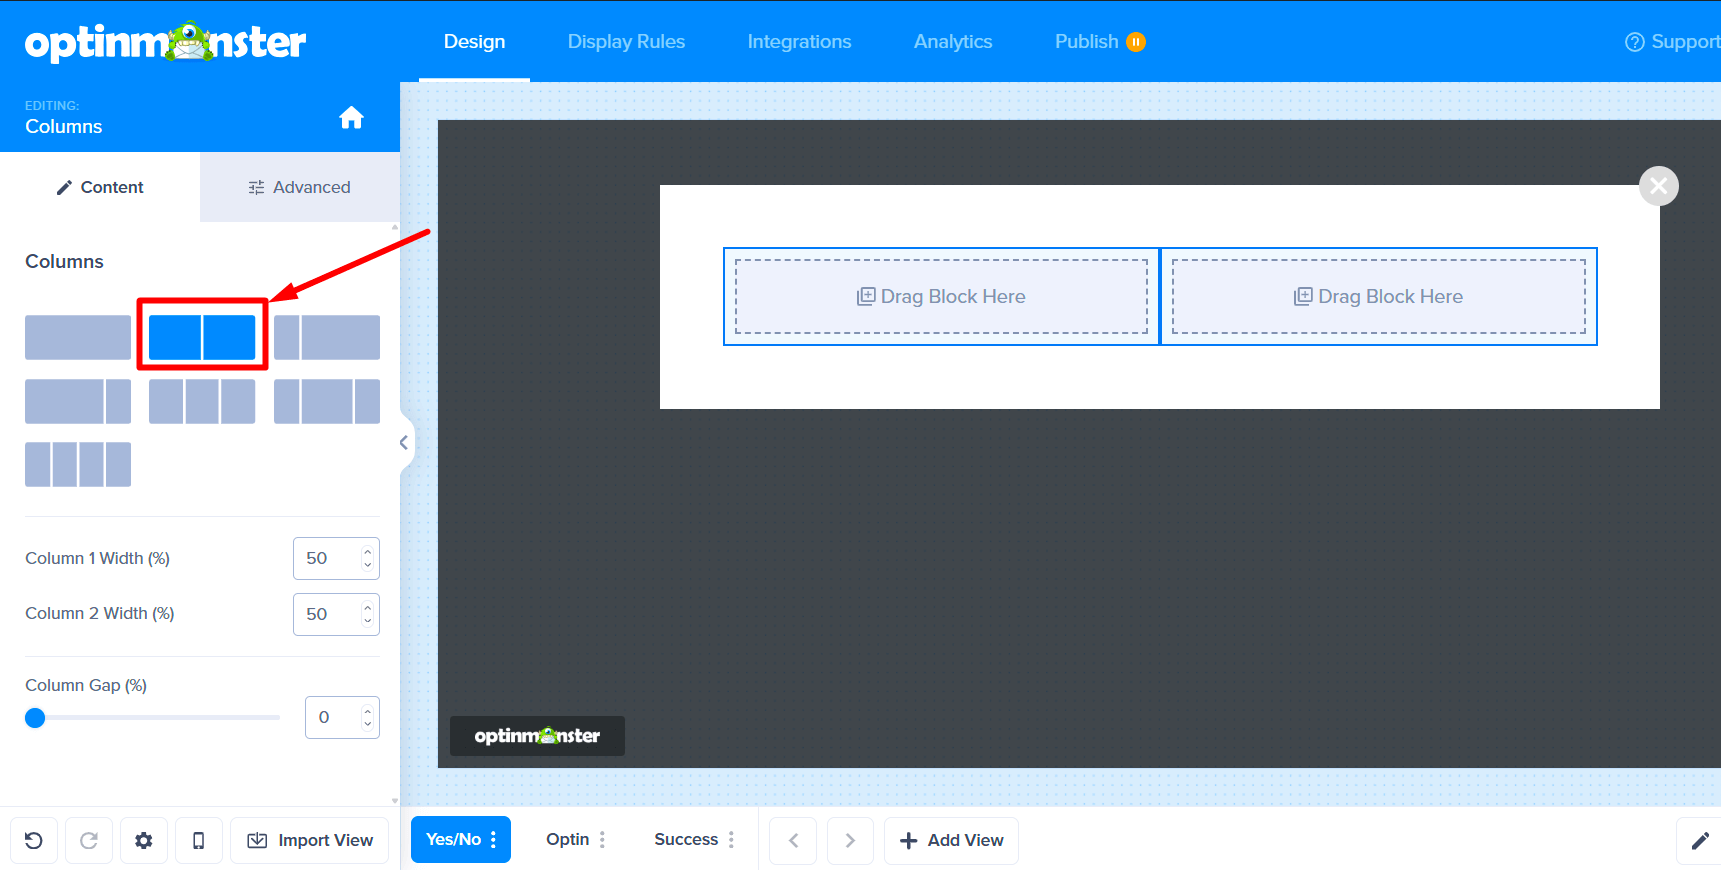
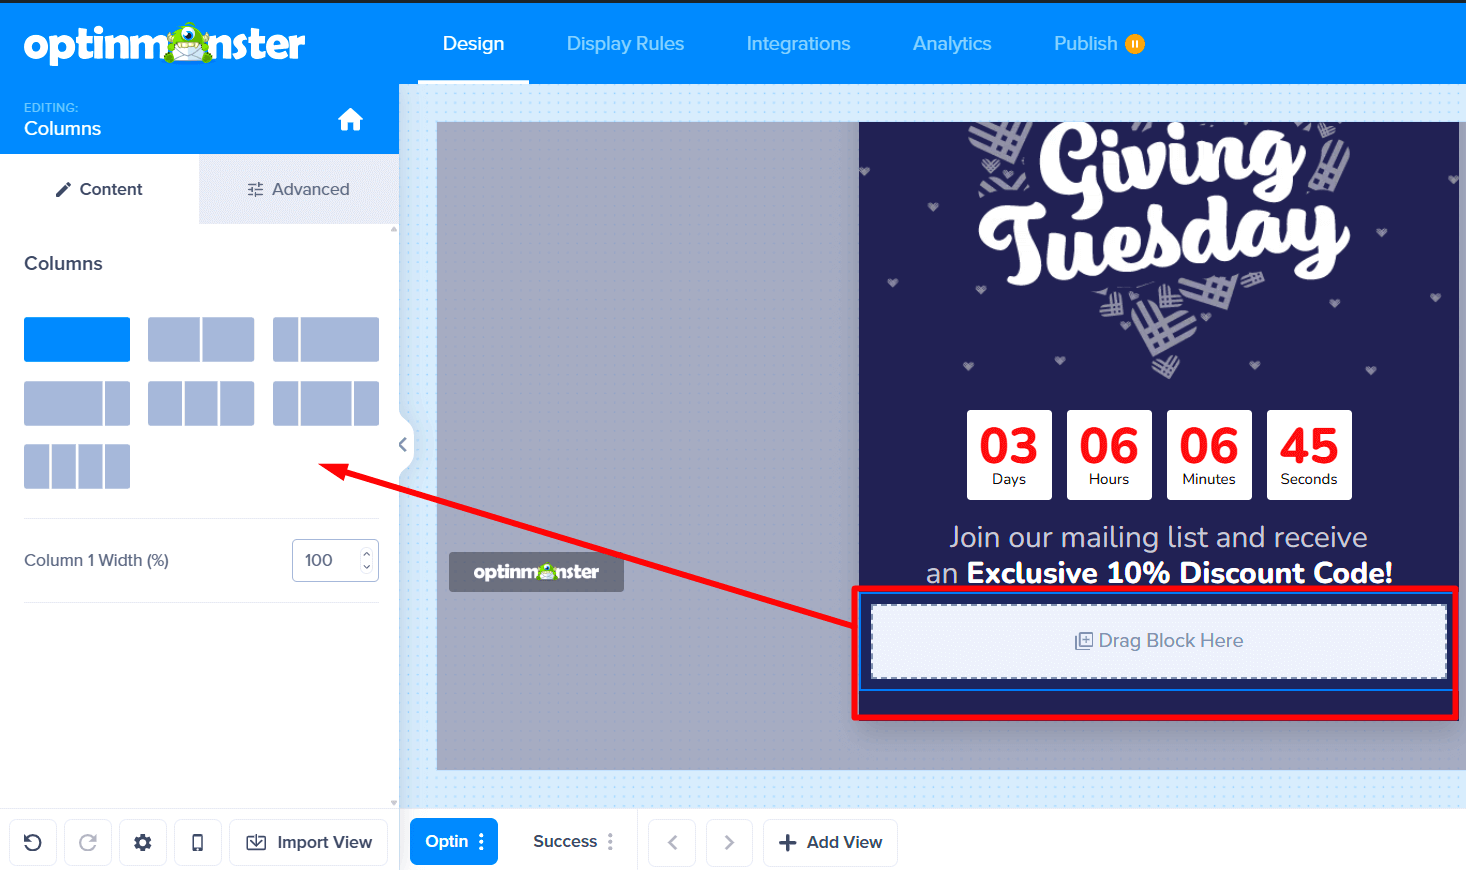
- With your new Columns Block selected, you can look at the settings in the left sidebar. Under the Content tab, you can choose a layout with a different number of columns.
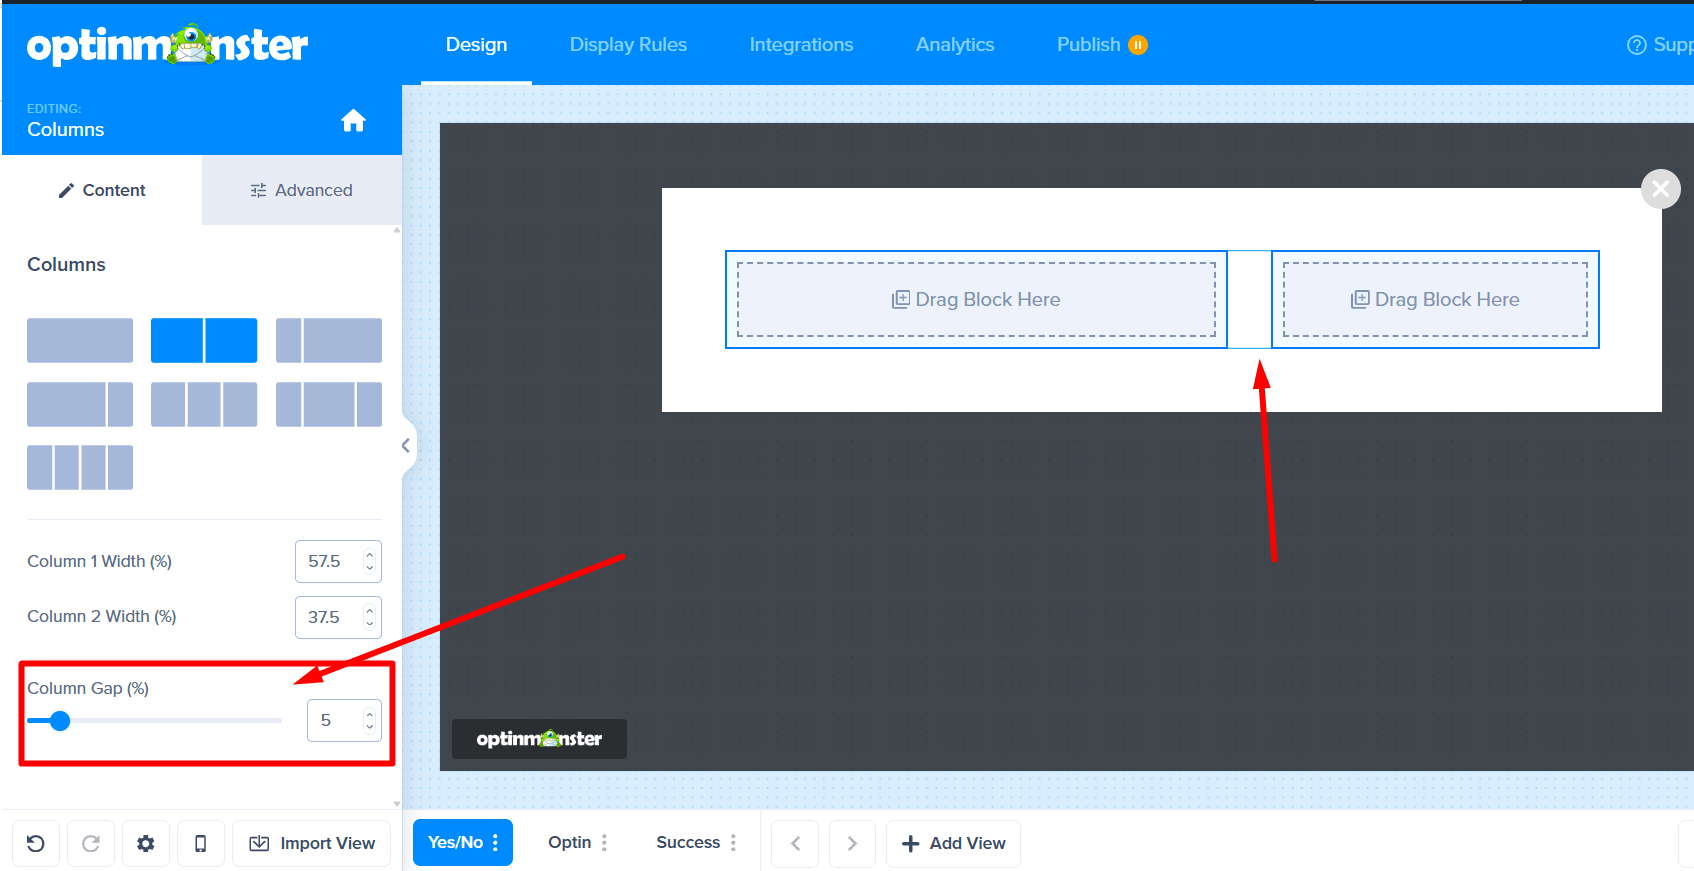
- For this example, let’s click on the 2-column layout. You now have two columns displayed side by side.
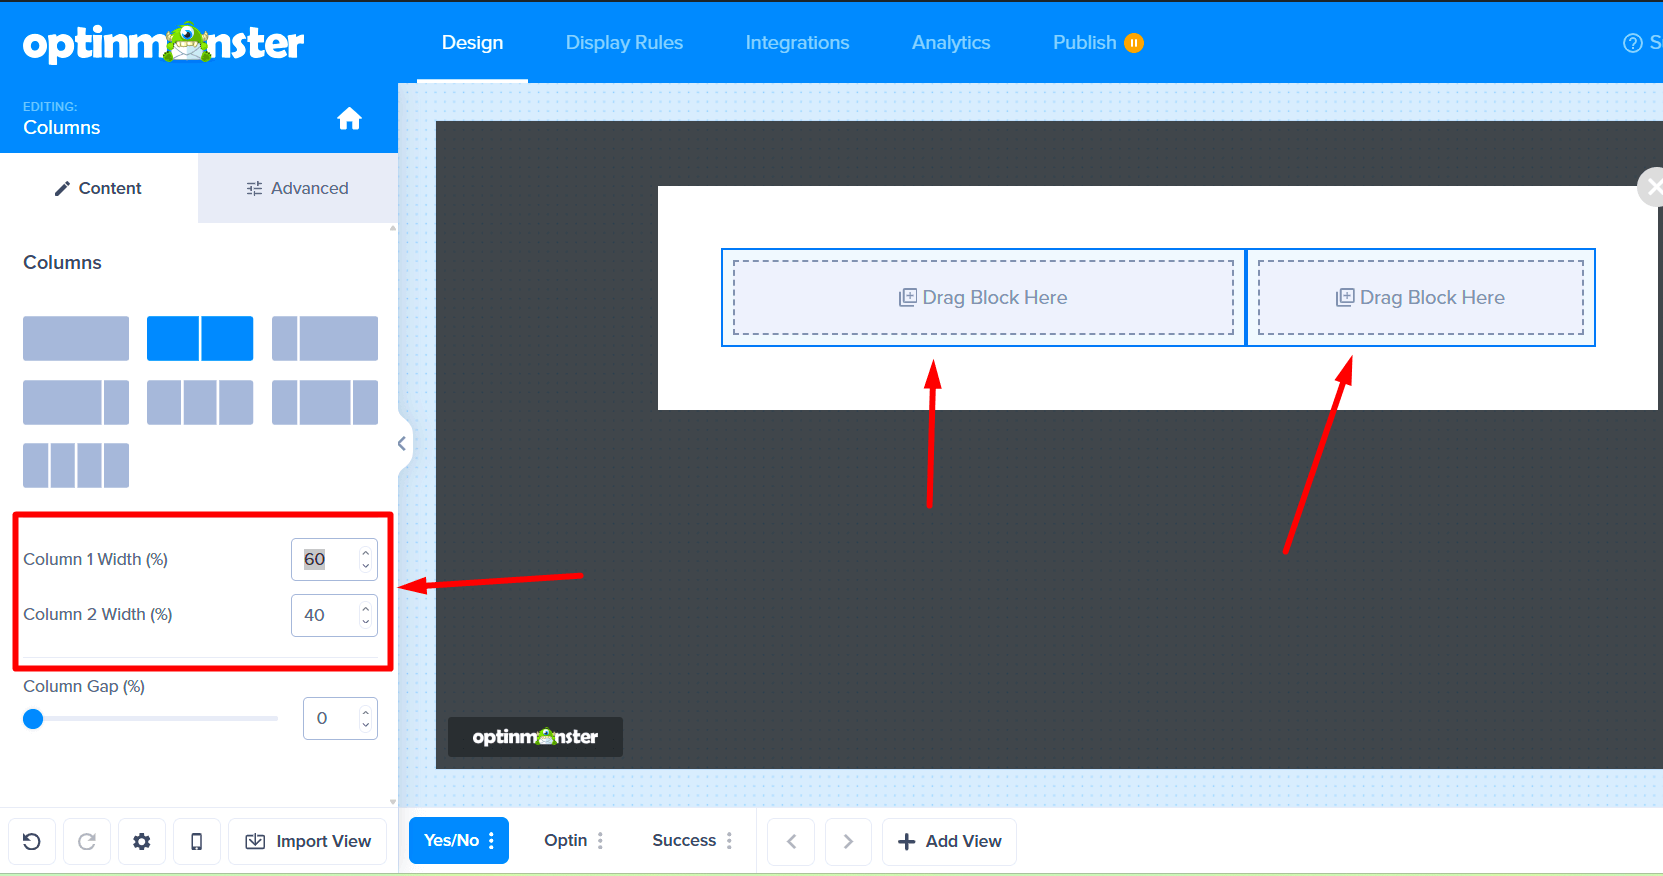
- You can easily change the width of each column by dragging the slider under Column Widths.
- To add a little breathing room between the columns, just adjust the Column Gap slider.
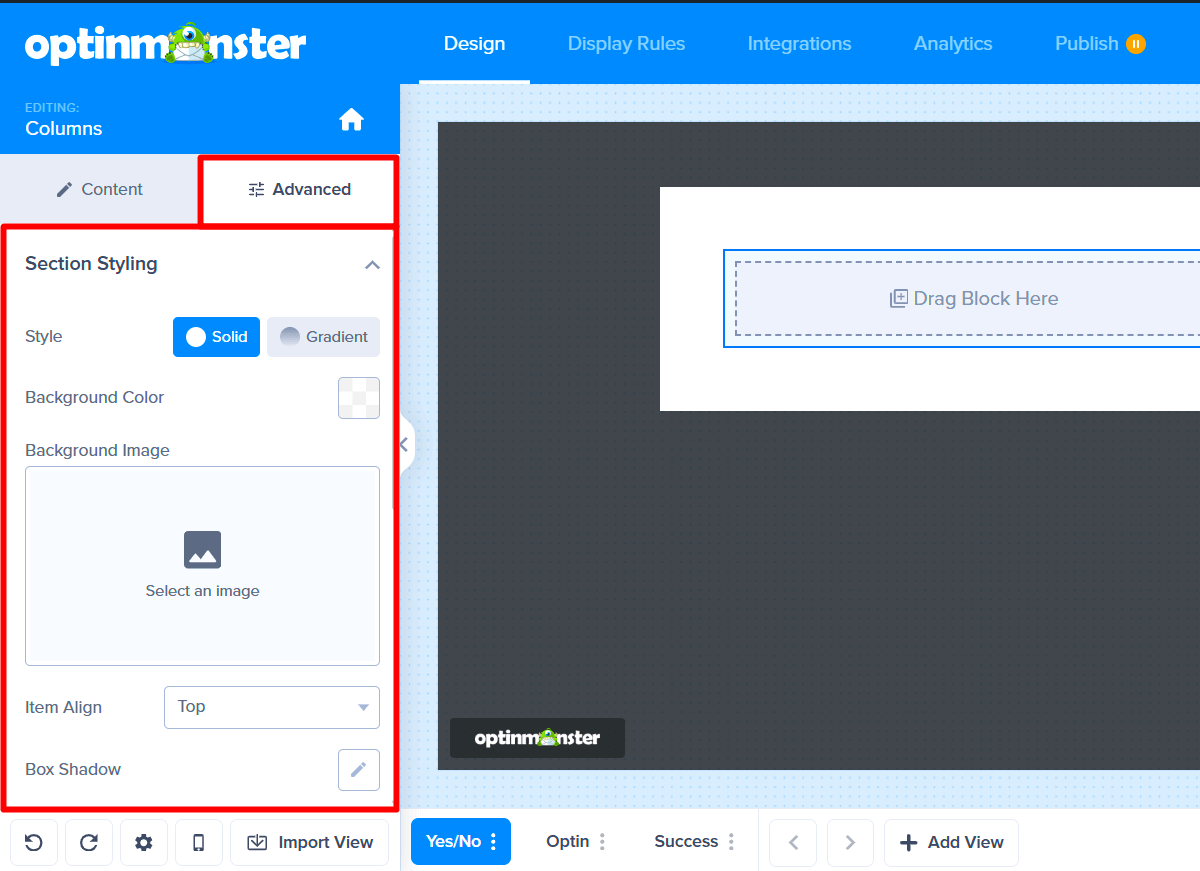
- To change the look of your columns, click on the Advanced tab. This is where you can style the entire row, like adding a background color or a border.
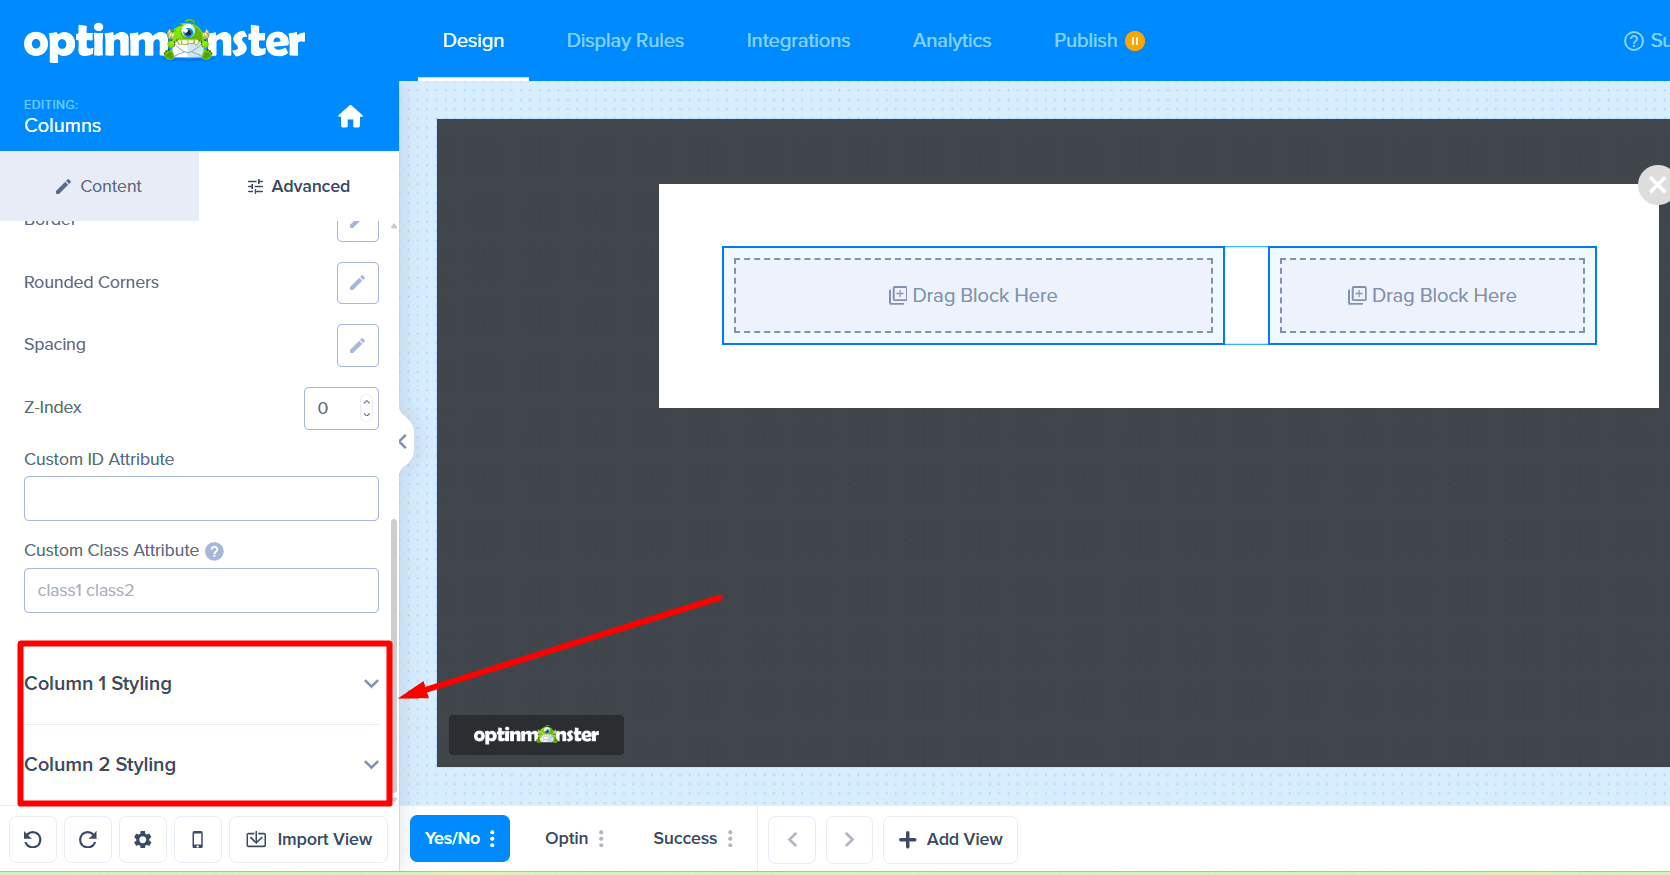
- If you scroll down in the Advanced tab, you’ll see options to style each column by itself.
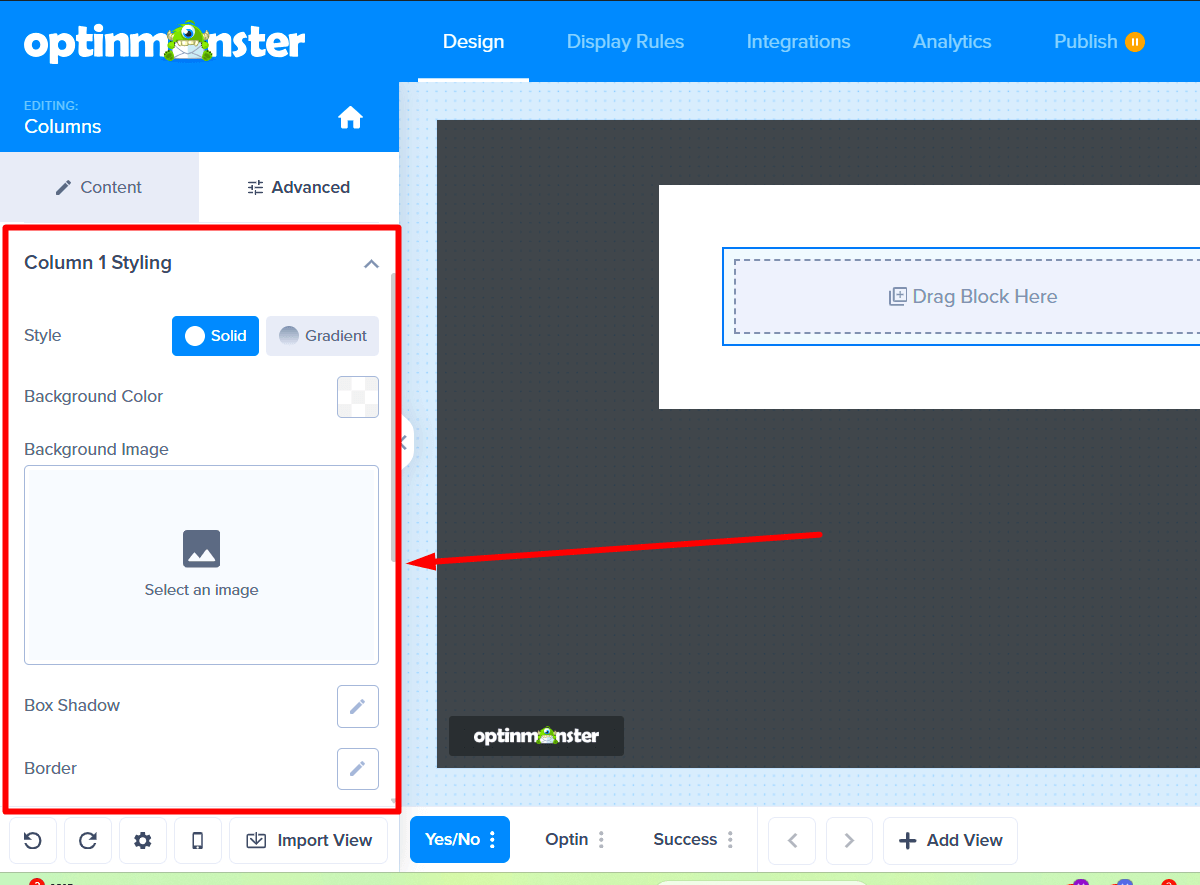
- Click on a column name, like Column 1, to open up its specific styling settings. This lets you customize each column separately.
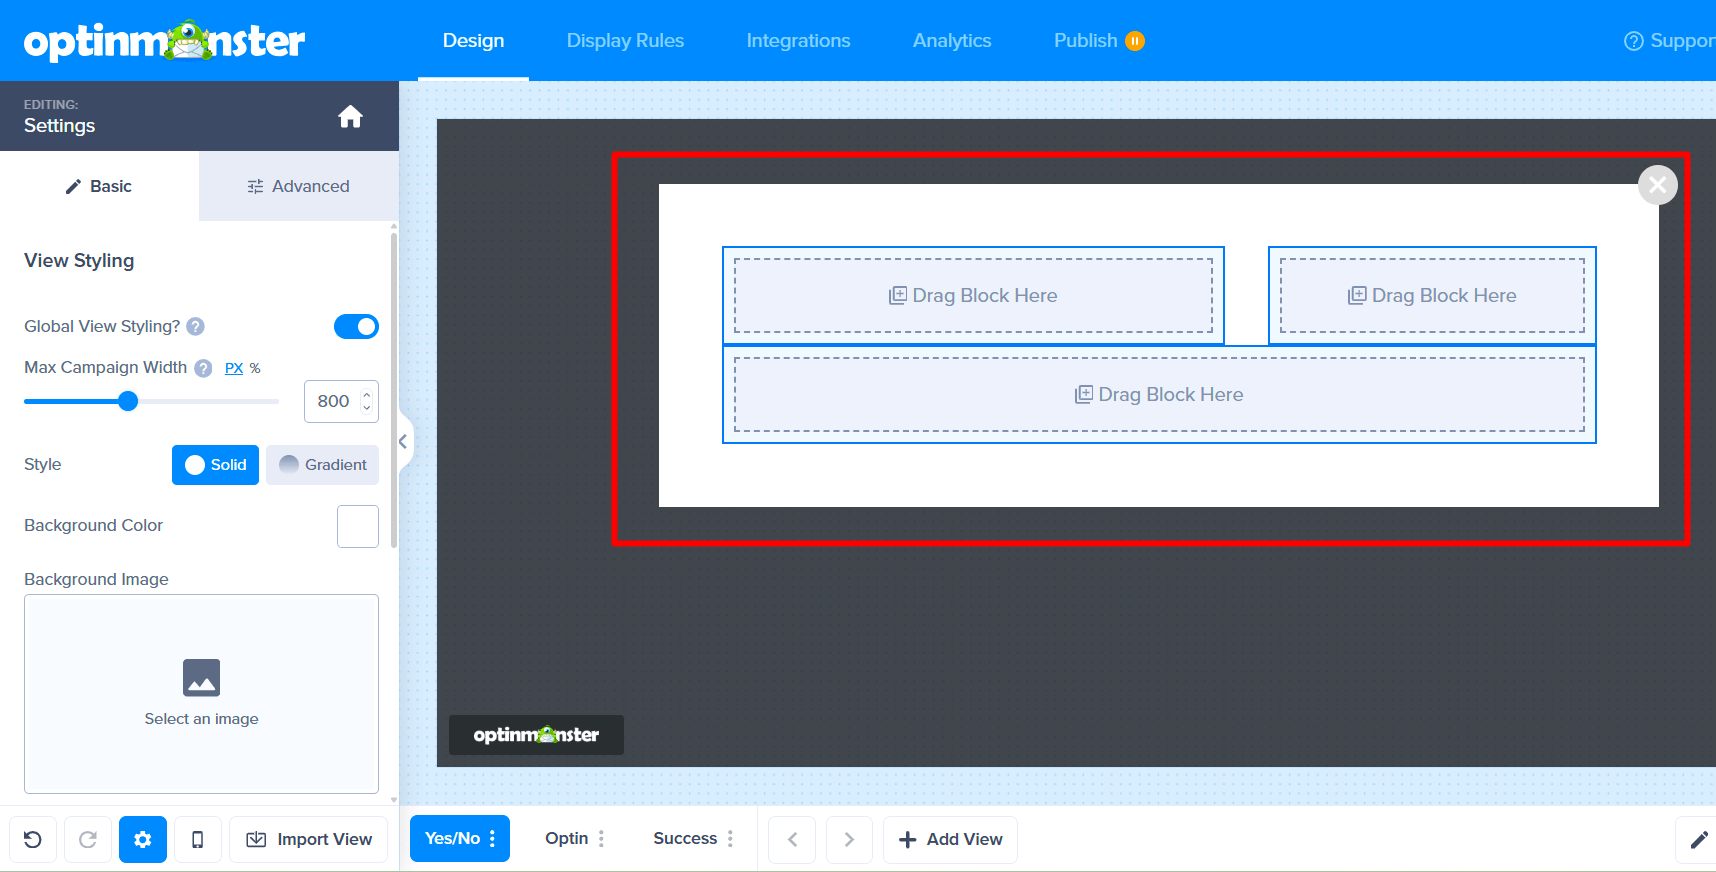
- To build your layout, you can add more rows. Simply drag another Columns Block from the left sidebar onto your campaign.
- You can place the new block above or below the existing one. Now you have two rows in your design!
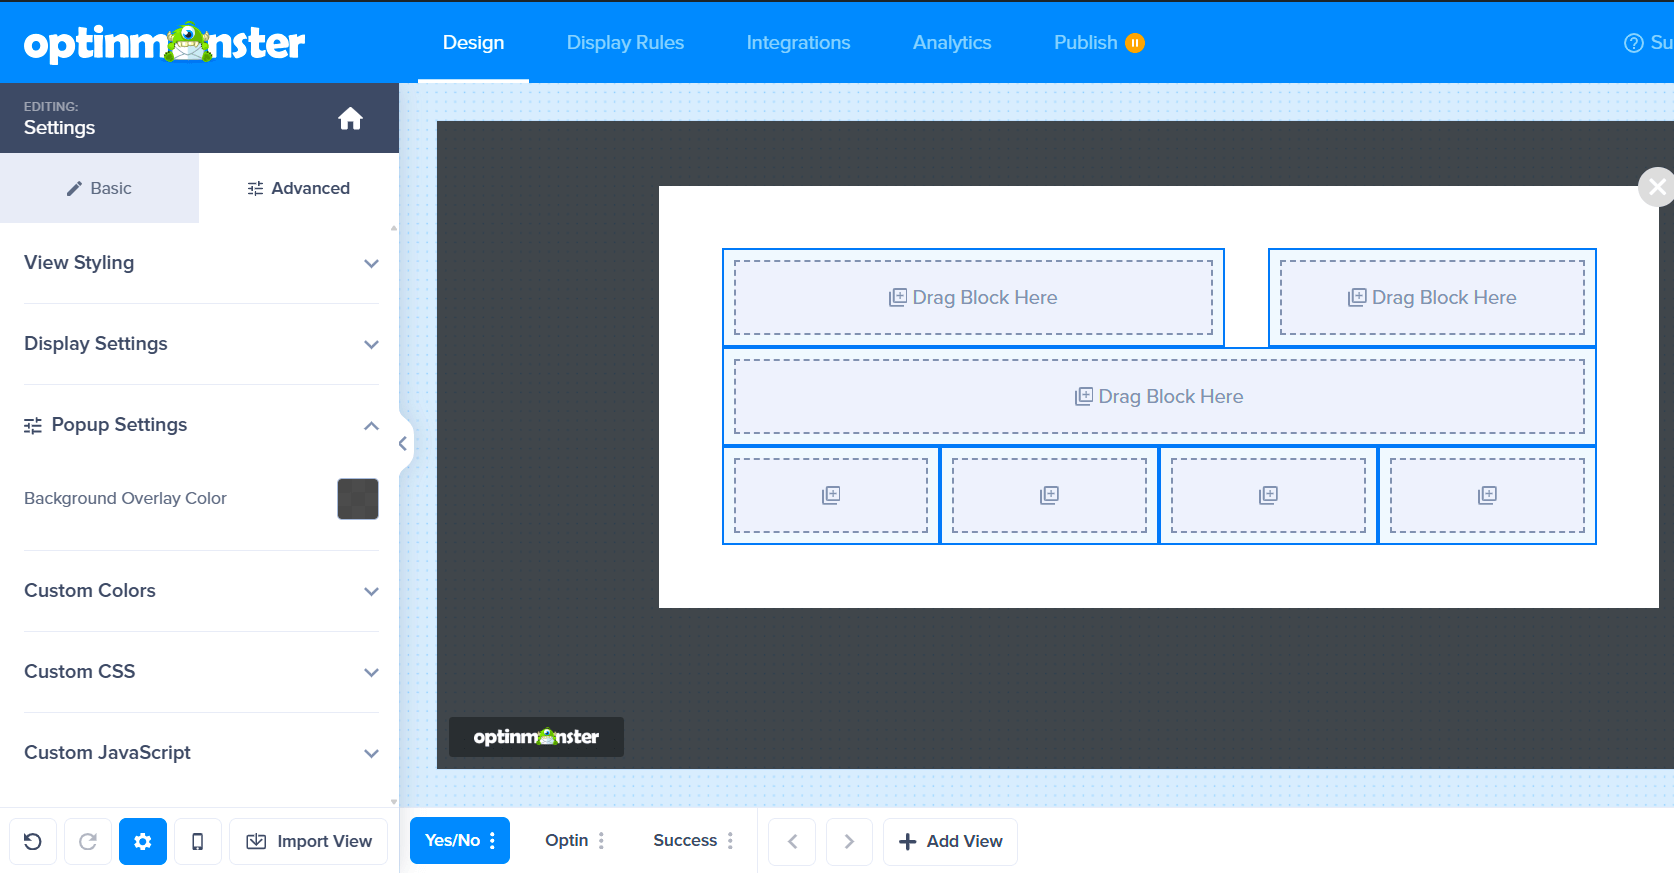
- You can repeat this process to add as many rows as you need to create the perfect layout.
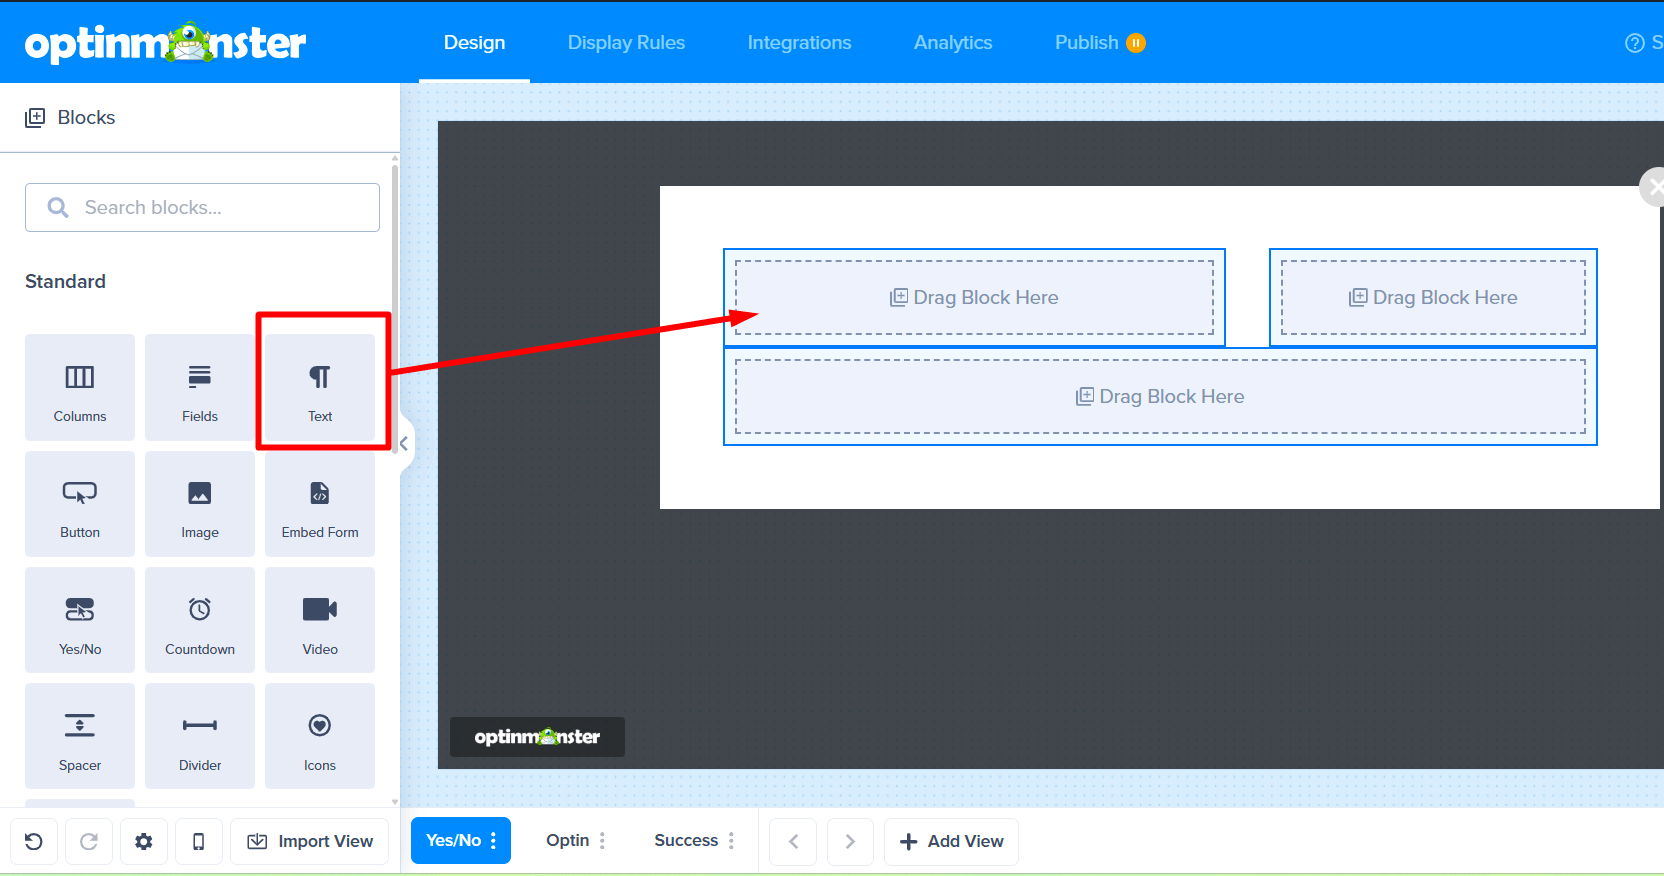
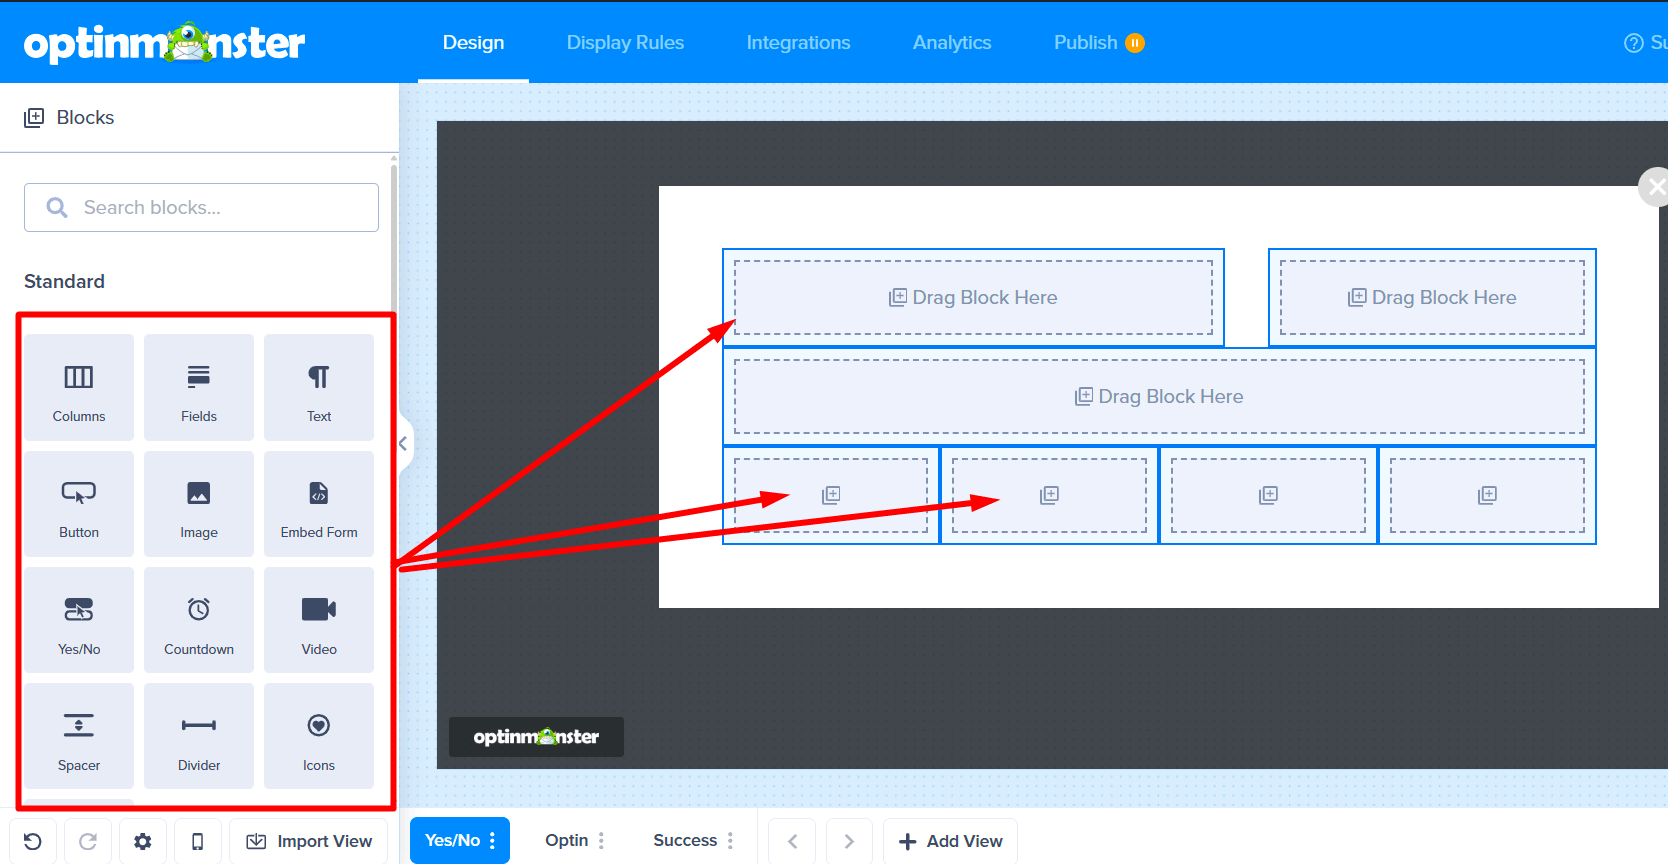
- Once your skeleton is ready, you can start adding content! For example, drag a Text Block from the sidebar and drop it into one of your columns. You can learn more about all available blocks by following our guide here.
- Well done! You’ve now learned how the Columns Block works behind the scenes to shape your campaign layout.
You can now fill your columns with any other blocks you need, like Image Block or Optin Fields Block, to complete your campaign.


Adding Columns Block to a Existing Campaign
What if you’re using one of our pre-built templates? No problem! Our templates are all built with Columns Blocks, and you can easily add more to customize the layout.
- From the Campaigns screen, locate the campaign you would like to edit.
- Next, select the edit icon next to the campaign to open it in the campaign builder.

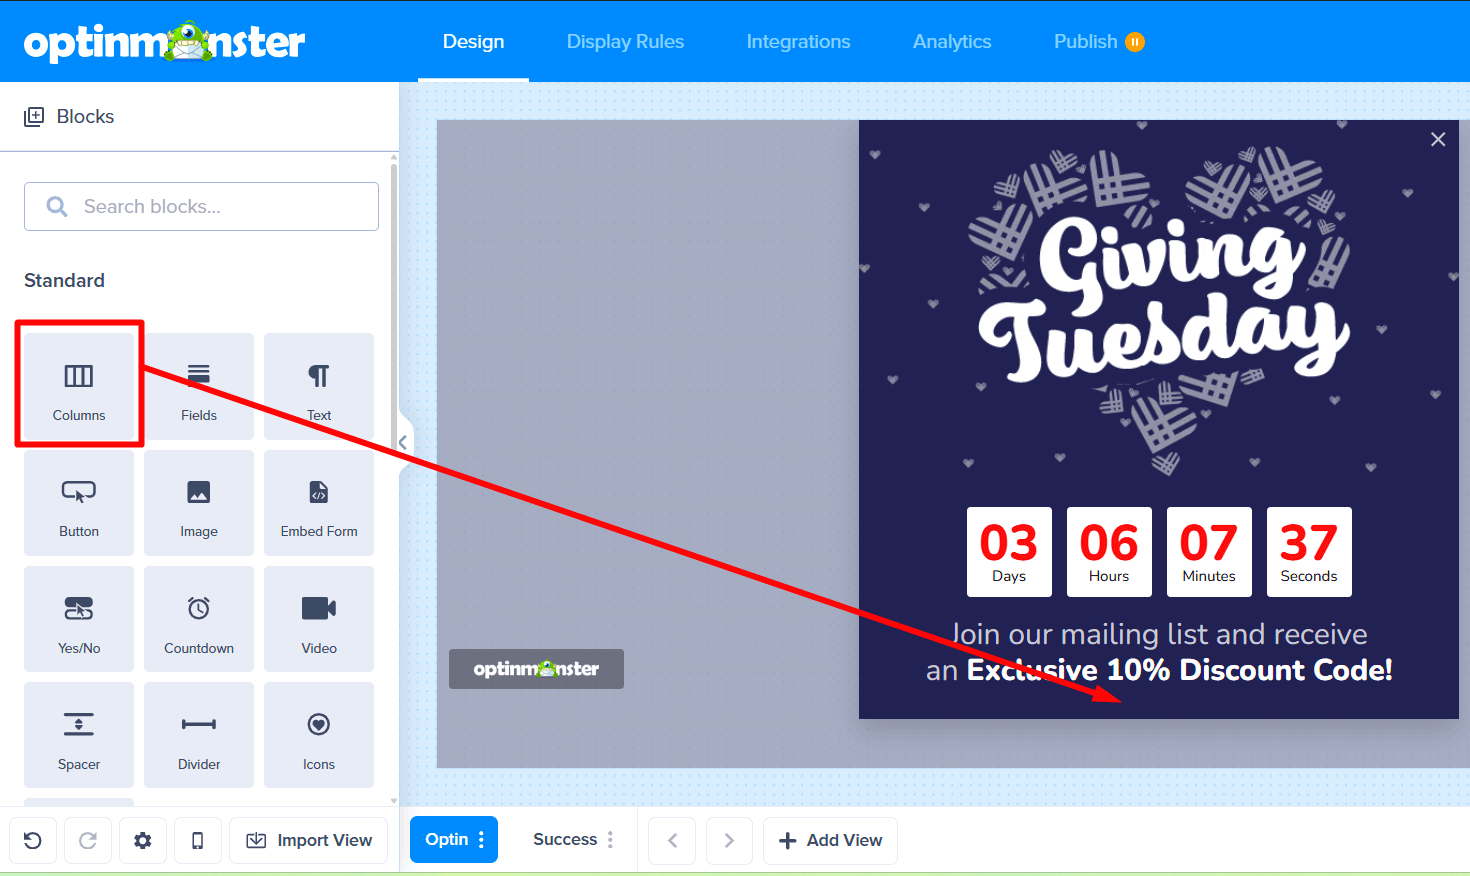
- Next, find the Columns Block in the left sidebar and drag it into your campaign design where you want to add new columns.
- After you drop the block, your new, empty row of columns will appear, ready for you to customize and fill with other blocks.

Deleting a Columns Block
Changed your mind about a layout? Deleting a Columns Block is simple and takes just a few clicks.
- First, move your mouse over the Columns Block you want to get rid of. A blue toolbar will appear at the top right of the block. Click on the trash can icon in the toolbar.

- A small window will pop up to ask if you’re sure. Go ahead and click OK to permanently delete the block.

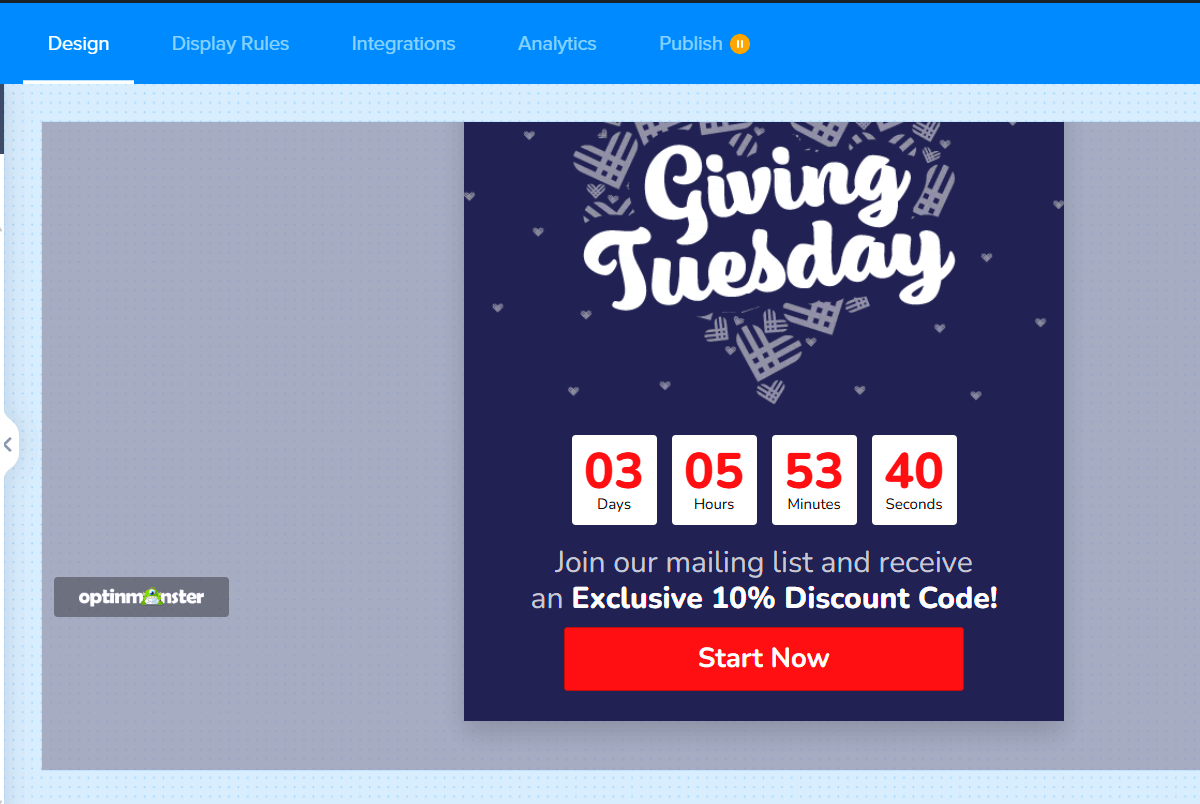
- And that’s it! The block and all the content inside it will be removed from your campaign.


FAQs
What’s the difference between a Columns Block and other blocks?
Think of the Columns Block as a container or a set of shelves. It doesn’t display anything on its own, but it creates the structure where you can place other blocks like Text, Images, and Buttons. Other blocks hold the actual content your visitors will see and interact with.
Can I add columns inside other columns?
No, you can’t nest Columns blocks inside each other. Columns are a top-level layout block and cant be nested.
If I delete a column, will I lose the content that was inside it?
Yes, if you delete a column block, any content (like text, images, or buttons) that was placed directly inside that specific Columns Block will be deleted along with it. Always save your changes before making major structural changes.
Troubleshooting
Why do my columns look strange or stacked on mobile devices?
Columns sometimes stack vertically on smaller screens to ensure readability. If they look strange, you might need to adjust their individual padding, margins, or the content within them to better suit the mobile layout. However, we strongly recommend creating separate Mobile-Only campaigns specifically for mobile devices.


