OptinMonster makes it easy to customize the appearance of your campaigns, including adding text. You can add any amount of text to your campaigns using Text Blocks.
In this article, you’ll learn how to add a Text Block to your campaign.
Add Text Block
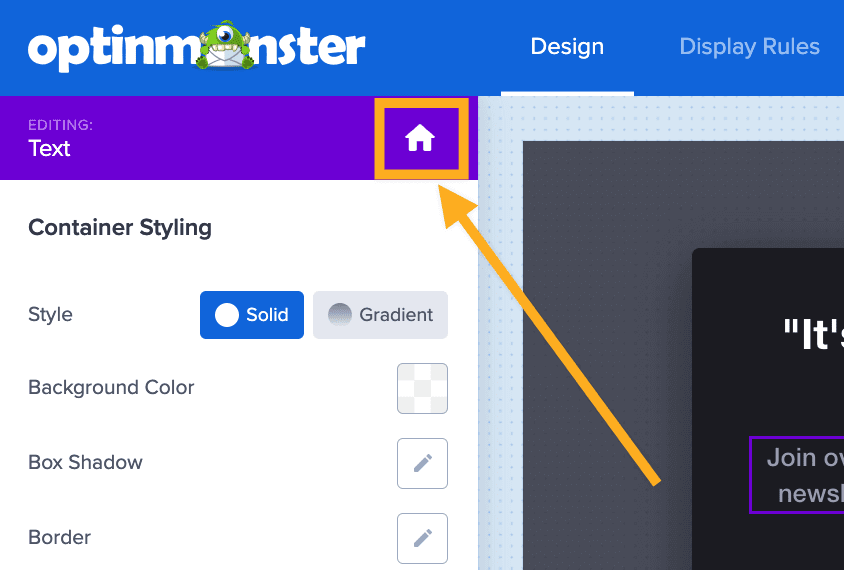
- In the campaign builder’s Design view, be sure the Home panel is visible in the left sidebar. If it is not, select the Home icon to return to the Home panel.
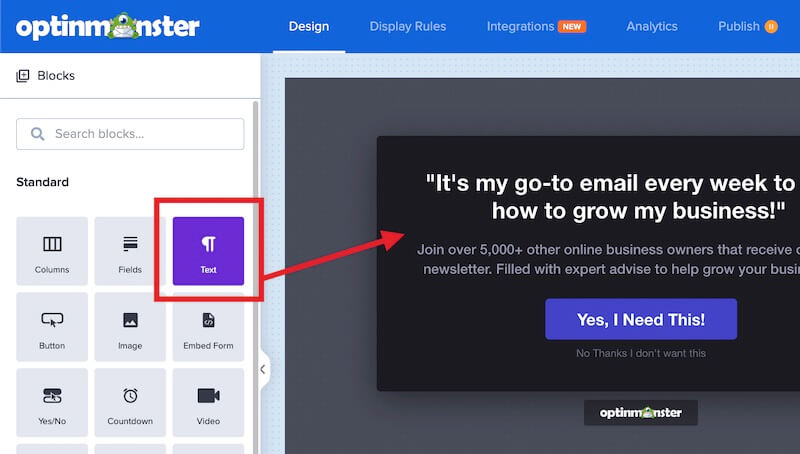
- Click and drag the Text Block into the campaign’s design. Drop it where you would like for it to be placed.
- When you’re finished, Save the campaign.
Delete Text Block
To remove a Text Block from your campaign’s design, follow these steps:
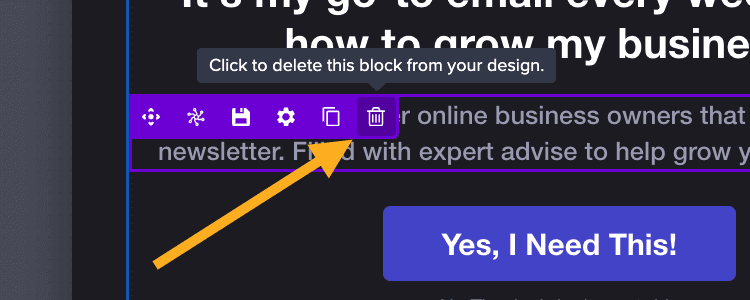
- Hover over the Text Block you wish to remove.
- Select the trash icon.
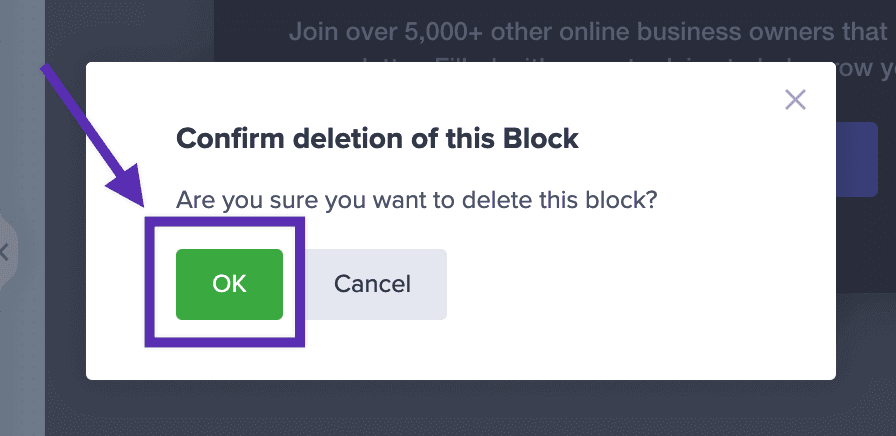
- A modal will appear asking you to confirm if you’d like to delete the Text Block from your campaign. Select Yes to confirm.
- When you’re finished, Save the campaign.
Reposition Text Block
To move the Text Block to a different position, follow these steps:
- Hover over the Text Block you wish to relocate.
- Select the navigation icon and drag the Text Block into the new position.
- When you’re finished, Save the campaign.
FAQs
How do I find the GA Block ID for my social media items?
GA Block IDs are applied to text links. You can find the GA Block ID following these steps:
Existing Text Links
- Click anywhere in the text link then select the edit icon that appears.
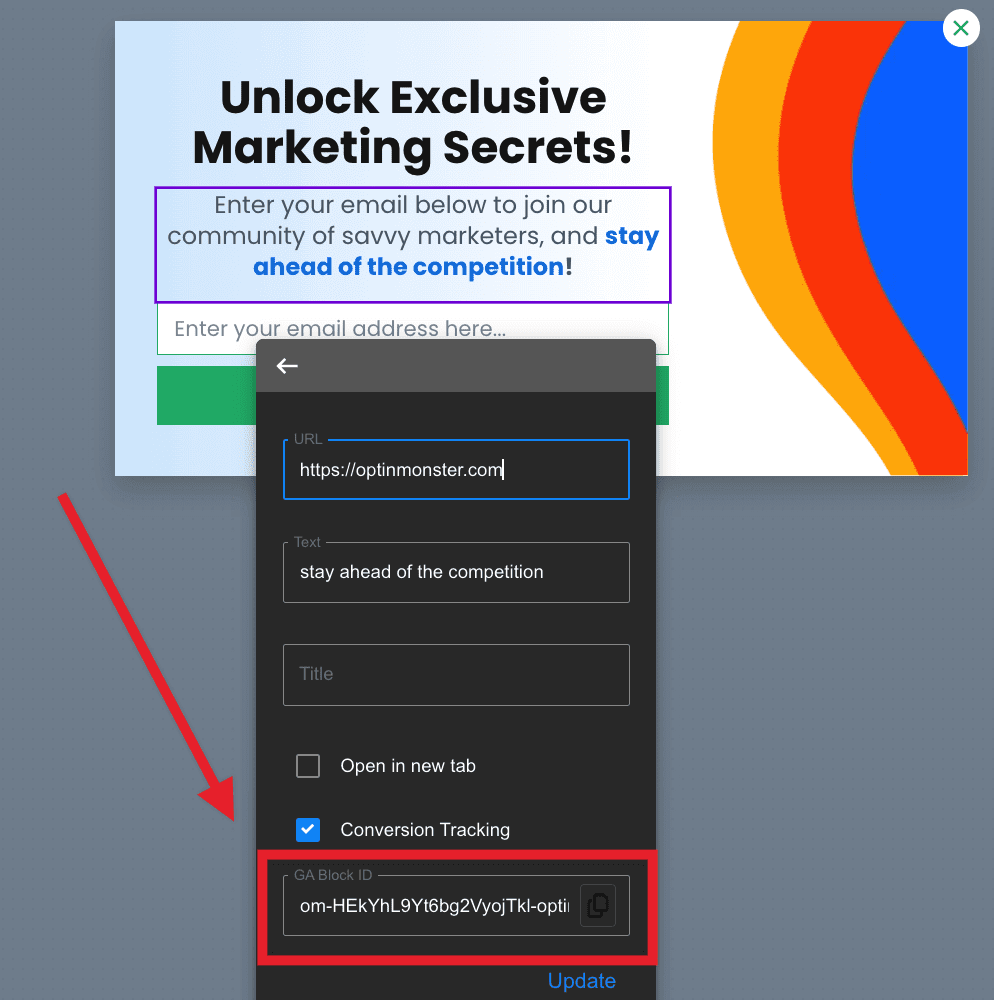
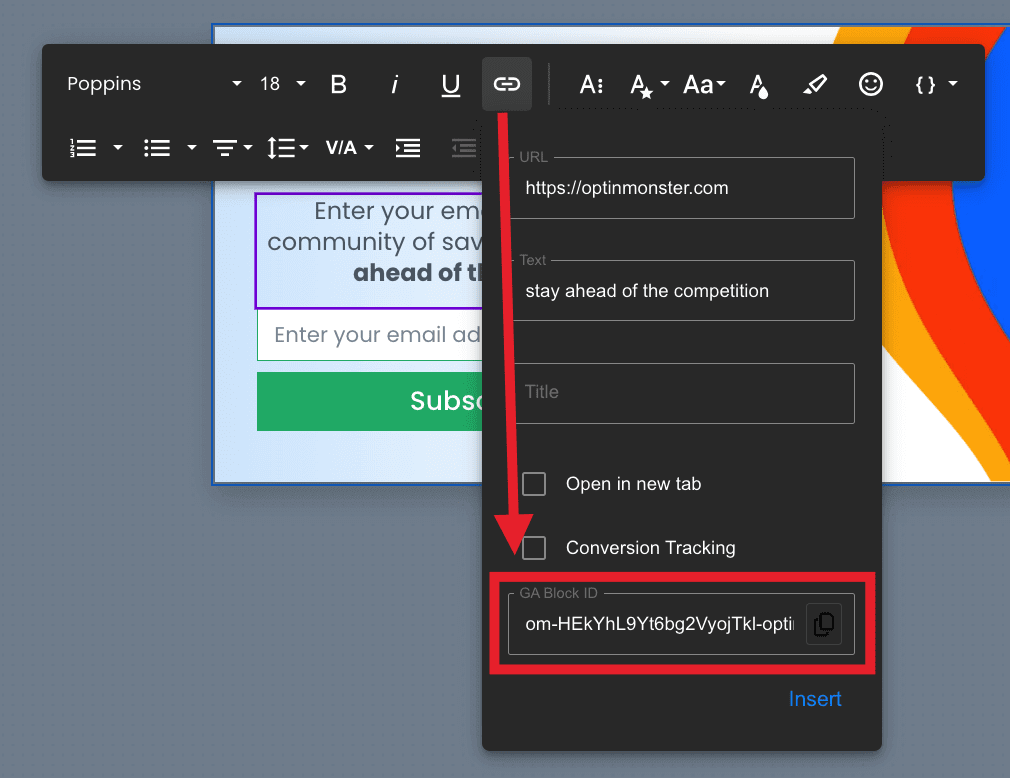
- The GA Block ID will be shown in the popup modal that appears.
New Text Link
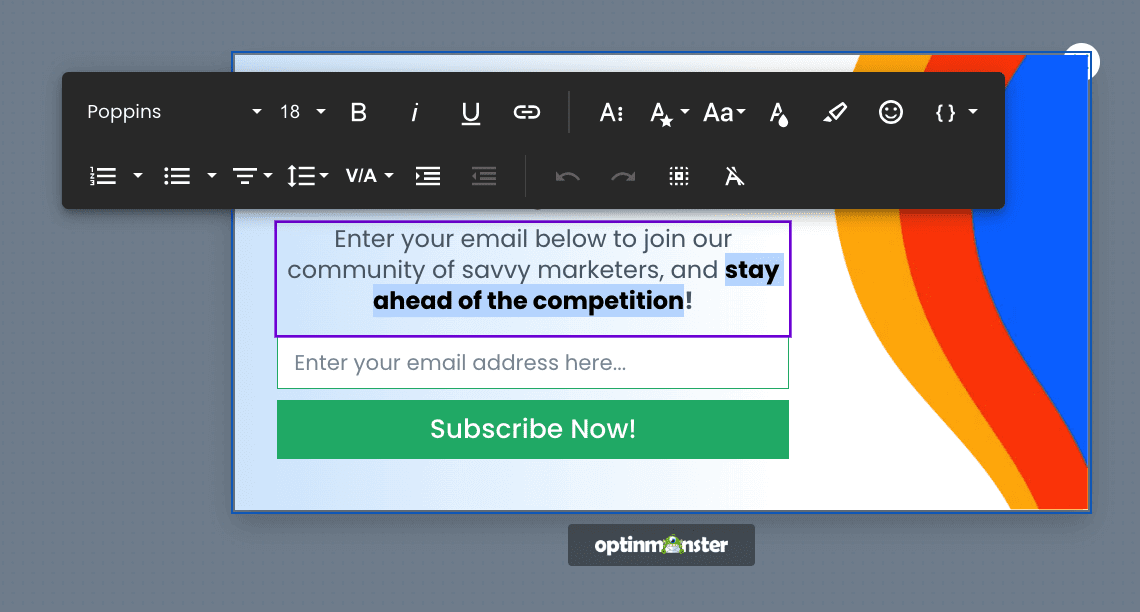
- Select the text in your Text Block that you would like to add a link to and the text edit toolbar will be activated.
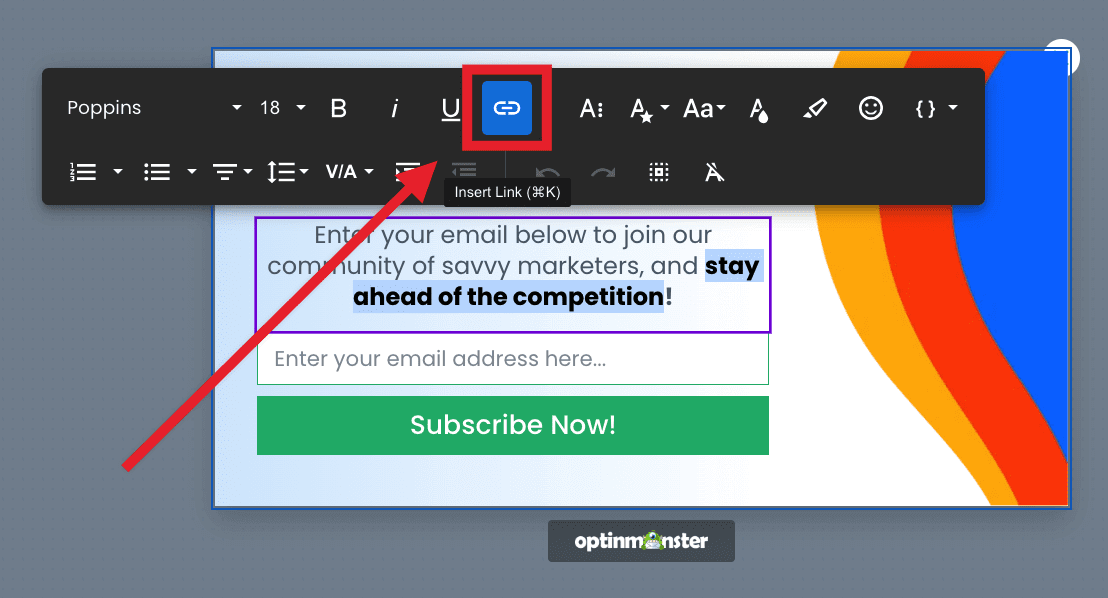
- From the text edit toolbar, select the Insert Link icon.
- Be sure to enter a valid URL for your text link in the modal that appears. At the bottom of the modal the GA Block ID is displayed.
I’ve made a mistake, is there any way to undo it?
Yes, as long as you have not exited the campaign builder since the change you would like to undo has been made, you can use the Undo feature in the campaign builder.
If you’re serious about jumpstarting your website business growth, then get started with OptinMonster today!
Get Started With OptinMonster Today!BONUS: Done-For-You Campaign Setup ($297 value)
Our conversion experts will design 1 free campaign for you to get maximum results – absolutely FREE!
Click here to get started →

