OptinMonster makes it easy to show your campaigns only to visitors with a specific anchor tag. Use the guide below to set up the anchor tag display rule for your campaigns.
In this article, you’ll learn how to target a campaign to an anchor tag.
Before you start, this feature is available with a Pro and higher subscription.
The anchor tag is a specific portion of a web page’s URL, but not the full URL. The anchor tag is the text after a hash mark at the very end of the URL.
Anchor tags can be used to link a visitor to a specific part of your webpage, like a heading in the middle of the page. For example, in the URL https://www.domain.com/page#heading the anchor tag is ‘heading’.
Configure Anchor Tag Rule
When you create a campaign in OptinMonster you can target URLs on your site that contain certain anchor tags.
To target your campaign to a specific anchor tag, follow these steps:
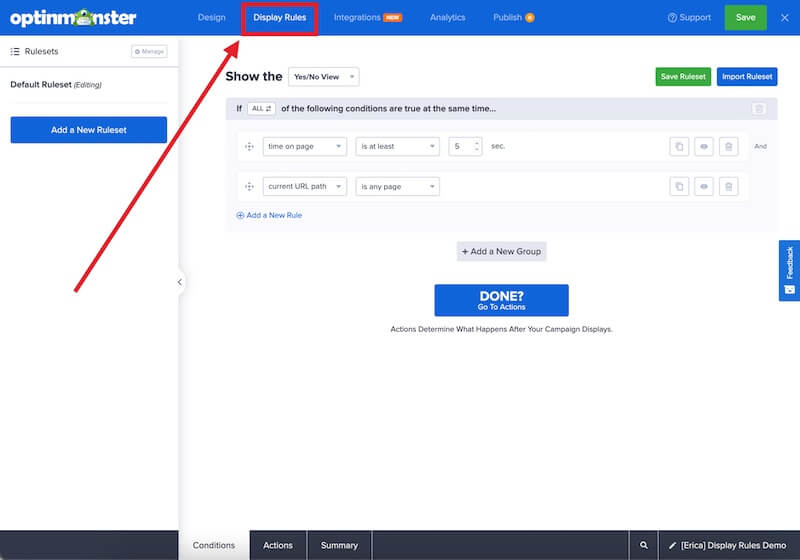
- Navigate to the Display Rules view in the campaign builder.
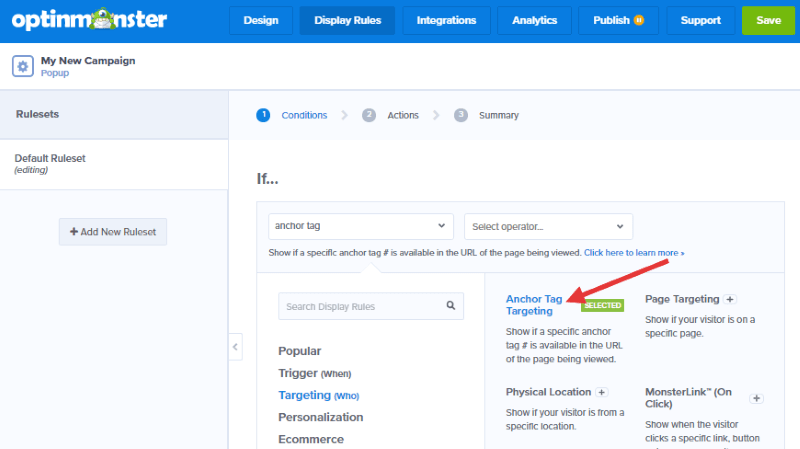
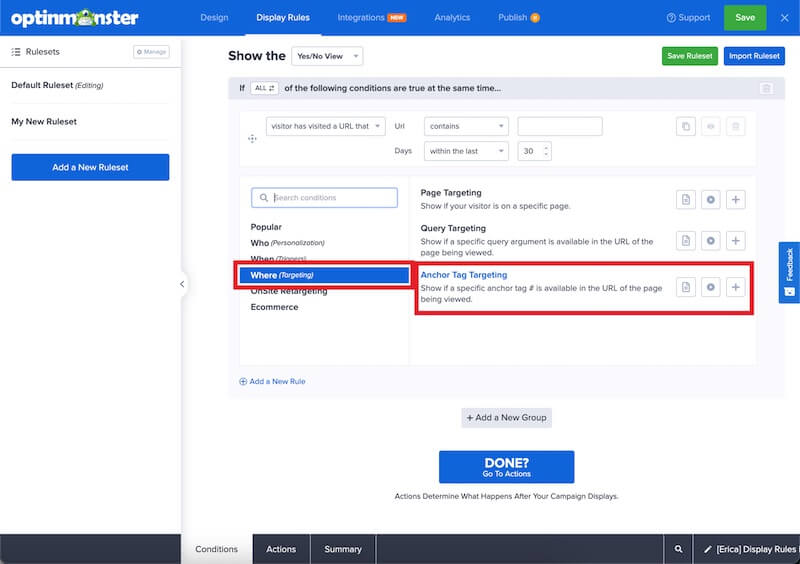
- Next, when adding or editing a rule select Where (Targeting) from the left-hand list and select the Anchor Tag Targeting option.
- Choose how you would like to target your anchor tag.
The following options are available for Anchor Tag targeting:- exactly matches
- does not exactly match
- contains
- does not contain
- starts with
- does not start with
- ends with
- does not end with
- is empty
- is not empty
- matches the pattern
- Once you’ve selected the specific option you would like to use, type the anchor tag to be targeted in the third box.
- When you are finished, Save the campaign.
FAQs
Is this rule case-sensitive?
Yes, all operator conditions for the anchor tag rule are case-sensitive.
For example, the anchor tag ‘Hello’ is not the same as ‘hello’.
Be sure to check the case of your anchor tags to be sure the Display Rule configured matches.
If you’re serious about jumpstarting your website business growth, then get started with OptinMonster today!
Get Started With OptinMonster Today!BONUS: Done-For-You Campaign Setup ($297 value)
Our conversion experts will design 1 free campaign for you to get maximum results – absolutely FREE!
Click here to get started →


