
Want to grow your X (formerly Twitter) following directly from your website? It’s super easy to create a custom X follow button campaign using our blank Canvas template.
In this guide, we’ll walk you through how to set it all up, step by step.
Creating Canvas Campaign
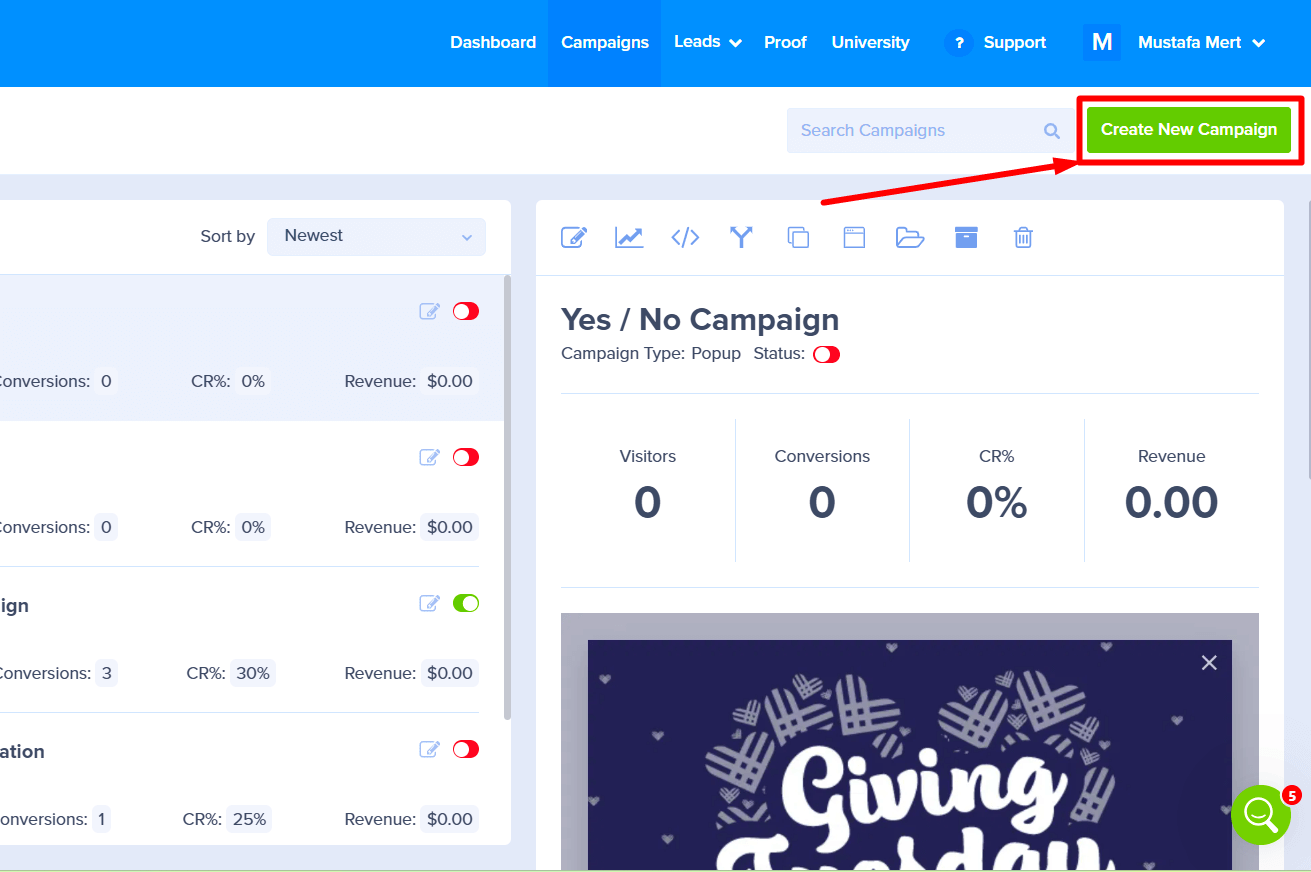
- From the Campaigns screen, select the Create New Campaign button.
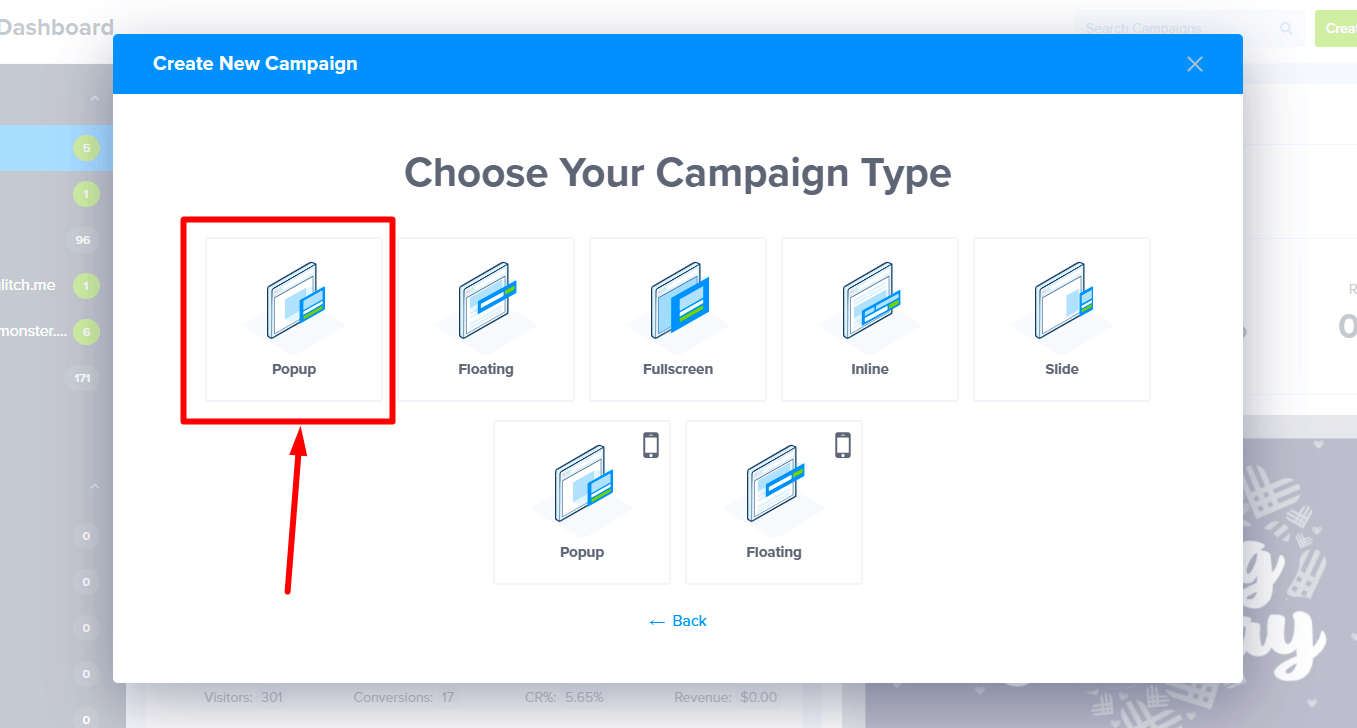
- Next, a window will pop up asking for your campaign type. Let’s select Popup.

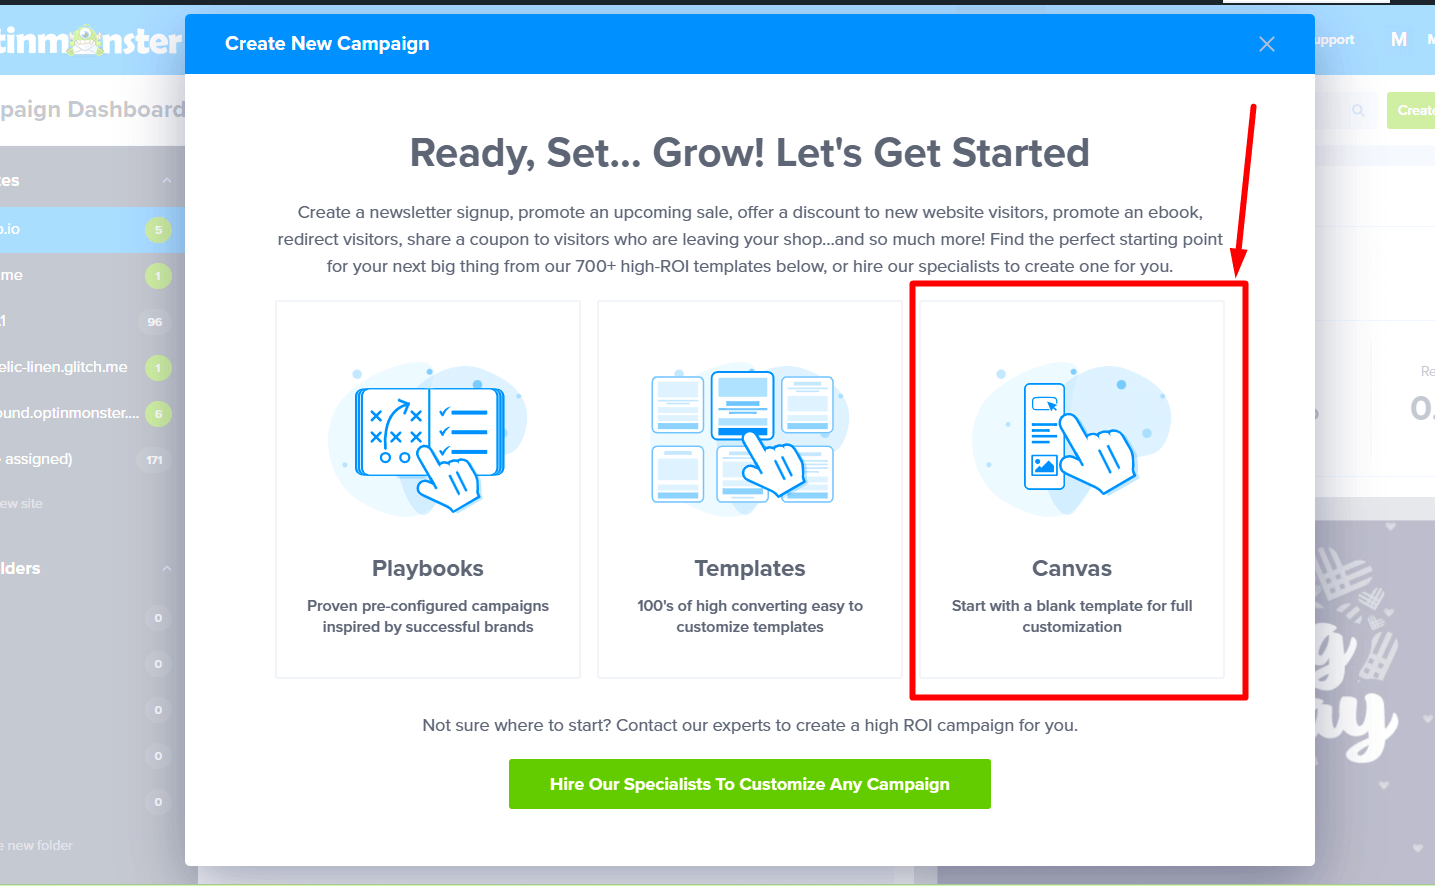
*We’ll use a Popup campaign for this example, but the steps are the same for any campaign type. - Now, you’ll see Create New Campaign modal. Since we’re starting from scratch, choose the Canvas template.
- Once you’ve selected a template you’ll be prompted to give it a name and assign it to a site in your account. Select the Start Building button to create the campaign and open it in the builder to customize.

- Your Canvas campaign will open in the campaign builder with two default elements; an Image Block and a Text Block.

- Now, hover your mouse over the default Image block. You’ll see a set of controls appear. Click on the trash can icon to delete the block.

- Next, do the same thing for the default Text block. Hover over it and click the trash can icon to remove it.

Perfect! You now have a completely empty campaign, ready for your custom X button.


Adding the X Embed Code
X allows you to generate embed code so you can add it to your campaign.
- Now visit the X’s guide to create follow button embed code and copy the embed code after styling it as described in their guidelines. Once you’ve designed your button, select the option to Copy Code. This will save the HTML to your clipboard.

- Now, head back to the OptinMonster campaign builder. To add the code, we need an HTML block. From the left sidebar, find the HTML block and drag it onto your empty campaign.

- Select the new HTML block you just added to the campaign. This will open its settings in the left sidebar.

- In the HTML editor box on the left, paste the entire code you copied from X.
After you paste the code , you will see the follow button on the designer. - You might notice that the campaign looks wider than the button. No worries, you can fix that! Just click the settings icon in the bottom toolbar, then adjust the campaign’s width. For this example, let’s set it to 200px, but feel free to tweak it to whatever works best for your design.
And that’s it! You’ve successfully created a custom X Follow Button Campaign to display on your site. Don’t forget to save and publish your campaign to make it live!


FAQs
Q: Can I track conversions when visitors select the Follow button in my campaign?
A: Unfortunately, no. X will replace the code added to the Custom HTML field with their own to generate the appearance and functionality of the Follow button. As a result, you cannot add the required om-trigger-conversion class that OptinMonster uses to track conversions on links and custom forms.
There is a possibility of having a Conversion Intent that you can track if you are following our guide on How to Track Conversion Events in an iFrame.


