OptinMonster makes it easy to split test campaigns on your website. You can use split testing, or A/B testing, to improve and compare elements in your optins to make them convert even better.
In this article, you’ll learn how to create a split test with OptinMonster.
Before you start, this feature is available with a Plus and higher subscription.
Before you start, if you change which campaign in a split test is the primary campaign you will also need to update the embed code on your site.
Create a Split Test
When you create a campaign in OptinMonster that you want to further improve, you can use our built-in split test feature to test out variations.
To create a split test in OptinMonster, follow these steps:
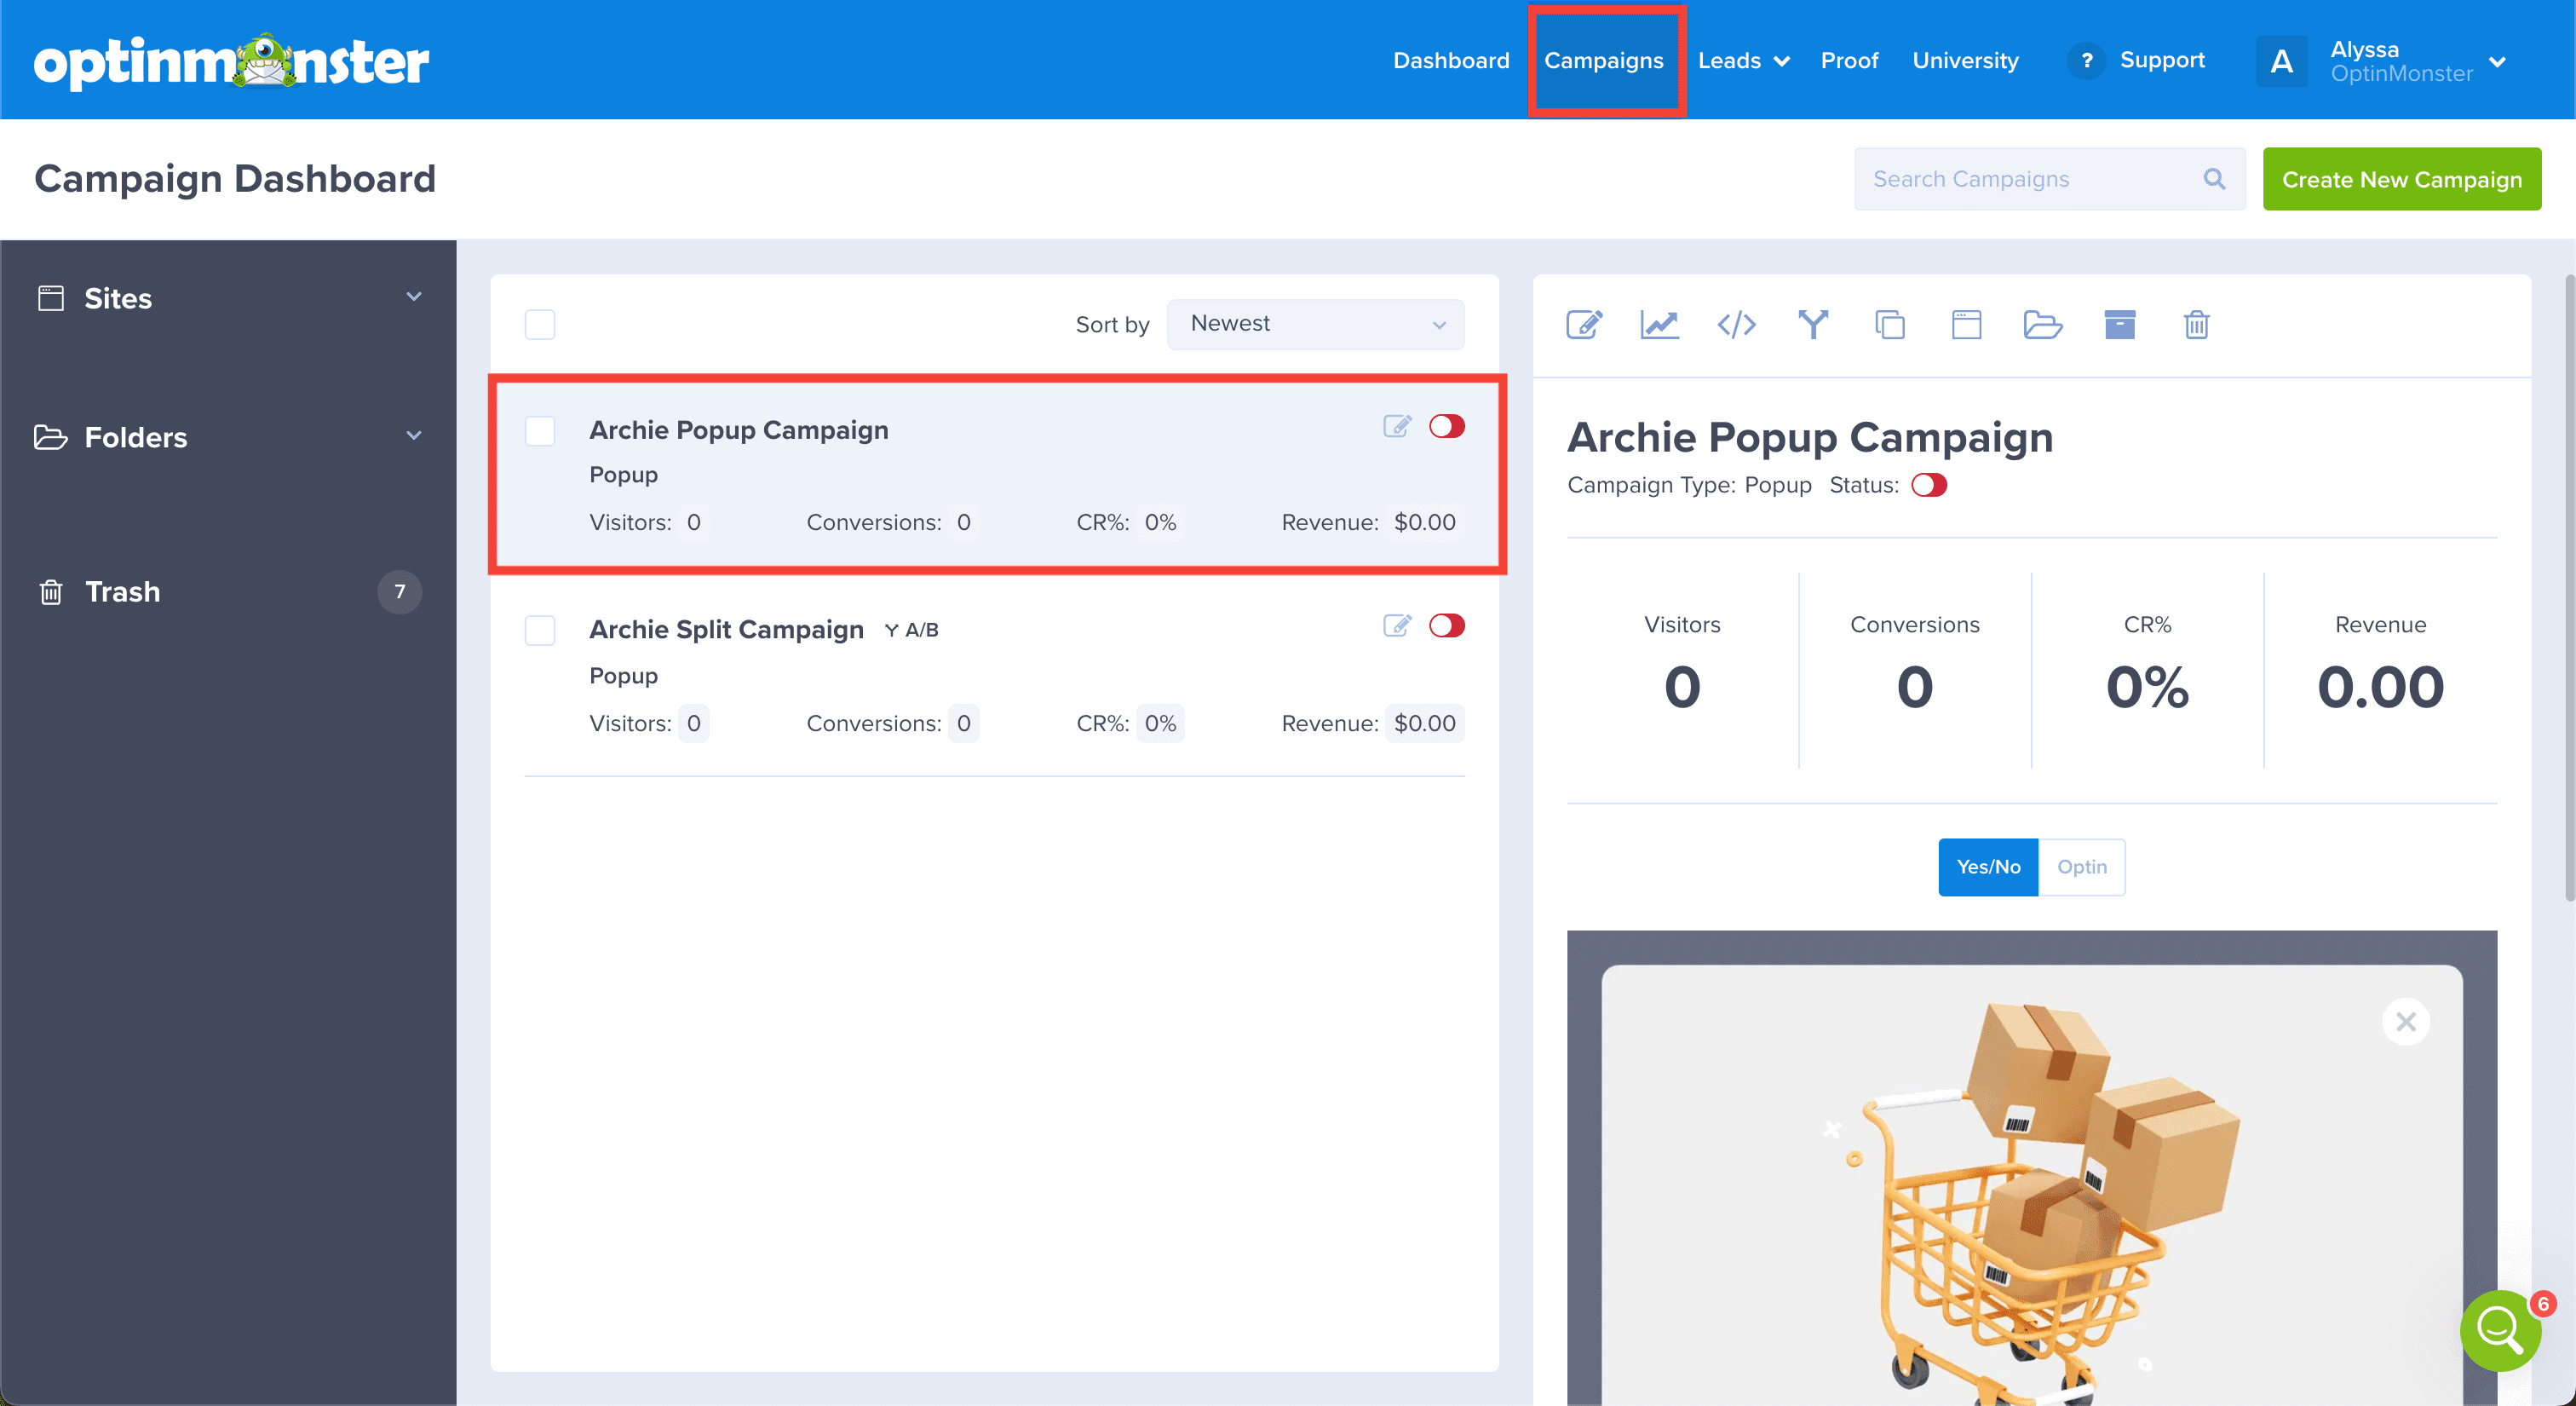
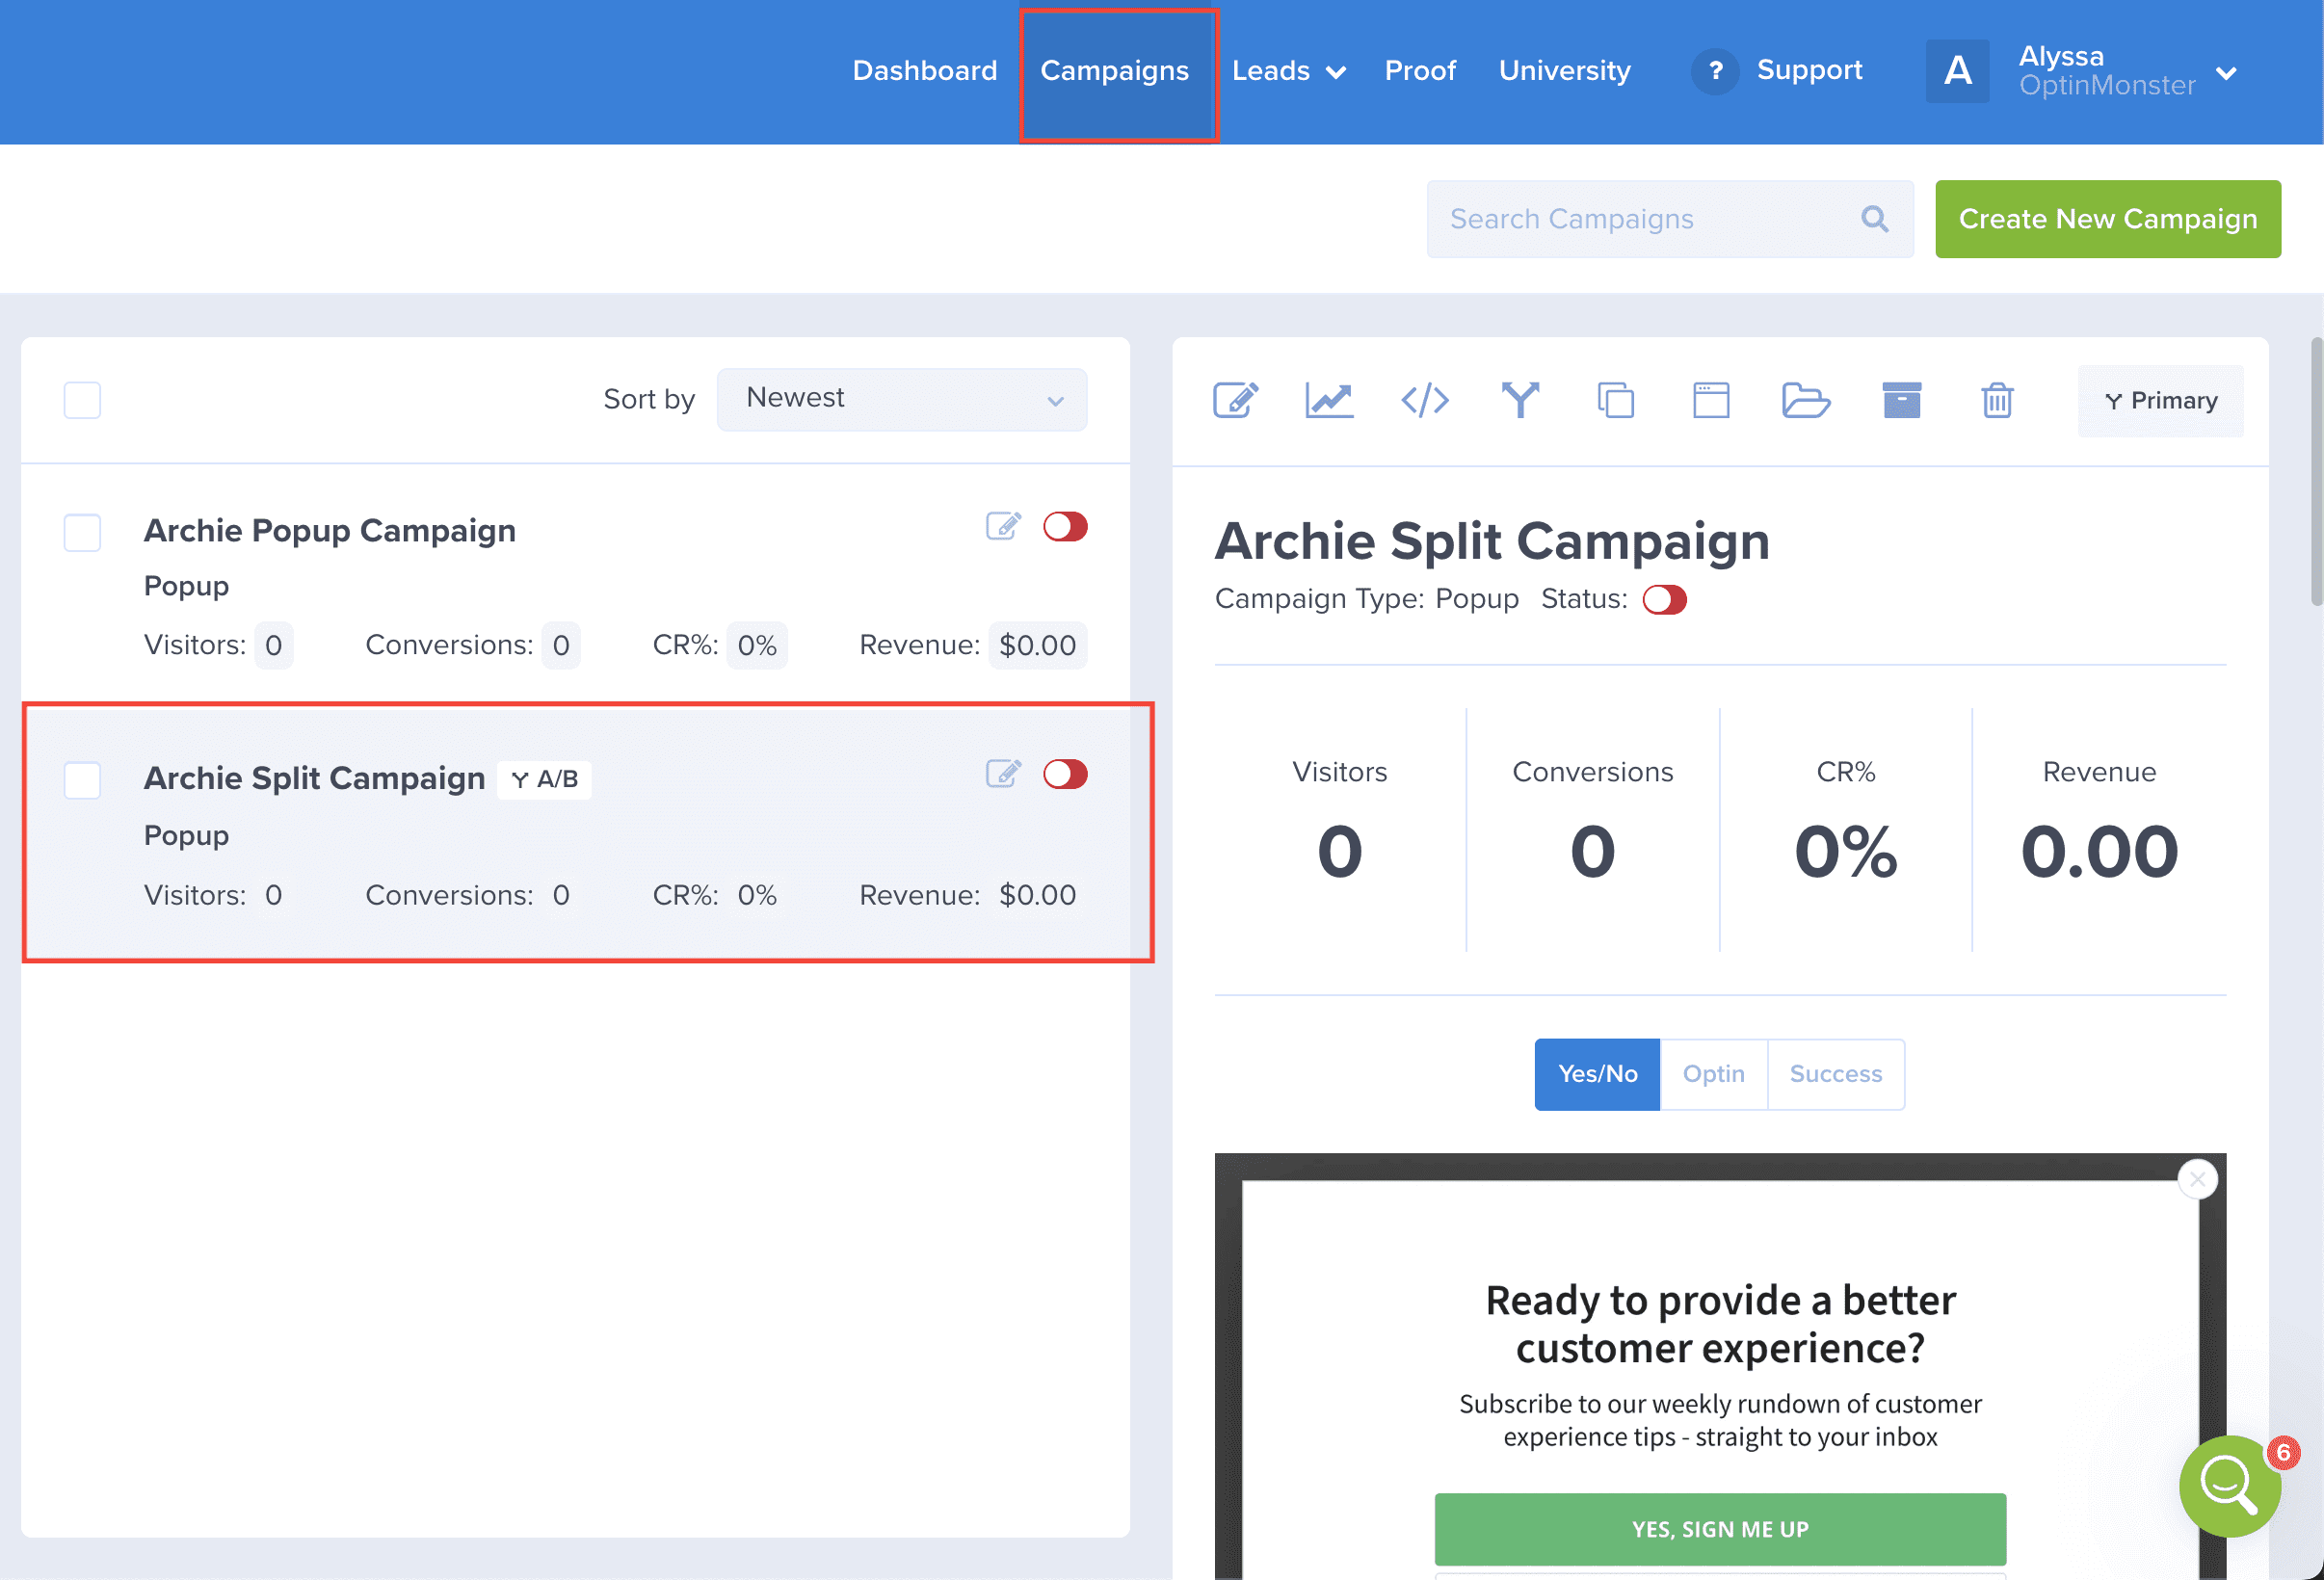
- From the Campaigns screen, locate the campaign you’d like to split test.
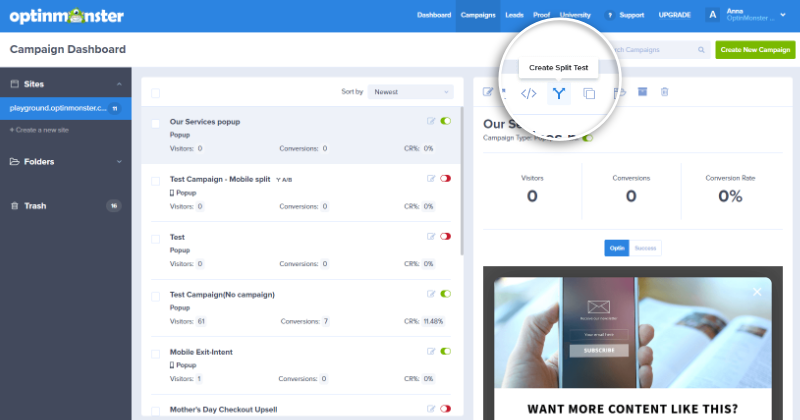
- Select the Create Split Test icon above the campaign preview pane.
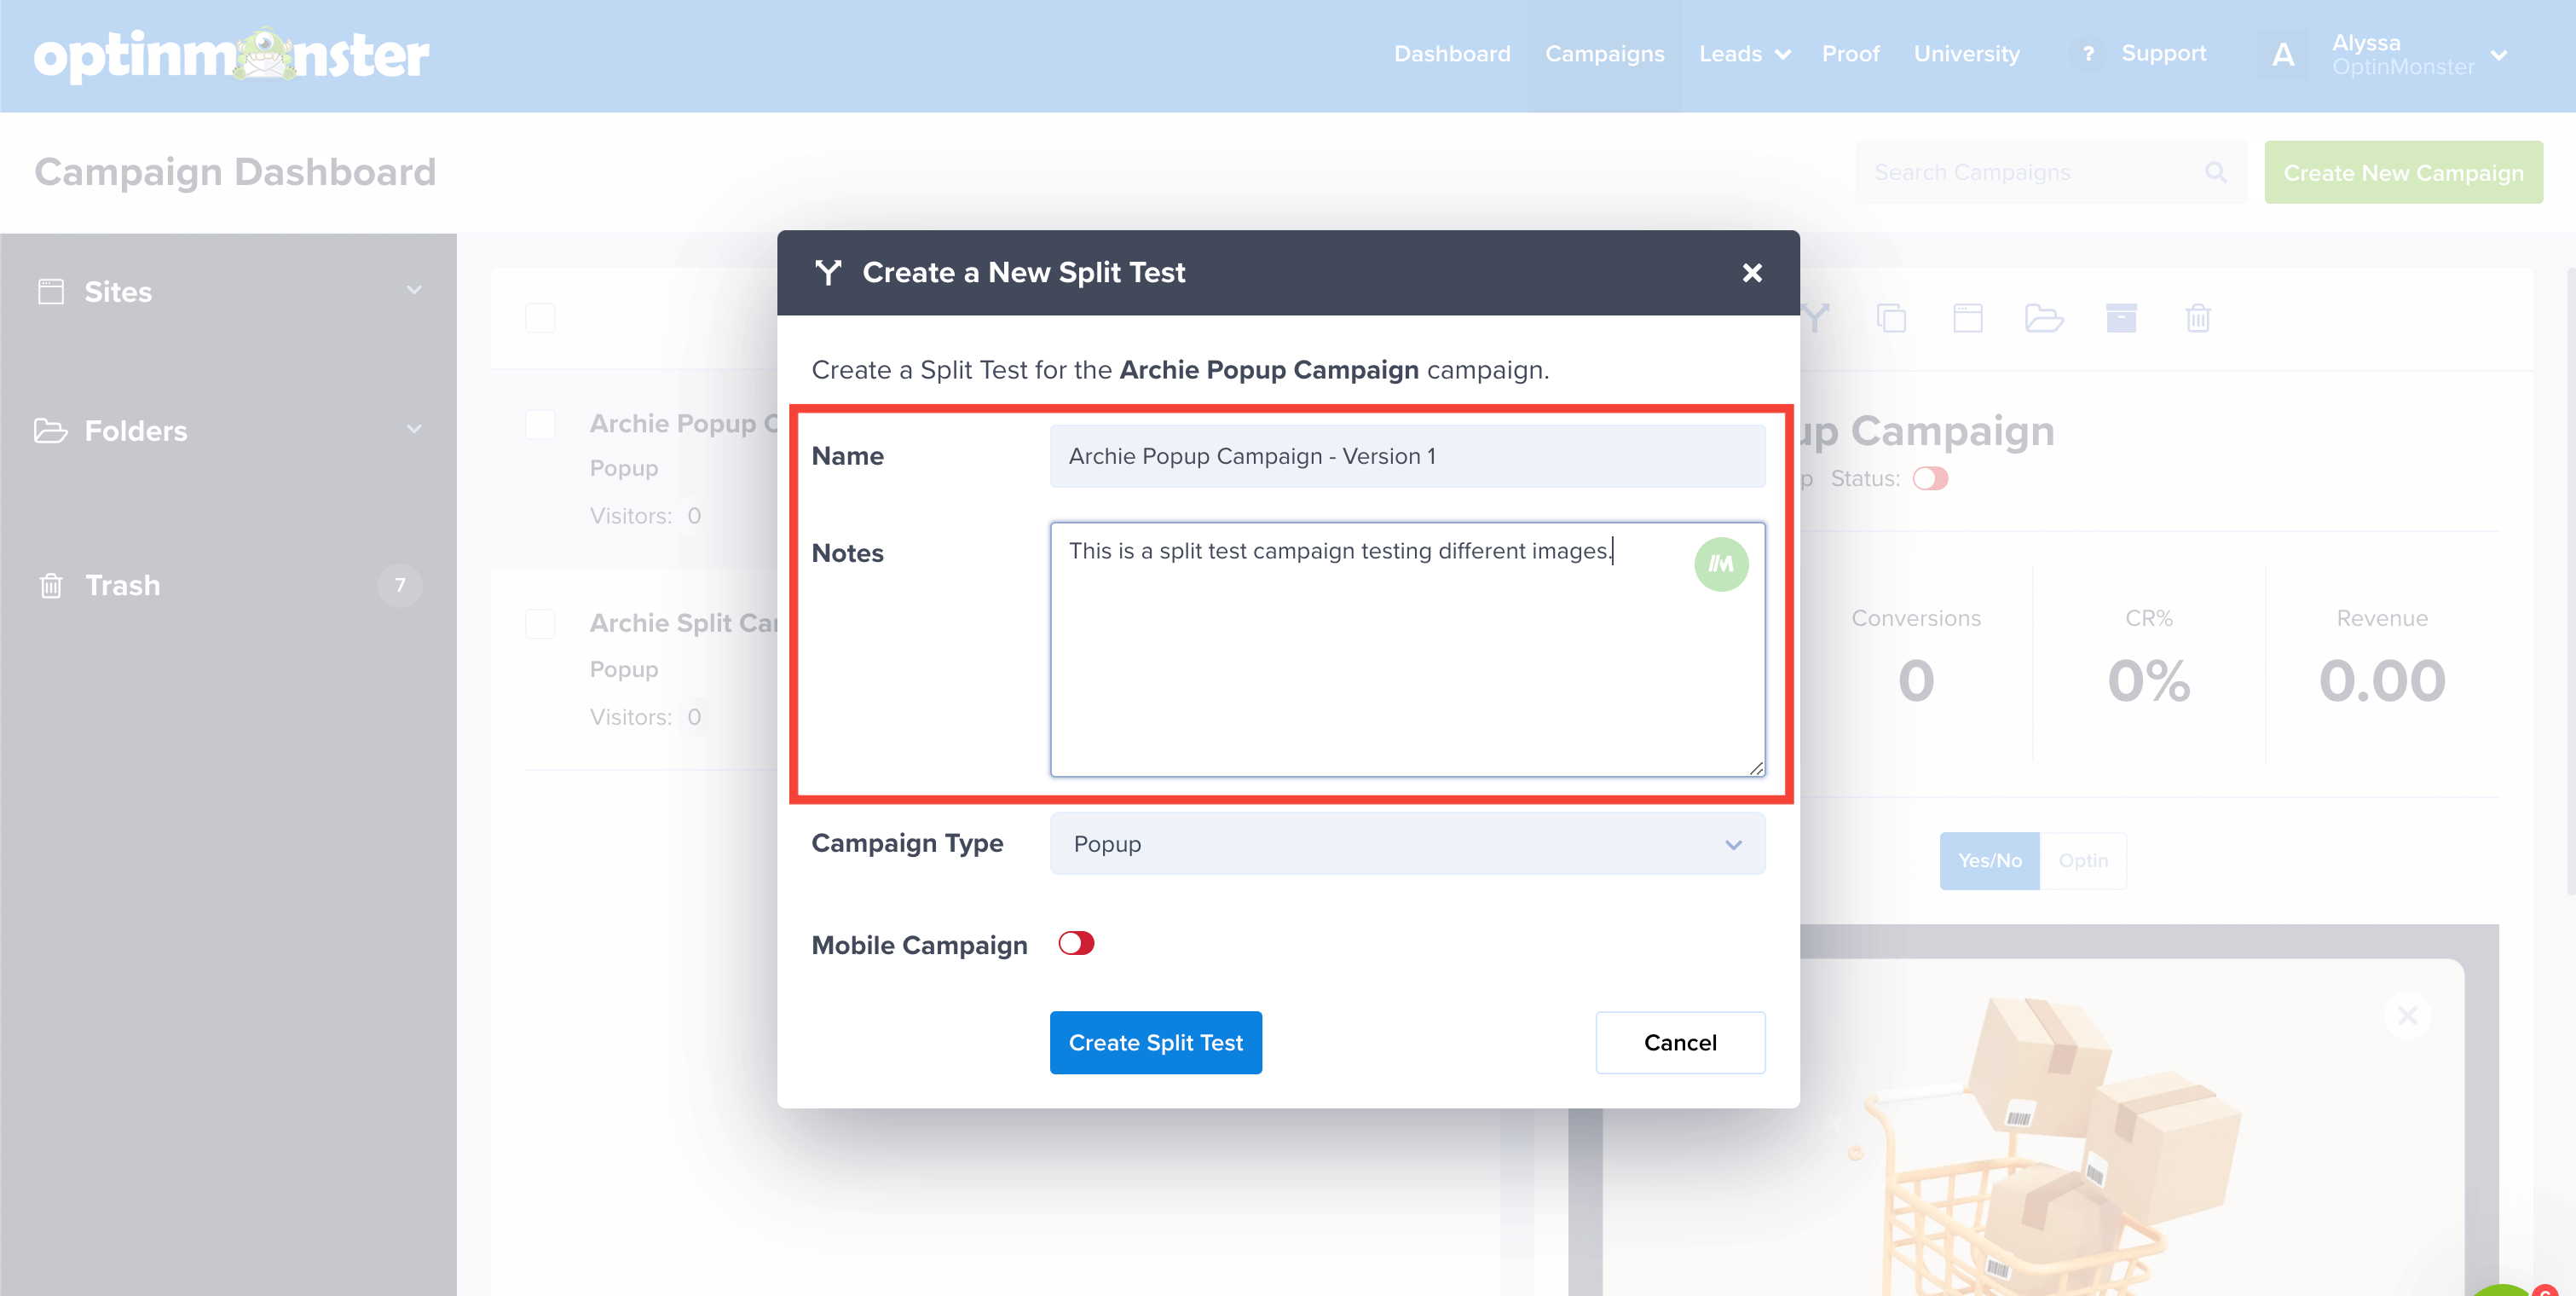
- A popup window will appear and you’ll be required to add a Title, and optionally Notes for your new split test. We recommend giving your split test a few notes for easier identification later on.
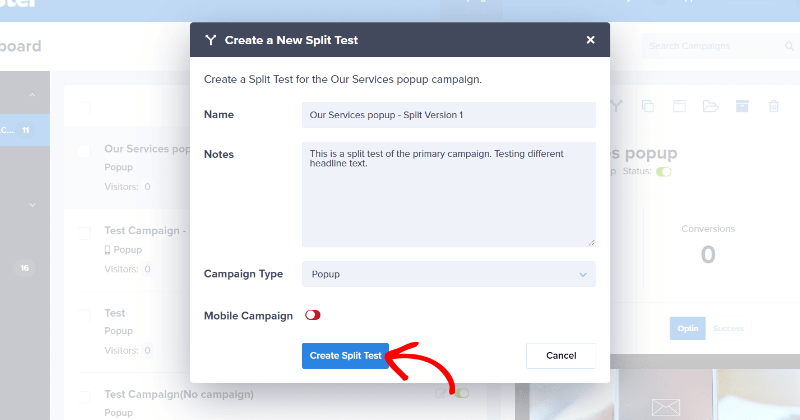
- When you’re finished, click Create Split Test.
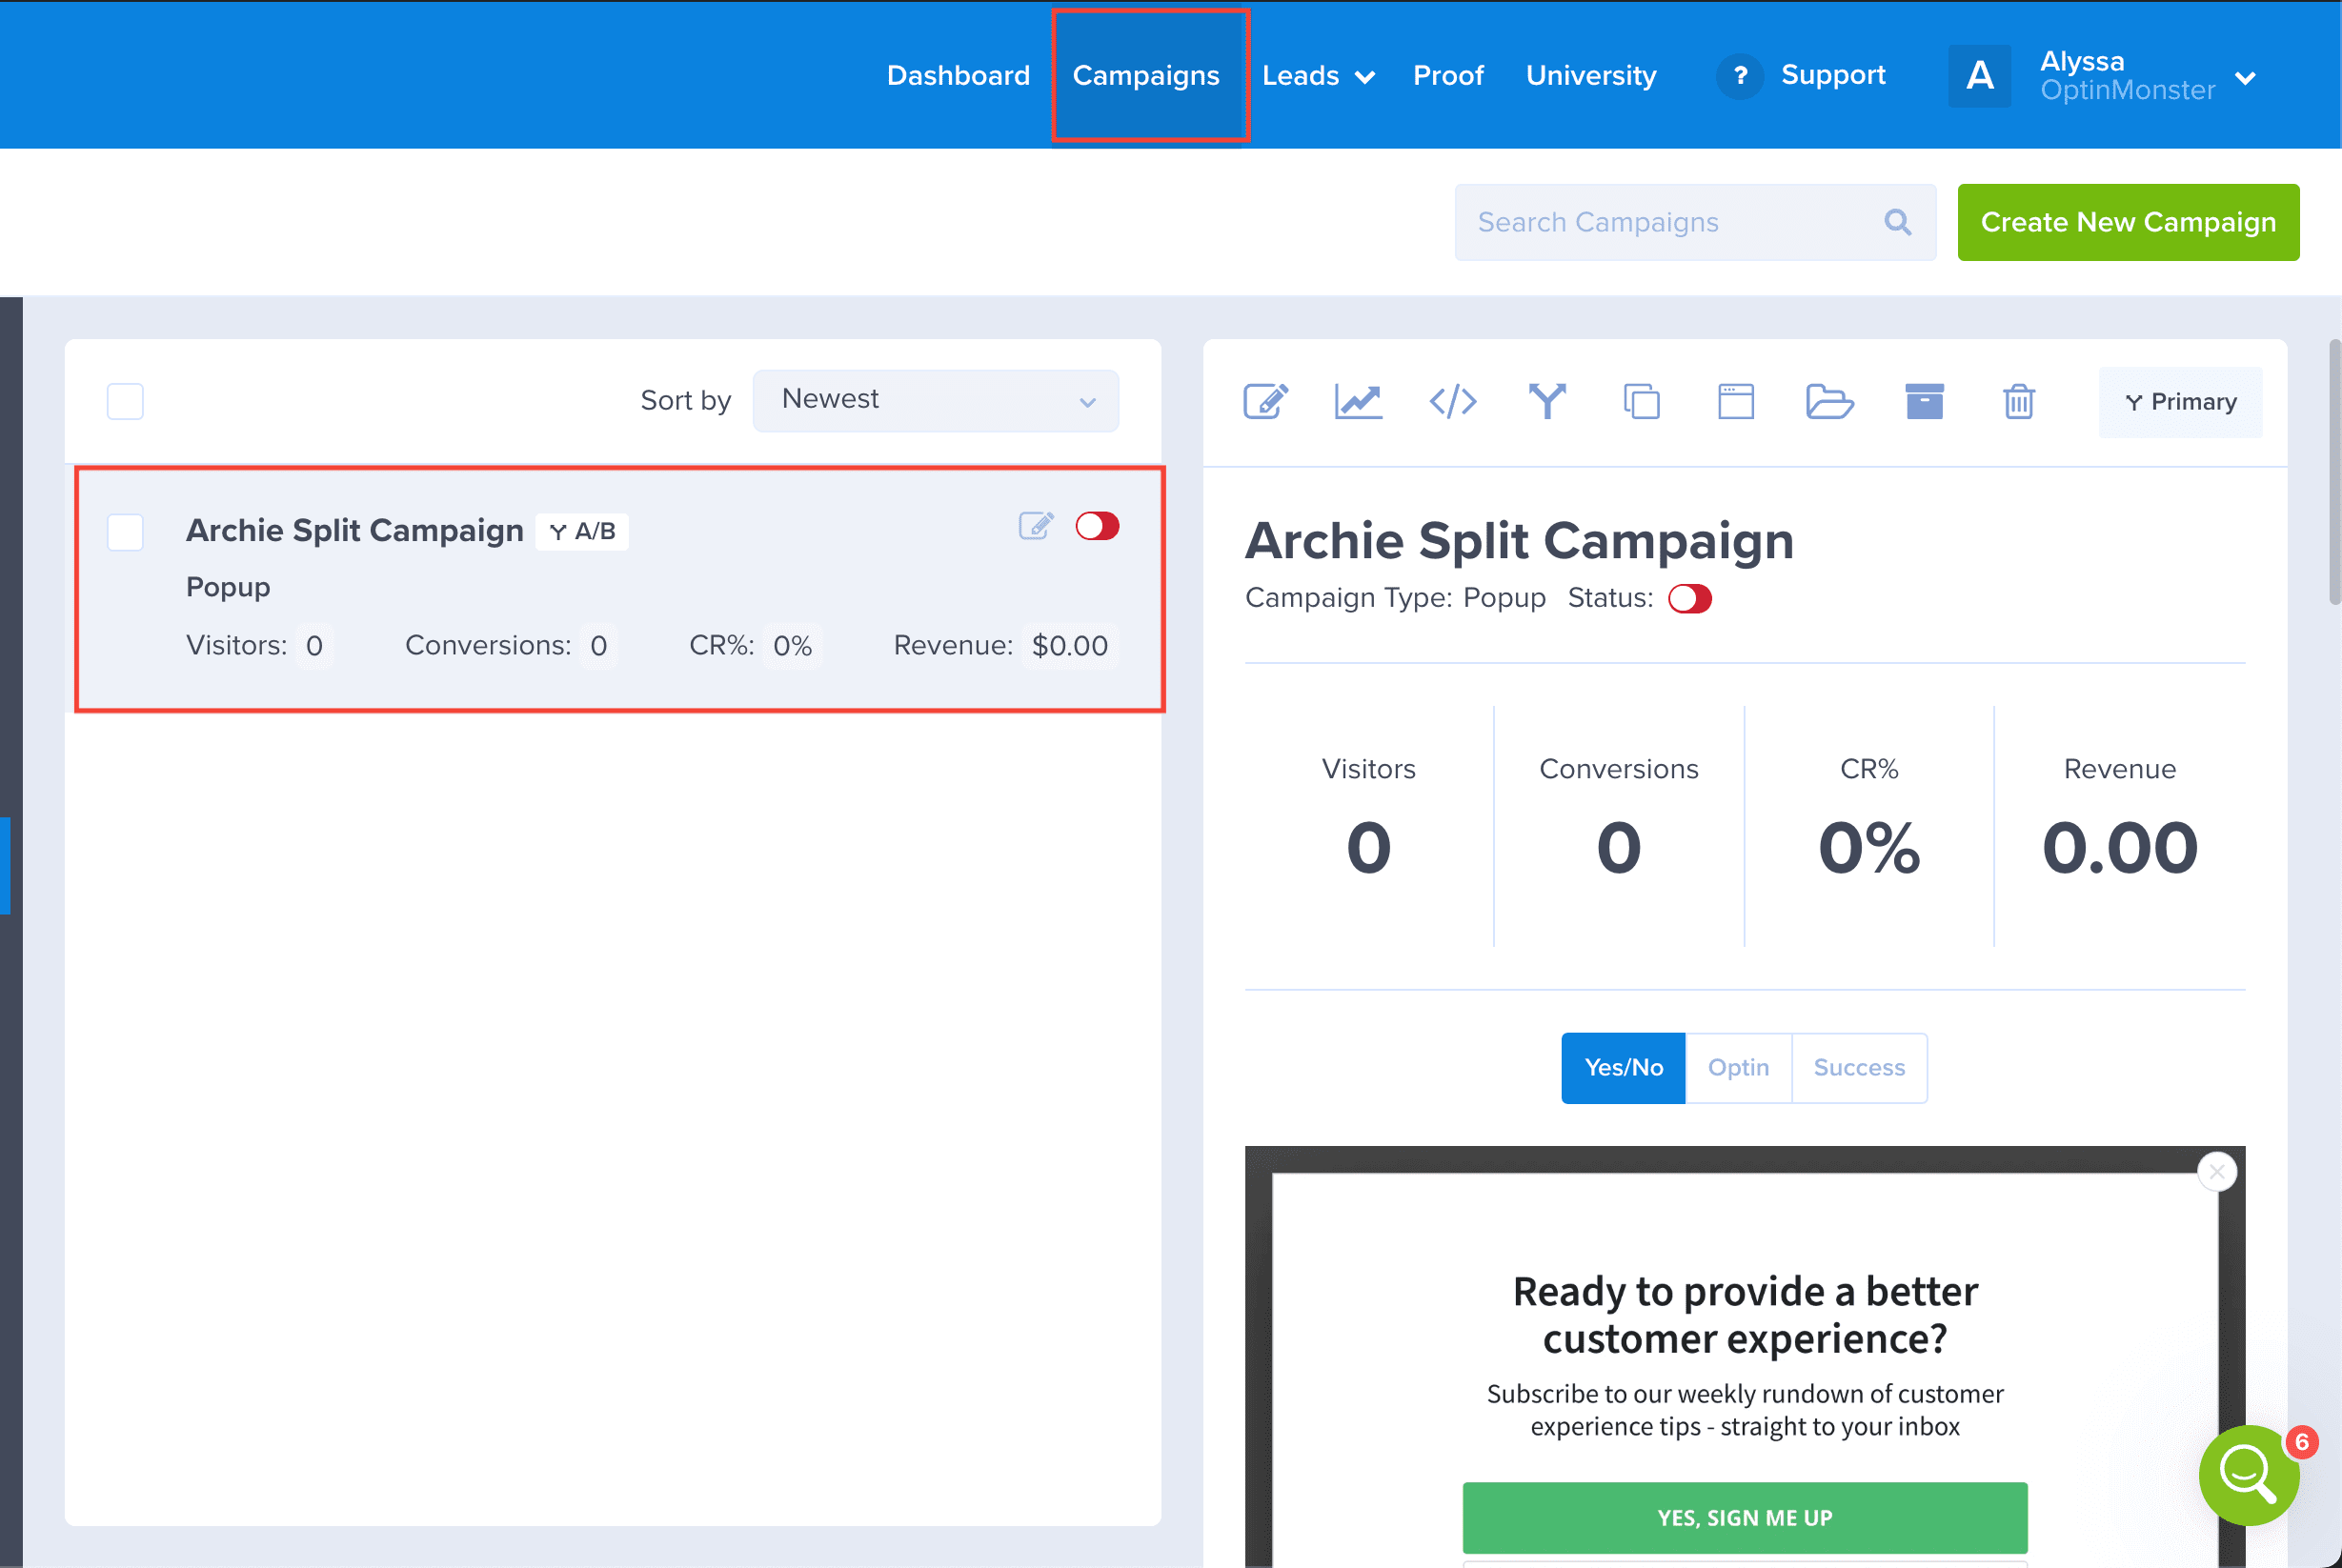
- Your new split test campaign will now open in the campaign builder for you to edit.
Learn and Make Adjustments
Once you’ve created a new split test, you’ll want to modify one specific element that you can compare against the original campaign. For example, you may want to change the title text used in your split test campaign, or change the color of the submit button to see if that one specific change produces better conversion results.
In most instances, it’s best to test a single change between campaigns. Testing multiple changes is a multivariate test, and measuring the outcomes can be more complex than split testing.
Learn more about multivariate vs split testing
Duplicate Child Campaigns
Duplicating a child campaign is a quick and easy way to make adjustments throughout your split testing group. Plus, you can have as many child campaigns as you want—there’s no limit!
You can duplicate a child campaign within a split test, by following these steps:
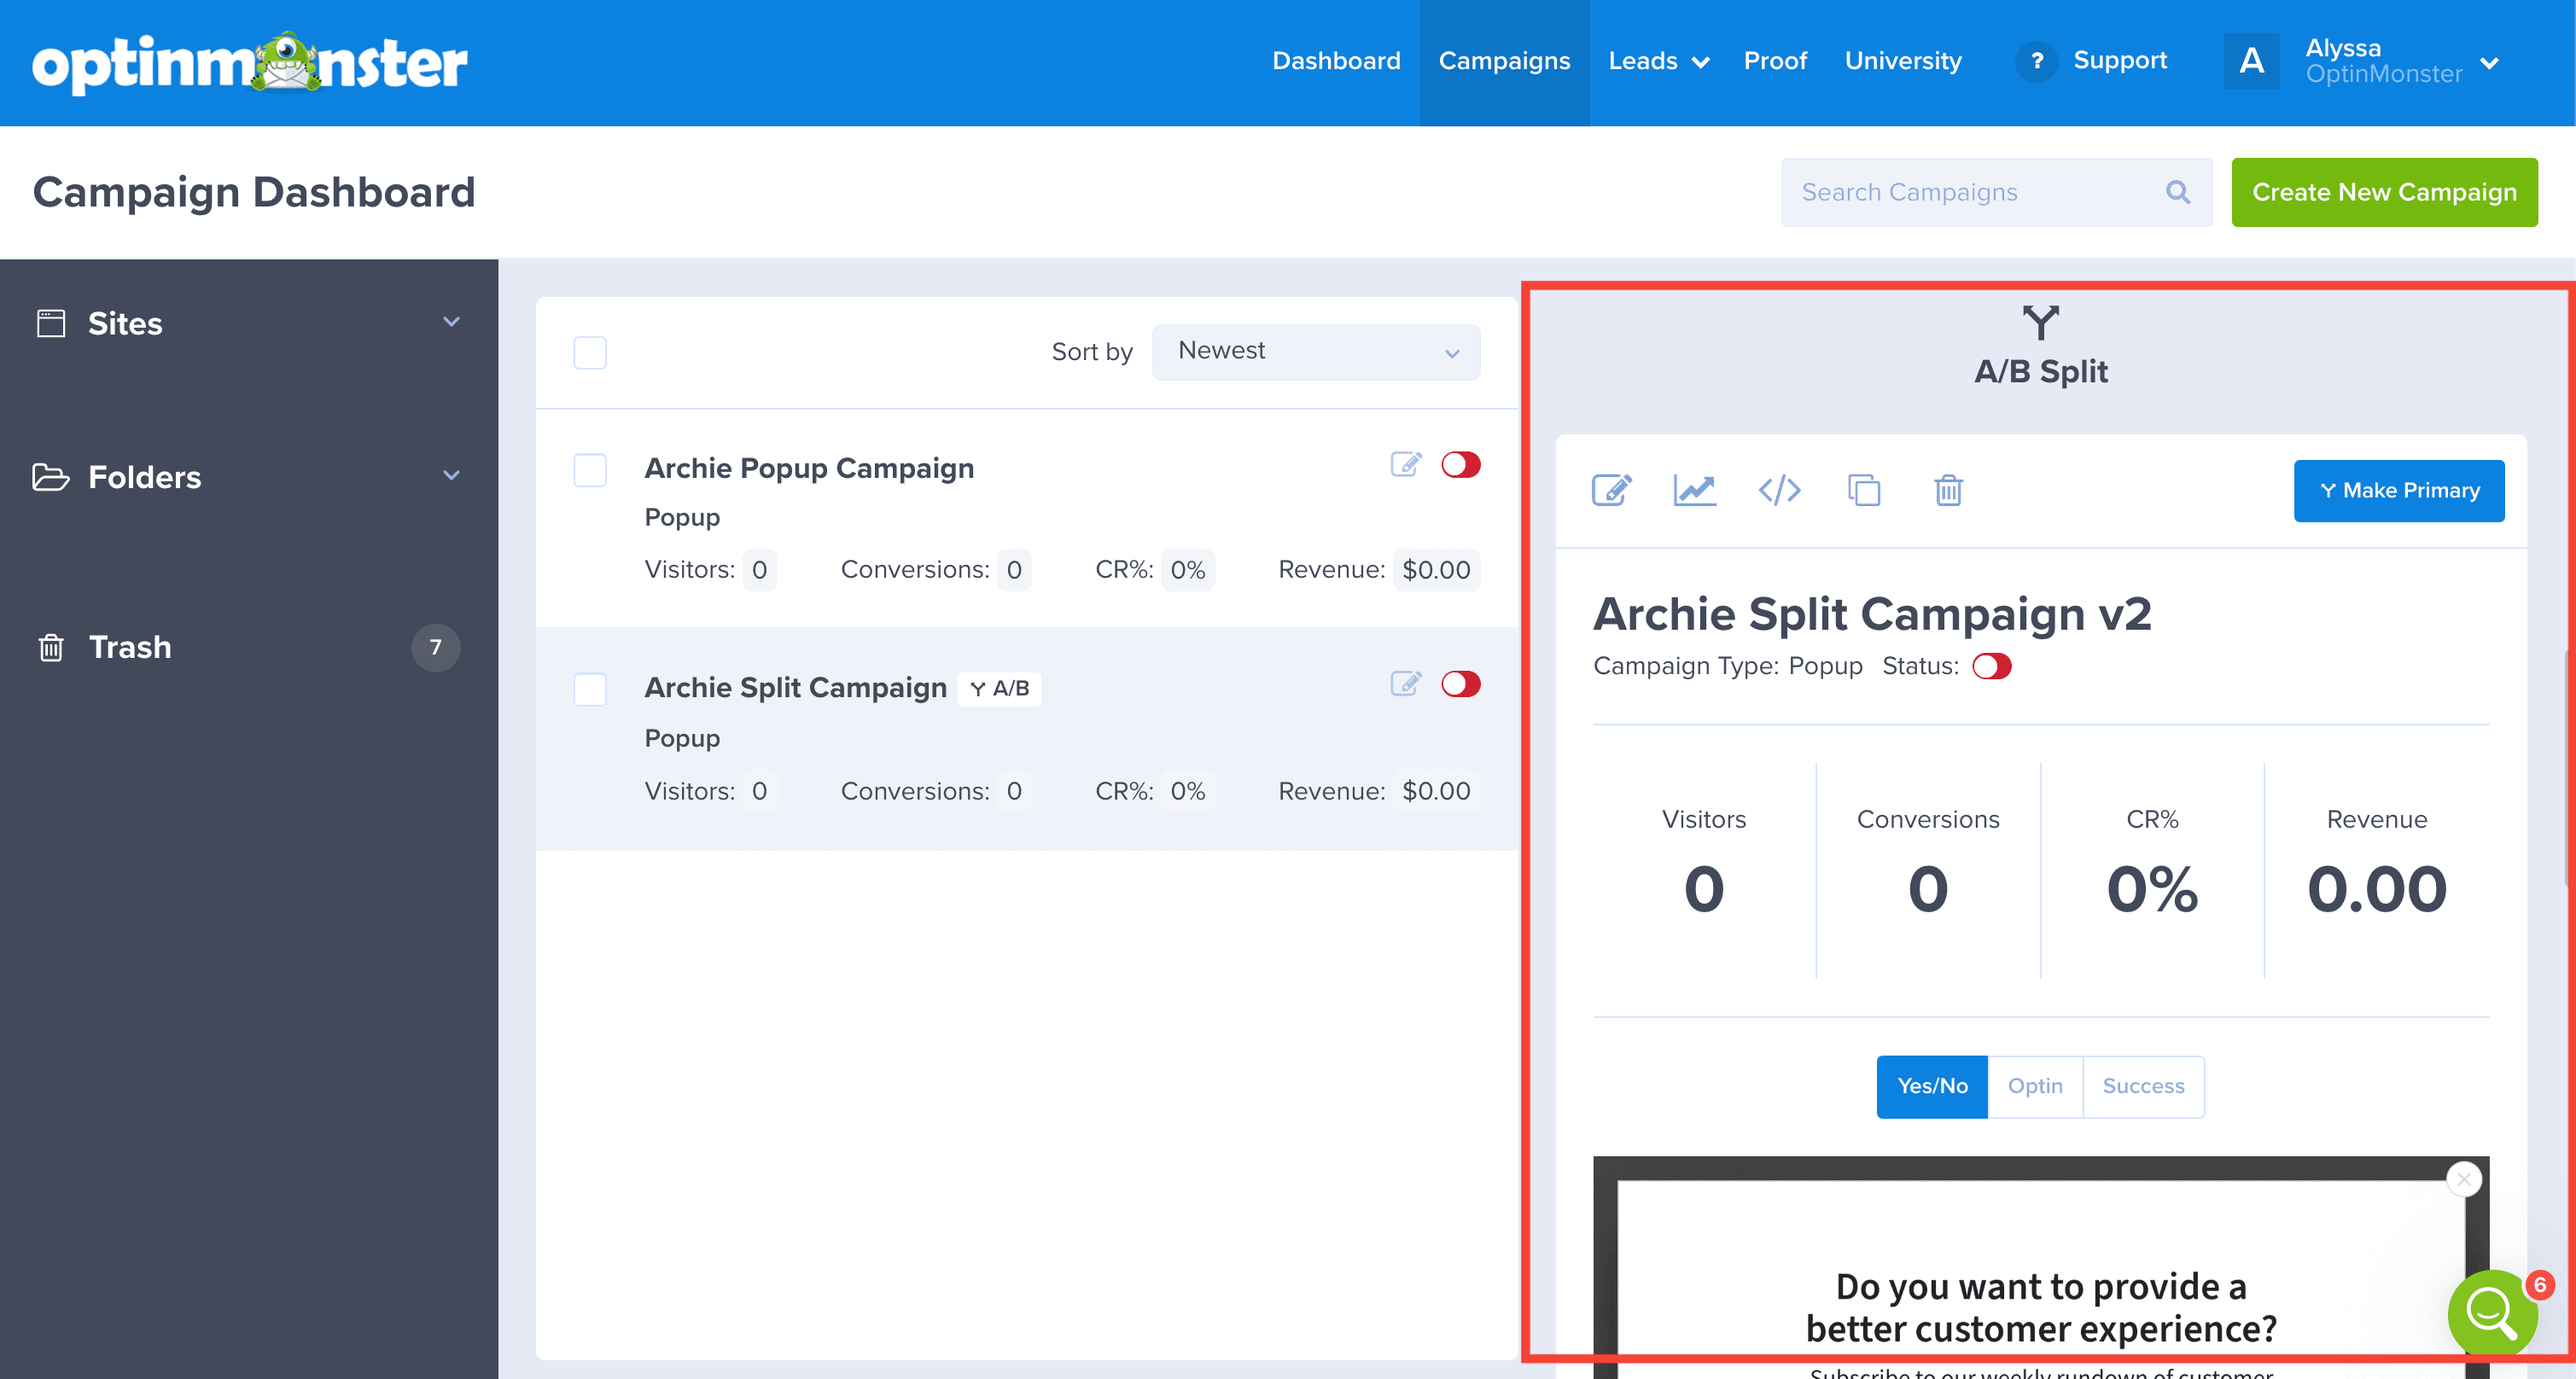
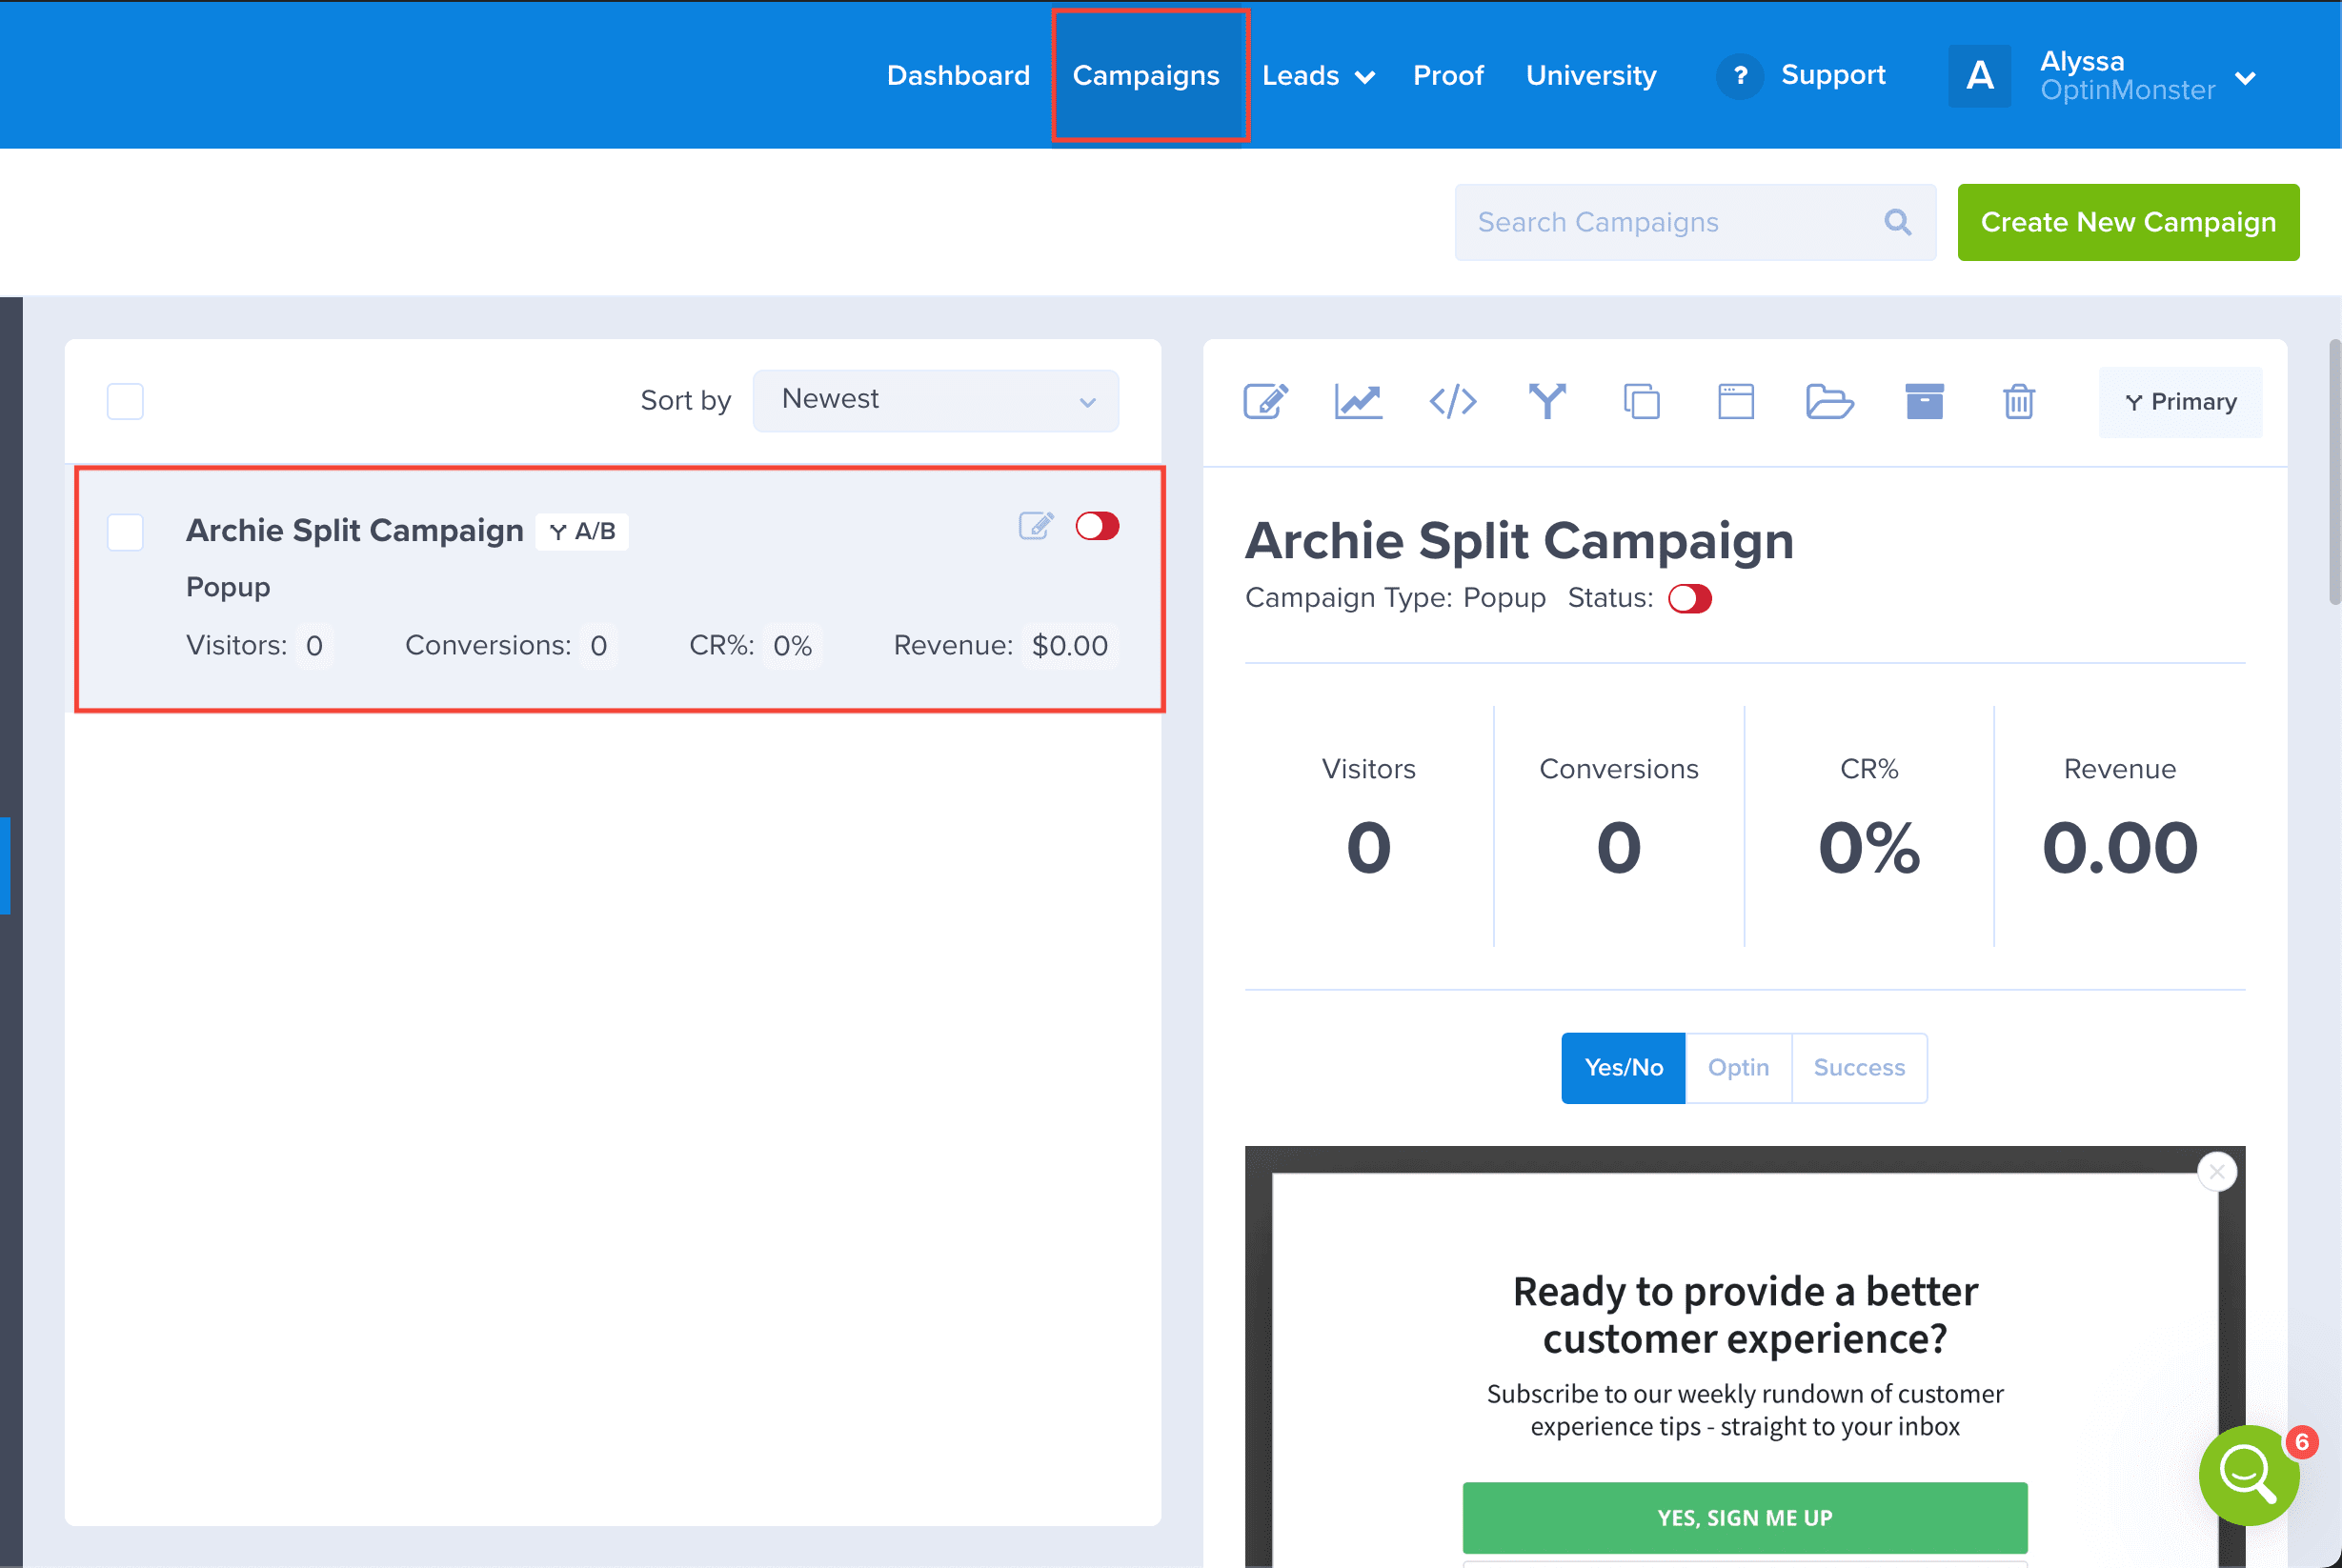
- From the Campaigns screen, select the current primary campaign.
- Next, scroll down in the campaign preview column to the child campaign that you would like to duplicate.
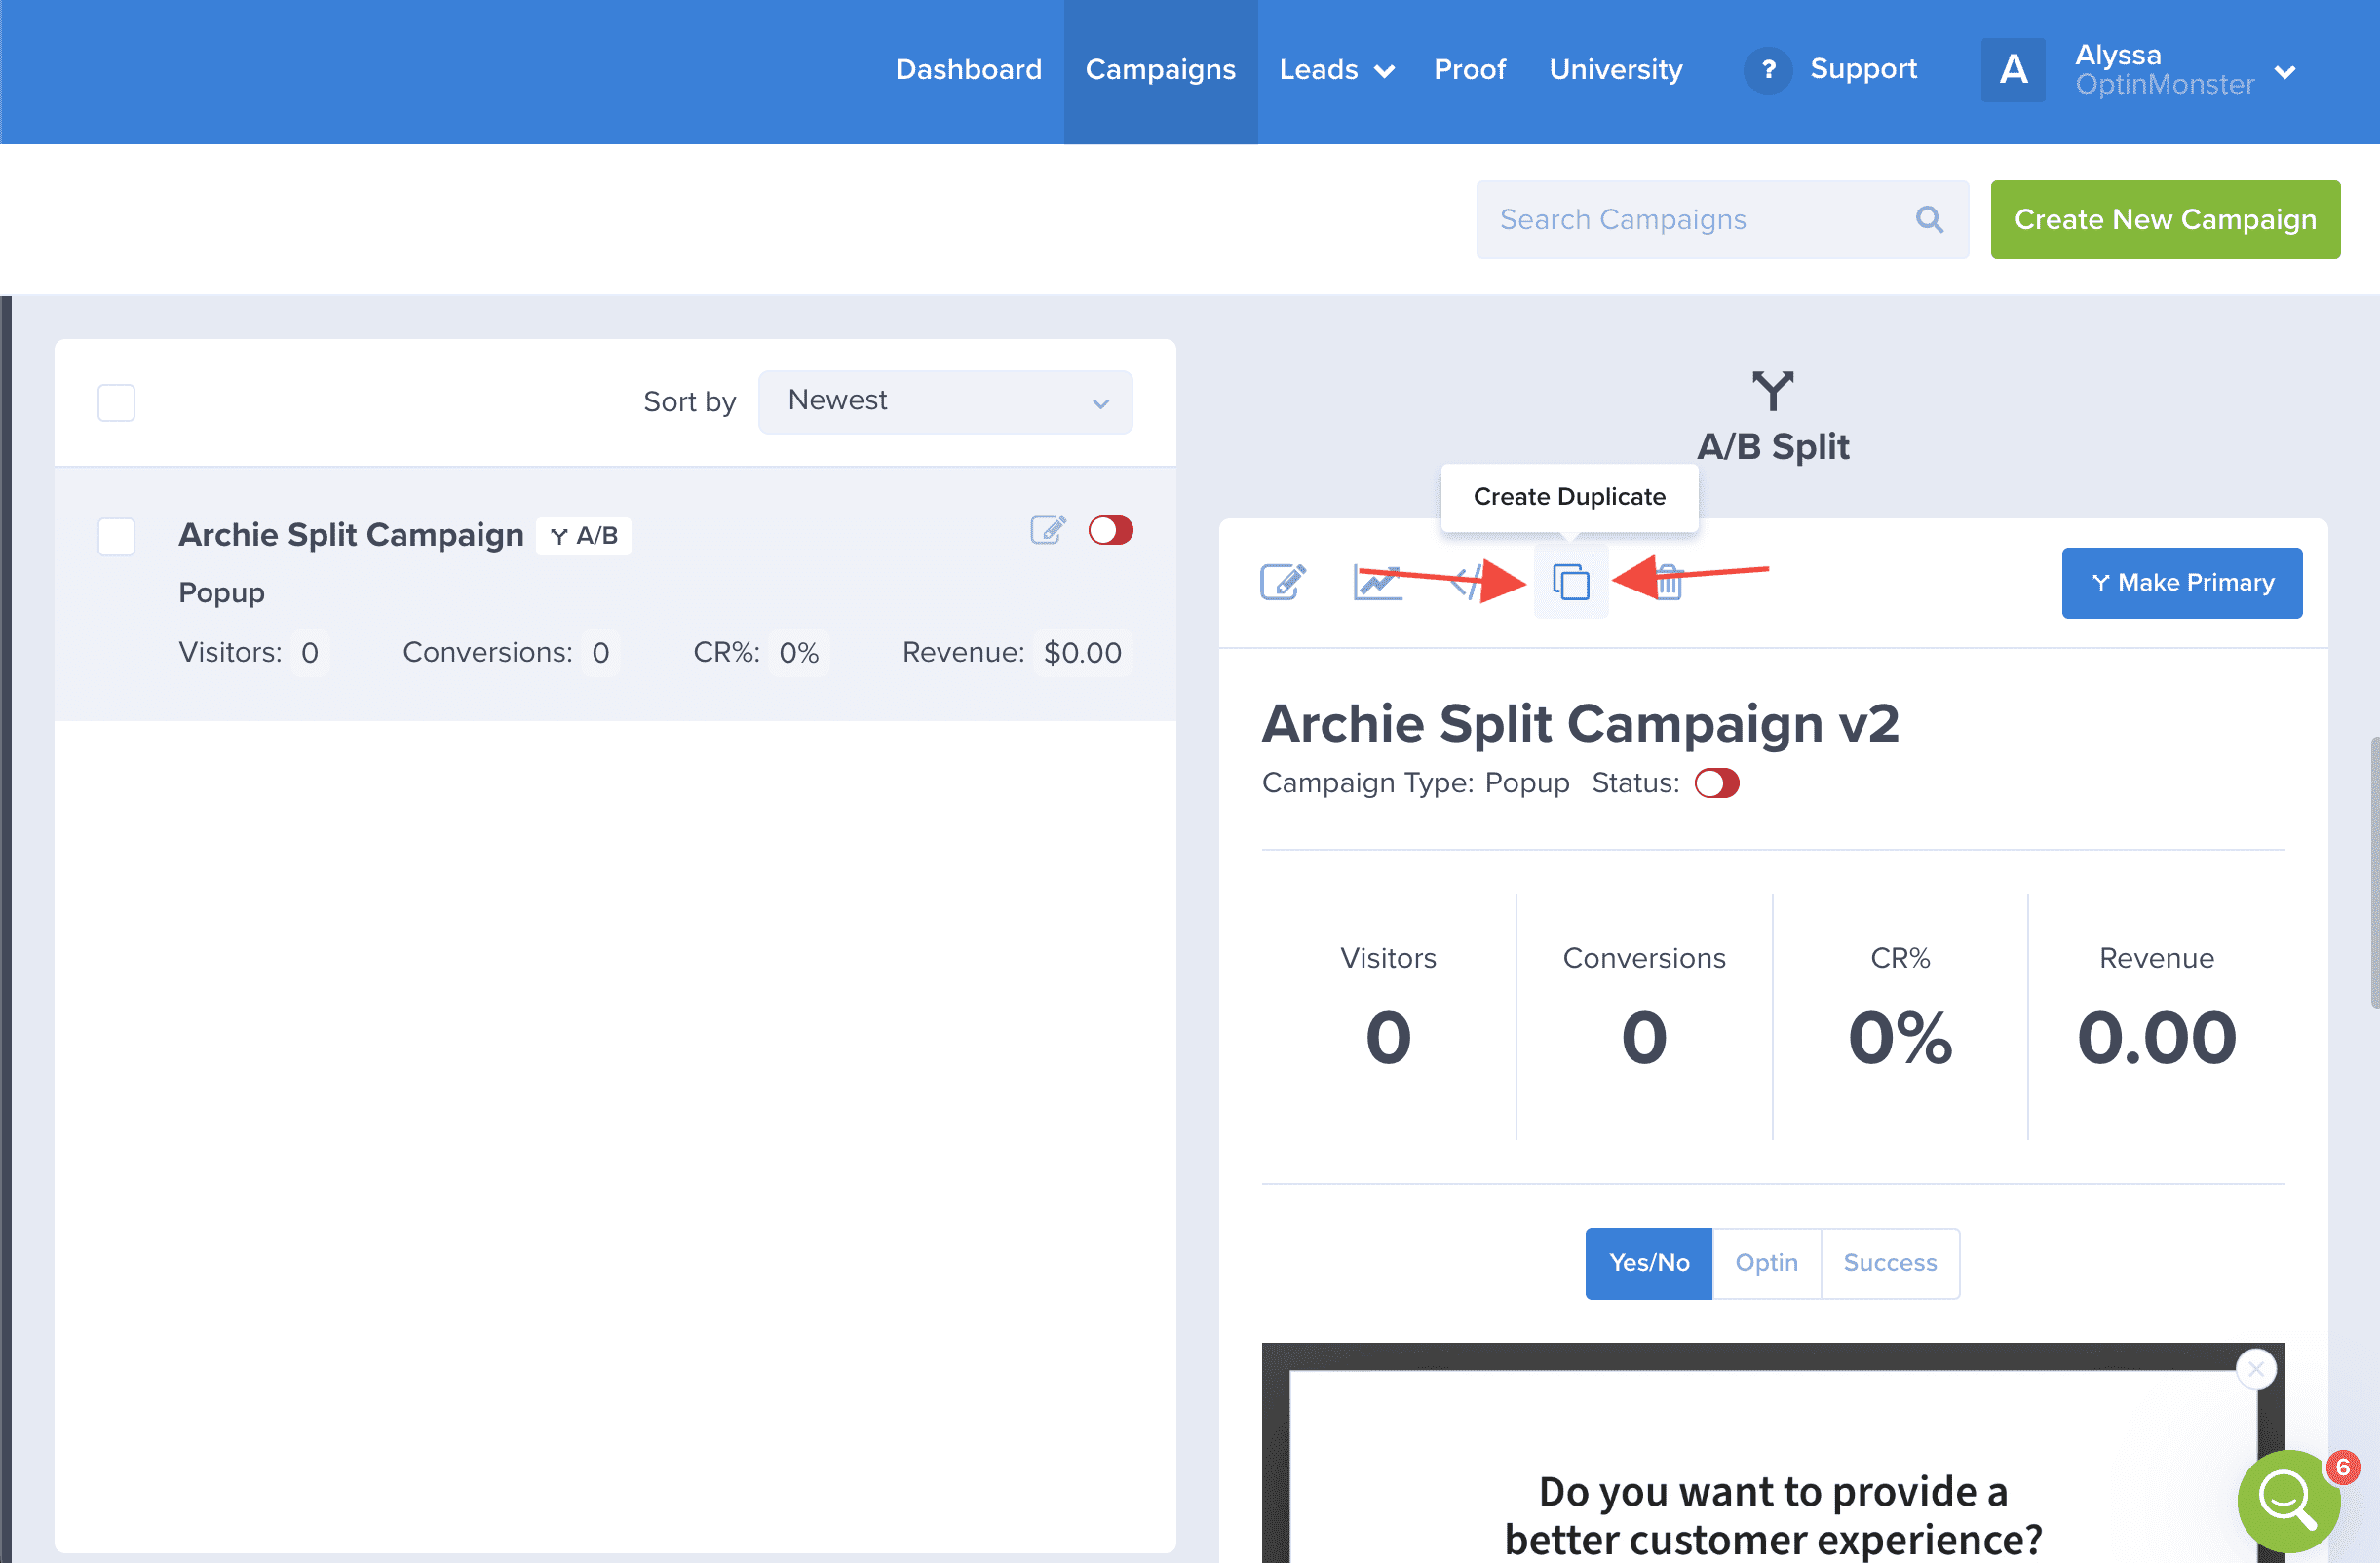
- Click the Duplicate icon above the campaign title.
- Scroll to the bottom of the split test group and you will see the duplicated campaign.
Change the Primary Campaign
In a split test group, the primary campaign acts as the parent campaign, while all other campaigns act as child campaigns.
The primary campaign must be published before any other campaign in the split test group can appear.
Any child campaign within the split test group can be reassigned as the new primary campaign. You might assign a new primary campaign once you’ve determined a winner, or if you want to stop showing the original primary while still running the split test.
To change the primary campaign in a split test, follow these steps:
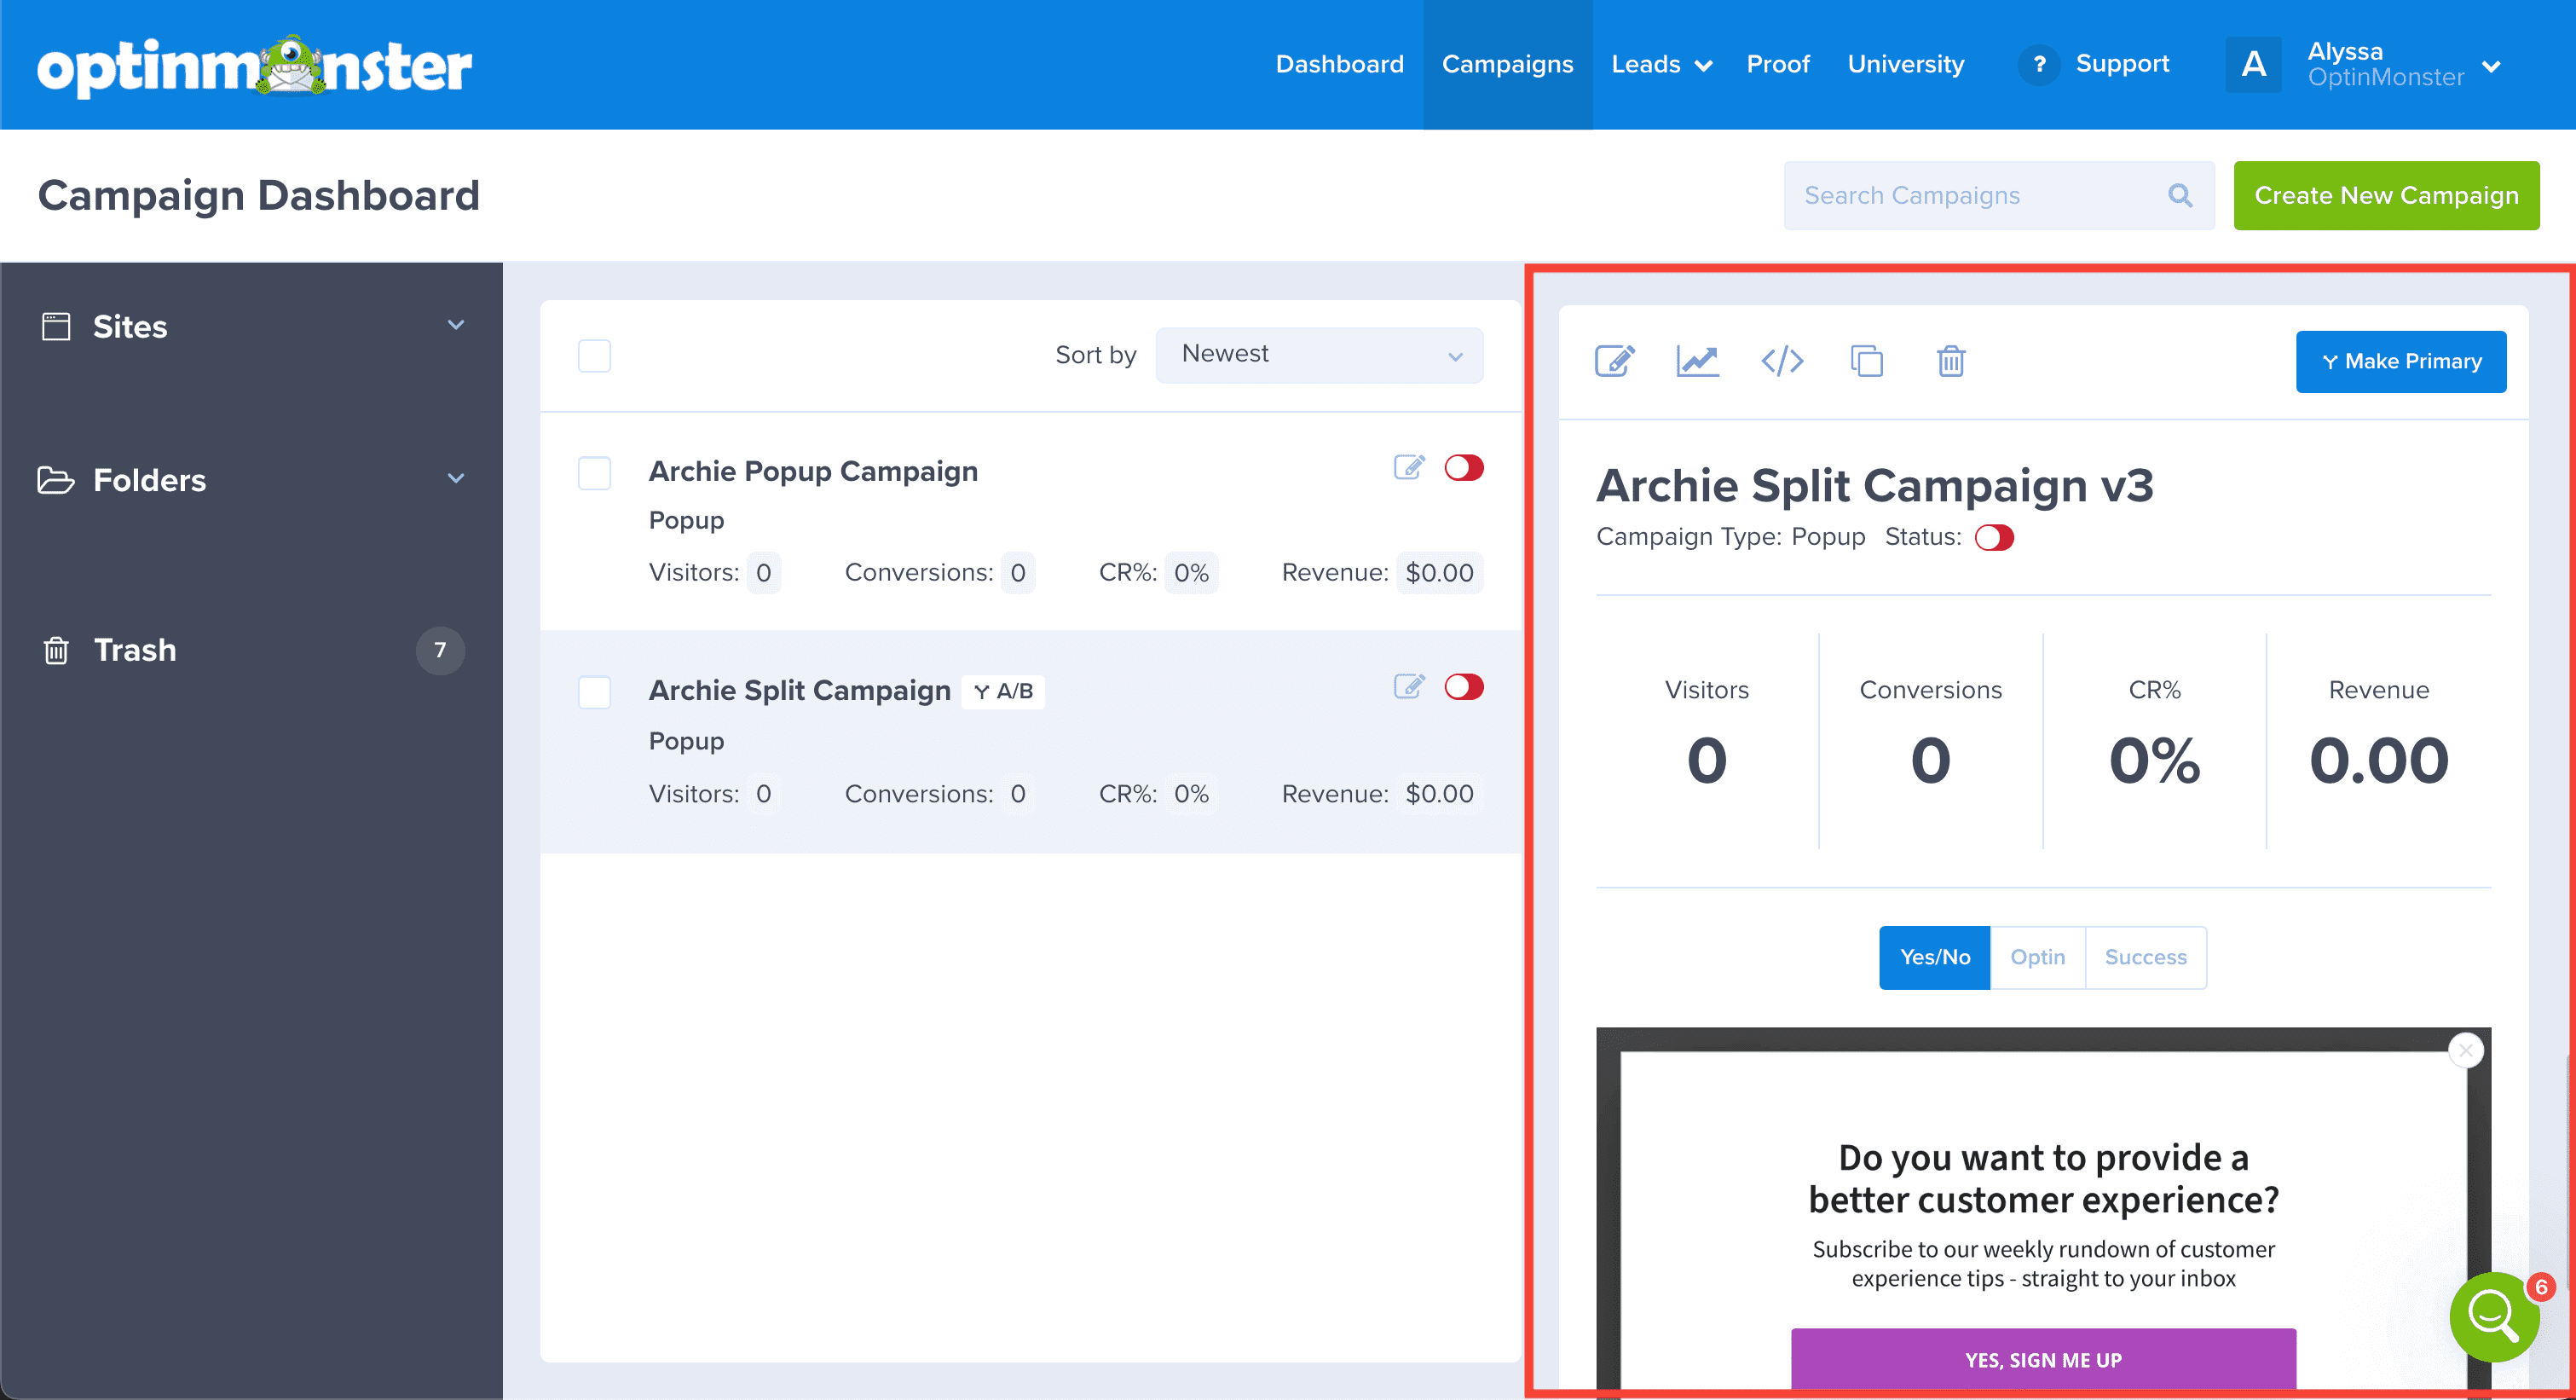
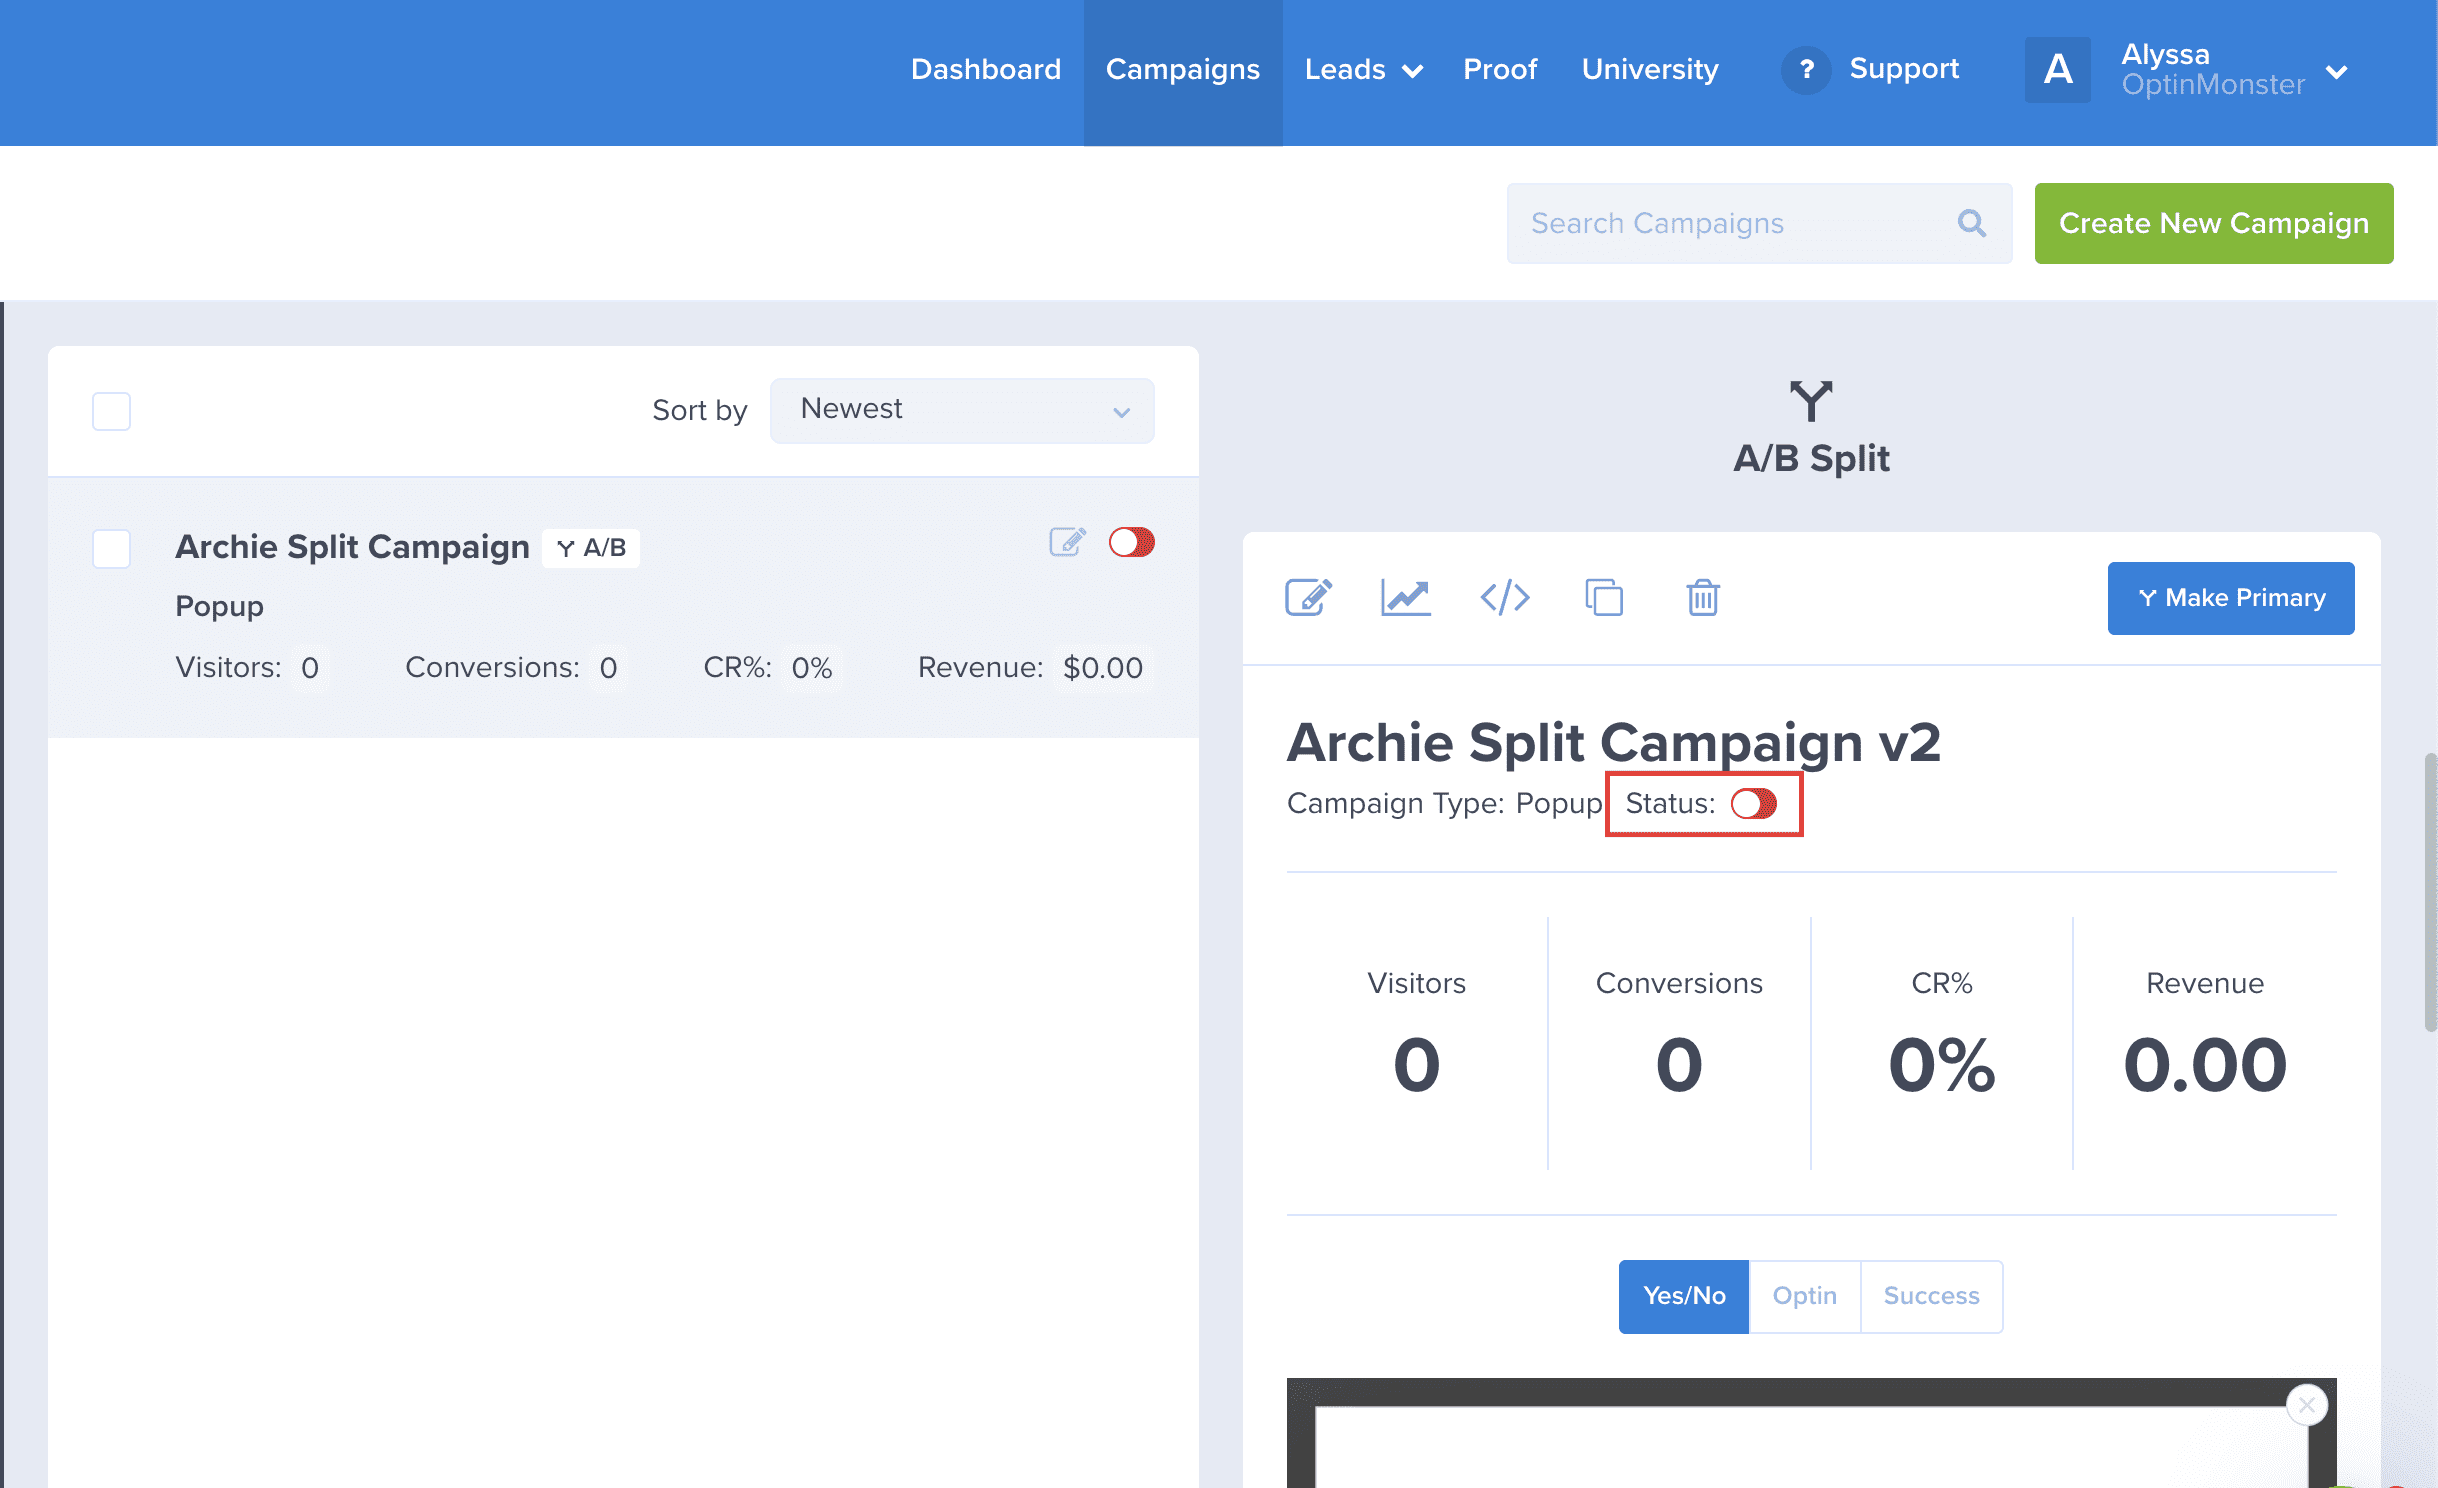
- From the Campaigns screen, select the split test group.
- Next, scroll down in the campaign preview column to the child campaign that you would like to make the new primary.
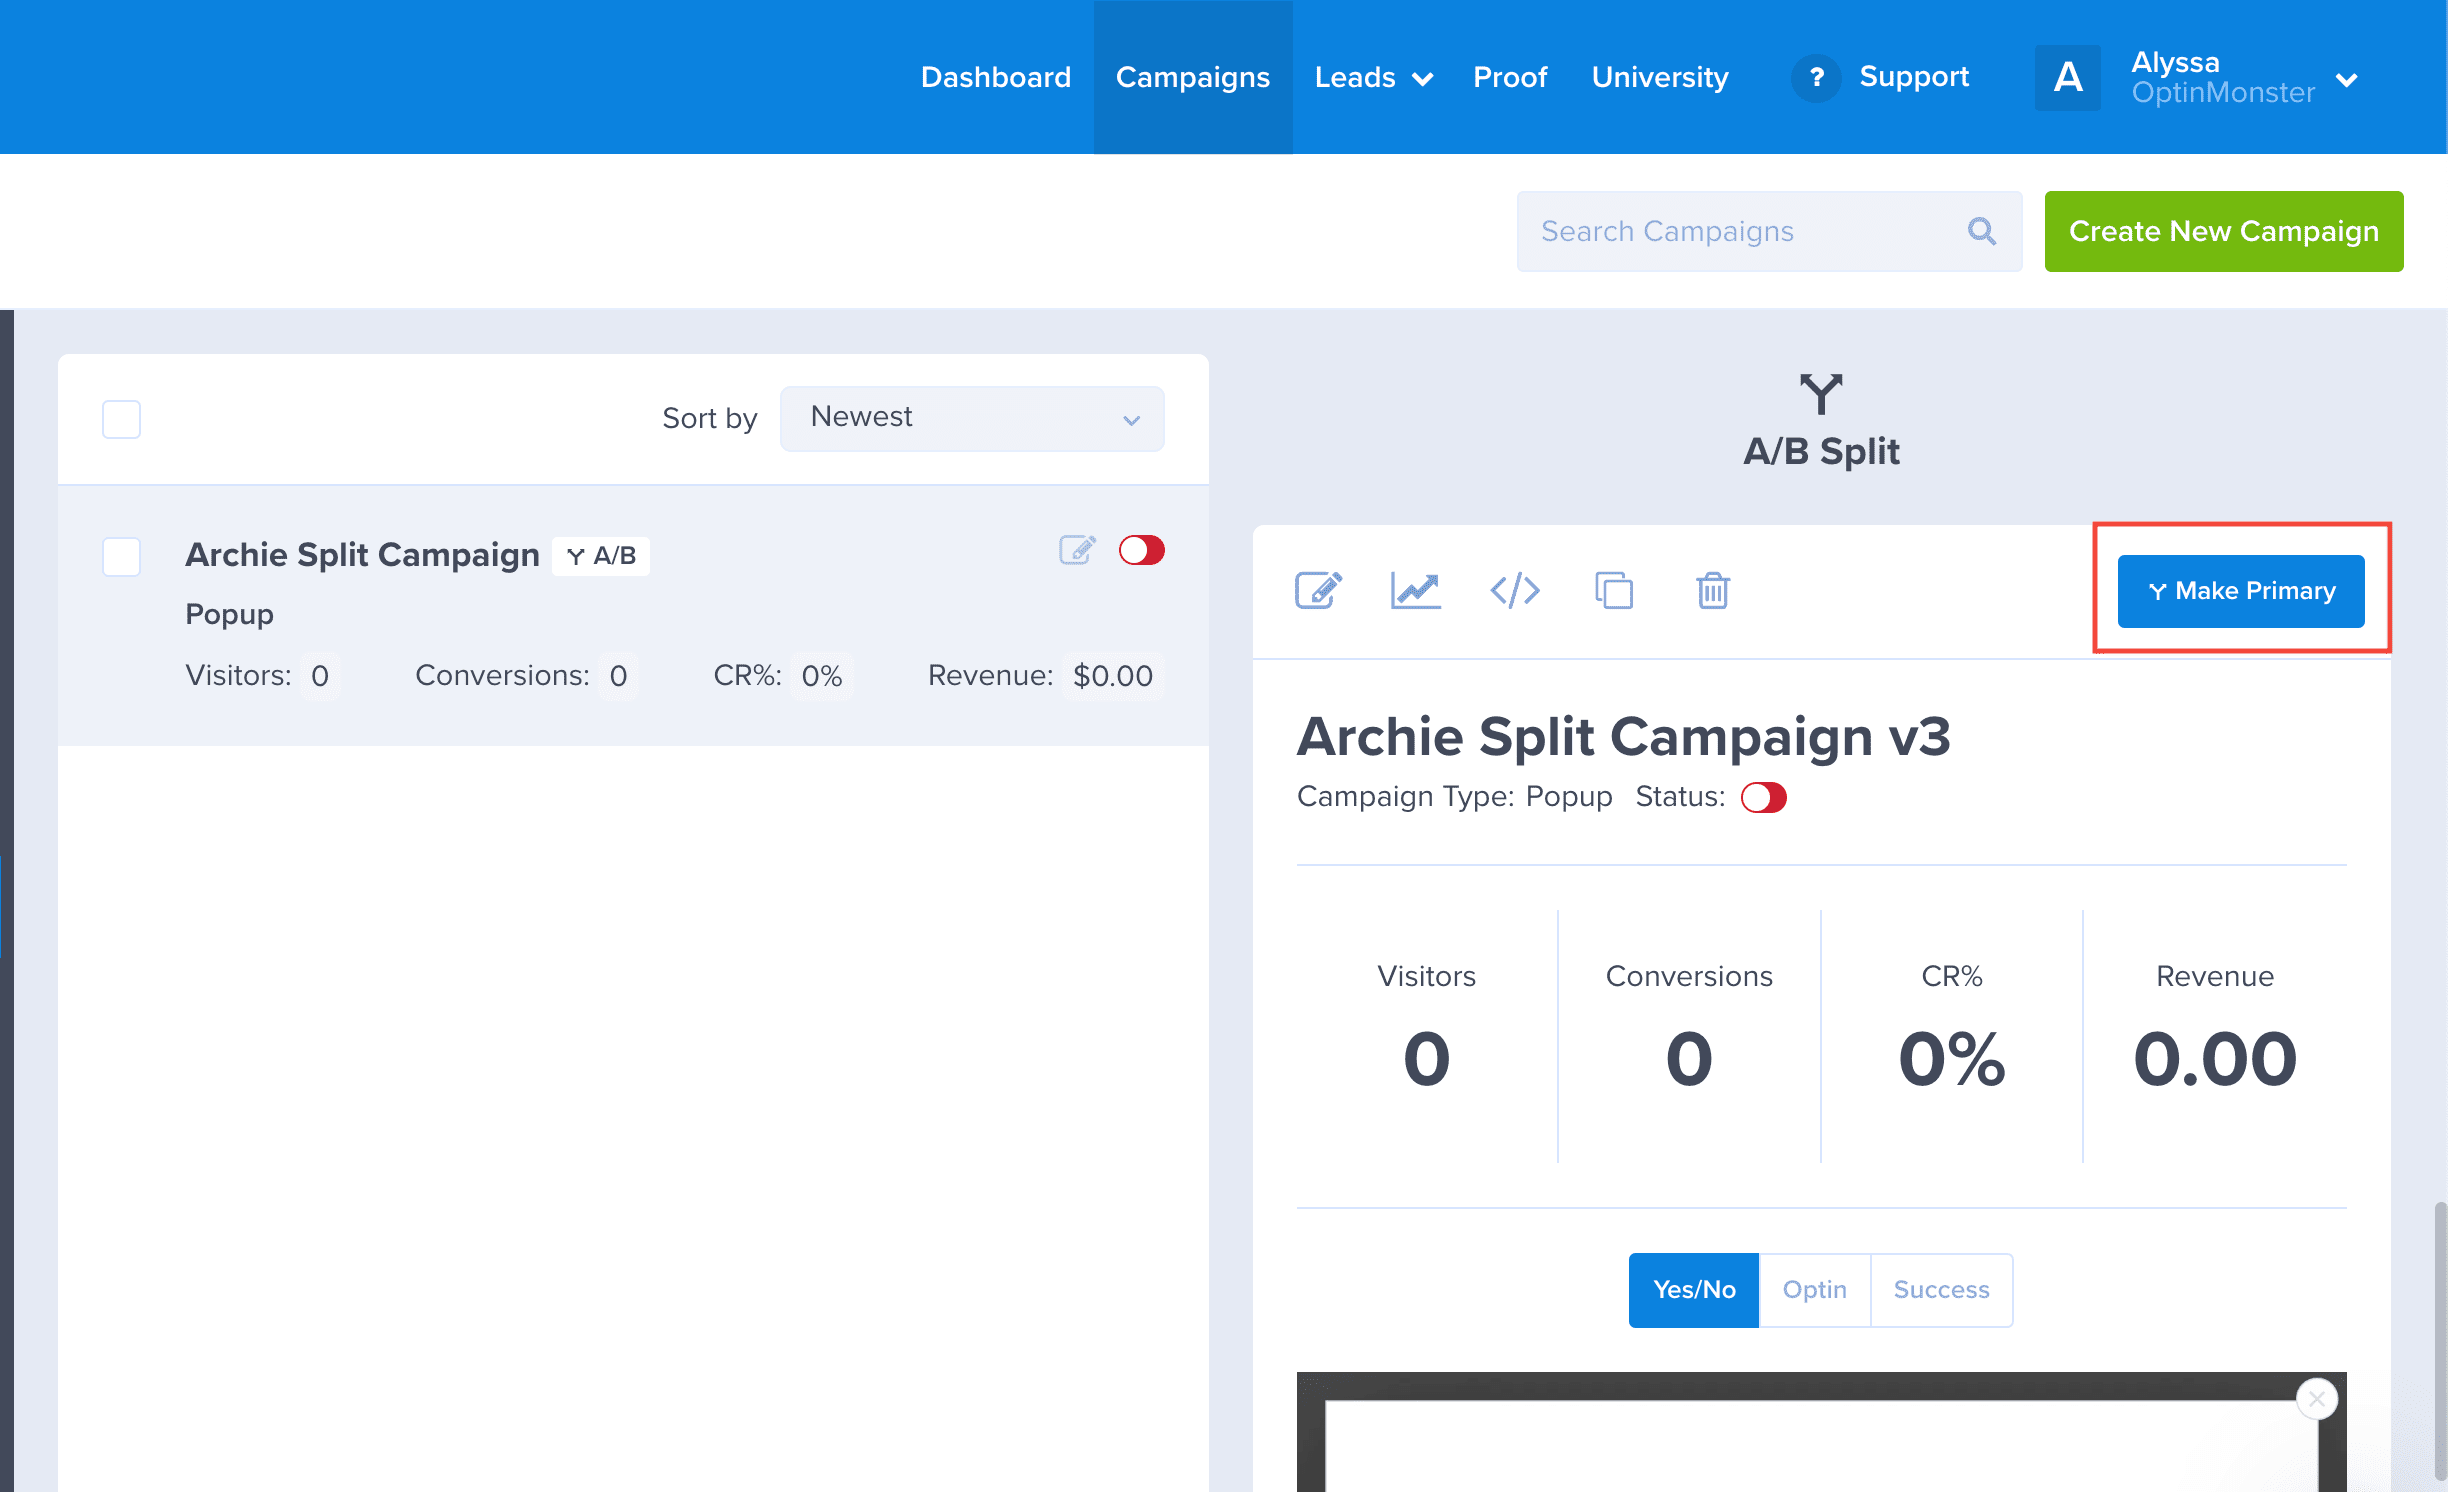
- Click the Make Primary button in the top right corner.
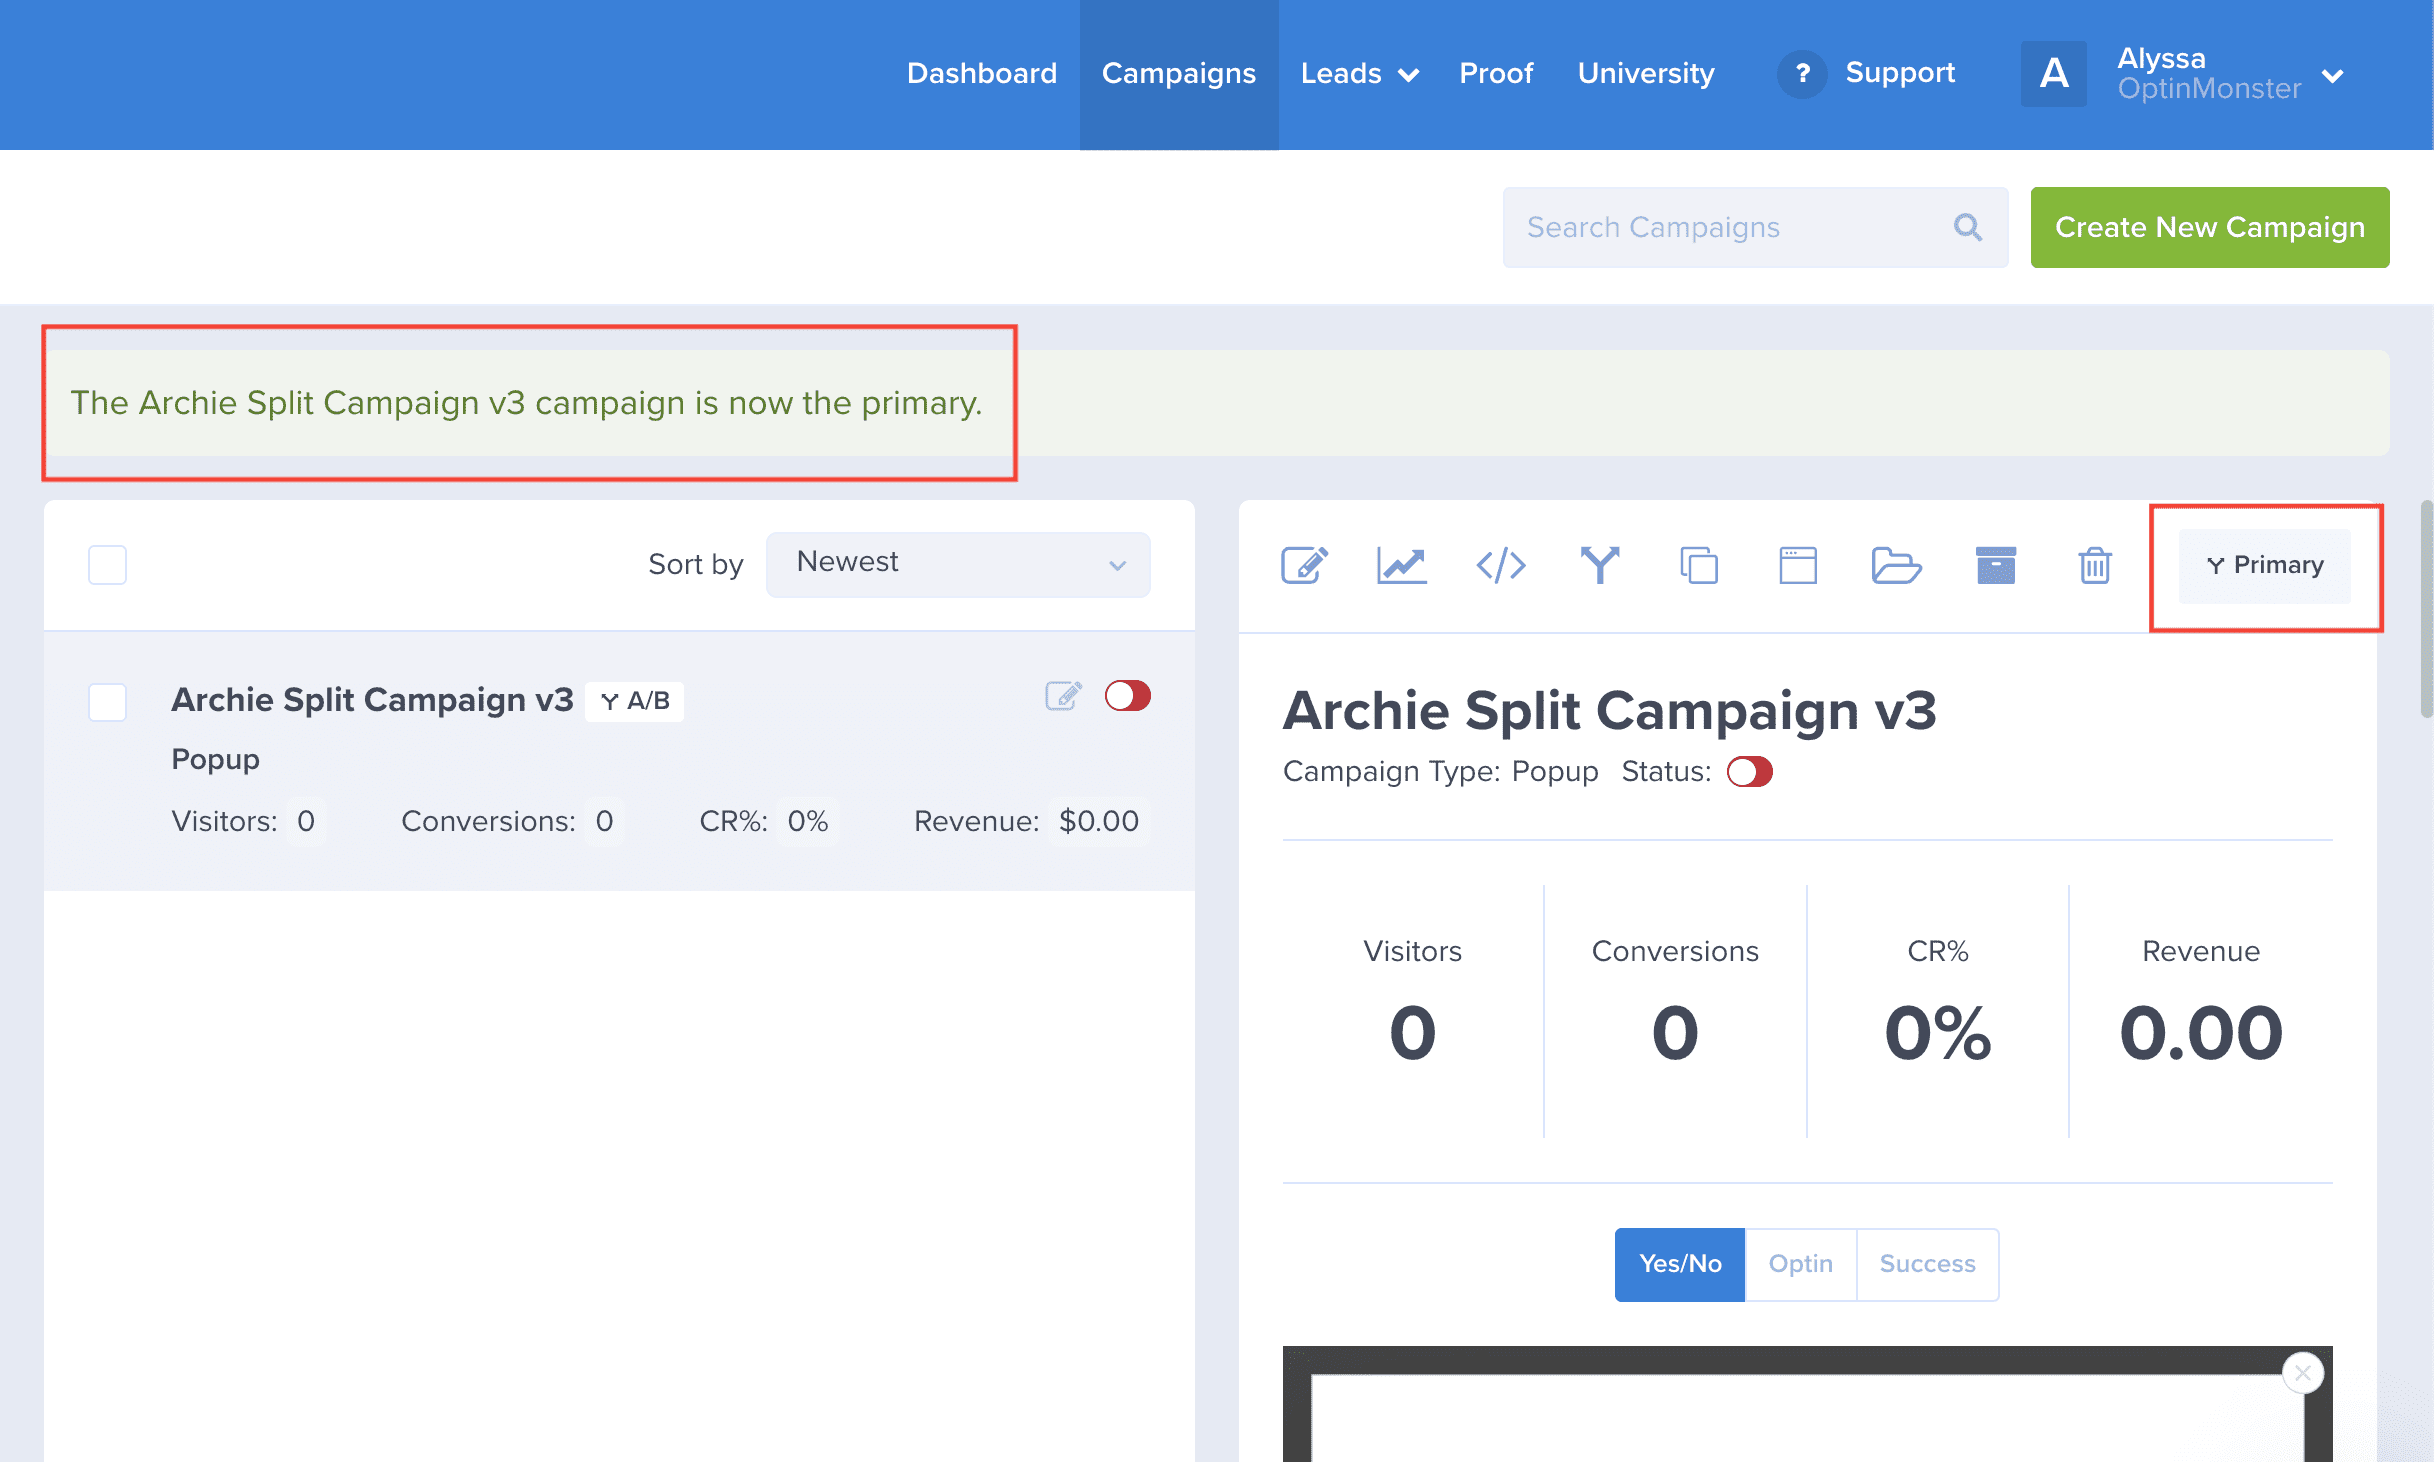
- You’ll receive an alert at the top of the screen confirming the change and you’ll see the child campaign is the new primary campaign.
- After changing the primary campaign in a split test, be sure to update the embed code on your site to ensure the campaigns work as expected.
Manage Child Campaigns
When split testing, you may decide that you no longer want to run specific campaigns and continue running specific campaigns.
You can easily enable or disable split test child campaigns within a split test group by following these steps:
- From the Campaigns screen, select the current primary campaign.
- Next, scroll down in the campaign preview column to view the split campaign you’d like to enable or disable.
- Toggle the Status button for the child campaign you want to enable or disable.
FAQs
How do I know which campaign to choose as a winner?
Each campaign will produce the following stats: Visitors, Conversions, and Conversion Rate.
- A Visitor is counted as someone who has seen/viewed your campaign.
- A Conversion is an event that occurs when a visitor performs a desired action, such as submitting their email address through a campaign, or clicking on a button to be redirected to a specific URL, etc.
- The Conversion Rate is the ratio of conversions (number of people who opted-in) compared to the number of visitors (number of people who were presented with a campaign).
The conversion rate for a campaign is calculated by dividing conversion and visitor counts, then multiplying by 100.(number of conversions/number of visitors) * 100
Conversion rate is the single most important metric for measuring your campaign’s performance.
To choose a winning campaign, you will want to choose the campaign that has the highest conversion rate, as that is the campaign that is the highest performing.
How does OptinMonster run split tests?
To explain by example, imagine you have only one campaign, titled Campaign A. Then you decide to create three split tests: (1) Campaign A-1, (2) Campaign A-2, and (3) Campaign A-3. You now have 4 variations of 1 kind of campaign, the original and the 3 tests.
- Campaign A is active, and only some split tests are enabled. In this scenario, OptinMonster will randomly assign either Campaign A or one of the split tests. If the split test it chooses is one that is currently disabled, then OptinMonster will load Campaign A.
- Campaign A is inactive, and only some split tests are enabled. In this scenario, OptinMonster will not load any campaign for that pageview.
Can I split test different campaign types?
Yes! However, it is important to note that some campaign types will naturally result in higher conversion rates than others.
If you choose to split test a campaign type, try to change as few other details as possible, to truly test if it is the campaign type that is responsible for any difference in conversions (rather than design elements or display rules).
Follow our guide to change the campaign type.
Can I copy child campaigns from one split test group to another split test group?
No, it’s not possible to copy child campaigns from one split test group into another one at this time.
Can I change my split test notes later?
Yes, follow our guide to add campaign notes at any time.
Do you have any split testing tips or tricks I can follow?
Sure! First, make sure you understand the difference between A/B split testing and multivariate testing. A/B testing only tests one variable at a time. Multivariate testing allows you to test multiple conditions at once. Learn more about the difference between A/B testing and multivariate testing.
Then, check out some of the great split testing articles we’ve published to learn more about leveraging the power of OptinMonster’s split testing tool.

