Do you want to send your visitors to a quiz that helps them find the right product, course, or service? With OptinMonster, you can promote your quiz with a campaign, collect an email address first, or even lock the quiz until a visitor subscribes. In this article, you’ll learn how to pair a quiz with OptinMonster.
Before you start, content locking is available with a Plus or higher subscription. The redirect methods work with any subscription.
Choosing a Method
OptinMonster doesn’t build the quiz itself. Instead, you’ll create your quiz with a quiz tool, such as WPForms or TryInteract, and then use a campaign to get visitors to it. Any quiz tool works, as long as it gives you a link to the quiz or a way to embed it on your page.
There are 3 ways to pair your quiz with a campaign:
- Redirect campaign: A campaign with a button that sends visitors straight to your quiz. This is the quickest setup.
- Optin, then redirect: A campaign that collects an email address first. After the visitor subscribes, the success view sends them to your quiz.
- Content locking: An inline campaign that hides the quiz on your page until the visitor subscribes.
Once you’ve picked the method that fits your goal, follow the matching section below.
Creating a Redirect Campaign
With this method, your campaign shows a short message and a button. When a visitor clicks it, they go straight to your quiz.
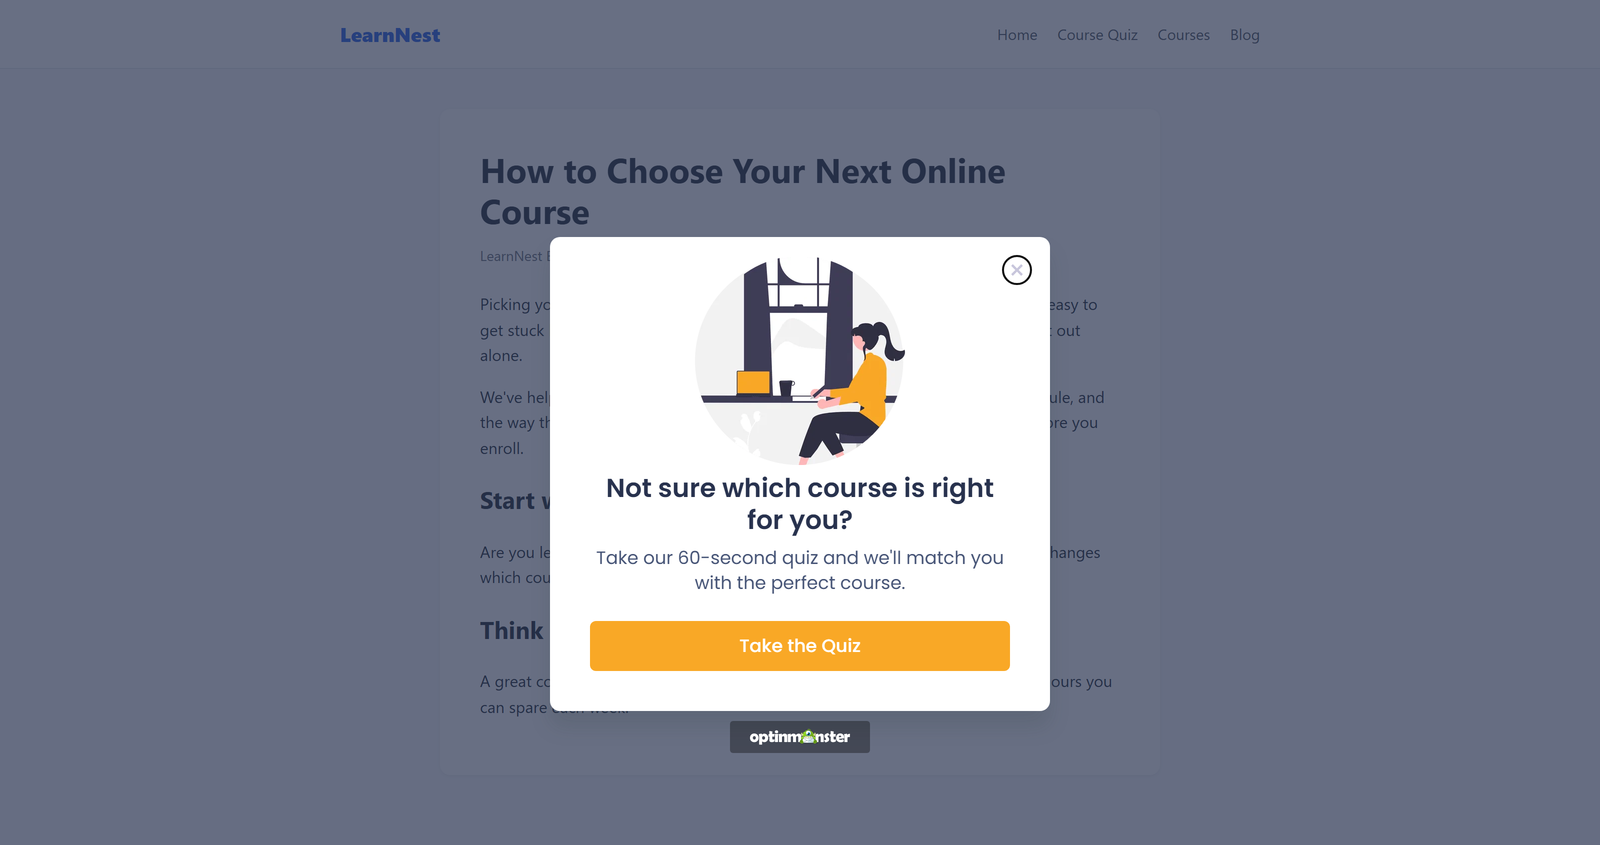
If you don’t have a campaign yet, go ahead and create a new Popup campaign first. If your template doesn’t have a button, then drag a Button block from the Blocks list onto your campaign before you start.
To set up the button, follow these steps:
- First, open your campaign in the campaign builder.
- Next, click the button on your campaign to open its settings in the left sidebar.
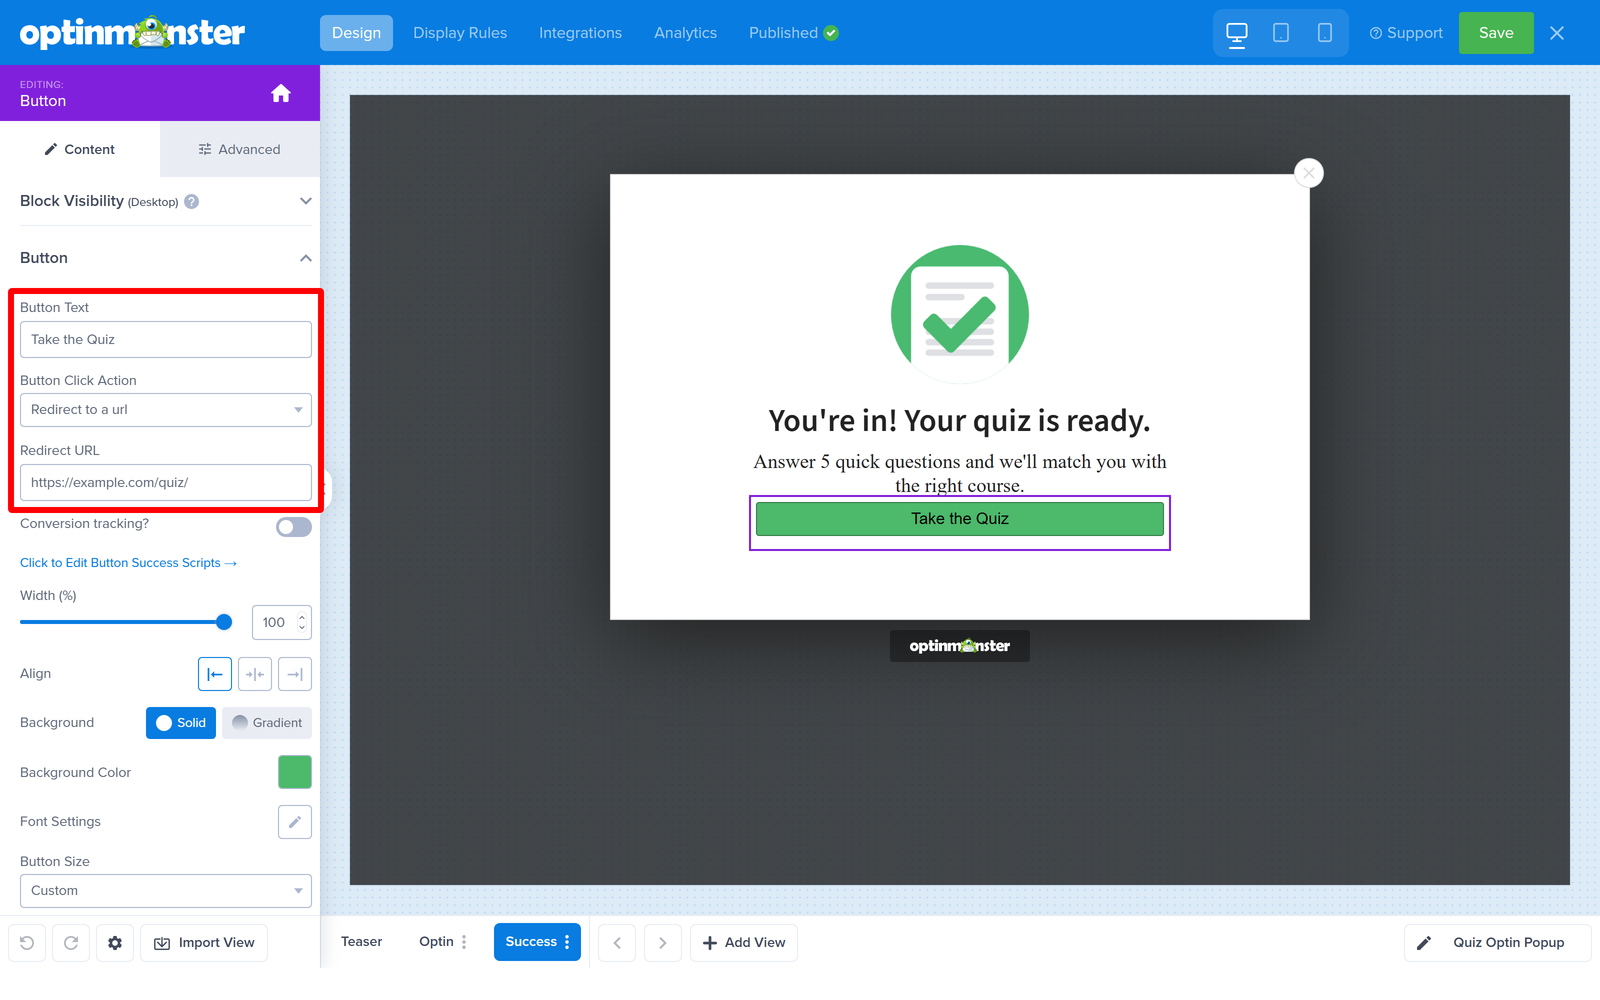
- Then, enter your call to action in the Button Text field, such as Take the Quiz.
- After that, open the Button Click Action dropdown and select Redirect to a url.
- In the Redirect URL field, paste the link to your quiz.

- Finally, click Save.
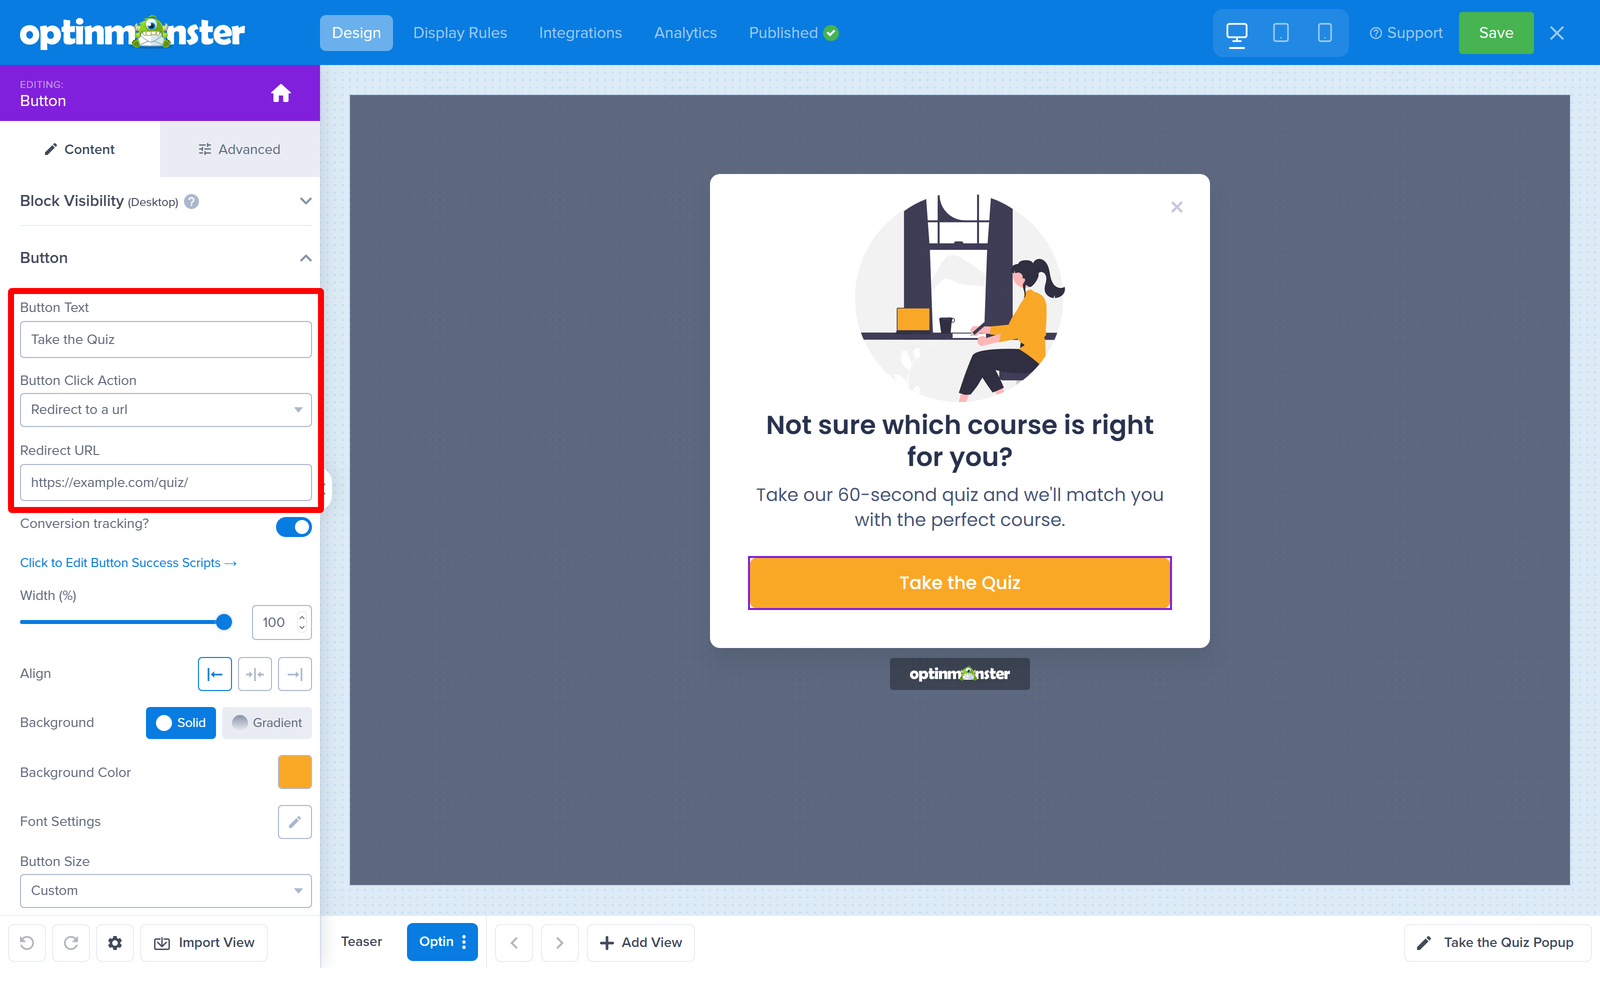
When you’re ready, publish your campaign. Now, when a visitor clicks the button, they’ll land right on your quiz.
Redirecting to the Quiz After Signup
With this method, your campaign collects the visitor’s email address first. Once they subscribe, the success view shows a button that takes them to the quiz.
By default, the submit button on an optin form takes visitors to the Success view. You’ll add the quiz button to that view.
To add the quiz button, follow these steps:
- First, open your optin campaign in the campaign builder.
- Next, click the Success tab at the bottom of the builder.
- Then, drag a Button block from the Blocks list onto the view, right below your success message.
- After that, click the new button to open its settings.
- In the Button Text field, enter your call to action, such as Take the Quiz.
- Next, open the Button Click Action dropdown and select Redirect to a url.
- Then, paste the link to your quiz in the Redirect URL field.
- Finally, click Save.
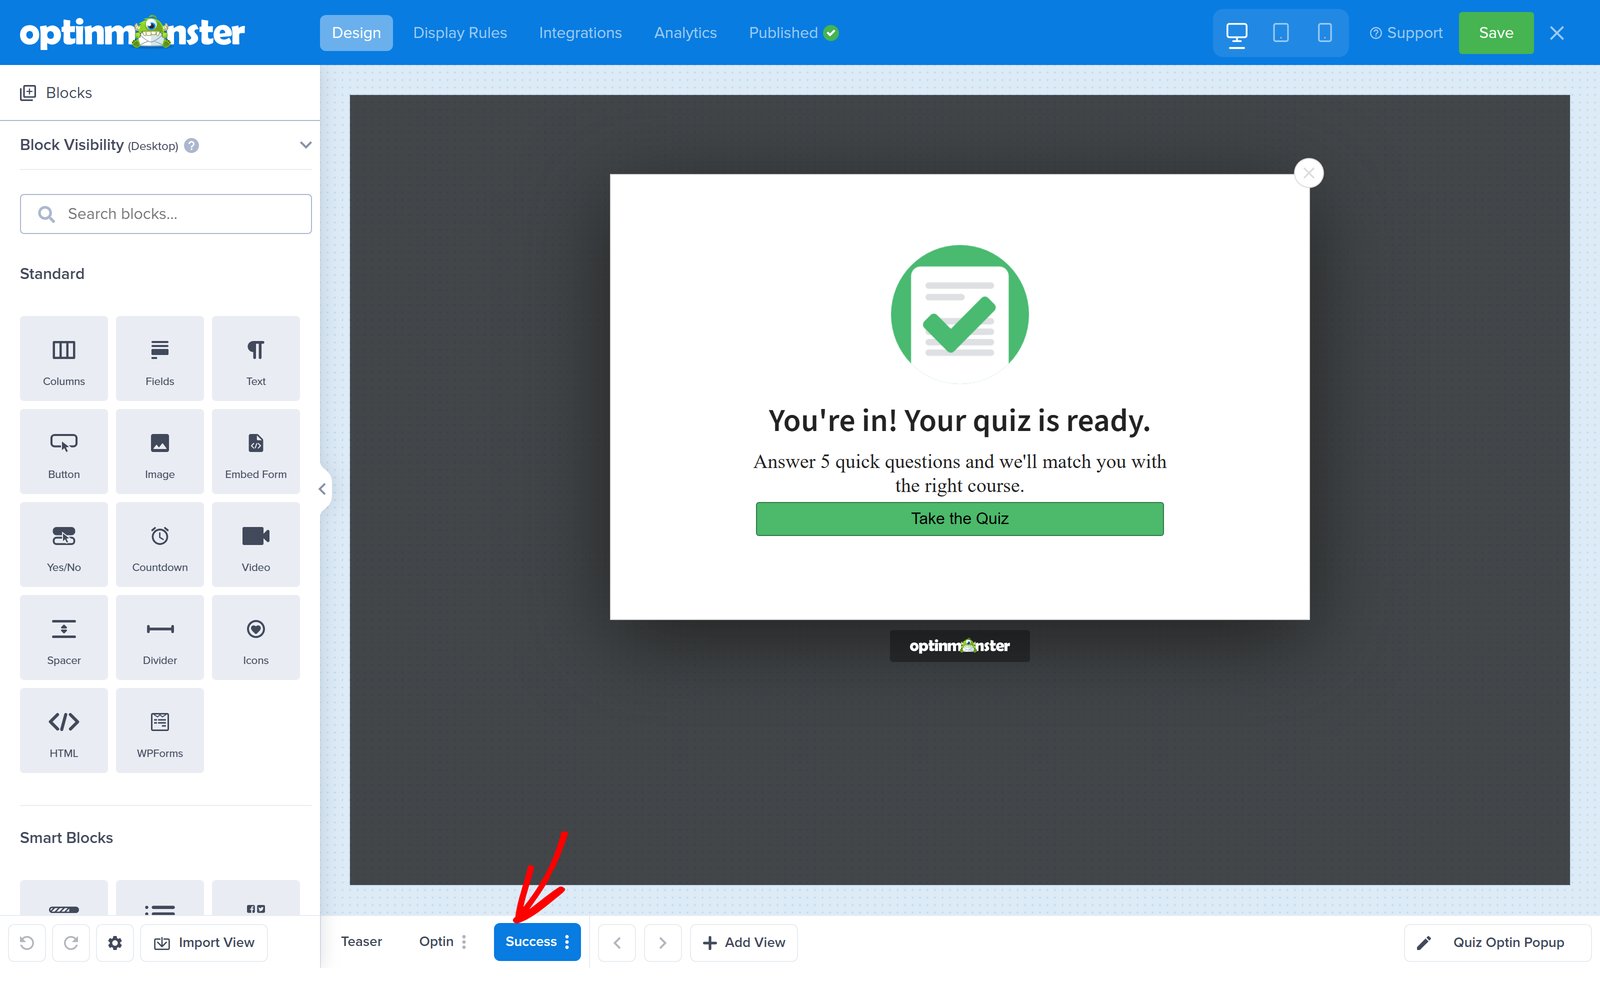
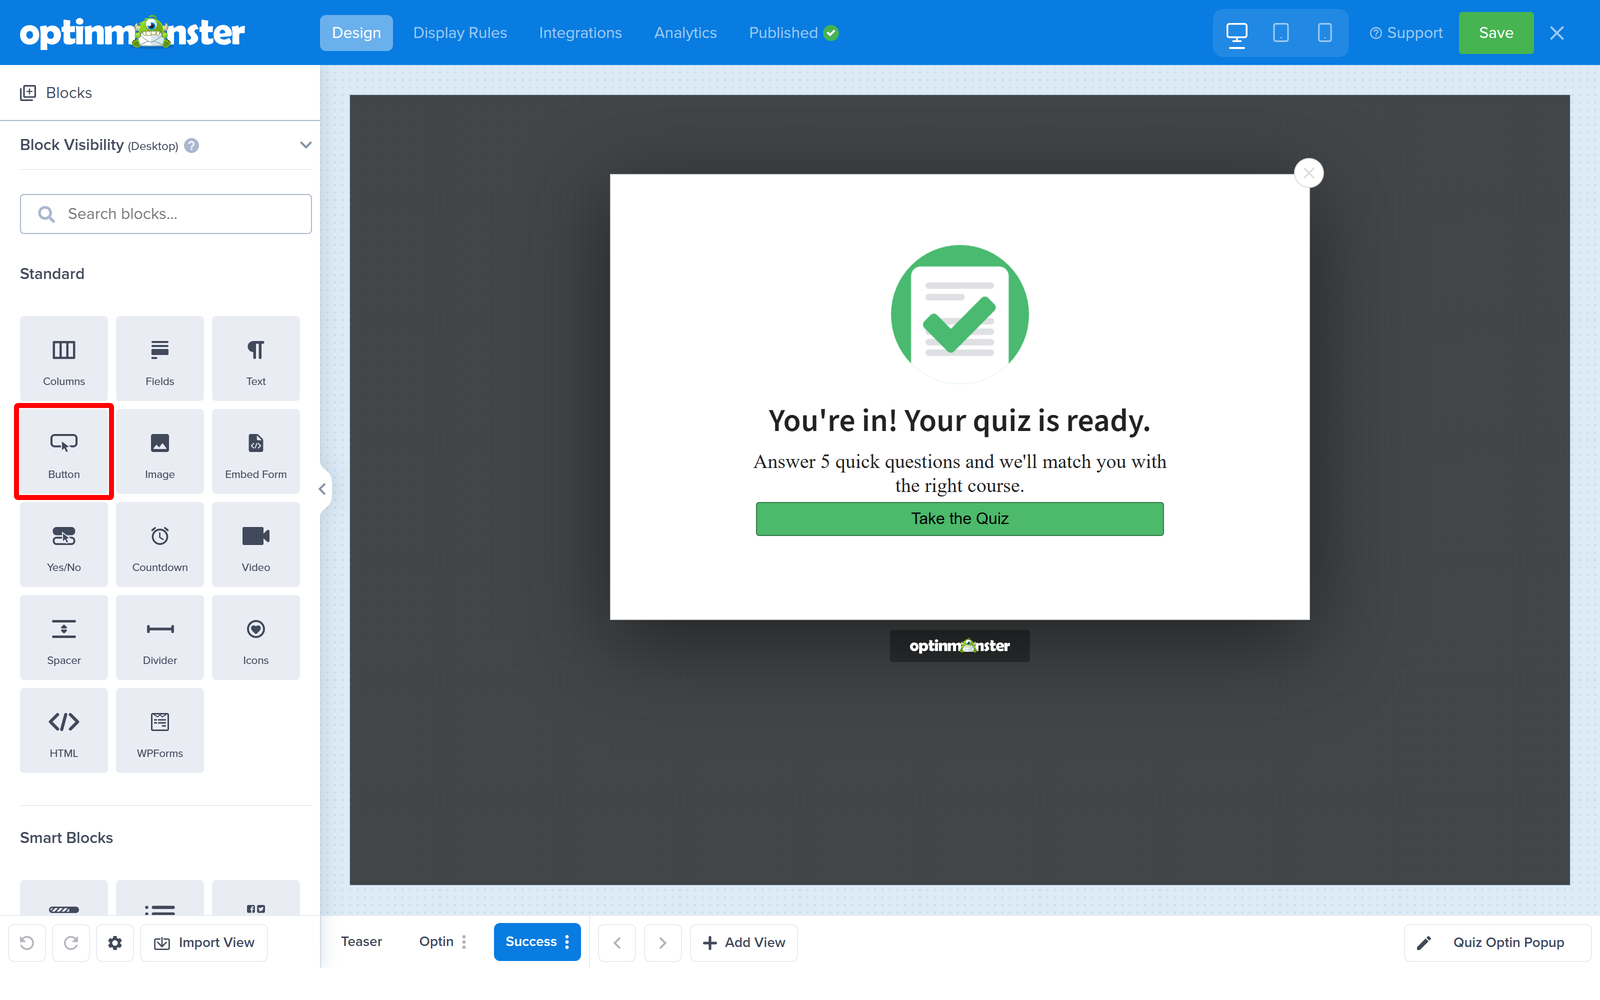
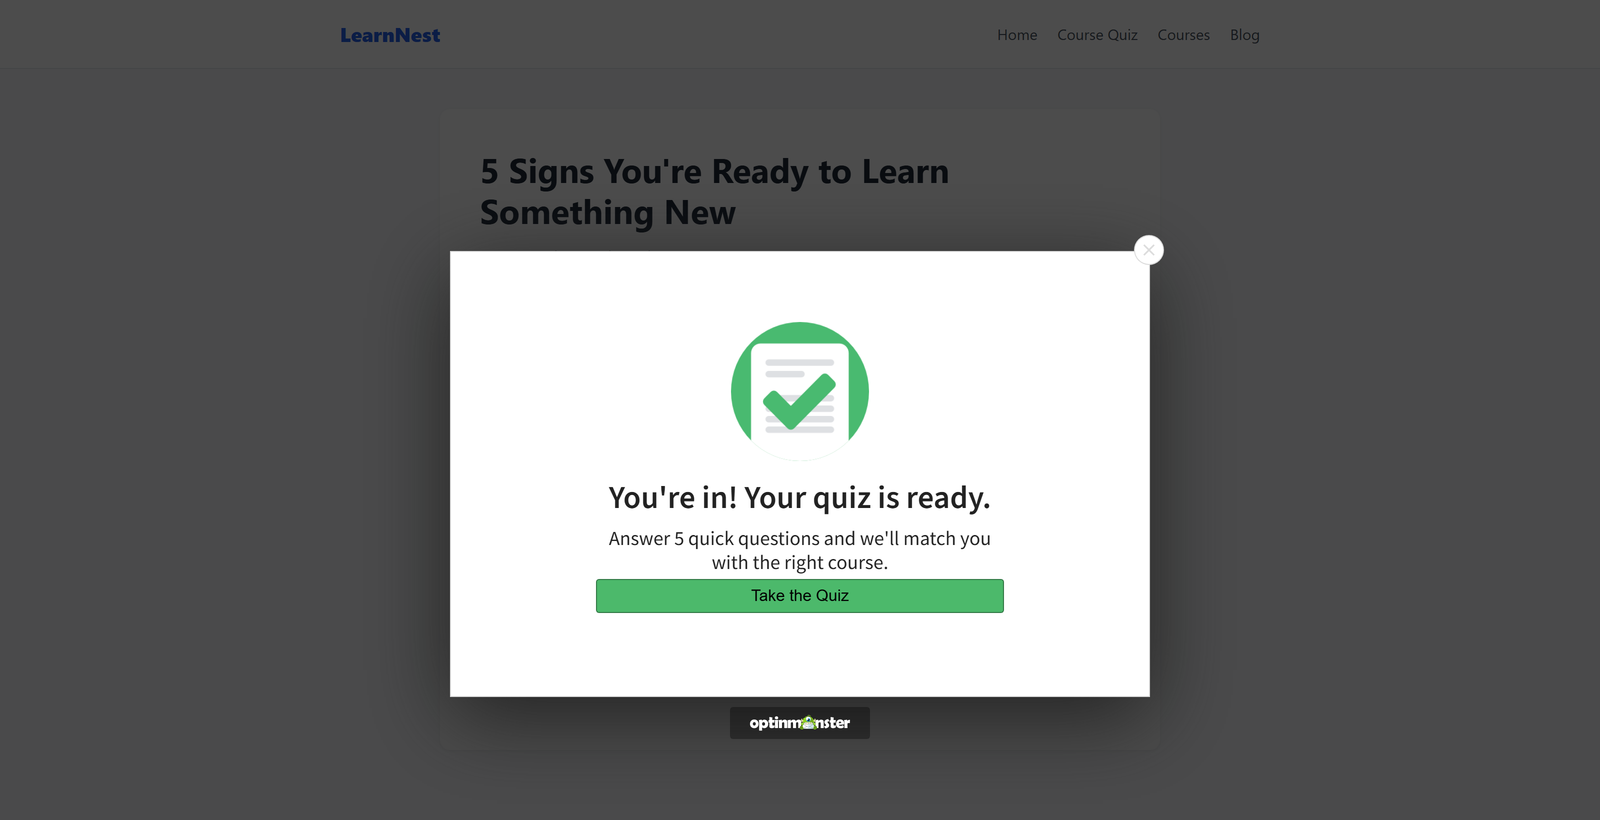
Here’s what your visitors will see after they subscribe. When they click the button, they’ll go straight to your quiz.
Note: Before you publish, make sure your campaign is connected to your email service provider, so your new subscribers are added to your list before they take the quiz.
Locking the Quiz Behind an Optin
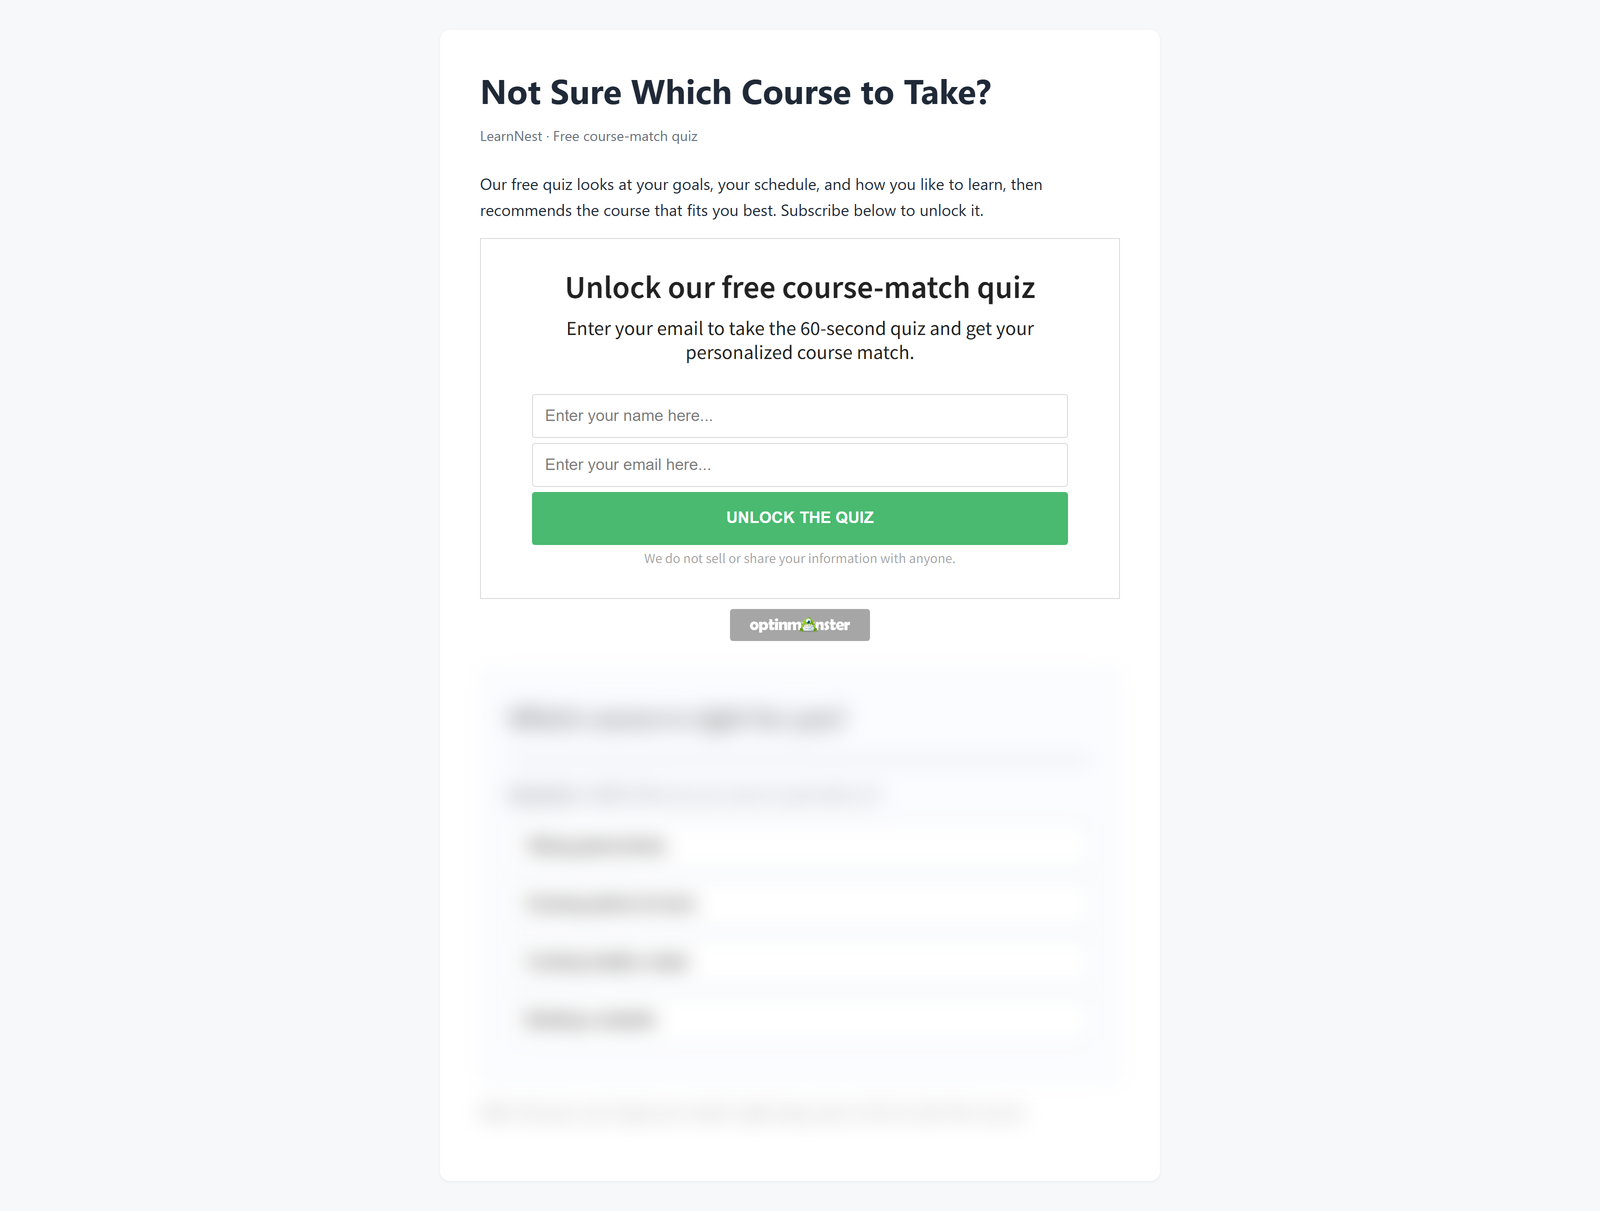
With content locking, the quiz stays on your own page, but it’s hidden until the visitor subscribes. This method uses an Inline campaign placed right above the quiz.
Enabling Content Locking
To turn on content locking, follow these steps:
- First, open your Inline campaign in the campaign builder.
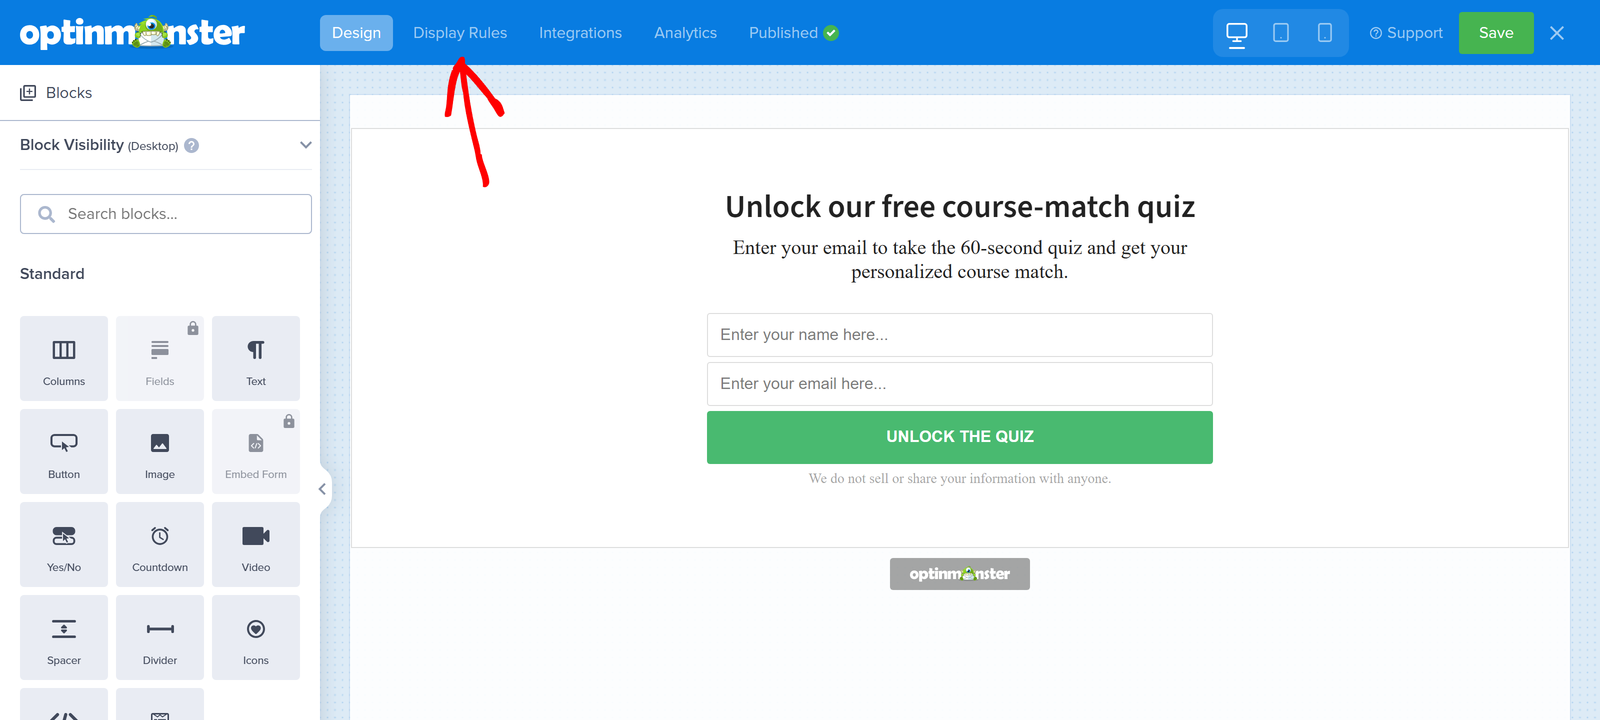
- Next, click Display Rules at the top of the builder.

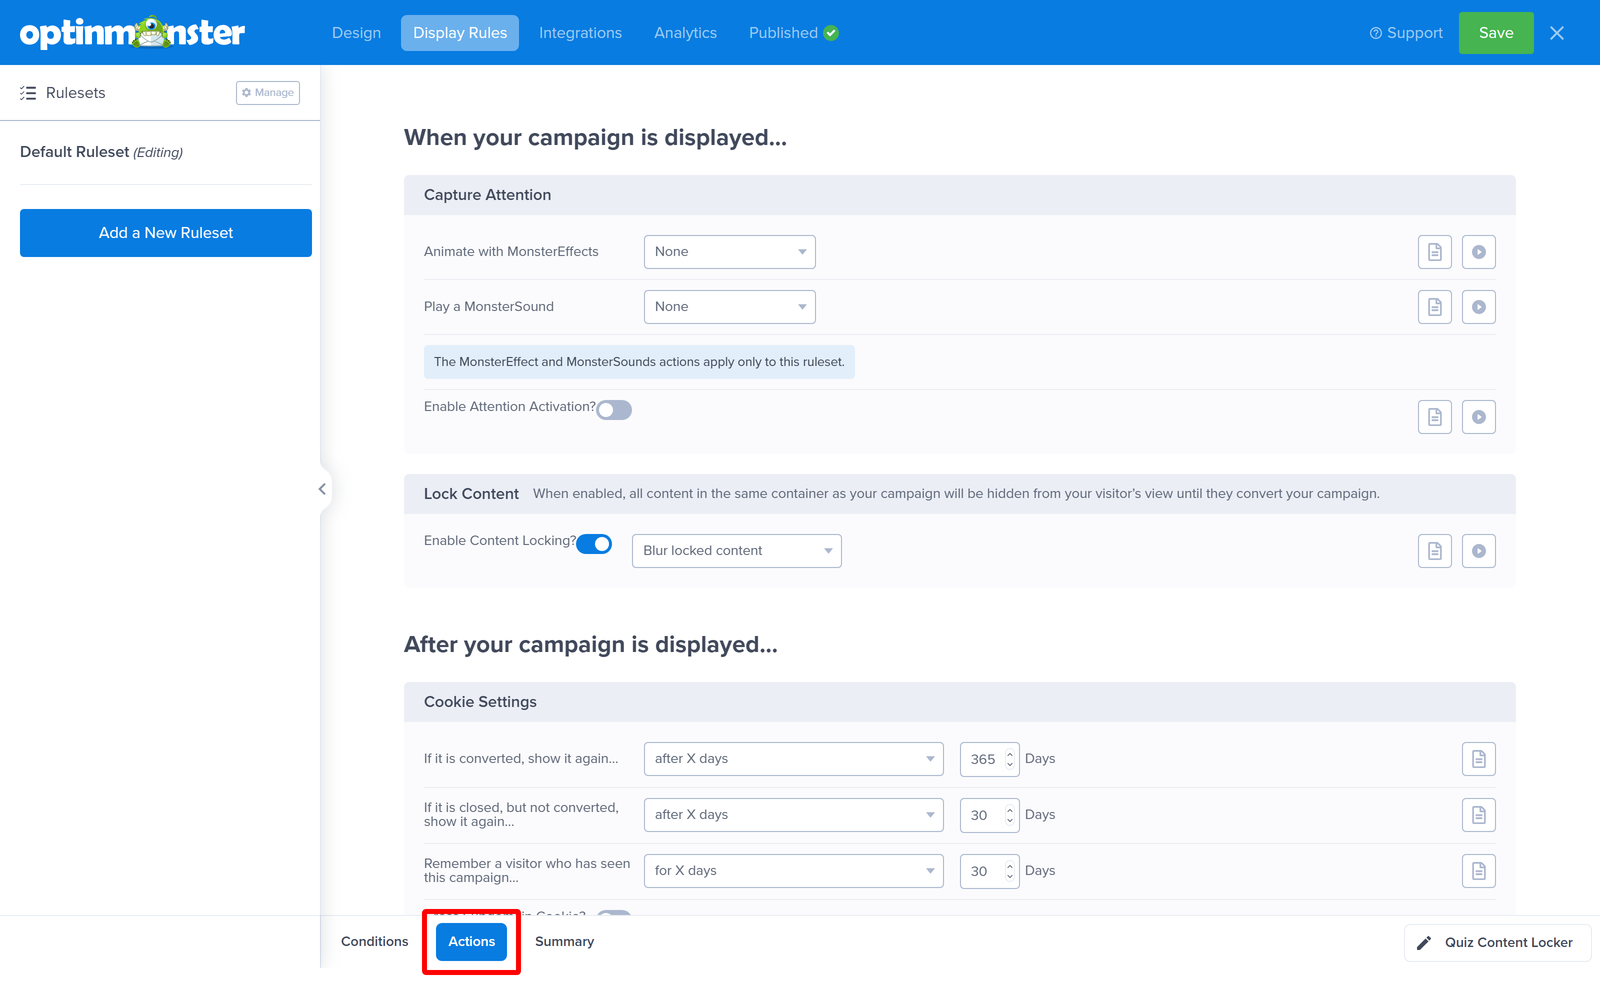
- Then, click the Actions tab at the bottom of the screen.
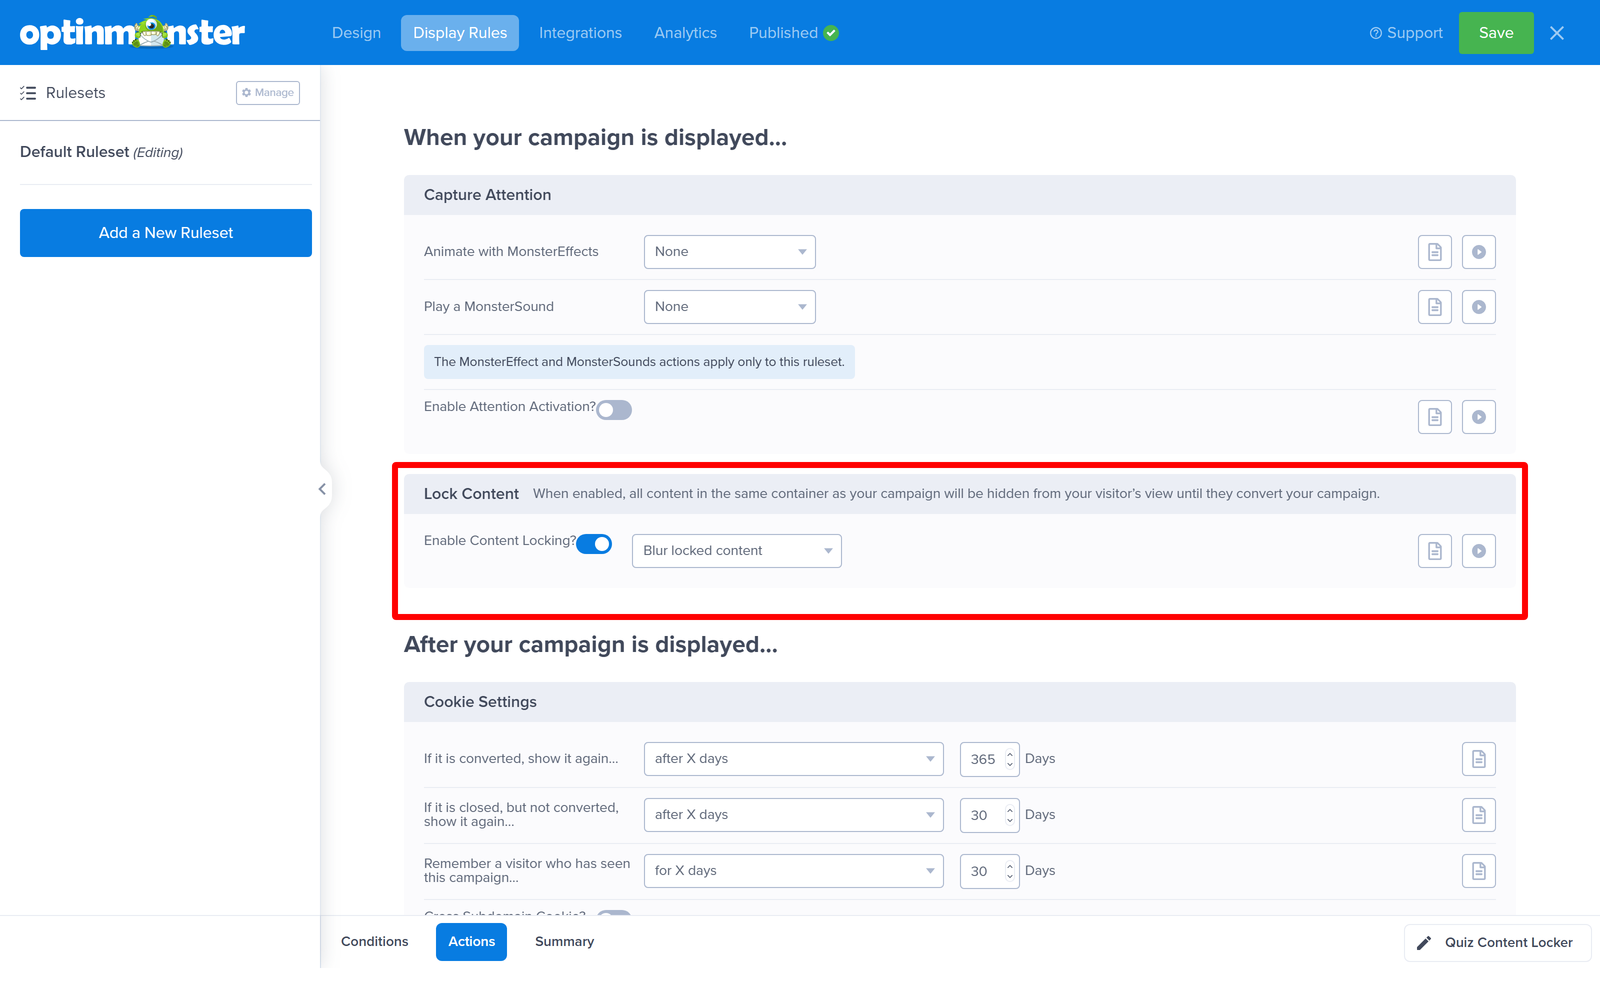
- After that, in the Lock Content section, turn on the Enable Content Locking? toggle.
- Next, choose a Content Locking Style. By default, it’s set to Blur locked content, which blurs the quiz until the visitor subscribes. If you’d rather hide the quiz completely, then select Remove locked content.
- Finally, click Save.
Embedding the Campaign Above Your Quiz
Content locking hides everything in the same container as your campaign. So, the campaign embed code needs to sit right above your quiz, inside the same container.
To get the embed code, follow these steps:
- First, click Publish at the top of the builder.
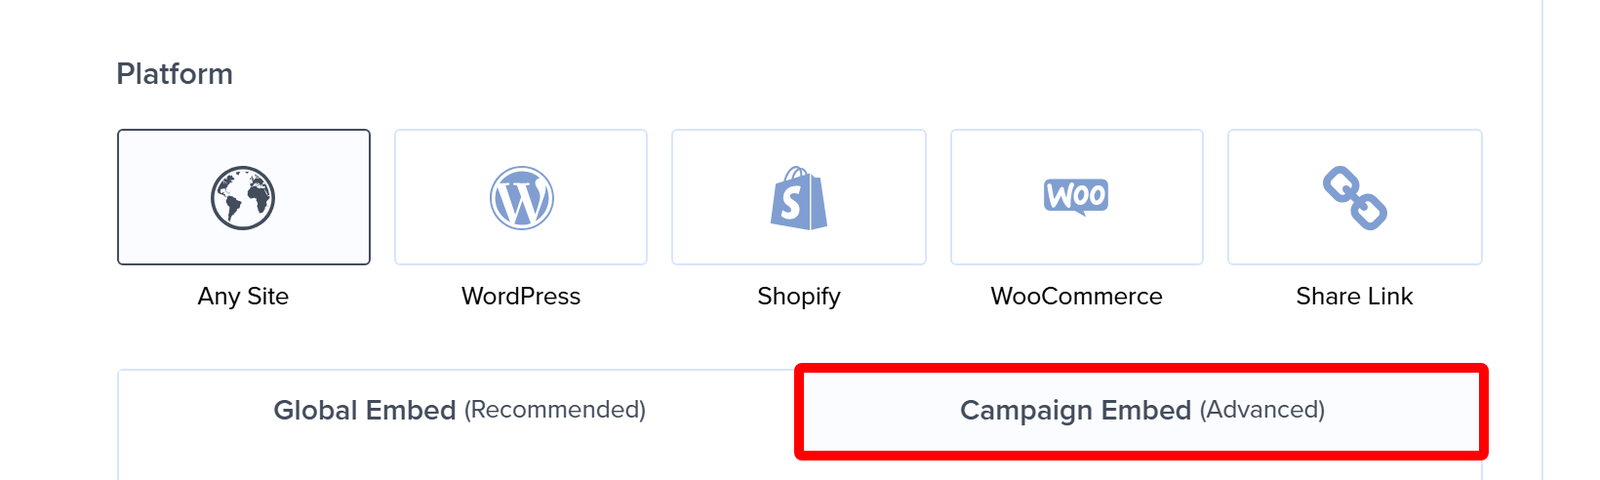
- Next, in the Platform section, choose your platform, such as Any Site.
- Then, click the Campaign Embed (Advanced) tab.

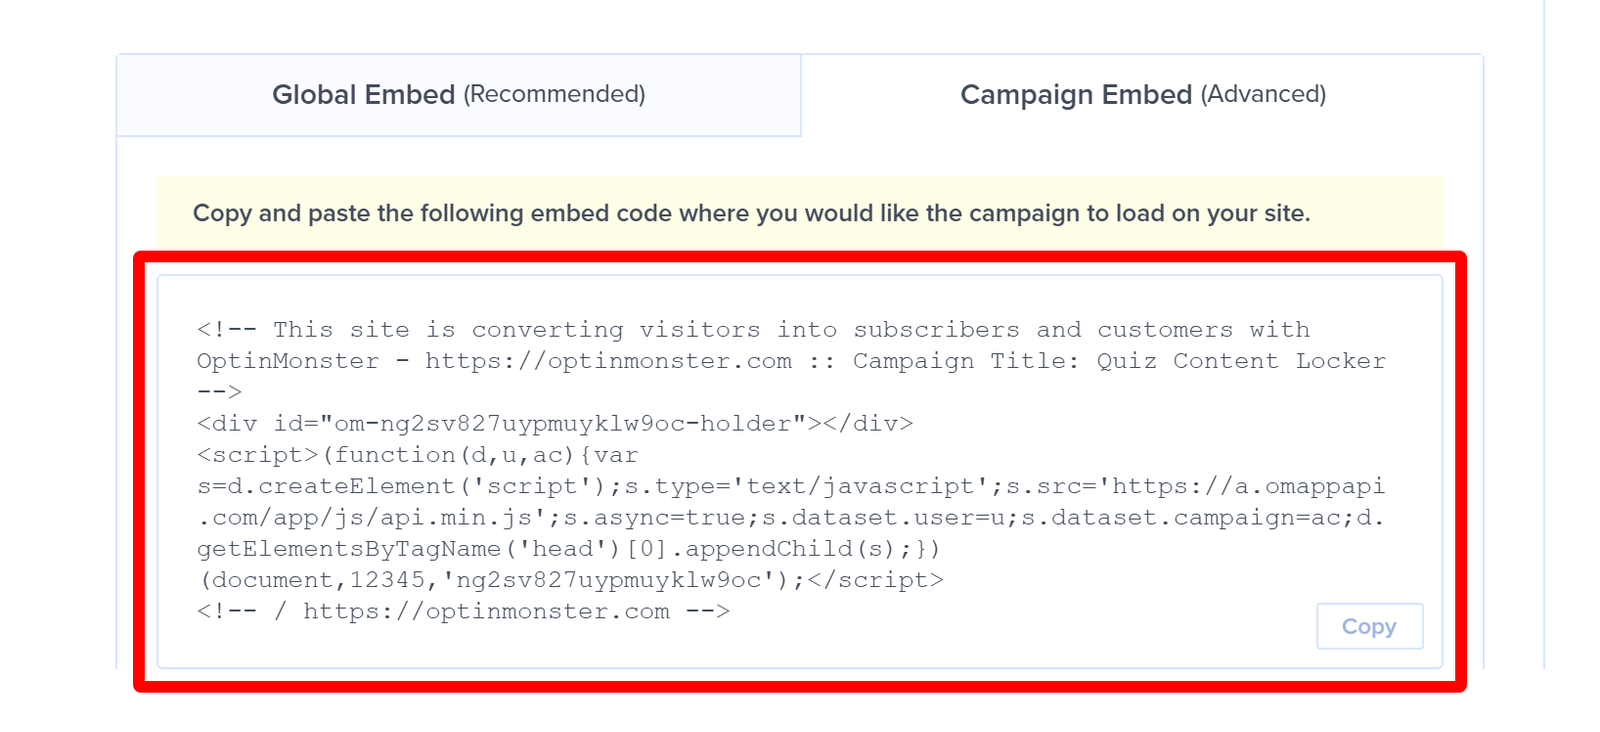
- After that, copy the code.

- Finally, paste the code on your page, directly above your quiz.
Here’s a simple example of how your page’s HTML can look. The campaign and the quiz sit side by side in the same container:
Important: You’ll want to avoid wrapping the campaign embed code in its own separate container. If you do, the campaign won’t lock the quiz below it. To learn more, see our guide on how to use OptinMonster’s content locking feature.
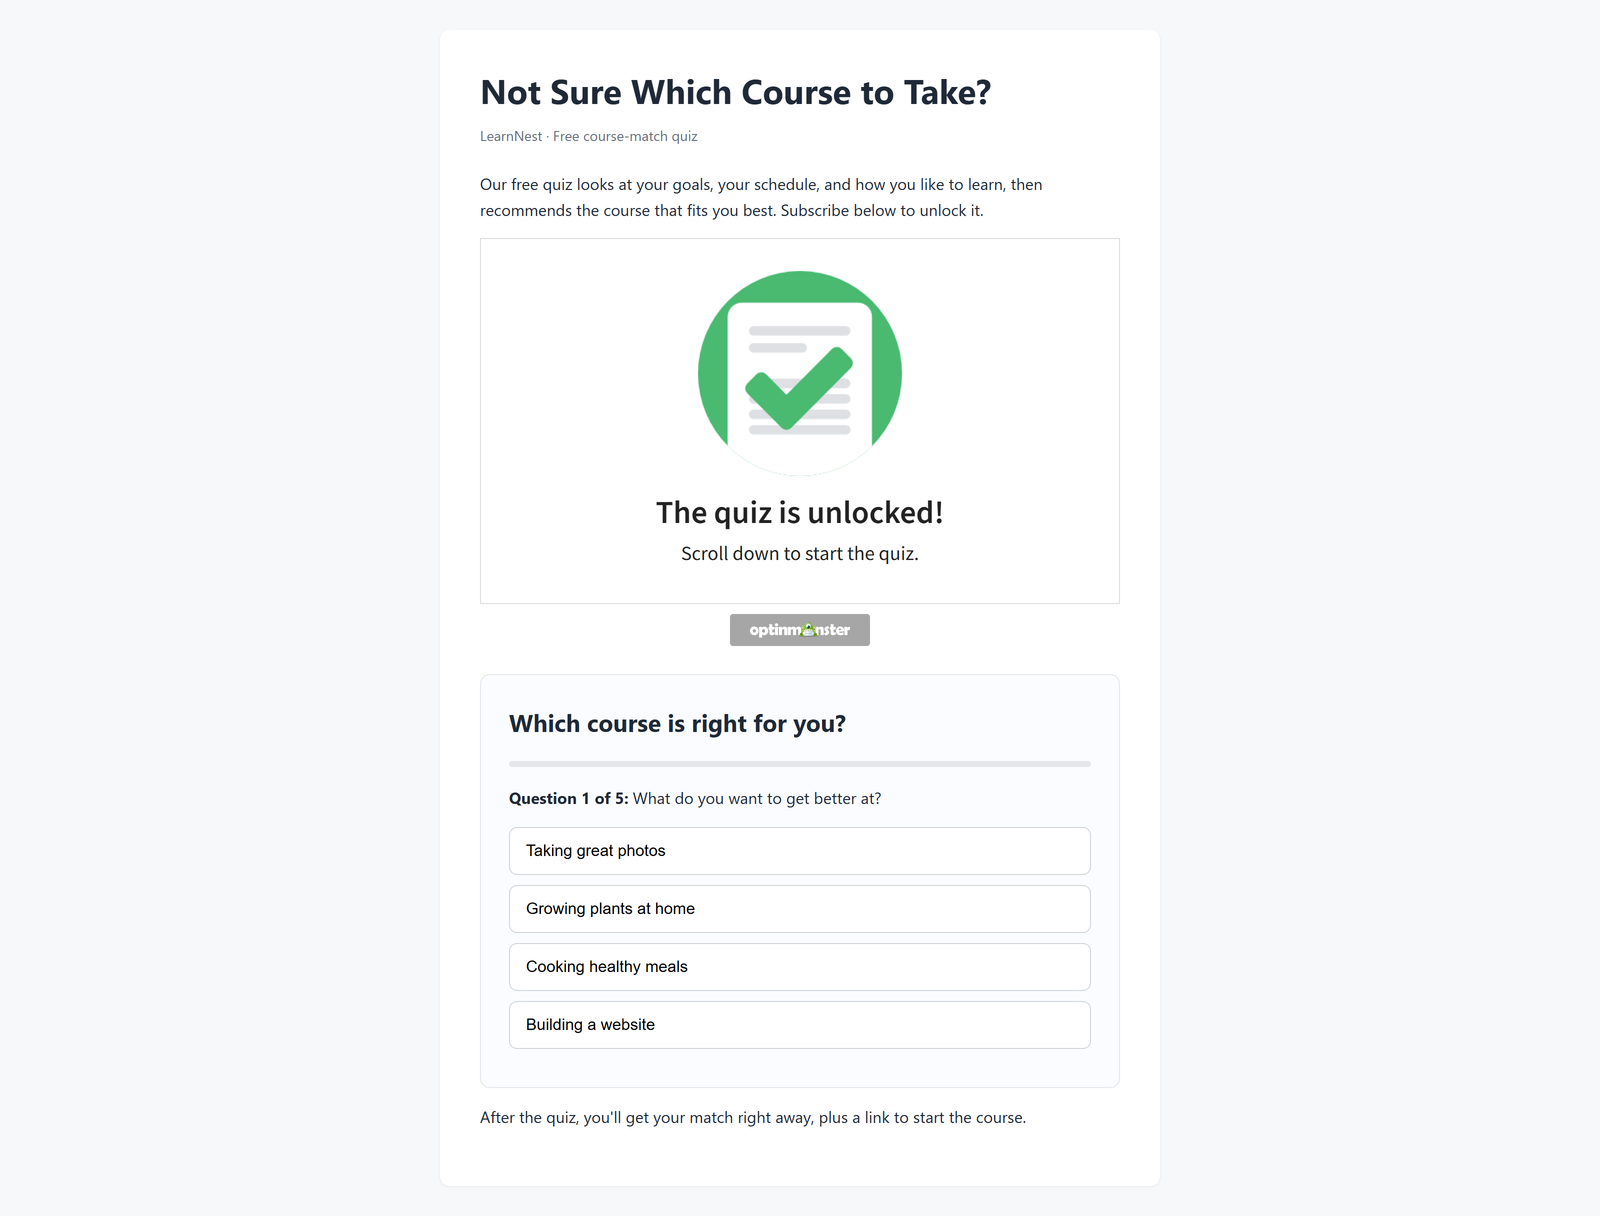
When a visitor subscribes, the quiz unlocks right away, and they can start answering.
FAQs
Which quiz tools can I use with OptinMonster?
You can use any quiz tool that gives you a link to your quiz or code to embed it, such as WPForms or TryInteract. For the redirect methods, you’ll need the quiz link. For content locking, you’ll need to embed the quiz on your own page.
How long does the quiz stay unlocked after I subscribe?
The quiz stays unlocked for as long as the campaign’s success cookie lasts. You can change this in Display Rules > Actions > Cookie Settings, under If it is converted, show it again…. By default, it’s set to 365 days.
Can I lock the quiz without sending visitors to another page?
Yes! Content locking keeps the quiz on your own page. Your visitors subscribe with the inline campaign, and then they take the quiz right below it.
That’s it! Now you know how to pair a quiz with OptinMonster. Next, you might want to learn how to use OptinMonster’s content locking feature to gate other content on your site.