Do you love the forms you’ve built with Contact Form 7 and want to show them in your OptinMonster campaigns? Great news, you absolutely can! It only takes a few steps to connect the two so you can display your existing forms in popups, slide-ins, and more.
In this article, you’ll learn how to add a Contact Form 7 form to an OptinMonster campaign.
Before You Start
Here are some things to know before you begin:
- This article assumes you’ve already created an OptinMonster campaign to integrate your Contact Form 7 form with.
- Contact Form 7 forms don’t automatically track conversions when they are submitted in OptinMonster. It’s important to update your custom Contact Form 7 form code as instructed in this guide.
- You may need to add custom CSS to style your form as desired. Contact Form 7 forms do not automatically inherit the campaign’s template styling.
Adding Your Form to OptinMonster
To add a custom Contact Form 7 form to your OptinMonster campaign, follow these steps:
- Log in to your WordPress dashboard, then go to Contact > Contact Forms.
- Create a new form or select the existing one you’d like to use in your OptinMonster campaign.
- Customize your form as needed, add extra fields, change labels, or adjust layout using Contact Form 7’s tag-based system.
- Once your form looks good, copy the form’s shortcode from the top of the editor. It’ll look something like this:
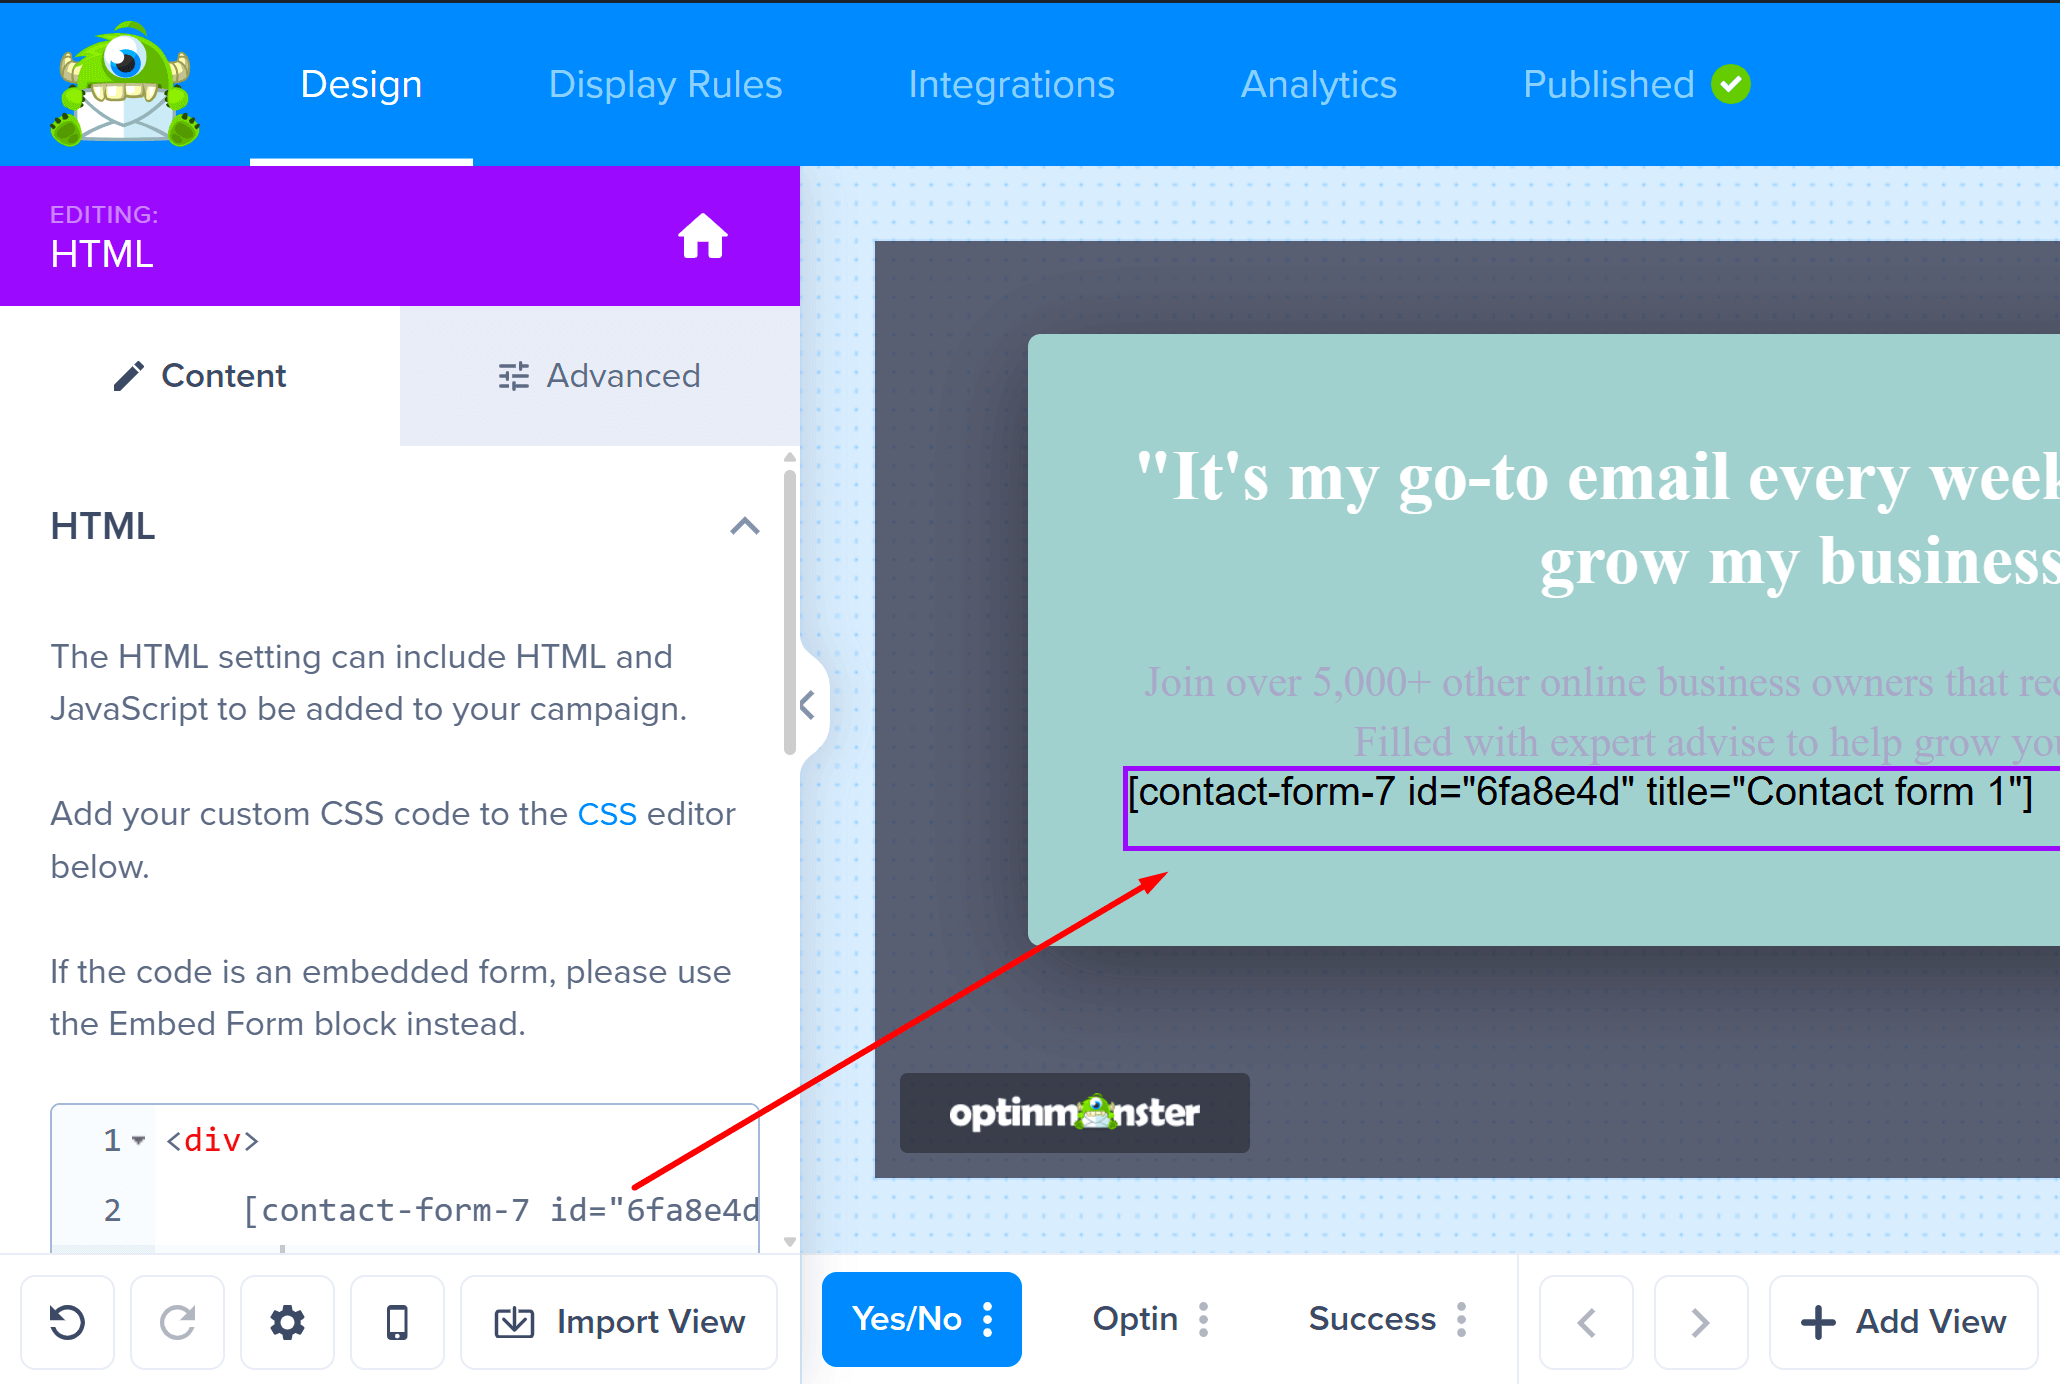
[contact-form-7 id="1234" title="My OptinMonster Form"] - Next, follow our Custom HTML integration guide to add the form code to your campaign.
- When you’re finished, click Save.
The Contact Form 7 form you added won’t appear inside the OptinMonster campaign builder. This is completely normal and expected. To see the form displayed correctly, you’ll need to preview or view the campaign directly on your website.
Edit Form Code
For OptinMonster to know when a visitor successfully submits your form, we need to add a special class to your form’s submit button. This is what allows us to track your campaign’s conversion rate accurately in your analytics.
You’ll want to locate the form you want to edit inside your WordPress dashboard. Just head over to Contact > Contact Forms, and pick the one you’re using in your OptinMonster campaign.
Once you’re in the editor, look for the submit button part of your form code. By default, it might look something like this:
[submit "Send"]To let OptinMonster know when a visitor successfully submits the form (so it can count that as a conversion in your analytics), you’ll need to add a special class to that submit button.
Simply update the tag to include class:om-trigger-conversion, like this:
[submit class:om-trigger-conversion "Send"]That’s it! Now, when someone submits the form, OptinMonster will be able to track that event and show it in your campaign stats.
Contact Form 7 reloads the entire page when a form is submitted. Because of this behavior, OptinMonster’s built-in Success Actions (like showing the Success View or redirecting to another page) will not work.
Email Automations
To automatically send emails to new leads after they submit your form, you can configure an autoresponder directly in Contact Form 7.
The following guides from Contact Form 7 may be helpful to get started:
FAQs
Why isn’t my campaign’s Success View showing up?
When a visitor submits a form embedded from Contact Form 7, the plugin forces a full-page reload to process the submission. This action prevents OptinMonster from being able to perform the Success Actions, like showing the Success view.
Will my conversions still be tracked in OptinMonster?
Yes, absolutely! As long as you have correctly followed the steps in the Edit Form Code section of this guide, OptinMonster will count every successful submission as a conversion. You’ll be able to see this data in your campaign’s analytics dashboard.
Troubleshooting
My conversions aren’t being tracked. What did I do wrong?
The most common reason for this is a small typo in the tracking class added to the submit button. Go back to your form editor in Contact Form 7 and make sure the submit button shortcode includes class:om-trigger-conversion exactly as written. Check for any extra spaces or misspellings. Also, be sure you clicked the Save button after making the change!


