OptinMonster makes it easy to customize the appearance and functionality of your campaigns, including the ability to add an icon.
In this article, you’ll learn how to add an Icon Block to your campaign.
Add an Icon Block
To add an Icon Block to your campaign, follow these steps:
- In the Design screen of the campaign builder, drag and drop an Icon Block into the campaign design where you want it to appear.
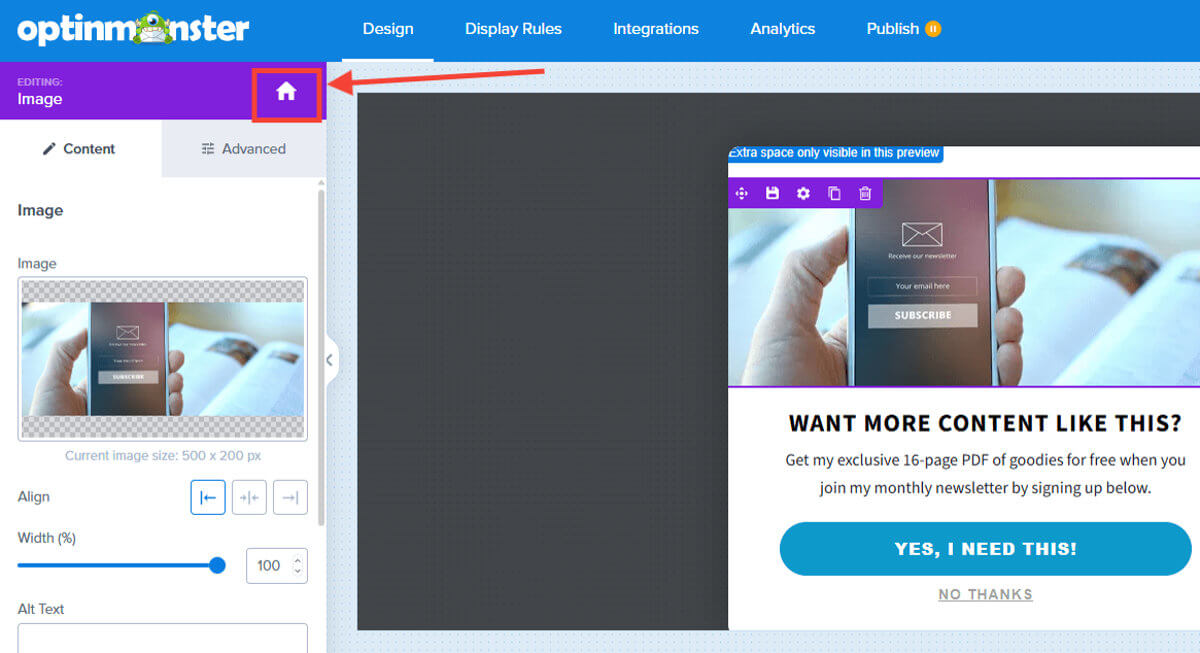
If blocks are unavailable in the sidebar panel, be sure you’re viewing the home panel in the sidebar. You can return to the home panel at any time by selecting the home icon.
- You can now configure the functionality and basic appearance of the Icon Block from the sidebar panel.
- (Optional) For more fine-tuned design controls, select the Advanced tab when editing the icon element.
- When you’re finished, Save the campaign.
Delete an Icon Block
To remove an Icon Block from your campaign’s design, follow these steps:
- Hover over the Icon Block you wish to remove.
- Select the trash icon.
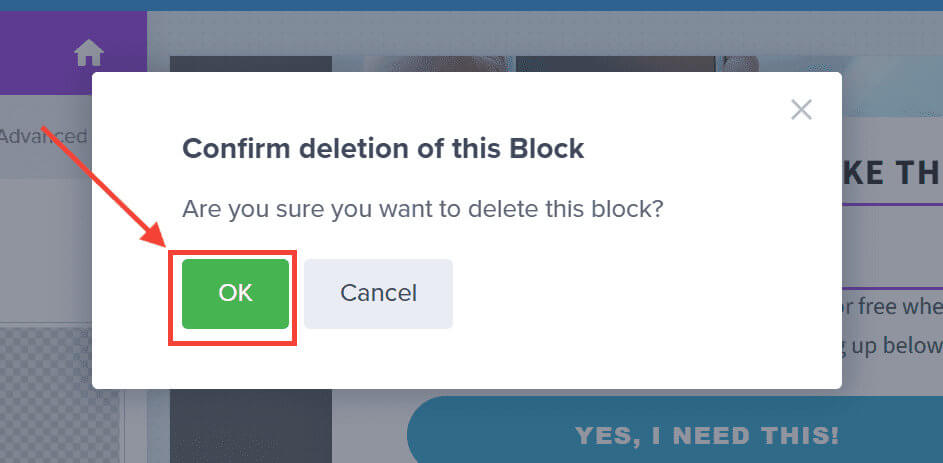
- A modal will appear asking you to confirm if you’d like to delete the Icon Block from your campaign. Select OK to confirm.
- When you’re finished, Save the campaign.
Reposition an Icon Block
- Hover over the Icon Block you wish to relocate.
- Select the navigation icon and drag the Icon Block into the new position.
- When you’re finished, Save the campaign.


