Do you want to create a lightbox popup in PrestaShop to increase your sales?
And adding a lightbox popup to your online store is one of the fastest, easiest ways to boost your conversions.
That’s exactly why eCommerce store owners use popups to grow email lists, drive web traffic, and increase sales.
Today, we’ll look at how to quickly build a high-converting lightbox popup for your PrestaShop store.
Why Add a Lightbox Popup to Prestashop
You can set up your own lightbox popup in PrestaShop in 30 minutes or less, and we’ll walk you through each of the steps.
But, first, let’s have a quick look at what a lightbox popup is in PrestaShop, just so we’re on the same page.
PrestaShop, of course, is a self-hosted eCommerce platform that comes with everything you need to run an online store.
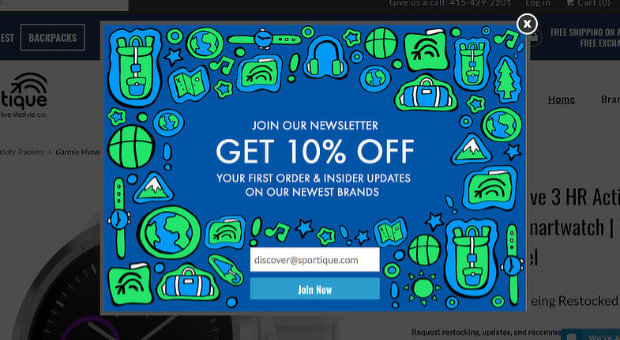
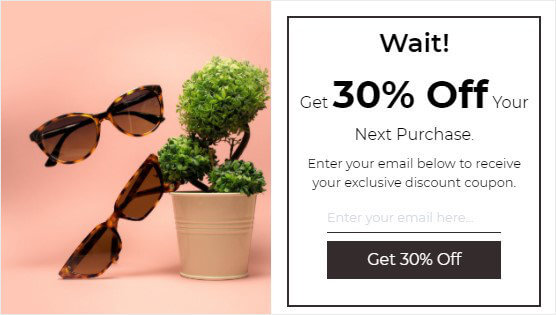
And a lightbox popup is a web form or a promotional offer designed to capture your visitors’ attention that appears on top of your PrestaShop page, dimming the content behind it.
Here’s an example:
Now, when you’re running your online store, you can use lightbox popups for promotional messages, like:
- Free shipping offers
- Limited time promotions
- Special discounts for returning visitors
Chances are you’ve seen one or more of these kinds of popups at some point.
So, how do you create that kind of popup for your PrestaShop store?
Here’s where OptinMonster comes in.
OptinMonster is the best lead generation software for your Prestashop store. It allows you to easily create popups that are designed for eCommerce sites.
With OptinMonster’s eCommerce templates, you can create popups to show:
- Special offers to potential customers who try to leave your site on the checkout page
- Fullscreen welcome mats with offers for new customers
- Time sensitive discounts
And more.
OptinMonster customers like Wild Water Adventures used these features to add over $61K in sales.
Do you want the same results?
Let’s walk through how you can build a Prestashop popup that increases sales.
How to Create a Lightbox Popup in Prestashop
In today’s tutorial, we’ll build this popup and publish it to your PrestaShop site in 30 minutes or less.
You’ll see we’re offering our visitors a special discount, but, you could also offer free shipping or a limited time coupon. Need popup inspiration? Check out these eCommerce popup examples.
Now that you have an idea of what you’ll be offering your visitors, you’re ready to build your PrestaShop popup.
All set?
Let’s begin.
Step 1: Create an OptinMonster Campaign
First, you’ll need to log into your OptinMonster and click Create New Campaign from your dashboard.
On the next screen, select your campaign type.
Your options here include:
- Floating bar: a sticky header or footer that scrolls with your visitor and is great for displaying things like a free shipping offer or new store hours
- Fullscreen: this will cover the visitor’s entire screen and can be used to present a special welcome discount for new visitors
- Gamified: let site visitors spin a coupon discount wheel
And more.
Today, we’ll go with Popup.
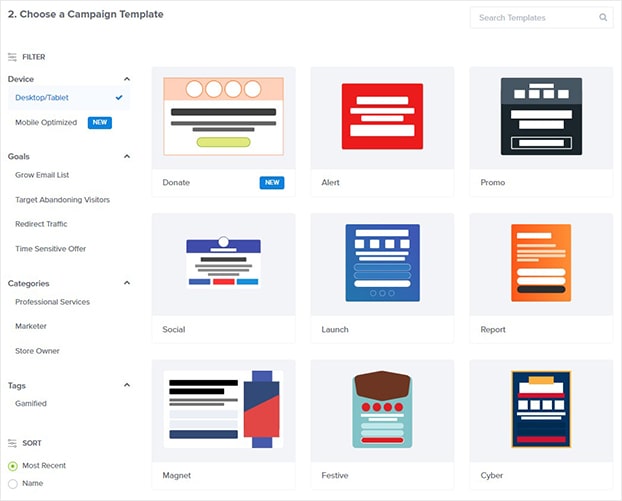
Once you’ve selected your campaign type, you’ll need to choose a template.
All OptinMonster templates are responsive. This means your content will display properly across all devices no matter which template you choose.
But, if you want, you can select the Mobile Optimized filter.
You can also narrow your search by using other filters, like campaign goal and category. For example, you might select the time sensitive offer and online store owner filters.
Today, we’ll go with the Shopping template because it’s perfect for the discount PrestaShop popup we’re creating in this tutorial. There’s space for an image of our product and compelling copy.
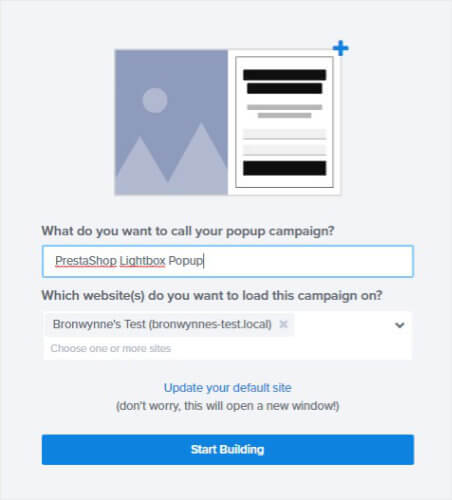
Now, you just need to name your campaign and click Start Building to enter the OptinMonster editor.
The next step is to customize your PrestaShop popup.
Step 2: Design PrestaShop Popup
Designing your lightbox popup in the OptinMonster editor is so easy.
You can change anything by simply clicking on any part of the popup.
Here’s how that works.
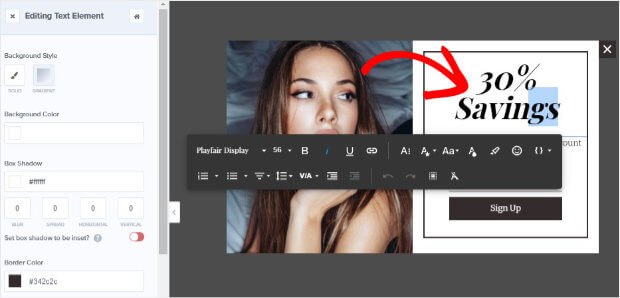
To edit the copy, simply click on the text. Now, you’ll see the editing tools appear on the popup.
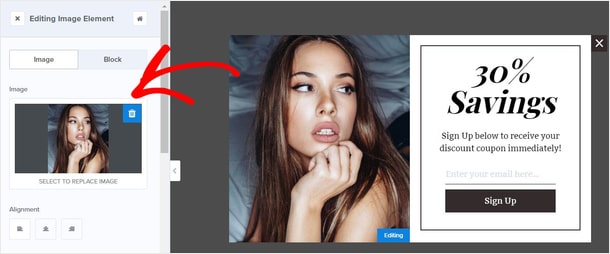
Similarly, click on the image to change it.
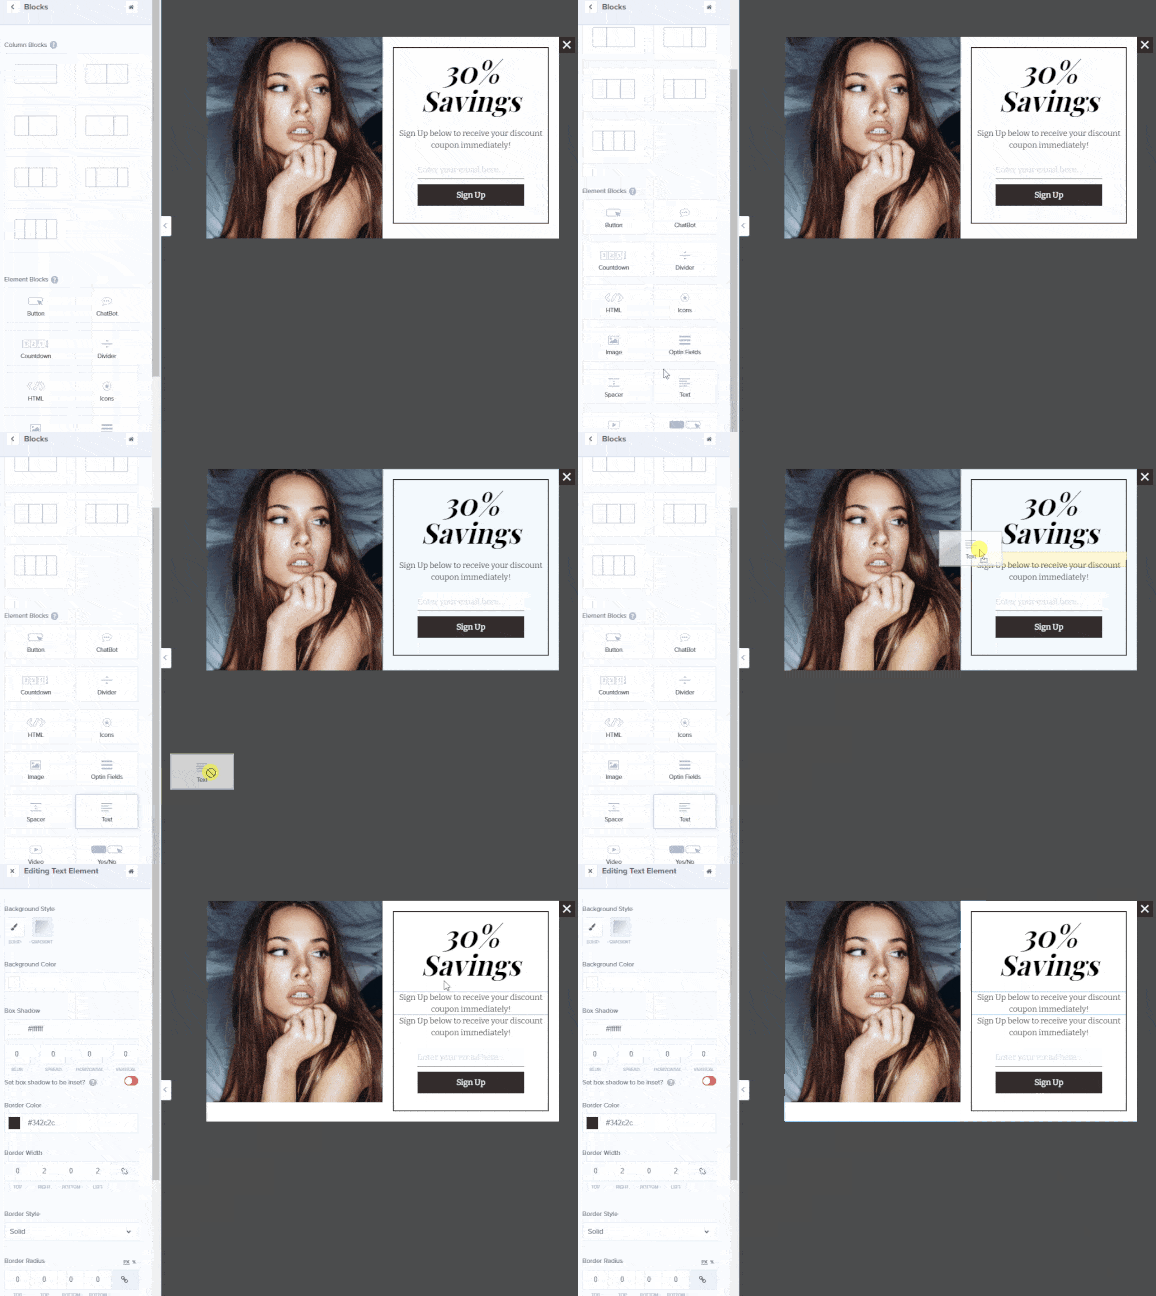
Beyond customizing your copy and image, you can add new elements to your popup.
We call these blocks in the OptinMonster builder, and they include:
- Countdown timer
- Image
- Text
- Video
- HTML
So, simply click Add Blocks at the top of your editor.
Then all you need to do is drag your block into place on your popup.
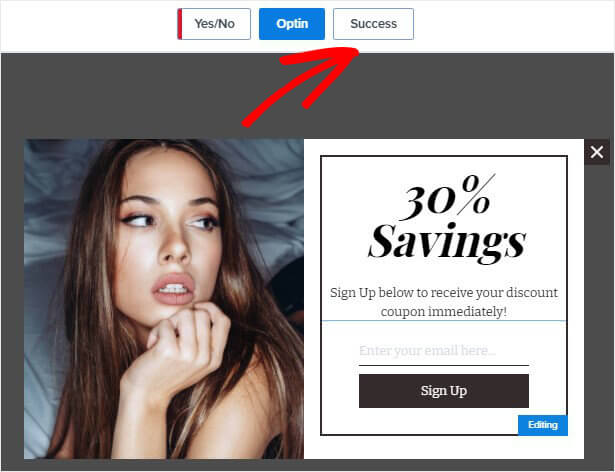
At this point, you can select the Success tab at the top of your editor if you want to deliver your discount to the customer right away.
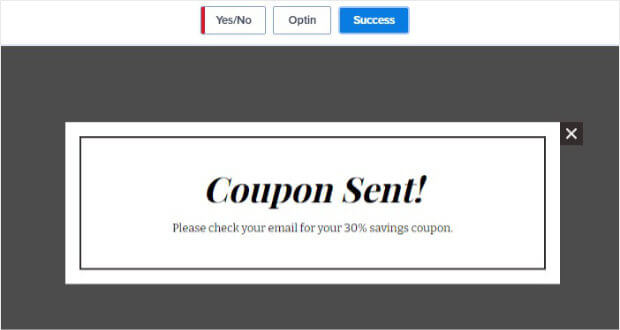
This is the screen your visitors will see immediately after they complete your form.
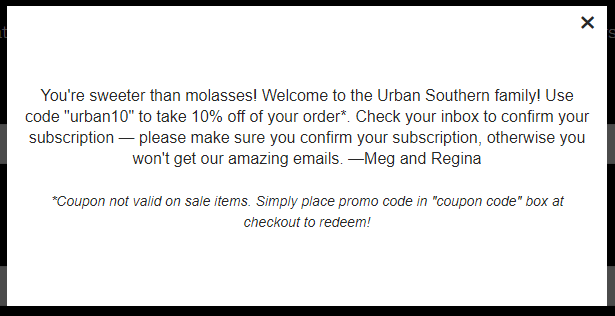
Here’s an example from Urban Southern and how they used the Success view to deliver their coupon.
The success theme is a great way to give your visitors more information about the next step.
Now, it’s time to decide where and when you want to show your popup.
Step 3: Display PrestaShop Lightbox Popup
The biggest mistake online store owners make is showing popups at the wrong time.
This only causes frustration for your visitors and lost conversions for you.
Fortunately, you can avoid all of that.
With OptinMonster, you can control exactly when your lightbox popup will appear so it shows at just the right moment.
For example, you could display a special discount to people who have viewed more than 3 pages. They’re clearly engaged with your content already. Or, you could offer discounts on your highest converting pages.
These targeting and trigger options are called Display Rules, and they control who sees your popup and when.
Here are more examples of how online store owners target their audience:
- Offer discounts for products customers are looking at
- Display targeted promotions based on physical location
- Show free shipping offers people get ready to abandon their carts
Today, we’ll look at two powerful display rules, Exit Intent® and MonsterLink™.
Exit Intent
Exit intent is one of the most effective ways to promote your sales and boost conversions.
You’ll get to show your site visitors a promotion they’ll like as they’re about to leave your site.
Are exit popups effective?
They worked for Fastrack. They used OptinMonster’s Exit-Intent® technology to recover 54% of abandoning visitors.
Head over to Display Rules at the top of the editor.
Select Exit Intent®.
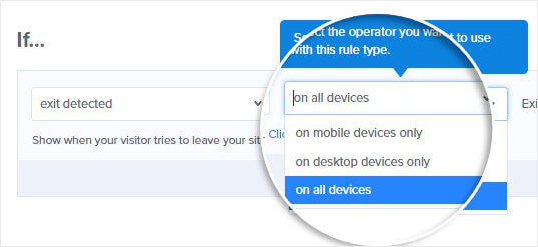
Select the device where you want to display your popup.
Now, you’ll need to decide on the sensitivity level.
Keep in mind that this will change the popup trigger on mobile.
Low or medium sensitivity will trigger your popup when someone scrolls up the page. High sensitivity will trigger when the visitors clicks the back button or scrolls, whichever happens first.
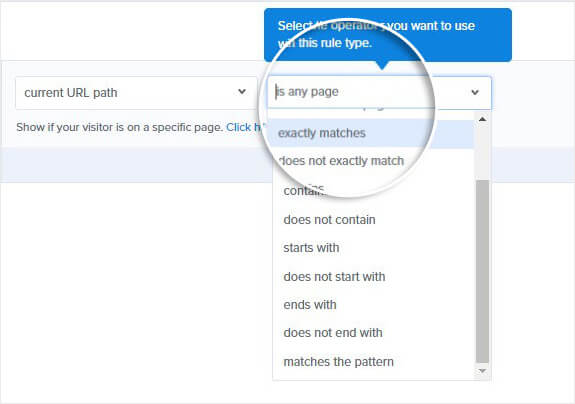
You can also use Page-Level Targeting to control where this popup is displayed.
For example, you could make the popup appear only on your checkout page or high converting pages.
For more examples of how to use exit popups to increase revenue check this article that covers 40 exit popups hacks.
MonsterLink™
Do you want to create a PrestaShop popup that opens on click?
MonsterLinks turns any link or image into a 2-step optin that opens on click.
And you don’t need to write any code yourself.
These double-step optins are incredibly effective. The US Student Loan Center used MonsterLinks to convert 34% of readers.
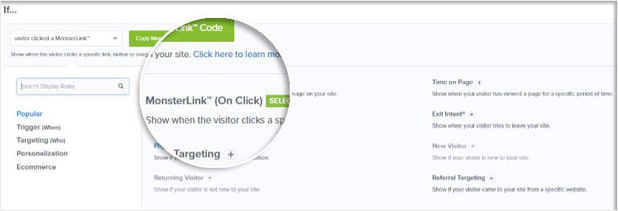
From the Display Rules tab, click Monsterlink™ (On Click).
Copy your code.
Now, you can add it to any image or link on your PrestaShop store.
Step 4: Connect Your Email Service Provider
In this step, you’ll need to tell OptinMonster where to send your emails.
And it’s easy to connect your email service provider to OptinMonster.
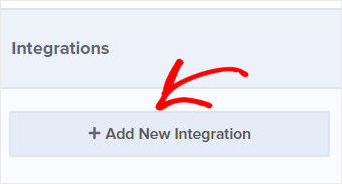
Head over to Integrations at the top of the editor.
Click Add New Integration.
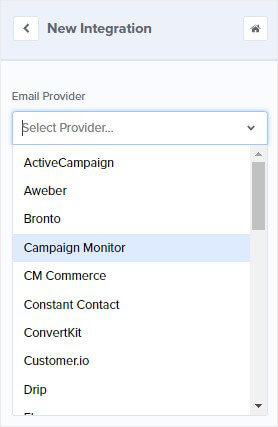
Pick your provider from the dropdown menu.
Don’t have an email service provider yet?
By default, your new leads will go to MonsterLeads in your OptinMonster account.
Step 5: Publish Your Lightbox Popup on PrestaShop
The last step is to publish your popup.
Head over to Publish at the top of your editor.
Switch the campaign status to Live.
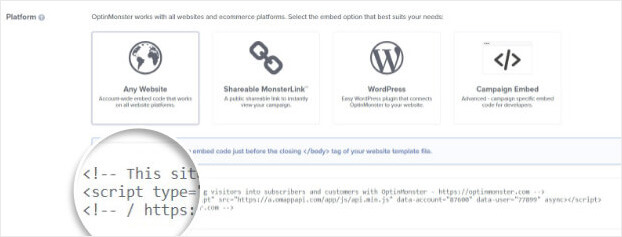
Now, scroll down to the bottom and copy the embed code. You’ll need to add this code to your PrestaShop site.
The next step is to log into your PrestaShop account.
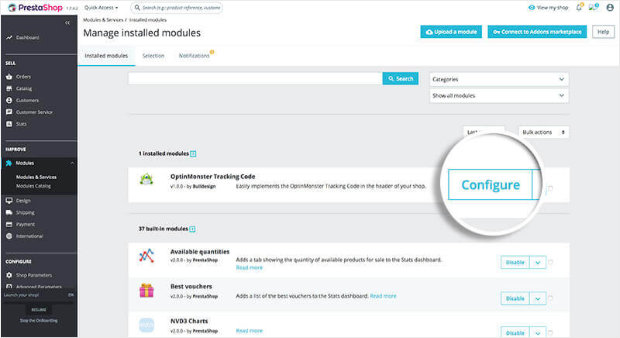
You’ll need to paste your embed code into a module on your PrestaShop site. In the example below, we’ve used the OptinMonster Code Module available on the PrestaShop Addon store.
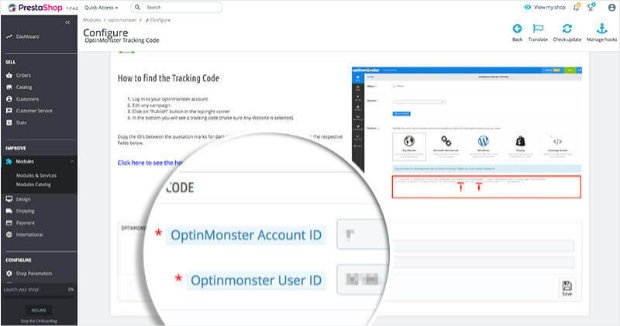
From your PrestaShop account, head over to the Modules screen. Find the OptinMonster Code Module and select Configure.
Now, you’ll see you need to add the embed code you copied. You’ll also need to provide your OptinMonster Account ID and User ID.
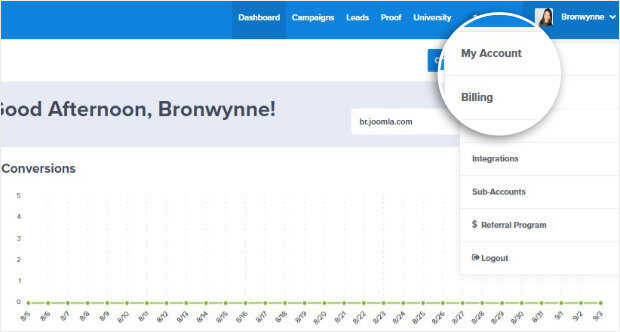
Head back to your OptinMonster account, click on your name, and then My Account.
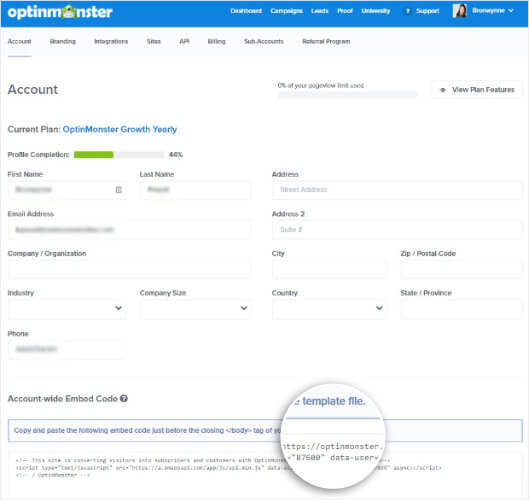
Scroll down to the Account-wide Embed Code section. The data account number is the Account AD. The data-user number is the User ID.
Now, you can add the Account ID, User ID, and embed code in the relevant fields.
And that’s it. Your popup will now be displayed on your PrestaShop site.
You’ll now be able to turn your website visitors into paying customers.
We hope you enjoyed this article.
If you’re looking for additional resources to grow your online store, check out these articles:
- 15 Ecommerce UX Best Practices to Explode Your Sales
- Flash Sales 101: How to Get More Money (and Clients) Fast
Ready to boost conversions on your online store? Sign up for OptinMonster today.
Disclosure: Our content is reader-supported. This means if you click on some of our links, then we may earn a commission. We only recommend products that we believe will add value to our readers.
